

Ever wonder why your DIY budget gets out of control? Many times, you only think about the cost of materials. You forget that you also need to buy tools, do prep work, and add finishing touches. Splitting your project into four parts helps you see all the costs. This simple tip keeps your budget clear and stops surprises along the way. In this guide, we break down every expense so you know what to expect. Get ready to view your DIY plans from a fresh perspective.
DIY project cost breakdown: Empower Your Finances
Start by thinking of your project cost in four parts: materials, tools, prep work, and finishing touches. This method helps you keep your budget tidy and avoids surprises.
Materials include every item that changes your space. For example, if you are updating your kitchen, list big items like countertops alongside small ones like cabinet knobs. Even tiny parts like screws, glue, or gloves can add up fast.
Tools can be a hidden cost. Count every piece you need, whether you buy a drill or rent special equipment. Sometimes borrowing or renting a tool is a smart way to save money.
Prep work may not look exciting, but it is key. Tasks such as cleaning surfaces or breaking down old materials take time and money. Write down each step so you avoid surprise costs down the road.
Finishing touches add the extra style that brings your project together. Items like extra paint, trim, or decorations might seem cheap at first, but they can add up quickly. A clear cost breakdown helps you catch these expenses early.
Add a 10% buffer to your budget to cover any unexpected costs, like extra wall repairs or sudden price increases in materials.
- Materials: Write down every item, both large and small.
- Tools: List all equipment and decide whether to buy, borrow, or rent.
- Prep work: Plan each task carefully and note any necessary safety steps.
- Finishing touches: Include extra design details that complete your space.
Creating Your DIY Project Snapshot for Accurate Cost Breakdown

In just five minutes, you can set the stage for your project. Write down a short list of the tasks you need to do. For example, if you plan to repaint your living room and update your shelves, jot those tasks down. This quick list gives you a clear view of your project and helps you plan your budget without long hours of work.
Start by writing out the main tasks you need to complete. Ask yourself what needs to happen before you buy your supplies and which steps might need special tools or extra help. Write down things like cleaning surfaces, measuring rooms, or planning a special design feature. This simple plan helps you decide which tasks to price right away.
By planning several projects at once, you might even catch a sale. For example, if you list a kitchen update along with patio improvements, you can look for bulk deals or seasonal discounts. This snapshot works as a handy guide to estimate your overall home project costs.
Follow these steps to create your DIY project snapshot:
- List all the major tasks.
- Write down the finishes and extra details you want.
- Use your list to set accurate cost estimates.
Materials Cost Evaluation and Expense Categorization
Start by making a complete list of everything you'll need. Include big-ticket items like lumber, flooring, and cabinetry along with smaller supplies such as screws, adhesive, paint, and gloves. Even small items can add up if you don't track them.
Break your list into two groups: major materials and extra supplies. Major materials are the items that cost the most, if you're remodeling a living room, think of flooring and large furniture as major items. Extra supplies are the smaller bits like nails or a spare can of paint that you might easily forget.
Follow these steps to keep your spending in check:
- Write down every material you need.
- Note the cost of each item. Include tax and delivery fees when needed.
- Group the items into major materials and extra supplies.
- Look for discounts or consider repurposed supplies to save money.
For example, if you need 10 gallons of paint and several bottles of adhesive, record the cost per gallon and compare prices at local outlets or online. If you're looking for budget-friendly options, check out this guide on repurposed materials for DIY at how to find repurposed materials for DIY.
By organizing your materials this way, you can capture every expense and find spots to cut costs or invest a little extra where it counts.
Tools Price Comparison and Identifying Sneaky Equipment Costs
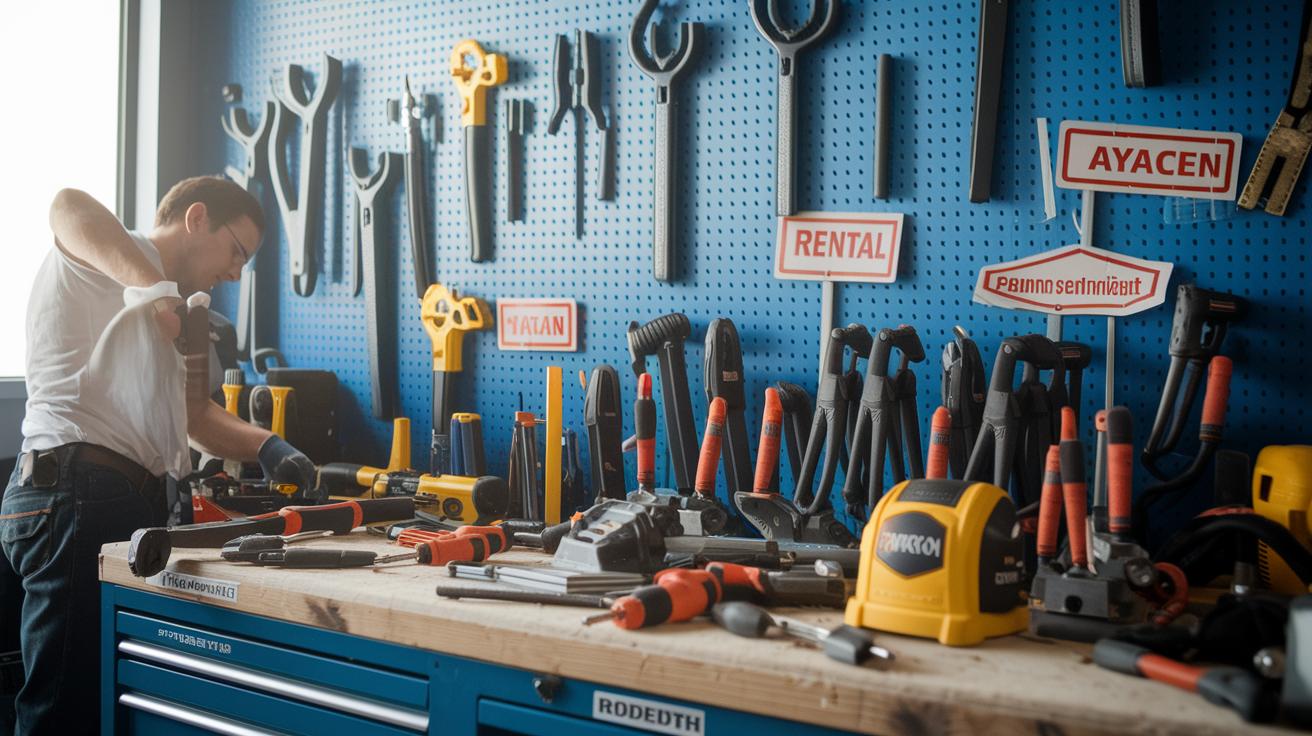
When you start a DIY project, tools often add up surprisingly fast. The cost of a power tool or a specialty item is usually just the beginning. Instead of spending too much upfront, take a moment to decide whether you should buy, rent, or borrow each tool based on your needs.
Begin by writing down every tool you might need. For example, a cordless drill is useful for many projects so buying it makes sense if you will use it a lot. On the other hand, if you only need a tile cutter for one job, borrowing or renting could save you money. In one case, renting a special saw can cost nearly half of what buying it would.
Follow these steps to compare your options:
- List each tool and note if it is needed just once or for multiple projects.
- Check with local tool rental shops and ask friends or neighbors if they can lend you the tool.
- Compare the cost of buying the tool to the rental fee for the time you need it.
- Think about how often you will use the item. For frequent use, purchasing may be the better deal.
By reviewing your options side by side, you can clearly see which tools are worth buying and which ones are best rented. This careful planning can help you cut costs and keep your DIY project on budget.
Estimating Labor and Overhead for Your DIY Project Breakdown
First, set a value for your time. Treat it as a cost like hiring a helper. Most people value their time at about $20 to $40 per hour. If a job feels too tricky, check contractor rates and note their hourly fees so your budget covers everything.
Next, list all extra costs that come with the project. These overhead expenses include permit fees, waste removal, and cleanup after the work. They can pile up fast if you do not track them.
Follow these steps for a complete cost breakdown:
- List each task and decide if you will do it yourself or hire a contractor.
- If hiring help, write down the expected hours along with the hourly rate (for example, 10 hours at $30 per hour).
- List every overhead cost, such as permit fees, waste disposal charges, and cleanup costs.
- Set aside extra money to cover any unexpected expenses.
By tracking both your own time and the extra costs, you create a clear picture of your DIY project's total expense. This simple method helps avoid surprises and makes sure every dollar is accounted for.
Building a Buffer: The “Oops Fund” and Contingency Strategies

If you have already planned a 10% extra cost, this section shows you how to fine-tune that plan with helpful advice and clear examples for unexpected expenses.
Here is the basic approach:
- Add up all your project costs.
- Multiply that total by 10% to cover unexpected issues.
- Include this extra amount in your overall budget.
For projects with a higher chance of surprises, try these extra steps:
- Divide the extra 10% into two parts: use 5% for small extras like a bit of extra trim or paint, and 5% for bigger problems like wall repairs or extra garden soil.
- Check your budget as the work goes on. If you notice problems early, you can move funds from the small extra to cover a larger fix.
- Look at real numbers to decide how much you need. For example, one DIYer discovered that a simple bathroom update ended up needing an extra $150 for unexpected leaks, which went beyond the normal 10% cushion.
These tips help you manage your extra fund and make adjustments as your project develops.
Strategies for Cost Management, Savings, and Comparison Shopping
When planning a DIY project, keeping an eye on costs saves both time and money. Write down your upcoming projects so you can catch deals and time your purchases well. For instance, one homeowner saved big by buying brick patio materials at 50% off. Deals like these can take a major cost out of your project.
Sales events like a buy-one-get-two-free offer on frames lower your costs quickly. Keep a list of finished projects and check local ads or store flyers to spot discounts early. Compare prices at local shops and even look at second-hand options like thrift stores. You might find the same quality lumber for a few dollars less elsewhere.
Try these steps:
- Keep a project list to plan your buys.
- Watch for sales and act fast.
- Compare prices across several stores.
Using these ideas, you can keep your expenses low and get the most from every dollar. Smart budgeting today means more funds saved for your next DIY project.
DIY Project Cost Breakdown Worksheet and Template for Accurate Tracking

Use a cost breakdown worksheet to capture every expense clearly. Create a simple, customizable template with columns for category, item, quantity, unit cost, total, and status. For example, you can list categories such as materials, tools, labor, and finishing touches. Next, record the item next to its category, note how many you need, list the price per unit, and calculate the total cost for that line. Update the status as you buy or complete each part of your project.
Real-time tracking helps you see at a glance if you are staying on budget. Whether your DIY project is small or a bit more complex, a detailed checklist allows you to monitor spending and make quick adjustments. A well-made worksheet ensures you spot even small expenses. Extra screws, additional paint, or unexpected fees all become clear with careful record keeping.
| Category | Item | Quantity | Unit Cost | Total | Status |
|---|---|---|---|---|---|
| Materials | Paint | 3 | $25 | $75 | Pending |
For more details, check the DIY project planning example at TheOriented.com.
Final Words
In the action, we broke down every element of managing your home project budget. We explained how to map your project snapshot and track materials, tools, labor, and even a contingency fund. Knowing each expense lets you stay organized and avoid surprises. Using a detailed diy project cost breakdown can help you complete your project on time and within budget. Take these steps at your own pace and celebrate the progress along the way. Happy building!
FAQ
Q: What is a DIY project cost breakdown template or calculator?
A: A DIY project cost breakdown template organizes expenses into categories. It adds up costs for materials, tools, prep work, finishing touches, and includes a 10% contingency for surprises.
Q: How do dedicated cost calculators like those for wire fence, brick driveway, or drywall finishing work?
A: These cost calculators let you input dimensions and unit prices, quickly computing total expenses so you can budget and compare different project elements.
Q: What are the five types of project costs?
A: The five types of project costs include materials, tools, labor, overhead, and a contingency. Each category helps you plan and track spending effectively.
Q: What is the cost breakdown structure for a construction project?
A: A construction cost breakdown covers materials, tools, labor, overhead expenses, and a buffer for unexpected costs to keep your budget in check.
Q: Does DIY actually save money?
A: DIY can save money by reducing labor expenses and letting you choose budget-friendly options. Careful planning and tracking help avoid unplanned expenses.
Q: What are some cool DIY projects I could try?
A: Cool DIY projects range from building custom furniture to upgrading rooms. They offer hands-on, practical approaches that let you work within your budget while improving your space.