

Ever wonder if your DIY display will really grab attention? Imagine a setup that lights up with a hidden spark of charm. With a bit of smart planning and simple design tips, you can create a display that naturally draws people in. This guide will show you how to plan your booth, set up your tables to welcome visitors, and add playful details that turn a basic setup into a true work of art. Let’s dive in and learn the practical steps to bring your DIY showcase to life with a touch of magic.
Essential Tips for Creating a DIY Project Showcase
Start by planning ahead. Check all the details. Measure your booth or table sizes. Look into options for tents and electric access. Write down specifics, like "The tent is a 10×10 and setup starts at 8 AM." Set aside about 2 hours for installation, but expect extra prep time since things can take longer in real projects.
Next, arrange your tables in a curved U-shape or V-shape. This shape guides visitors naturally toward your display. Imagine your layout like a gentle curve that invites people to explore. Cover any hidden storage by draping a floor-length white sheet (a twin or halved queen size) over the tables. This simple cover turns a messy area into a neat and boutique-like space.
Build interest by mixing up heights. Use common items like upside-down boxes, laundry baskets, or bins to lift your display. Group items in sets of 3 or 5. For example, place 3 hand-painted frames together to make an eye-catching focus point.
Finally, add small decorative touches. Include faux plants or pine sprigs to create a warm and inviting feel without overcrowding your setup. Capture your progress with your smartphone. Take before-and-after photos, bird’s-eye snaps from a ladder or drone, ground-level shots, and close-ups. Try to shoot during both day and night with a steady frame. Wide-angle photos work well to show how your project sits in its space.
Planning Your DIY Project Showcase
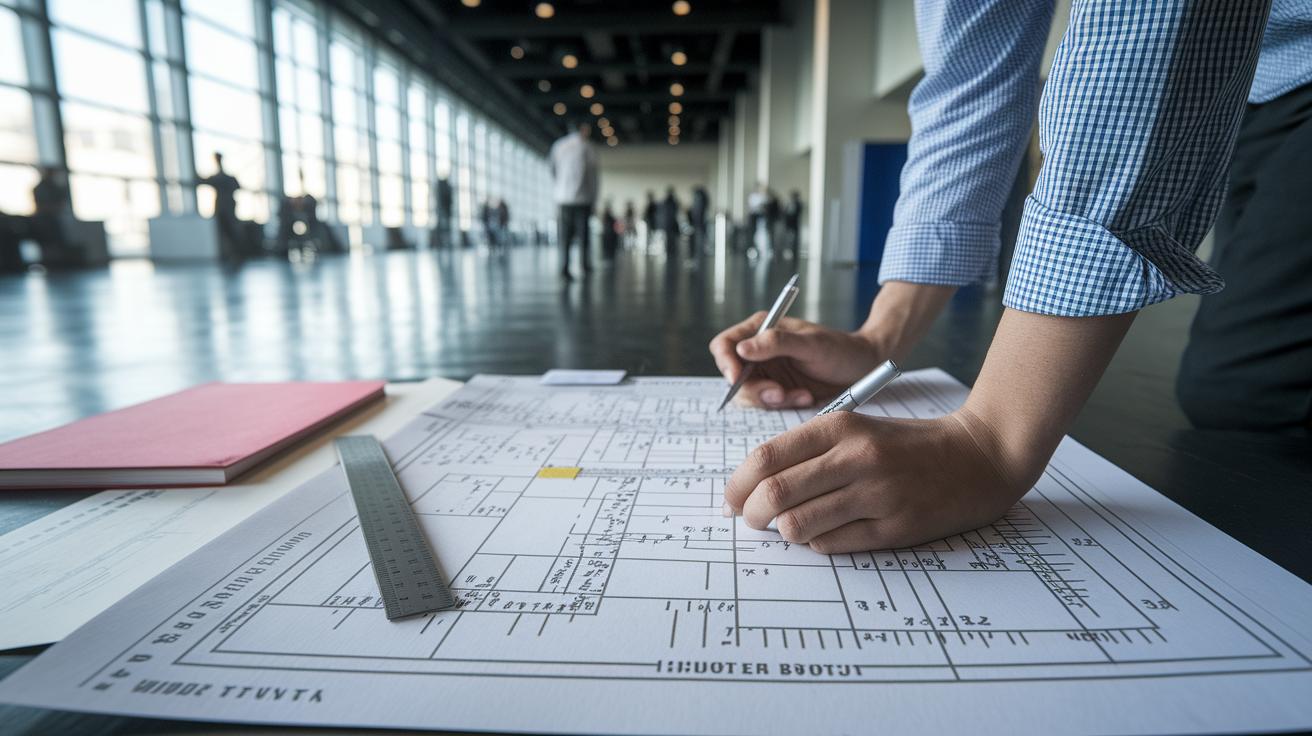
Start by checking every detail about the venue. Measure your booth or table and note the size. Look for available tents, confirm electric hook-ups, and know when you can set up. Write details like "10×10 booth; access at 8 AM." This clear information forms the backbone of your plan.
Next, make a checklist of every task. Write down all the steps even if they might take longer than expected. For example, add a note that table covers or extra lighting might require extra time. Always allow a little buffer for delays.
Then, set up a timeline that begins at least one week before the display day. Break your project into daily tasks. One day you can confirm the tent setup; another you can gather supplies. Listing tasks like this makes the process easier to follow and adjust.
Keep track of your spending with a simple budget tracker. List costs such as materials, rental fees, and extra expenses. This helps you keep an eye on where every dollar goes and alerts you if changes are needed.
Finally, use planning templates to organize your tasks, set deadlines, and assign responsibilities. A clear schedule not only reduces last-minute rushes but also makes the project more fun. For example, create a chart that links tasks to specific time slots.
If you need a quick start, try a DIY project planning template or a step-by-step guide on scheduling. These tools can simplify your process and keep you organized from start to finish.
Designing a Visual Layout for Your DIY Project Showcase
Plan your layout by starting with a clear grid, then break the pattern with an unusual touch. Try grouping items that match and adding one piece that stands out. For example, display three vintage tools together and then add one modern tool to catch the eye.
Mix different textures and heights to add depth to your setup. Arrange boxes, risers, or shelves carefully to build layers. If your display feels flat, swap a riser for a basket that works both as storage and decoration.
When your display seems too busy, step back and adjust the crowded spots. One DIY enthusiast trimmed a cluttered table by removing half the items and adding open space with a single decorative accent. This small change improved the overall flow.
| Advanced Technique | Example Application |
|---|---|
| Modular Grid Layout | Sketch a grid before setting up to balance groups with open space |
| Asymmetric Focal Points | Group similar items and then place one standout piece alone |
| Layered Depth | Use risers and different shelf heights to add visual layers |
- Try mixing industrial styles with cozy touches.
- Use soft lighting to highlight key parts of your display.
- Rearrange your layout from time to time to keep it fresh.
Capturing Your DIY Project Showcase with Photography and Video
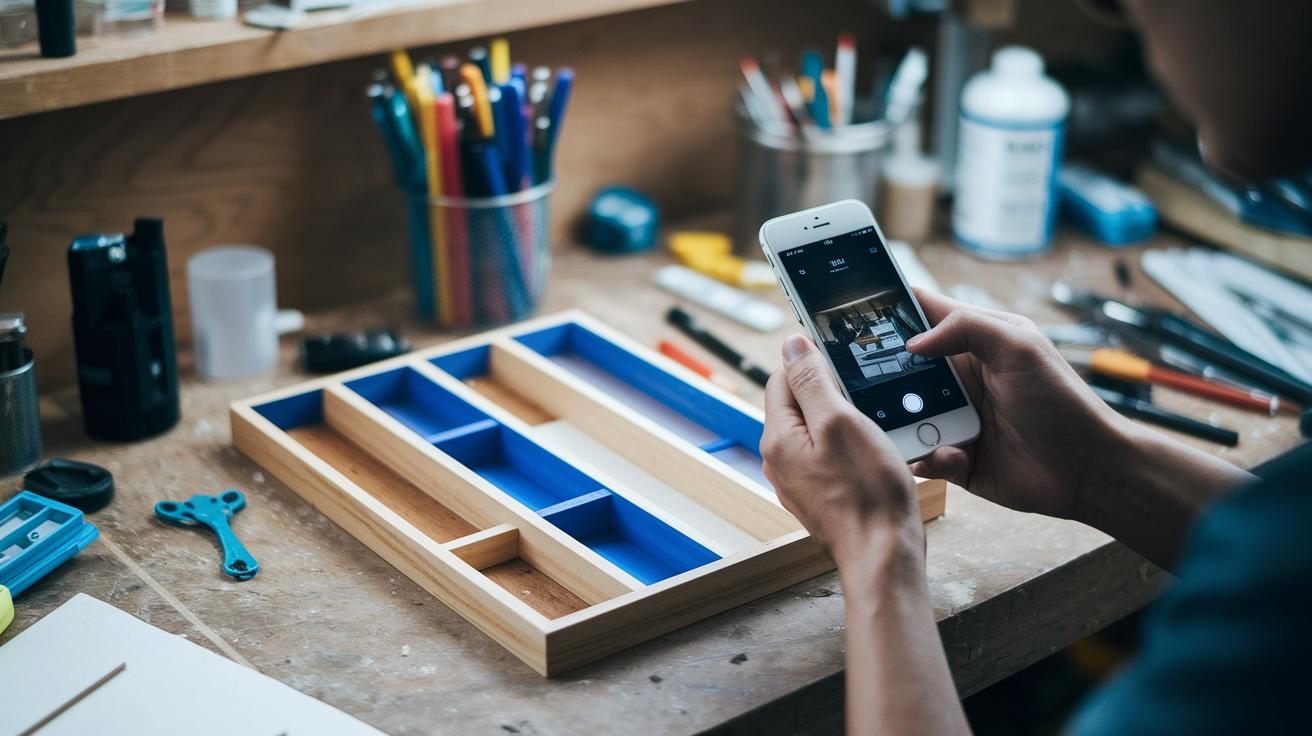
Record your DIY project using your smartphone. Start by snapping photos of your space before you begin. Then, capture the work at different stages and the final look. Try different angles. Take shots from above using a ladder or drone, get ground-level views to show scale, and use close-ups for the finer details.
For a polished set of photos, shoot both in daylight and at night. Use a wide-angle lens if possible to capture more of the scene. A quick tip: adjust the white balance in a free editing app to keep the colors consistent.
- Snap clear before and after images.
- Use varied angles: from above, ground level, and close-ups.
- Include wide-angle shots for context.
- Record in both natural and low-light settings.
Promoting Your DIY Project Showcase Online and Offline
Keep your portfolio current by giving each project a clear title and short description. This helps visitors see what you do at a glance. Use crisp, high-quality photos along with brief notes that explain the problem, the materials you used, and how the project turned out. A photo series showing the before and after works great.
Stay active on social media. Share quick clips, time-lapse videos, and behind-the-scenes moments of your work. This shows your process and helps people feel connected to your journey. For instance, you could say, "I had trouble getting the finish right until I found a neat trick. Here's what happened." These real moments build trust and make your work relatable.
Also, gather and show off positive feedback like client comments. A simple note such as "looks very nice" adds extra trust and social proof. To reach more people, join local craft fairs or maker meetups, and hand out business cards or flyers with QR codes that link to your portfolio. This simple step connects your online presence with in-person contacts.
Evaluating and Refining Your DIY Project Showcase

Start by asking your visitors for feedback. Use a website comment box or on-site feature. For instance, you could note, "A visitor mentioned that the new grouping really shows off the pieces." This kind of input gives you clear, real-time insights.
Next, check your social media for likes, shares, and comments. See if a particular grouping or design element draws more attention. When it does, try tweaking your layout to boost its appeal.
Then, step back and review your display in person. Look for empty spots or areas that feel too crowded. One designer said, "Placing items too close made the space feel cramped, so I added more gap and a riser for balance." Use these real-life observations to guide adjustments in your groupings, height levels, and signage.
- Gather impressions with comment boxes.
- Watch social media trends for clues.
- Inspect your display for gaps or overcrowding.
- Make changes based on the feedback.
Repeat this review after each event or update. This routine helps improve your showcase over time. Trust both the direct comments and your own observations to make small, steady changes that keep your display fresh and effective.
Final Words
In the action, you’ve learned practical tips for creating a DIY project showcase. We covered how to plan effectively, design a compelling layout, capture high-quality photos, and promote your work both online and offline. Small steps like grouping items neatly and using varied camera angles can make a huge difference.
Keep your approach simple and focus on clear presentation. Every tip here is aimed at helping you present your project in the best light while staying on time and on budget. Enjoy your next project!
FAQ
Q: What are tips for creating a DIY project showcase on Reddit?
A: The tips for creating a DIY project showcase on Reddit include planning a clear layout, snapping before-and-after photos, and explaining your process to invite community feedback and ideas.
Q: What project showcase examples work well at craft shows?
A: Project showcase examples that work well at craft shows include clean, themed displays with items grouped in odd-numbered sets, varied heights, and tasteful accents like faux plants to draw in visitors.
Q: How can I make my craft booth stand out and set up a 10×10 space effectively?
A: Craft booths can stand out by using creative table arrangements like a U-shape or V-shape, covering surfaces with neutral fabrics, and using varied display levels to highlight your items in a 10×10 space.
Q: What indoor craft fair set up ideas and display concepts can boost my booth’s appeal?
A: Indoor craft fair ideas include using tiered arrangements, neat groupings of items, storage concealed by clean table covers, and natural accents that create an inviting boutique feel.
Q: How should I display table runners at craft shows and organize my DIY showcase?
A: Displaying table runners well means using them to hide storage while keeping the display neat, and pairing them with strategically grouped projects to maintain a cohesive and eye-catching setup.
Q: What key elements make up an effective DIY project showcase?
A: An effective DIY project showcase features clear planning, an attractive visual layout with varied heights, neat groupings that create balance, and proper signage that invites visitors to learn more.
Q: How do I set up a craft show and successfully showcase my projects?
A: Setting up a craft show starts with researching booth dimensions and planning a detailed timeline, then arranging projects artistically with consistent visuals and promoting the showcase through social channels.