

Have you ever felt overwhelmed by home projects that seem to multiply overnight? A DIY project planning calendar can be a game changer. It acts as a guide for your day-to-day tasks. It breaks big projects into simple, step-by-step tasks with clear dates and deadlines. This tool gives you a daily checklist and a clear view of your week and month. With this calendar by your side, every project feels more manageable and each deadline is easier to meet.
DIY project planning calendar Fuels Project Success
A DIY project planning calendar is a simple tool that shows you each step needed for your home projects. It works like an itinerary, with set dates for tasks, deadlines, and supply orders. This tool helps you check your progress every day and see a clear view of your work for the week and month.
Start by marking your project goals on the calendar and then add dates for every action. Breaking big tasks into small steps makes the work easier to manage. A timeline view helps you see what to do and when, so you can avoid any unexpected delays by keeping all the details in one place.
Organize your work into daily check-ins, a weekly review schedule, and a monthly plan for the big picture. A clear timeline and visual time map let you track landmarks and deadlines as your project grows. With this DIY planning calendar, you have a reliable system that keeps everything on track and ensures every detail is covered.
Key components of a DIY project planning calendar
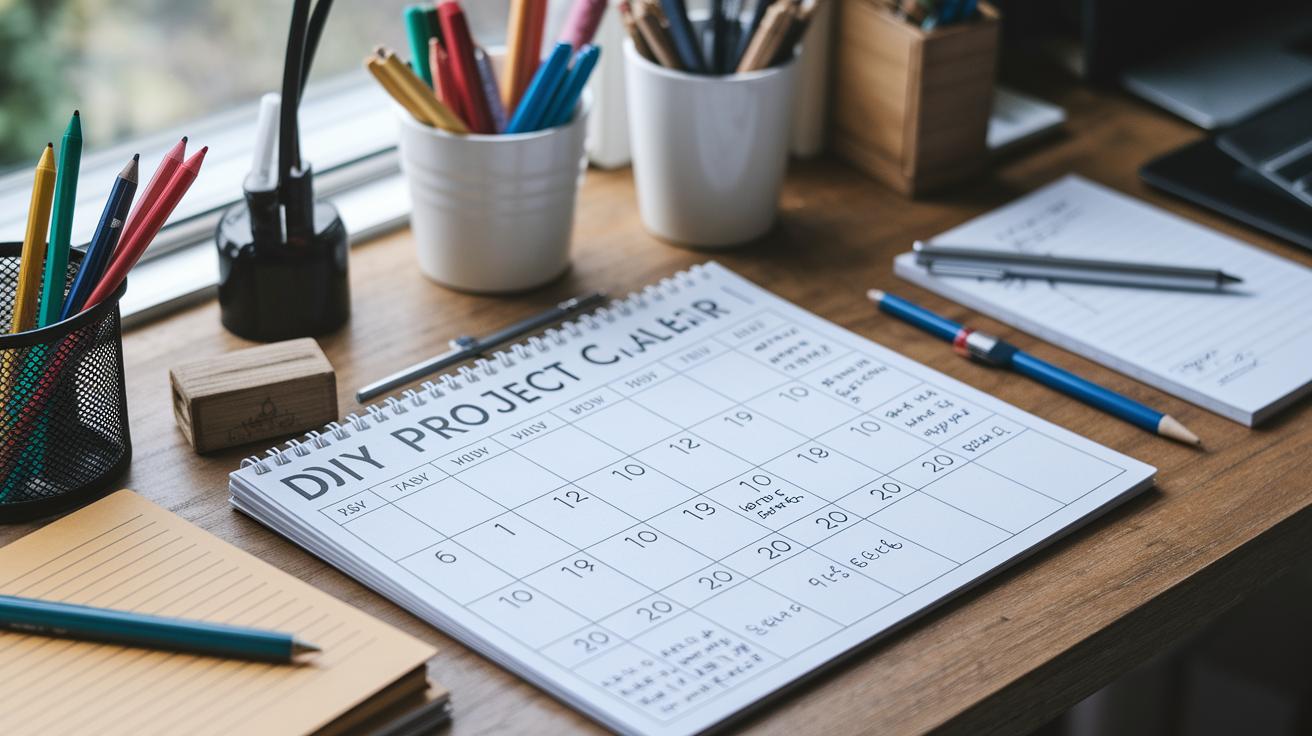
A good DIY project calendar helps you keep track of every little task from start to finish. You can plan out your project using simple sections like task lists, supply inventories, and deadlines. Many top planners use both one-page layouts for a quick look and multi-page versions for detailed planning. This way, you always know where your project stands.
You can list your tasks in one area and set deadlines so you stay on schedule. A supply list paired with a resource chart stops you from making extra trips to the store. You can also add a section for sketching ideas and another for notes so you never miss a detail. Tracking important milestones and what has been finished keeps everything clear.
Customize your own planning calendar with these six key elements:
- Project title and overview
- Date slots for scheduling tasks
- Task descriptions paired with set deadlines
- Supply lists with resource allocation information
- Milestone markers for important checkpoints
- Notes fields to record progress
This clear and simple setup makes your DIY projects feel less overwhelming as you move from planning to completion.
DIY project planning calendar templates: printable and digital formats
A DIY project calendar helps you keep track of tasks, deadlines, supplies, and time estimates. If you like the feel of paper in your hands, try a printable template. One-page planners show all your tasks and deadlines on a single sheet, while a five-page planner offers extra space. It might include an Inspiration page for quick sketches and a page for notes and detailed to-dos. This method lets you see your work at a glance and plan ahead without extra trips to the store.
Digital tools add a flexible twist. With digital planning software, you can update your calendar on the fly. Many tools let you drag and drop tasks, so you can easily adjust when plans change. Online systems also let you set reminders for deadlines and break big projects into smaller steps. Both printable templates and digital planners work well when paired with a solid project planning layout that fits your style.
If you want to get started quickly, check out the DIY project planning template at https://theoriented.com?p=98
Using your DIY project planning calendar for resource and milestone tracking

First, block out dates for every task in your calendar. Write down important supplies like paint colors, hardware, and measurements. This simple step helps you skip extra store trips and keeps your project running smoothly.
Next, mark key dates as milestones. For example, note when to order materials, begin prep work, and schedule inspections. This clear timeline helps you reach your goals. If plans change, adjust these dates as needed.
Then, add a checklist to track completed tasks. Checking off each job lets you see progress quickly. Break large projects into smaller, manageable steps and list them in order. This way, you can follow the flow of activities easily.
| Task | Date | Resources | Milestone |
|---|---|---|---|
| Order supplies | 04/15 | Paint, screws | Materials Ready |
Tips and best practices for maintaining your DIY project planning calendar
Take a few minutes each week to check your DIY project planning calendar. A quick review helps you spot what works and what needs an update. Use simple time management tips to look at your dates, tasks, and supply orders. This also lets you compare your planned time with how long tasks actually take.
Tick off tasks as soon as you complete them. This keeps your calendar current. When plans change, adjust your schedule right away using a clear time blocking strategy. Include extra days for unexpected delays to keep your timeline realistic.
Set priorities by listing your tasks in order of importance. Use deadline reminders to guide your work. Try these steps:
- Review your calendar every week.
- Update time slots based on your progress.
- Check off completed tasks.
- Allow extra days for any delays.
- Save old calendar pages to note lessons learned.
These habits, used by many DIY planners, save time and prevent common project headaches. For larger projects, consider a home renovation schedule template to better organize your work.
Final Words
In the action, you have learned how a DIY project planning calendar helps organize tasks, deadlines, and supplies. The post broke down the calendar's key components and explained both printable and digital formats. It showed you how to track milestones and resources with easy-to-follow methods. You also got useful tips to adjust plans and stay on schedule. Use these insights to create a custom DIY project planning calendar that keeps your projects on track. Keep going strong and enjoy the sense of accomplishment each step brings.
FAQ
Q: What DIY project planning calendar templates are available?
A: The DIY project planning calendar is available in formats like Excel, Word, PDF, and free printable versions. These templates help you list tasks, deadlines, supplies, and milestones in a clear, organized format.
Q: How do I create a calendar for a project?
A: Creating a project calendar means listing your tasks, deadlines, and supply needs. Start by choosing a format, fill in date slots, and mark key milestones to keep your DIY project on track.
Q: What program can I use to make my own planner?
A: Using programs like Excel, Word, or free online agenda systems lets you build and customize your own planner easily, giving you the flexibility to design a layout that meets your project needs.
Q: Is it cheaper to DIY a calendar?
A: DIY calendars can lower costs since you only invest time and basic materials. By creating your own planner, you avoid paying for pre-made versions while still keeping your projects well organized.