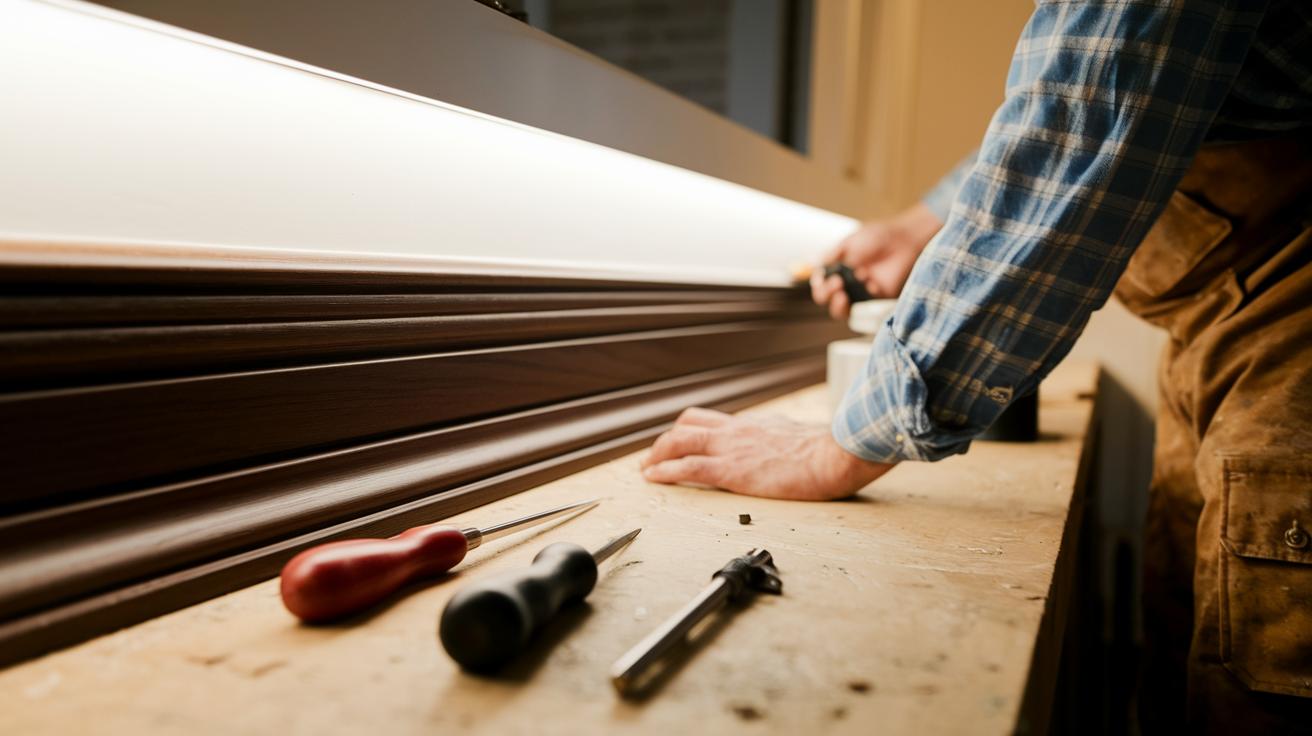

Ever thought a small change to your wall could completely refresh your room? With DIY wainscoting, you can create a custom look that adds style and may even boost your home’s value. This guide walks you through clear, step-by-step instructions and shares real tips on how to install your paneling. Imagine your room looking neat, stylish, and welcoming in just a few hours. With the right tools and a little care, you can achieve a professional trim look right at home.
Step-by-Step Panel Installation for DIY Wainscoting
Project Snapshot • 2–3 hours • $100–$300 (materials only, prices vary by region) • Intermediate • Tools: level, drill, nail gun, sanding block • Safety: Wear eye protection and follow tool instructions
- Installing wainscoting can give your room a fresh, custom look. It may even boost your home's resale value. One homeowner earned an extra $10,000 over the asking price with this upgrade.
- Guidelines suggest mounting the wainscoting at one-third of an 8-foot wall (about 32 inches). Many prefer using 36 inches because it offers a more balanced look and a classic feel.
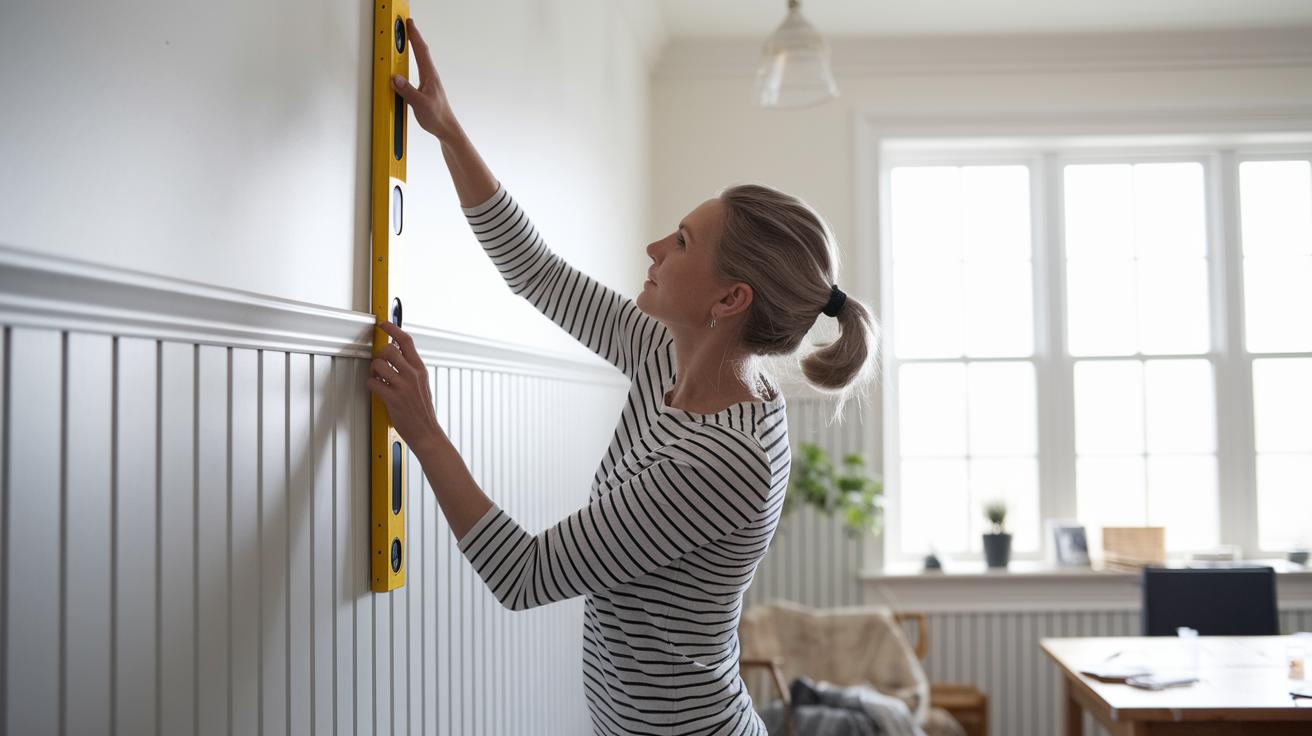
- First, install the chair rail at 36 inches from the floor. Use a level to draw a straight line around the room.
- Next, attach the perimeter boards along the edges to frame your workspace.
- Then, secure the vertical boards. These stiles (vertical pieces) will hold the design together.
- Add the horizontal boards to complete the structure. They help set the stage for the panel inserts.
- Now, take your panels (such as picture-frame molding or another style) and dry-fit them. Make sure they sit flat and even.
- Once the panels are in place, attach the base molding. This defines the bottom edge of your wainscoting.
- When all parts line up nicely, sand the surfaces to smooth out any rough edges or seams.
- Fill in nail holes and small gaps with wood putty until you have a uniform surface.
- Finally, brighten your work with a fresh coat of paint. This seals the details for a neat, professional trim finish.
Follow these steps for a precise installation and a polished final look that rivals a custom wood trim project.
Materials & Tools for DIY Wainscoting Projects

For your DIY wainscoting project, start with these core materials: eight 1×6×12' MDF boards (they cover two foyer walls), base molding, chair rail, casing molding, and panel inserts or picture-frame molding. You can also choose extra items like board and batten strips, beadboard panels, or PVC cladding if you work in areas with high moisture.
| Material | Quantity |
|---|---|
| MDF boards (1×6×12′) | 8 pieces |
| Chair rail | As needed |
| Base molding | As needed |
| Panel inserts | As needed |
| Caulk | 1 tube |
| Wood putty | 1 container |
Next, gather the tools you will need. Use a miter saw and a brad nailer (or rent a nail gun if you prefer). Also get a miter box with a hand saw as a backup, and an electric sander (a mouse sander works just as well). In addition, you will need a level, a tape measure, a protractor, and a caulk gun to make sure every piece fits smoothly and accurately. For more details, check the full home improvement tools list at https://theoriented.com?p=. Local home improvement stores can also show you tool rental options that keep your project both affordable and efficient.
DIY Wainscoting: Transform Your Space Boldly
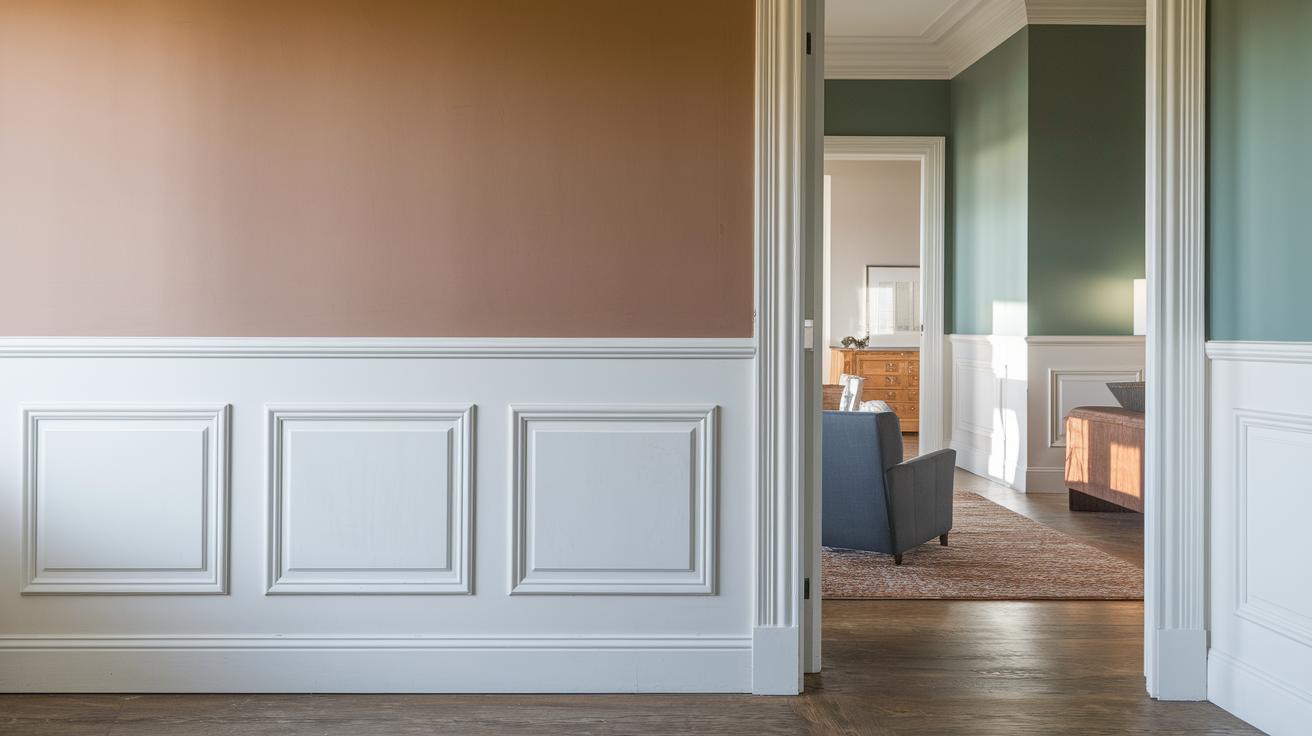
When you start your wainscoting project, pick a trim style that fits your home's look. For older homes, a classic colonial trim works well. For newer spaces, simple, modern boards give a neat, clean look. You can even use homemade wall paneling to match your taste. Try placing a small, upside-down trim piece between the panel top and chair rail. This little detail adds a fresh twist that makes your room look finished.
- Match the trim style to your home for a balanced look.
- Choose colors that make the panels and walls stand out.
- Keep the panel spacing even for a neat appearance.
- Add a layered trim detail, like the upside-down piece, for extra depth.
- Think about moisture if you work in a humid area.
Before you begin, mark your wall with chalk lines or painter's tape. This helps you set the panel dimensions right away. It also lets you see how alternating wide and narrow panels will look. You can use ready-made panel kits or custom-cut wood trim based on what you need. For best results, use a DIY planning template to check your measurements and make the most of your materials.
Cutting & Fitting Panels in Your DIY Wainscoting
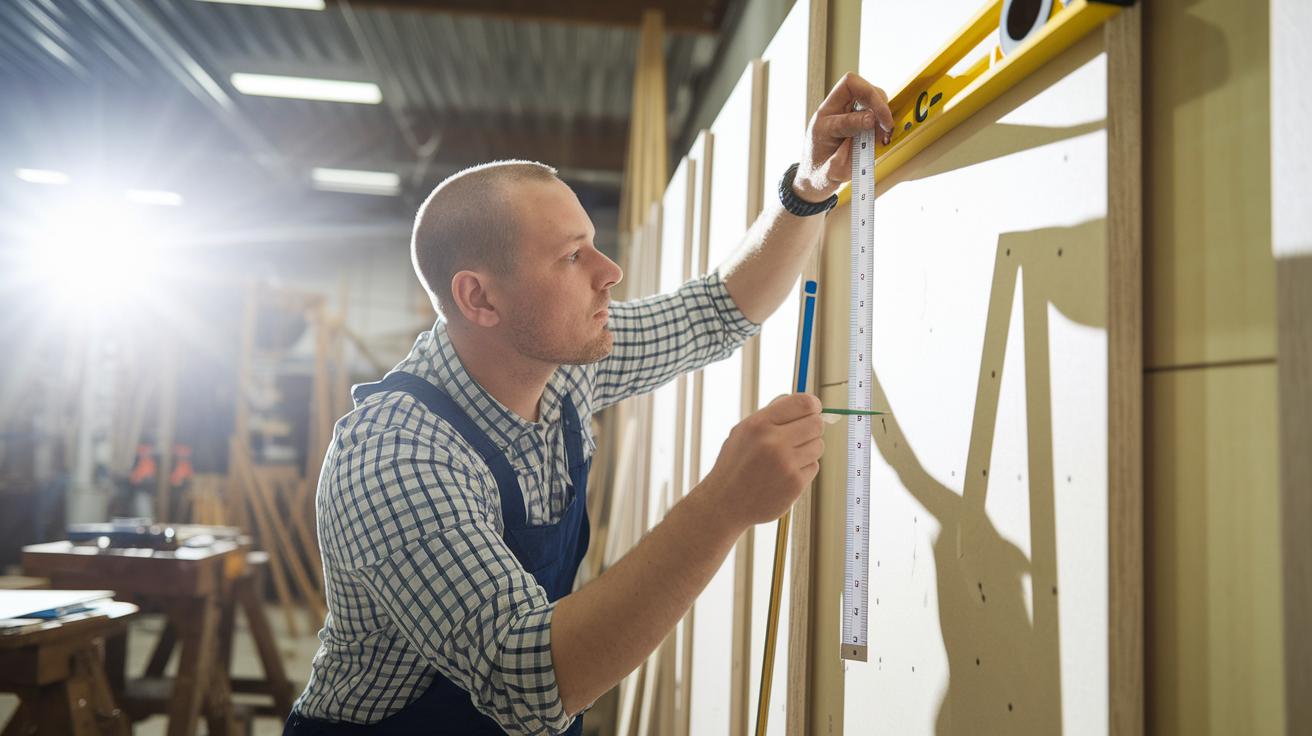
Start by measuring where your panels will go. Use a level to draw straight lines on the wall. With a tape measure and pencil, mark the top and bottom of each panel. This helps each piece line up right so your finish looks professional.
Measuring & Marking Angles
Hold a level next to a protractor to set your miter angles. Draw your vertical lines and mark where the panel edges will meet. To get a perfect miter cut for wide angles, divide the large angle by 2 and subtract that number from 90. For instance, if your angle is 110°, half of that is 55°. Subtract 55 from 90 to get 35°. This method makes the pieces fit together without any gaps.
Making a Saw Guide
Next, build a saw guide for steady and accurate cuts. Set your miter saw with a zero-stop at 45°. Then, subtract your required angle from 45°. For example, if you need a 25° cut, set your saw to 20°. This simple adjustment keeps your cuts consistent and saves time on repeated angles.
Dry-Fitting & Assembly
Before you nail anything down, dry-fit all the panels and stiles. Check that they are straight and that the spacing is even. Once you are happy with the fit, use a brad nailer to secure them. Dry-fitting lets you fix any misalignments early so the final assembly is smooth and gap-free.
Taking the time to measure carefully, mark correctly, and dry-fit each piece helps ensure a clean, professional look that will last.
Finishing Techniques for DIY Wainscoting: Painting & Caulking
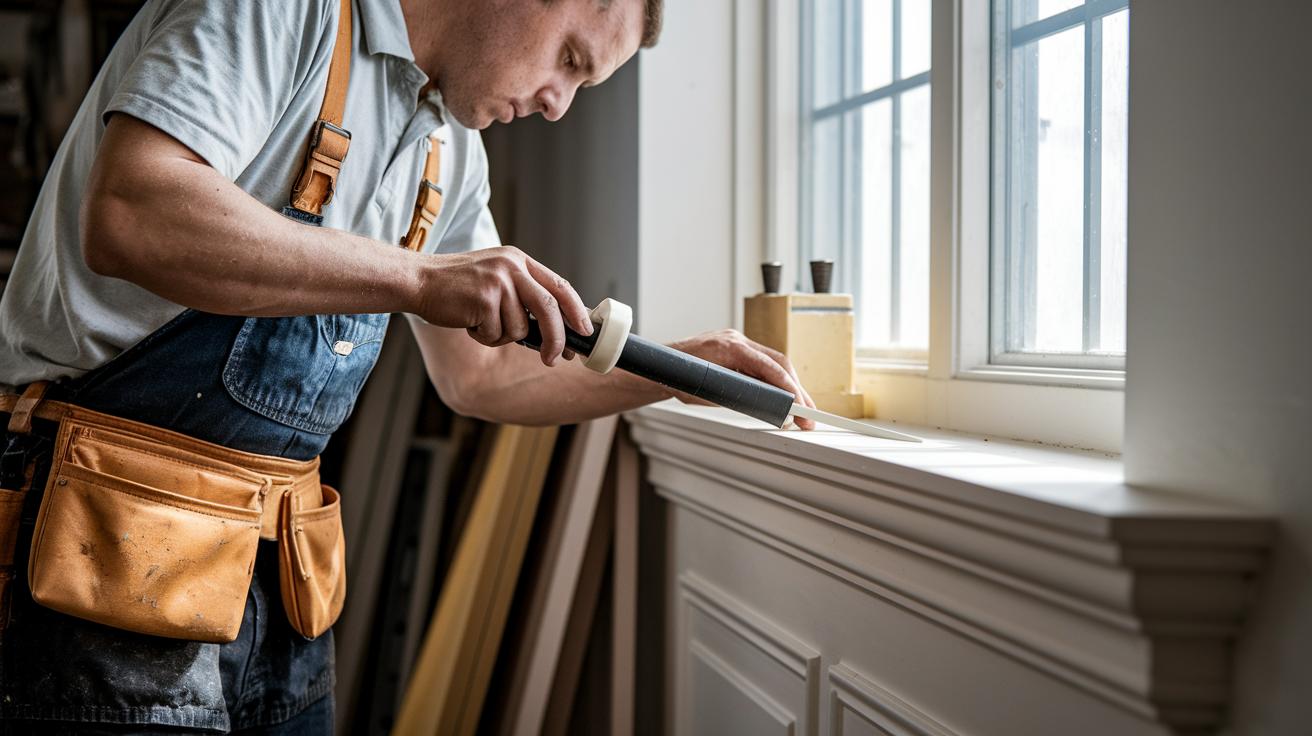
Start by filling all seams and nail holes with wood putty. Let the putty dry completely, then sand it lightly until the surface feels smooth. For example, if you fill nail holes on a trim board, wait about 30 minutes before sanding to get a clean finish.
Next, work on caulking. Use a bathroom-grade caulk around all panel seams and along the edges. This caulk is made to stretch with humidity changes so it stays intact without cracking. Slowly run your caulk gun along each seam and smooth the line with a wet finger to create a neat bead.
Finally, prime and paint the wainscoting for a professional look. Start by applying a high-quality bonding primer made for wood or MDF. This helps the paint stick well and last longer. After the primer dries, choose your finish. You can opt for a urethane alkyd enamel if you need a tough finish or a premium interior latex paint if you prefer an easier application. Make sure each coat goes on evenly for the best result.
Cost, Time & Troubleshooting for DIY Wainscoting
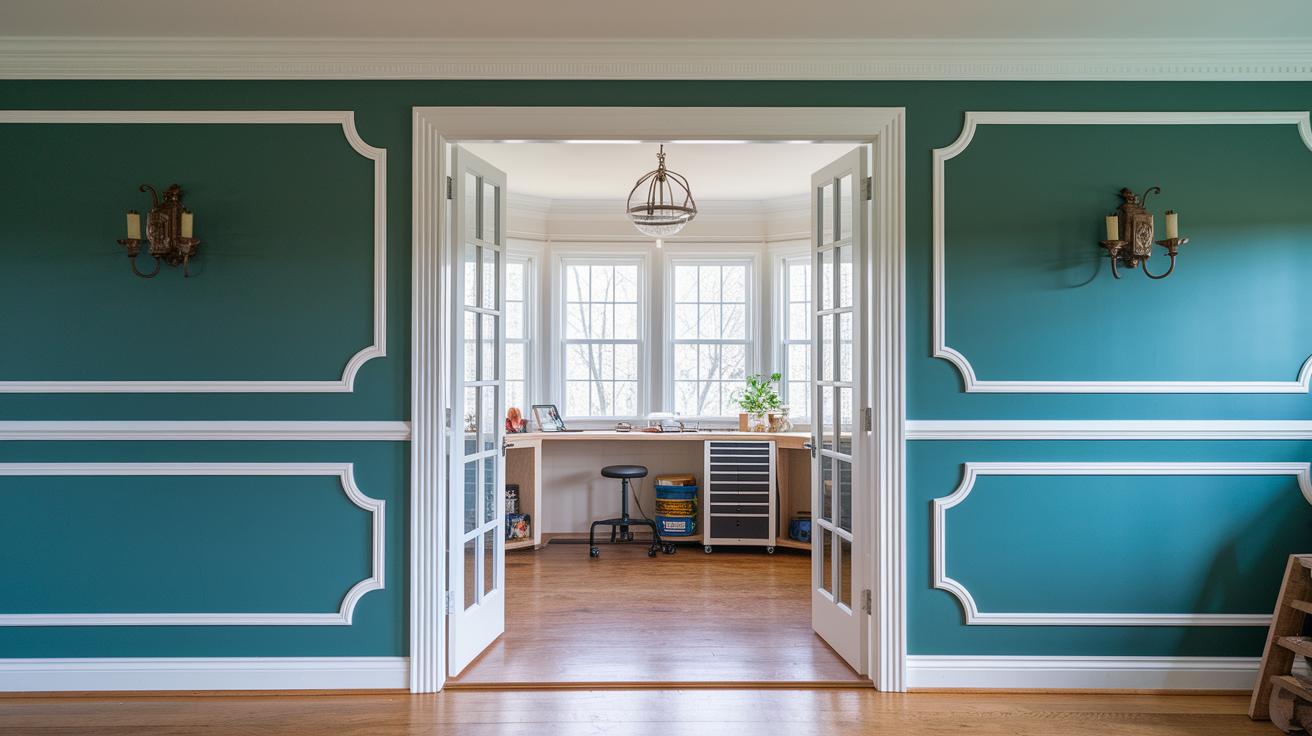
DIY wainscoting is a smart way to update your trim without spending a lot. You can cover two foyer walls with MDF panels and trim for under $500. This is a huge saving compared to builder-grade work that could cost nearly $30,000. A cost calculator can help you plan your budget and avoid surprises.
The project is perfect for a weekend. You can finish installing in about 2 days. Then allow an extra day for putty, caulk, and paint to dry. In total, you are looking at 3 to 4 days. Cutting all your molding and panels before you begin will make the process smoother.
If you face issues like uneven cuts, misaligned panels, or visible gaps, it helps to revisit your measurements. Sand any rough spots and add extra caulk where needed. Working in smaller sections lets you dry several areas at once, reducing downtime and helping you achieve a neat, professional look.
Final Words
in the action, we covered planning, measuring, cutting, and finishing techniques. You learned how to set chair rails, level your panels, and caulk seams without fuss. The guide walked you through design ideas and troubleshooting steps to keep your work neat and on track. We showed you how a careful approach turns a DIY project into a custom wood trim project that adds lasting style. Enjoy each step and keep experimenting, every bit of work brings you closer to that professional finish with diy wainscoting flair.
FAQ
DIY wainscoting Kit
The DIY wainscoting kit provides a complete package with pre-cut pieces and clear instructions. It simplifies installation by including all necessary components, ensuring a smooth and cost-effective home upgrade.
DIY wainscoting ideas for various rooms
The DIY wainscoting ideas work well in multiple spaces like bathrooms, bedrooms, half walls, and accent walls. They offer creative designs that boost your room’s charm and add a polished look to your walls.
DIY wainscoting materials
The DIY wainscoting materials include MDF boards, chair rail, base molding, panel inserts, and caulk. They deliver a ready-to-use set of supplies that streamline your project and create a neat, finished appearance.
Is wainscoting easy to DIY?
The idea that wainscoting is easy to DIY holds true when you follow detailed, step-by-step instructions and use basic tools. It fits well for those who take measured steps and plan carefully throughout the process.
What is the golden rule for wainscoting?
The golden rule for wainscoting is to ensure all elements are aligned and level. Accurate measurements combined with consistent spacing help prevent misalignment and gaps, resulting in a sturdy design.
What are the common wainscoting mistakes?
The common mistakes in wainscoting include uneven cuts, misaligned panels, and gaps at transitions. Avoid these by measuring twice, dry-fitting all pieces, and checking frequently that each component is level.
What type of wood do you use for wainscoting panels?
The type of wood for wainscoting panels is often MDF for its affordability and smooth finish or hardwood for durability and a classic look. Your choice should depend on your budget, room use, and design style.