

Have you ever thought that a good plan can save you time and money on your DIY projects? A clear plan works like a map that guides you through every step. It helps you manage your budget, take down old materials, and add the finishing touches neatly.
With a strong plan in hand, you can dodge mistakes and build up your confidence as you turn ideas into real results. This guide walks you through how to plan your project, lighting a spark of inspiration and setting you up for success along the way.
DIY Project Planning Roadmap: Step-by-Step Essentials
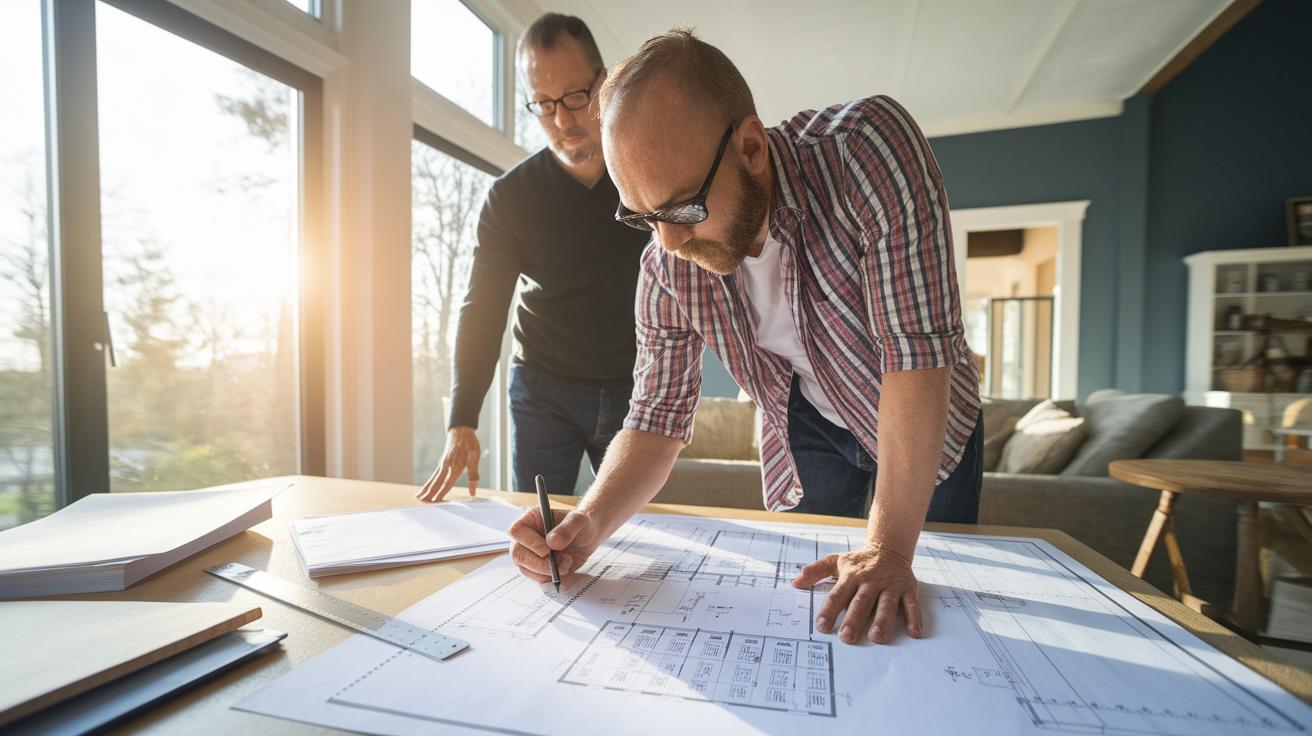
Start every big DIY project with a clear plan. Write a blueprint that shows what you will change, remove, or replace. Check if you need permits. A clear plan helps you avoid mistakes and saves time and money.
Think of your plan as your guide. Use paper and pencil or try a printable planner like the Essential Project Planner. Begin with a rough list of tasks such as demolition, buying materials, and final touches. For example, note down tools, estimated costs, and time for each step. This list helps you stay on track.
Take a few days to review your plan. Let your ideas grow before you finalize the details. This way, you can match the project to your skills and resources. Treat each section, from budgeting to scheduling, like a mini checklist.
Before you start, check your work for any missing steps. Make sure every phase, from ordering supplies to securing permits and planning tasks, is clear. This careful check not only makes the work smoother but also boosts safety and confidence. When you’re ready, you can download the DIY Project Planning Template to polish your plan.
DIY Project Planning: Defining Your Scope and Goals
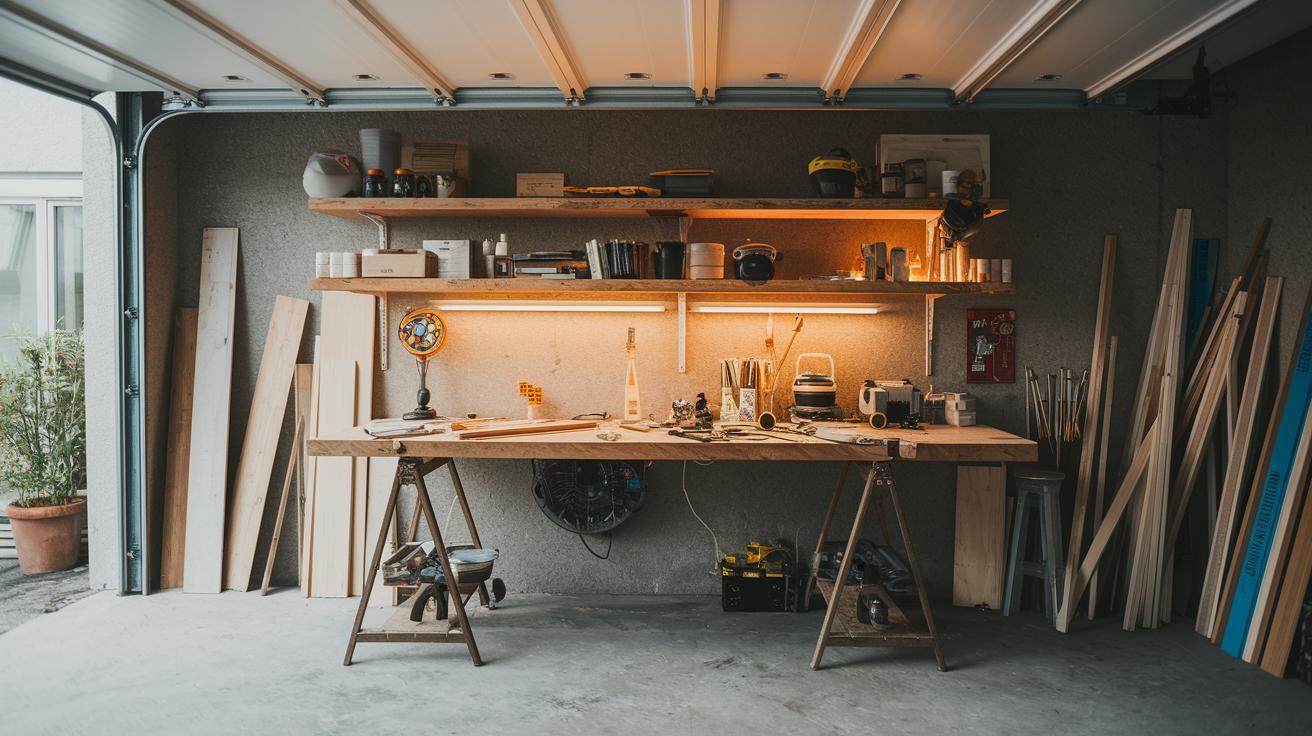
Start by looking at all your options before you settle on one design. Ask yourself if it might be better to refinish old fixtures rather than replace them completely. Think about reusing materials. For example, you might turn old floorboards into shelves or use scaffold boards to build a custom table. This way, you can save money and add a personal touch to your project.
Now, answer a few key questions. Is this work something you can do with your current skills? How complicated might the project become? What kind of space do you have available? Write down the tools you will need, whether you plan to buy, rent, or borrow them, and don any required safety gear. For example, start your draft with a question like: "Can I handle electrical work or should I ask for help?" This will help you understand your strengths and limits.
Give your ideas a few days to settle before you finalize your plan. This break lets you refine your goals and set clear milestones. Taking time to think through your plan now will help you move on to budgeting and scheduling later with confidence.
DIY Project Planning: Budget Estimation and Cost Control
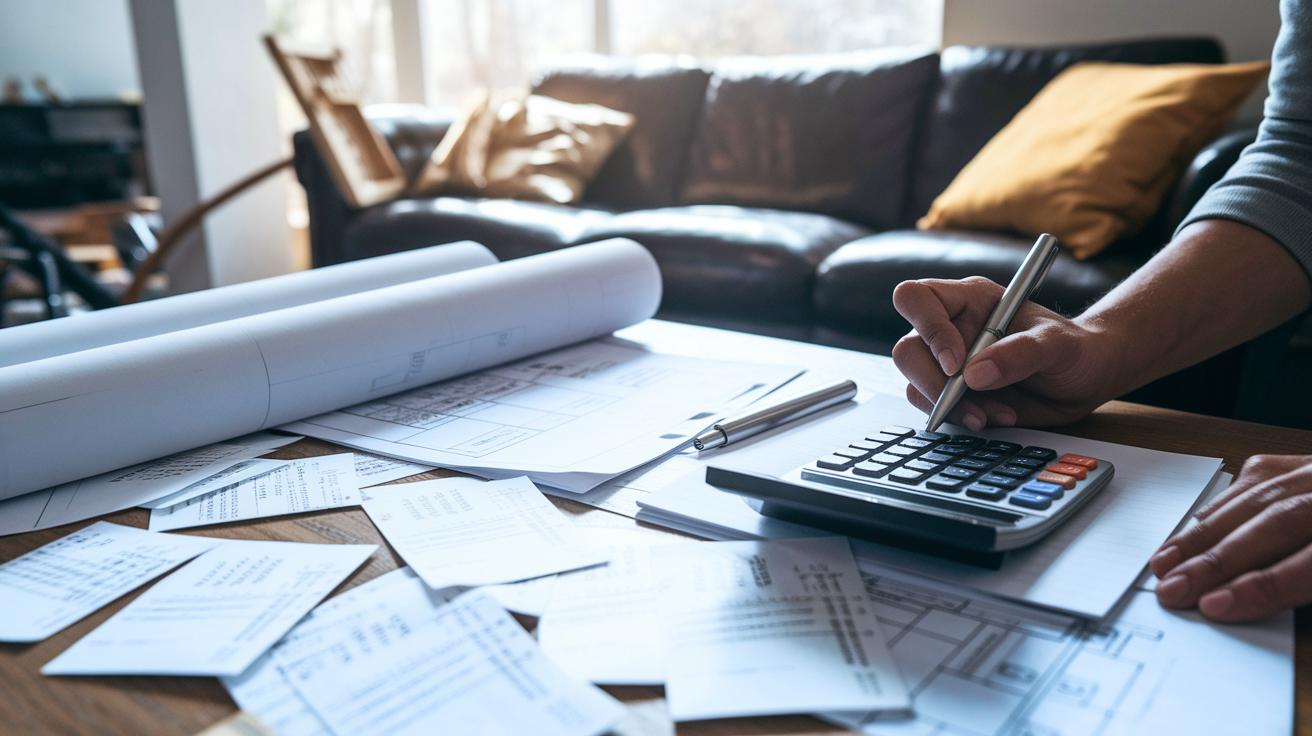
Start by listing every expense. Write down the cost for materials, tool rentals, permits, and even professional services like plumbing or electrical work. If you need a new water heater or a licensed electrician, note their prices separately. This clear list gives you a good starting point.
Next, add 20% extra to your budget. This extra amount covers surprises like upgrades or more materials than expected. For example, if your total comes to $500, set aside an extra $100.
Keep track of your spending as the project goes on. Compare quotes from different suppliers, look for bulk-buy deals, and compare your planned costs with what you actually pay. A detailed record can help you find savings along the way.
Plan your purchases in order. Think about how long you will need to rent larger items and list tools that can be borrowed instead of bought. For example, if a neighbor has a power washer you can borrow, take note of that option to lower your costs.
Review your budget regularly. Update your expenses and adjust your plan as needed. A practical budgeting system keeps your DIY project on track both financially and in planning.
Check out the Essential Home Improvement Tools List for tips on smart tool purchases and rentals.
DIY Project Planning: Timeline Creation and Scheduling

Start by making a clear timeline for your project. Break down every step so you can see when to order materials, rent tools, apply for permits, and schedule inspections. Plan a week to order supplies, then use the next week to manage permits, inspections, and deliveries.
Drawing a simple schedule can really help. You might use a Gantt chart or just mark dates on an analog calendar. For example, sketch a timeline and note when tasks like ordering materials or booking inspections should happen. This view helps spot overlaps and makes sure no task is forgotten.
Many DIYers run out of time because tasks take longer than expected. Spend a few days checking your plan to get the timing right. Write down important milestones and match them with your available time or your helpers' schedules. Here are some steps to consider:
- List all tasks from start to finish.
- Give each task a start and end date.
- Note any tasks that depend on others, like needing a permit before starting demolition.
- Compare tool rental dates with your schedule to avoid overlap.
- Set reminders for key milestones.
Keep your timeline flexible. If delays happen, adjust your plan with the new dates. This organized approach avoids last-minute rushes and makes sure every step happens in the right order. Use a schedule management tool to track your progress, and check out a Home Renovation Project Schedule Template if you need a visual guide.
DIY Project Planning: Task Breakdown and Resource Allocation

Start by splitting your project into small, clear tasks. Think of the work as steps, like demo, prep, assembly, finishing, and cleanup. Breaking things into parts makes it easier to handle and keeps you on track. For example, list your demo tasks (such as taking out old fixtures and preparing surfaces) before you start putting pieces together.
Pick a planning method that fits you. Some DIYers like using post-it notes that can be moved around easily, while others prefer a bullet journal to keep tasks organized on paper. Write each task down and include important details:
- Prerequisites: What must be done before you start.
- Duration: How long you expect the task to take.
- Tools and materials: List what you need like a drill, a tape measure, or extra paint.
This complete task list helps you see which steps rely on others. For example, do the finishing touches only after the assembly is completely done.
Review your list often. Change the order or timing as you make progress. If a task takes longer than you thought, update your schedule. This clear approach helps you use the right tools and time for every part of your project.
DIY Project Planning: Risk Assessment and Contingency Planning

Begin by listing possible obstacles that might slow your progress. Think of things like waiting for permits, bad weather, missing skills, or even supply shortages. For instance, if you plan to work outside, rain can set you back.
Next, rate each risk by its chance and effect. A simple way is to mark them as low, medium, or high. This helps you decide where to add extra time and money. For example, if a permit might take longer, plan a few extra days and add about 10% to your budget.
Remember to plan for cleanup and final inspections. These steps can take extra time if any issues pop up. Adjust your timeline and budget using simple problem-solving steps if needed.
By having a clear backup plan, you can handle surprises while keeping your project on track and within budget. Set aside extra resources and check your plan often to stay ready for any hiccups.
Final Words
In the action, you’ve seen how to do DIY project planning from start to finish. We covered defining your project scope and budgeting while building a clear timeline and task list. Each step guides you through risk assessment and resource allocation with practical tips to avoid mistakes. The plan is simple yet thorough, ensuring safety and success throughout the project. Enjoy the journey and watch your vision become a reality!
FAQ
Q: What is a DIY project planner?
A: A DIY project planner is a tool that helps you list tasks, set a budget, schedule work, and outline steps to avoid costly mistakes and keep your project organized.
Q: What design software options can I use for DIY planning?
A: Design software like Tinkercad, SketchUp, Planner 5D, Floorplanner, Sweet Home 3D, and FreeCAD let you create detailed models and floor plans to visualize and plan your DIY project.
Q: How do I make my own project plan?
A: Making your own project plan involves defining your project goals, listing all tasks, setting a budget, scheduling each step, and planning for potential risks.
Q: How do I create a DIY planner?
A: Creating a DIY planner means gathering your ideas, writing down project steps, and organizing tasks in a clear timeline so that you can track progress and adjust when needed.
Q: What are the 7 steps of project planning?
A: The seven steps of project planning include defining your scope, researching options, outlining tasks, budgeting, scheduling, assessing risks, and reviewing progress regularly.
Q: What are some easy DIY projects for beginners?
A: Easy DIY projects for beginners include simple tasks like painting a small room, building a basic shelf, or updating home decor, as they require few tools and minimal experience.
Q: What design software choices exist beyond Tinkercad?
A: Beyond Tinkercad, you have options such as SketchUp, Fusion 360, Onshape, FreeCAD, and AutoCAD, which offer varied features based on the complexity and detail of your project.