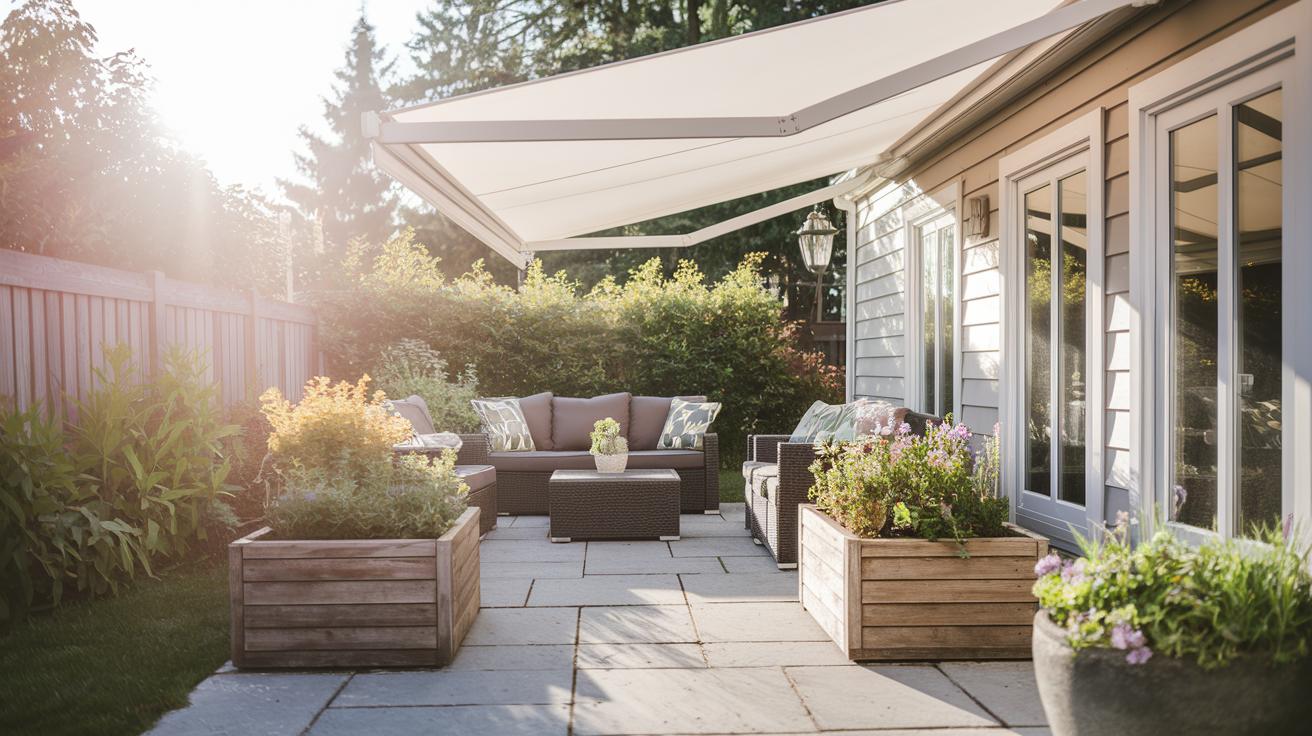

Have you ever wondered why spending hundreds on a ready-made awning might not be the best idea? Building your own DIY awning can save you money and turn your patio into a cozy retreat. In this guide, you will learn how to plan, measure, and build a strong awning in just a few hours using basic tools and materials. We explain each step clearly, from building the frame to adding weatherproofing. Follow along and create an outdoor shelter that matches your budget and style.
DIY Awning Installation Guide: Step-by-Step Build
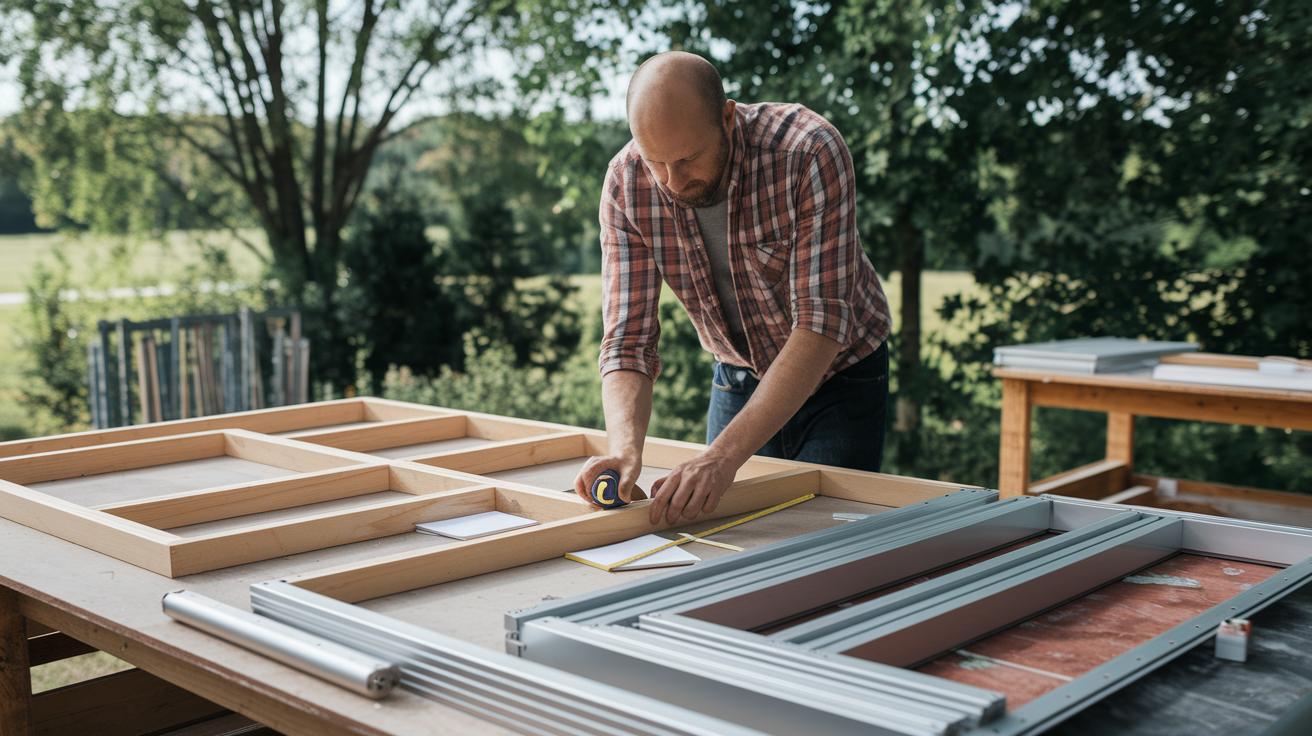
Project Snapshot
• Time: 3-4 hours
• Cost: Under $100 (materials only, prices vary by region)
• Skill Level: Intermediate
• Tools: Tape measure, saw, drill, wrench
• Materials: Lumber or aluminum extrusions, 10×10 woven HDPE plastic, M8 bolts with T-slot nuts, bungee cord
• Safety: Wear gloves and goggles; work carefully with power tools
-
Planning and Measuring
Start by measuring the area where the awning will go. Mark key support spots and note the wind direction to choose clear anchor points. This step sets the stage for a strong installation. -
Frame Assembly
Next, cut and prepare your lumber or aluminum pieces. Line up every joint and secure them tightly to form a sturdy frame. This clear step ensures the awning will have solid support. -
Fabric Cutting and Finishing
Cut the 10×10 woven HDPE plastic to match your measurements. Leave a little extra along the edges for hems and reinforcements. Strengthen each corner by attaching a double layer of webbing to help fight off wind damage. -
Mounting and Securing
Attach the awning to your van or roof rack. Use M8 eyelet bolts with M8 T-slot nuts to lock it in place. Add a bungee cord between the support pole and tie-down for extra stability against gusts. -
Final Tensioning and Weatherproofing
Tighten the tie-down straps and position ground stakes so that the tent pole forms a wide, stable triangle. Pull the fabric evenly to help it shed water and resist the wind.
Taking the DIY route can save you a lot of money. Building your own awning may cost under $100, much less than the $300-plus price of retail models.
Tools and Materials for Your DIY Awning Project
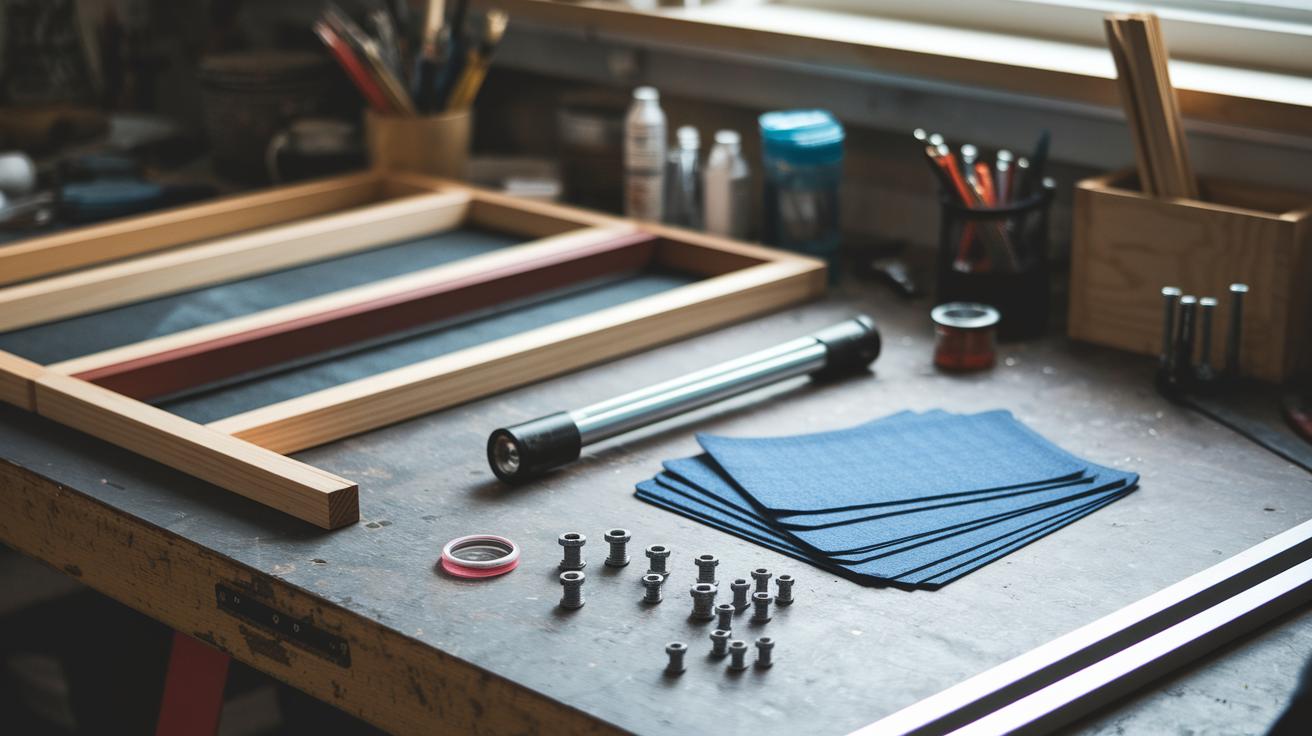
For your DIY awning project, having the right gear is key. Using proper amounts and quality supplies helps your awning work well and last longer. You can build a wooden frame from lumber beams or use a low-maintenance aluminum extrusion frame. Both work as long as you follow the measurements and secure each joint properly.
Materials you will need:
- 10×10 woven HDPE fabric (cut to size with a little extra for hems)
- Dual-layer webbing to reinforce the corners
- 8 strong corner rings
- 4 M8 eyelet bolts
- 4 M8 T-slot nuts for a secure fit
- Tie-down straps (at least 2 long ones)
- 4 ground stakes (to form a wider support triangle)
- 2 support poles
- 1 bungee cord (to add stability between the support pole and tie-down)
Tools recommended for the project:
- Drill for pre-drilling holes and fastening bolts
- Circular saw for cutting lumber or aluminum extrusions
- Adjustable wrench to tighten bolts and nuts
- Level to make sure your frame and awning are even
- Tape measure for accurate sizing – see the essential home improvement tools list at essential home improvement tools list for more details.
DIY Awning Fabric & Frame Selection Guide
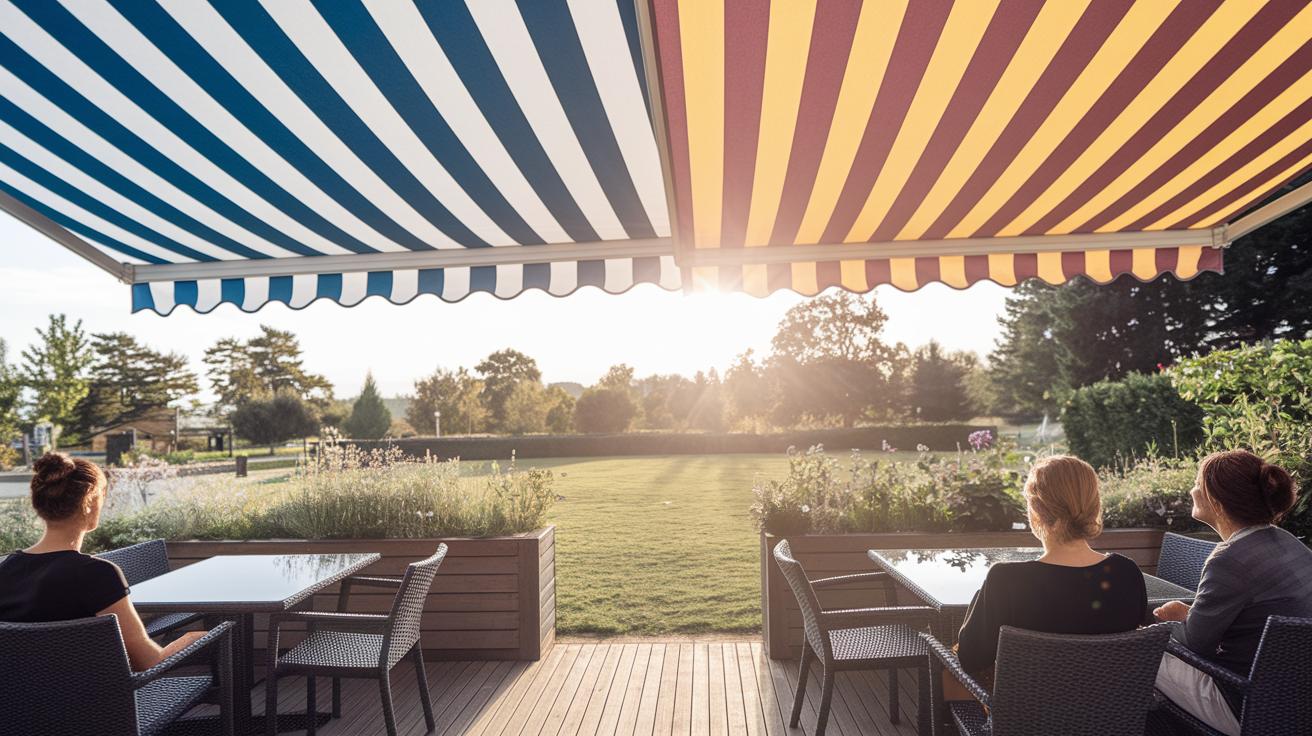
When picking your awning fabric, look at two main options: HDPE and canvas. HDPE is tougher against wind and helps lower noise, so it works well on windy days or busy patios. Canvas offers a classic style with many dye options, which lets you choose your favorite color. For a patio, go with a fabric that weighs between 8–12 oz/sq yd. For example, you might say, "I chose HDPE because it kept the noise down during a breezy afternoon," which shows its practical benefit.
When it comes to the frame, you can choose between pressure-treated pine and exterior-grade aluminum. Pressure-treated pine gives a traditional, natural look and is easier to work with, though you will need to check it regularly for rot and weather damage. Aluminum is lighter and resists rust with little upkeep, but it usually costs more. Decide based on your local weather and how much maintenance you want to do.
- Durability
- UV rating
- Cost
- Maintenance
DIY Awning Frame Construction: Wood vs Aluminum Designs
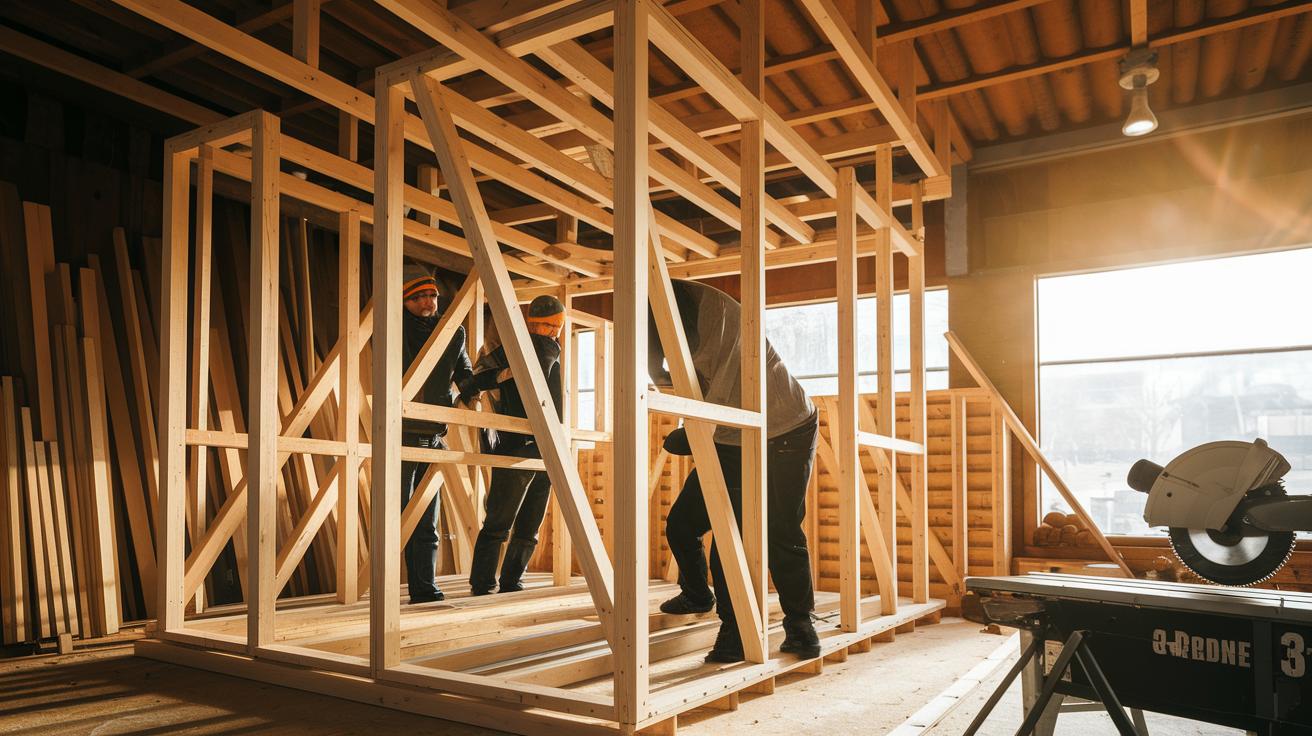
Wooden Frame Build
Cut your lumber pieces using the downloadable bracket template from the workshop video. Use a circular saw to trim each piece to the right length. Notch the joints carefully so they fit well together. Line up the pieces and secure them with wood brackets and carriage bolts. This approach gives your sun shelter a warm, classic look. Check every joint to ensure it is stable. Pre-drilling the notches can help the bolts slide in smoothly.
Aluminum Frame Build
Use pre-cut aluminum extrusions and T-slot connectors for a bolt-on assembly. Measure and cut the extrusions if needed. Fit the T-slot nuts in the right spots first, and then tighten the bolts. This method creates even, weather-resistant joints. Builders value how this design produces a lightweight yet strong frame. Adjusting the T-slot connectors until the extrusions line up makes the assembly simple.
| Material | Pros | Cons |
|---|---|---|
| Wood | Classic look; flexible for on-site changes; cost-effective | Needs regular upkeep; can rot if untreated |
| Aluminum | Lightweight; rust-resistant; low maintenance | Higher initial cost; requires precise assembly |
DIY Awning Installation Techniques & Safety Guidelines
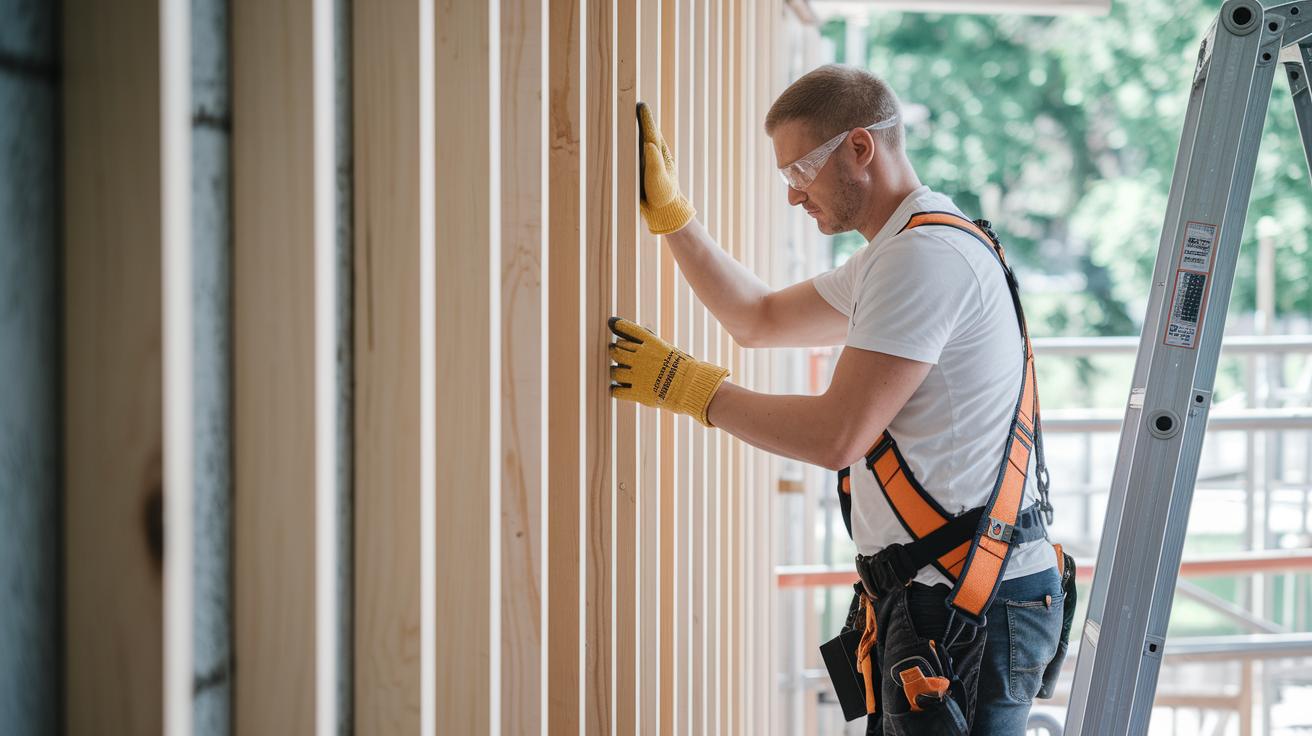
- First, check that wall studs or roof rack supports are free of damage.
- Wear a harness, safety glasses, and gloves when working at heights.
- Set your ladder securely; check our ladder safety tips for home projects to mount overhead safely.
- Clear the areas where you will attach the hardware so nothing gets in the way.
- Tighten M8 eyelet bolts and T-slot nuts slowly, making sure each one is snug but not so tight that it harms the threads.
- Position tie-down stakes far from the support pole so they form a large, stable triangle able to resist wind.
When you install your awning, it is important to use the correct bolt torque specs for a safe and sturdy setup. Tighten each M8 bolt and T-slot nut to the manufacturer’s recommended setting. This prevents the bolts from becoming too loose or overly tight, which can damage the threads. Follow the guidance closely so that every fastener can handle the stress from the awning and any wind. Taking the time to double-check each connection will keep your awning secure and give you extra peace of mind during bad weather.
DIY Retractable Awning Mechanisms & Adjustable Designs
-
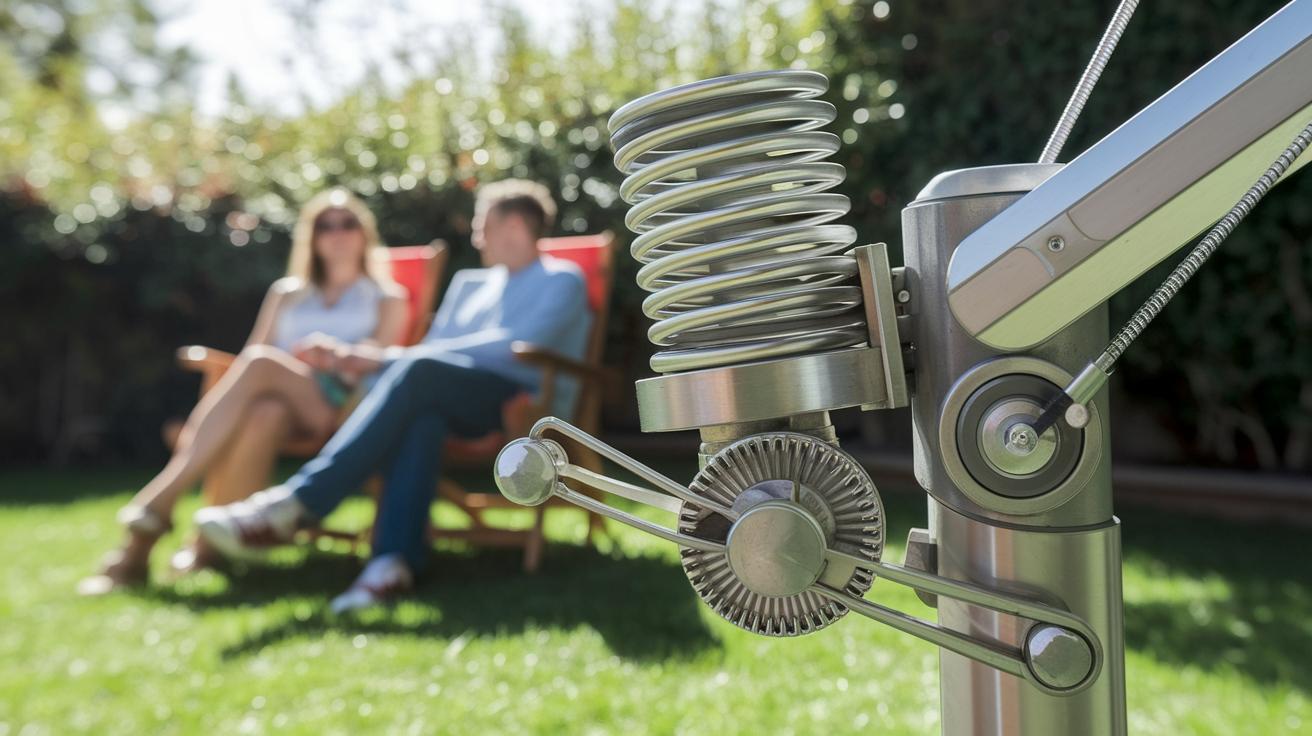
Spring-loaded roller
- Pros: This design lets your awning retract quickly and smoothly.
- Cons: It does not allow much manual adjustment and may wear out faster with heavy use.
-
Pulley and cord system
- Pros: It is simple to install and very budget friendly.
- Cons: You have to pull it by hand each time, and the cord might lose its tension over time.
-
Ratchet strap mechanism
- Pros: This option is easy to adjust and locks securely in place.
- Cons: It needs occasional tightening and may struggle in strong winds.
-
Motorized crank mechanism
- Pros: Offers convenient and precise control when retracting or extending your awning.
- Cons: It has a higher start-up cost and relies on electrical power for operation.
When deciding between manual and motorized options, think about how you use your patio daily and your budget. If you enjoy a hands-on approach and want to save money, manual systems like the spring-loaded roller or the pulley and cord work well. On the other hand, if you adjust your awning often and want an effortless setup, a motorized crank is a smart choice. Just remember that motorized options need proper alignment of the roller housing and secure end caps for smooth performance. Both types demand careful attention to spring tension and overall stability. Choose the mechanism that fits your lifestyle and outdoor space conditions best.
DIY Awning Budget Planning & Cost Estimation
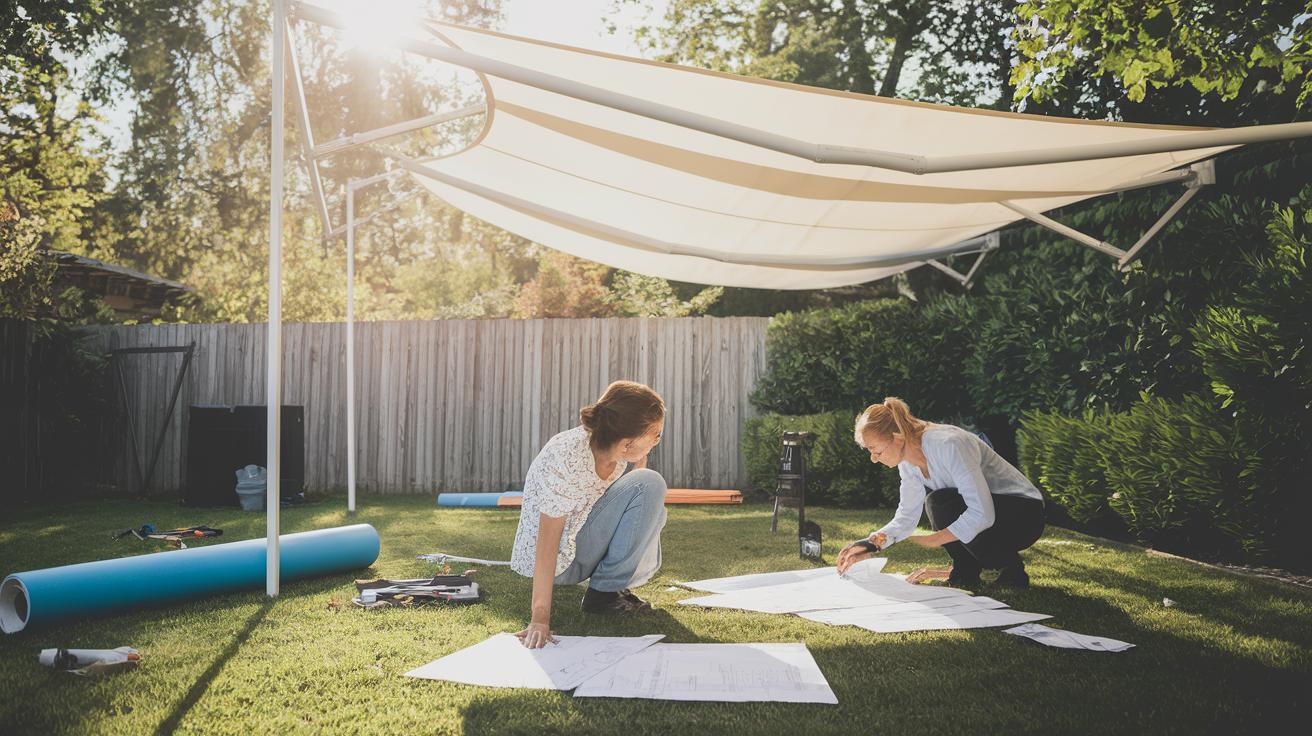
Planning your DIY awning is a smart way to update your outdoor space without spending a fortune. A basic HDPE setup can cost less than $100, while commercial awnings may run over $300. Below is a breakdown of key cost items you may encounter.
| Cost Item | Low Estimate | High Estimate |
|---|---|---|
| Fabric | $30 | $60 |
| Hardware | $20 | $40 |
| Frame Materials | $20 | $50 |
You can also save by using leftover materials from previous projects and watching for local sales. With some smart shopping and price comparisons, you can brighten your patio without stretching your budget.
DIY Awning Troubleshooting & Maintenance Guide
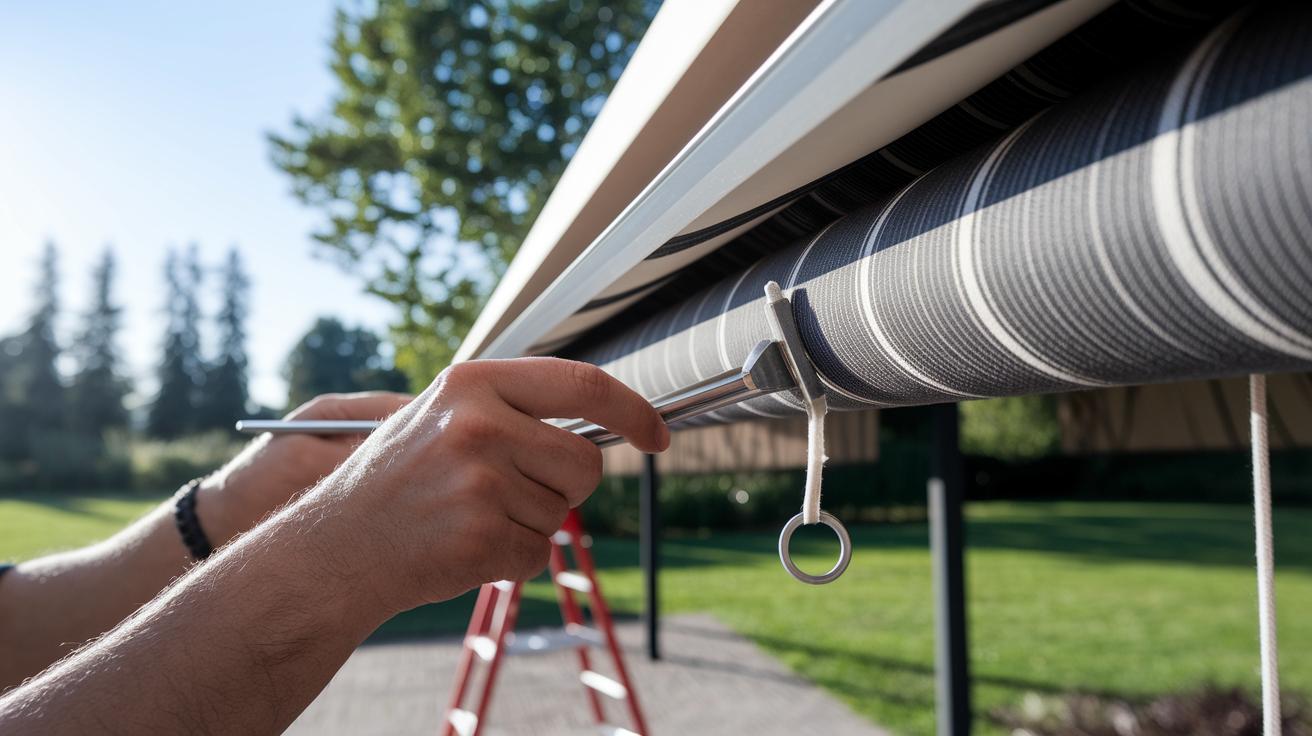
Project Snapshot • 15–30 minutes per season • Minimal cost • Beginner • Tools: wrench, mild soap, water, brush • Safety: Use a stable ladder and work carefully at heights
Regular upkeep makes your awning last longer. Check the webbing (the sturdy fabric), corner rings, and stitching every season. This way, you spot wear early. Tighten bolts and adjust the fabric to keep everything secure. When cleaning, use mild soap and water. Avoid bleach because it can harm the UV coating.