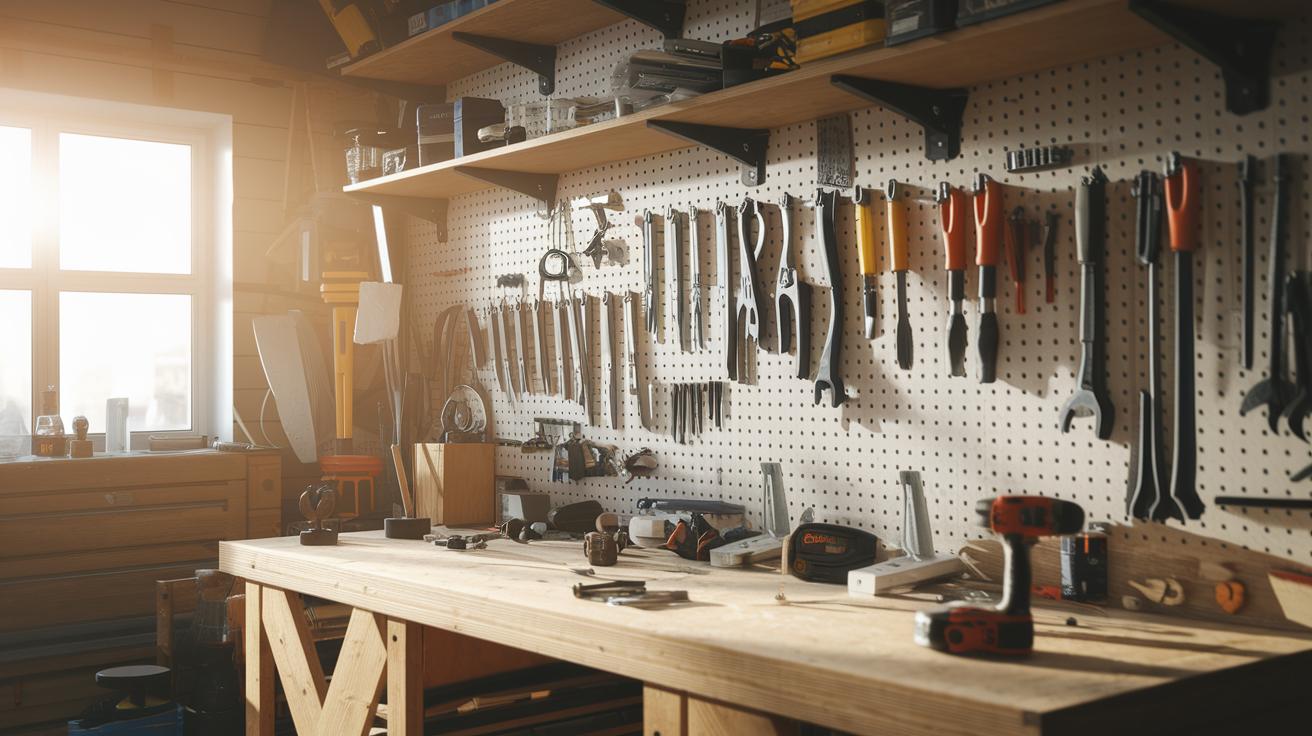

Ever looked at your messy garage and thought it might hide your next project? Imagine turning that clutter into a neat, useful workshop where every tool has a clear spot. In this guide, we show you how to design your garage for more work efficiency and safety. We explain how to plan zones for work, set up proper airflow, and arrange your power sources smartly. With a simple, clear layout, your garage can become a workshop that makes every project feel easy.
Planning Your DIY Workshop Setup in the Garage Space

Start by looking at your garage and imagining what you want to do there. If you plan to work with heavy wood or power tools that create dust or fumes, you will need extra ventilation. If your work is lighter, you may only need basic heating or cooling. This early check helps you choose the right upgrades for a safe and useful space.
Next, plan out different areas for your projects. Draw a simple layout that shows a place for machining, assembly, storage, and finishing work. For example, put your workbench near a window. This setup gives you more natural light and can reduce energy costs during the day. A clear zone plan stops tools and machines from crowding each other and helps you move around safely.
- Measure your garage and sketch a floor plan to scale.
- Decide on the main functions: woodworking, car repair, crafting, etc.
- Create special areas for tools, work, storage, and entry.
- Mark where you will need outlets, 220V circuits, and extra lights.
- Look for spots where dust or fumes can be vented out.
- Plan a way to heat or cool the space, such as insulation or a fan.
- Organize pathways to limit cross-traffic and boost safety.
As you set up your workshop, feel free to change your layout as needed. Testing the design in daily use can show small fixes that make the space safer and more efficient. With each adjustment, your garage workshop will better match your needs while taking full advantage of natural light.
Electrical Wiring Safety and Power Layout for Garage Workshop Setup
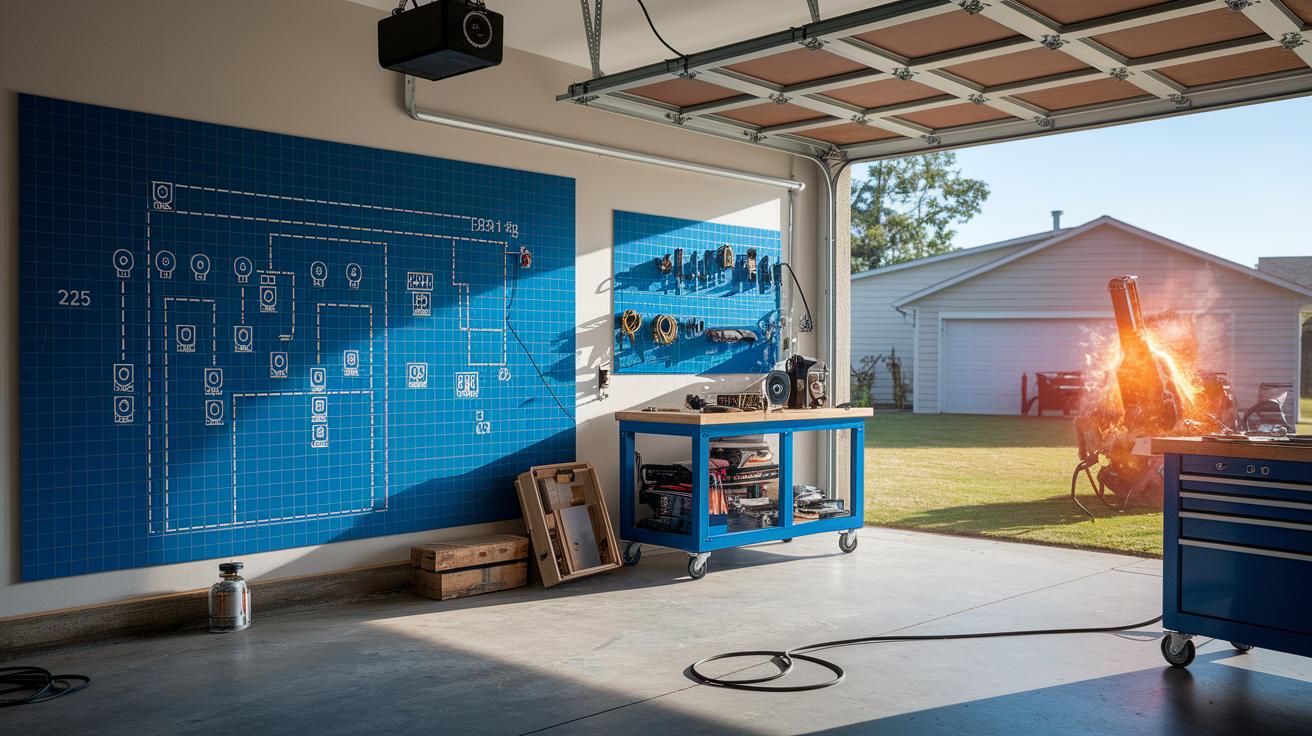
When planning your garage workshop, start by marking where your power outlets will go. Place a 120V outlet every 6–8 feet so that your tools are never far away. If you plan on using heavy tools like a TIG welder, set aside a spot for a 220V circuit. Picture it like feeling a drill’s kick when you start working and having power right where you need it.
Always work with a licensed electrician to inspect your garage. A professional will check the load calculations, set up dedicated circuits, and obtain the permits you need. This step is key to making sure your setup meets local electrical codes and is safe for daily use.
Don’t forget to add important safety features. Use GFCI outlets (special outlets that help prevent electric shocks) near any damp areas. Consider circuits with switchable lighting so you can adjust the brightness when needed. Finally, clearly label each circuit and power panel to make any troubleshooting easier. This blend of careful planning and safety measures will help you build a reliable workshop you can trust.
Lighting Optimization for Your DIY Workshop Setup in the Garage
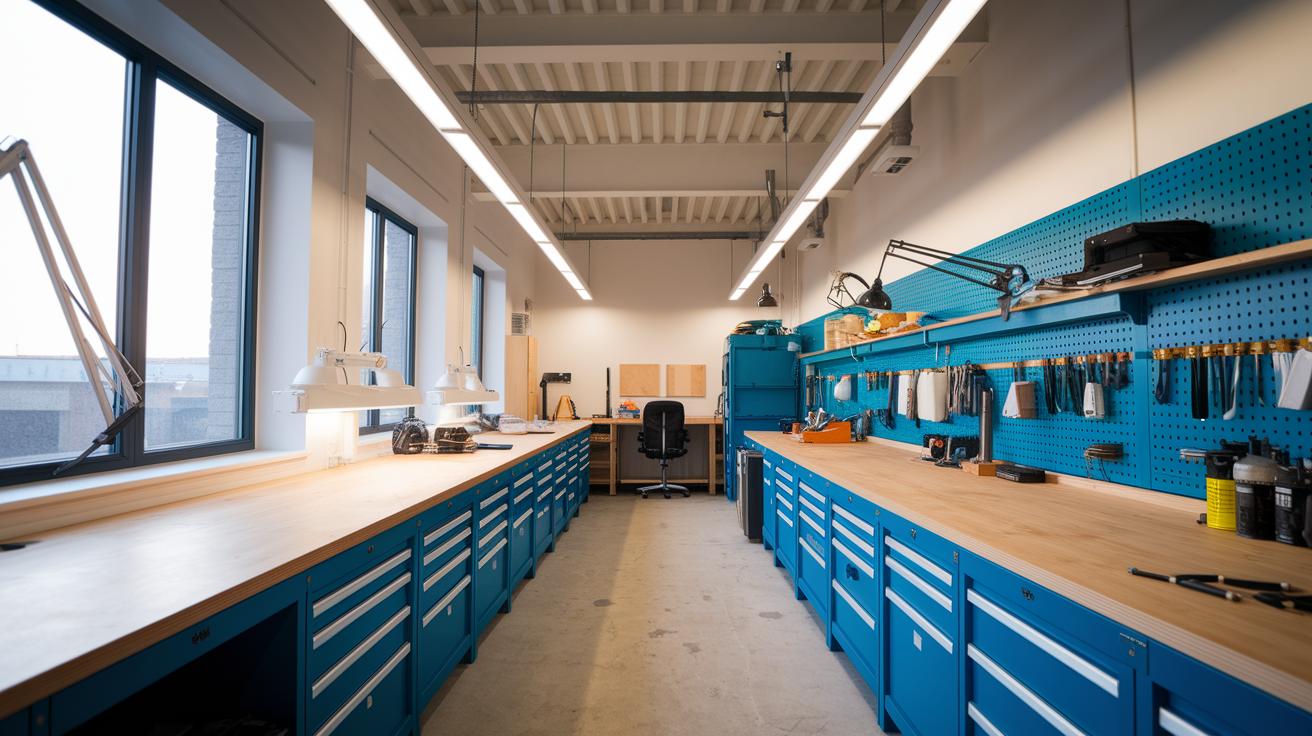
LED lights are a smart choice for your workspace. They shine bright and save energy, which means lower bills. They give steady light for safe, careful work and last a long time in a busy workshop.
| Fixture Type | Recommended Lumens | Placement |
|---|---|---|
| LED Overhead Panel | 8,000 – 12,000 lm | Centered above open floor |
| Adjustable Task Light | 2,000 – 3,000 lm | Mounted over workbench |
| Under-cabinet Strip | 1,500 – 2,000 lm | Under upper shelves |
Mix room lighting with task lighting to make your workshop effective. Use overhead panels to light the entire space. Add task lights at your workbench for extra detail on your projects. And if you can, place benches near windows so natural light joins in.
Workbench Construction and Tool Organization Methods in a Garage Workshop

Building a DIY Workbench
Start by planning your workbench with 3/4-inch plywood and two solid sawhorses. Measure your space and cut the plywood to the size that works best for you. Place the plywood on top of the sawhorses so that they are level and evenly spaced. Check that the sawhorses can hold the weight before you load your tools. For a neat look, sand the edges and add a clear sealant or a coat of paint. You might say, "I built my workbench with extra care and now it holds all my power tools without a wobble."
Purchasing a Prefab Workbench
If you prefer buying a workbench, choose one with a high load rating that fits your project needs. Look for a work surface that is smooth and durable to protect your tools. Some models also offer drawers or shelves to keep small items in order. Moving the workbench is easy if it has casters, which makes your space more flexible.
Install a pegboard using sturdy 1/4-inch panels to easily hang your most-used tools. Arrange your tools so that the ones you use most are within arm's reach. Group similar items together to make switching tasks easier. For example, keep hand tools close to the workbench and store power tools in a nearby spot. This setup cuts down on extra movement and creates a natural, organized workflow.
Custom Storage Solutions and Shelving Designs for Garage Workshops
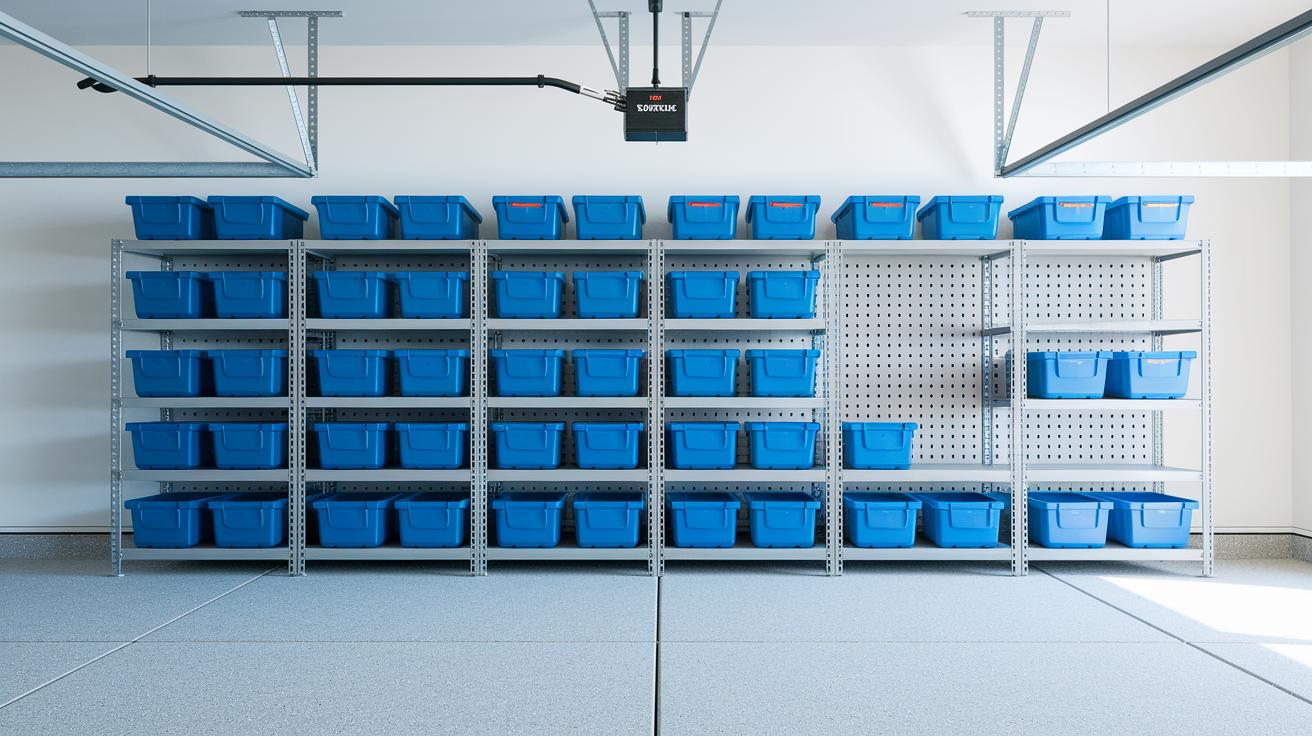
Custom storage ideas can change your garage into a neat and efficient workshop. Start by designing shelves that fit 7.9-gallon plastic bins for easy and consistent storage. Measure your shelves carefully so each bin sits flush. This gives you a clean, uniform look and allows quick access to your tools. You can also add modular cabinets. Build your own or choose affordable pre-made units. Either way, they help keep small tools and supplies organized and ready to use.
Use overhead racks and wall-mounted cleats to make the most of your space. Hang long materials vertically using cleats or lumber racks so that your floors stay clear for work zones. Install overhead racks to store tools or items you use less often. These smart storage ideas boost your workshop space and make it simple to find what you need quickly every time you step into your garage.
Flooring, Insulation, and Climate Control in a Garage Workshop
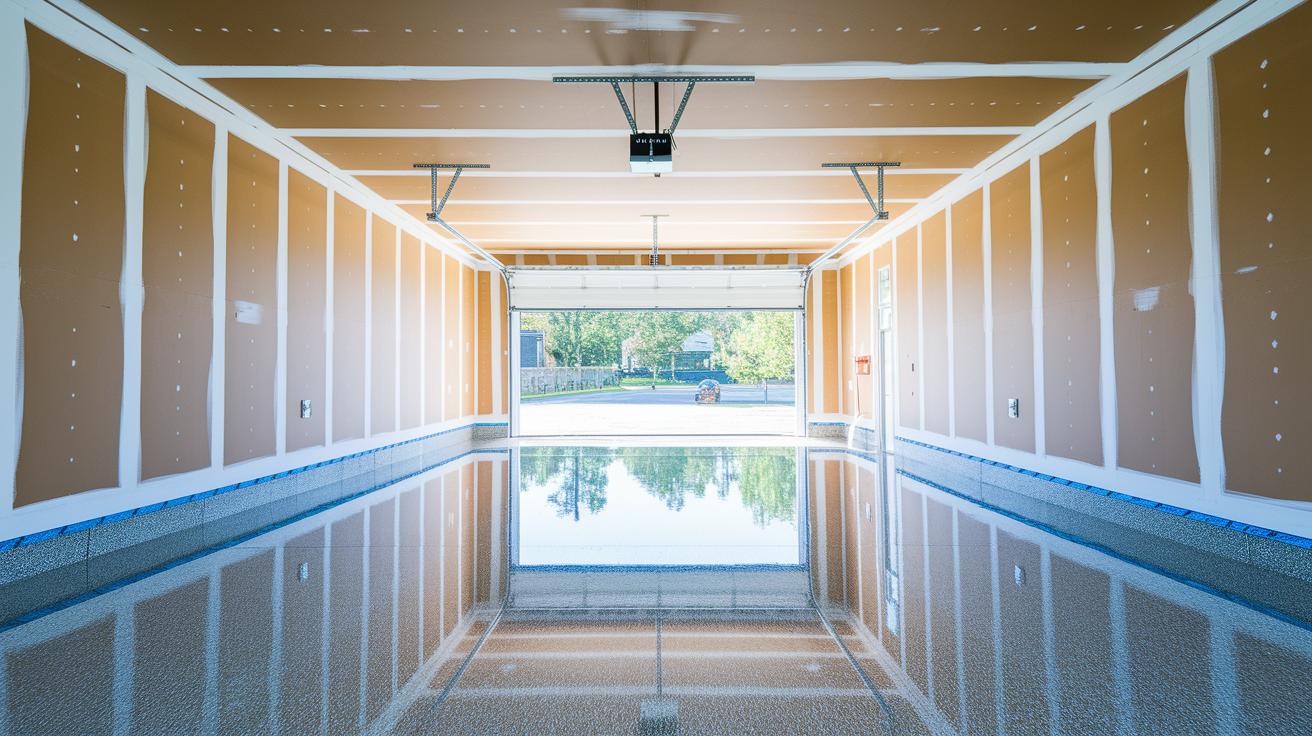
Start by filling any cracks in your floor, walls, and ceiling, then paint the surfaces to seal the room. This step freshens up your garage and stops moisture and debris from sneaking in. If you spot a blemish, sand it down and add primer. This gives your space a clean start.
Next, lay on an epoxy floor coating. Epoxy makes your floor tough and easy to clean. It forms a smooth, hard surface that takes a beating without chipping. Spills and tool marks can be wiped away fast, making it a smart choice for busy workshops.
Finally, insulate the walls and ceiling. Good insulation, paired with a proper heating or cooling system, keeps your workshop comfy all year. Boost ventilation by installing exhaust fans or dust-extraction ports to keep the air clean. This balanced plan helps control the temperature and cuts down on dust and fumes, making your garage both efficient and safe.
Final Touches: Security, Aesthetics, and Personalization of Your Garage Workshop
Lock all doors and windows with keyed locks. Place outdoor lights near each entry to discourage unwanted visitors. Store dangerous or high-risk tools in locked cabinets or keep them out of reach of children. These steps protect your tools and create a safer garage space.
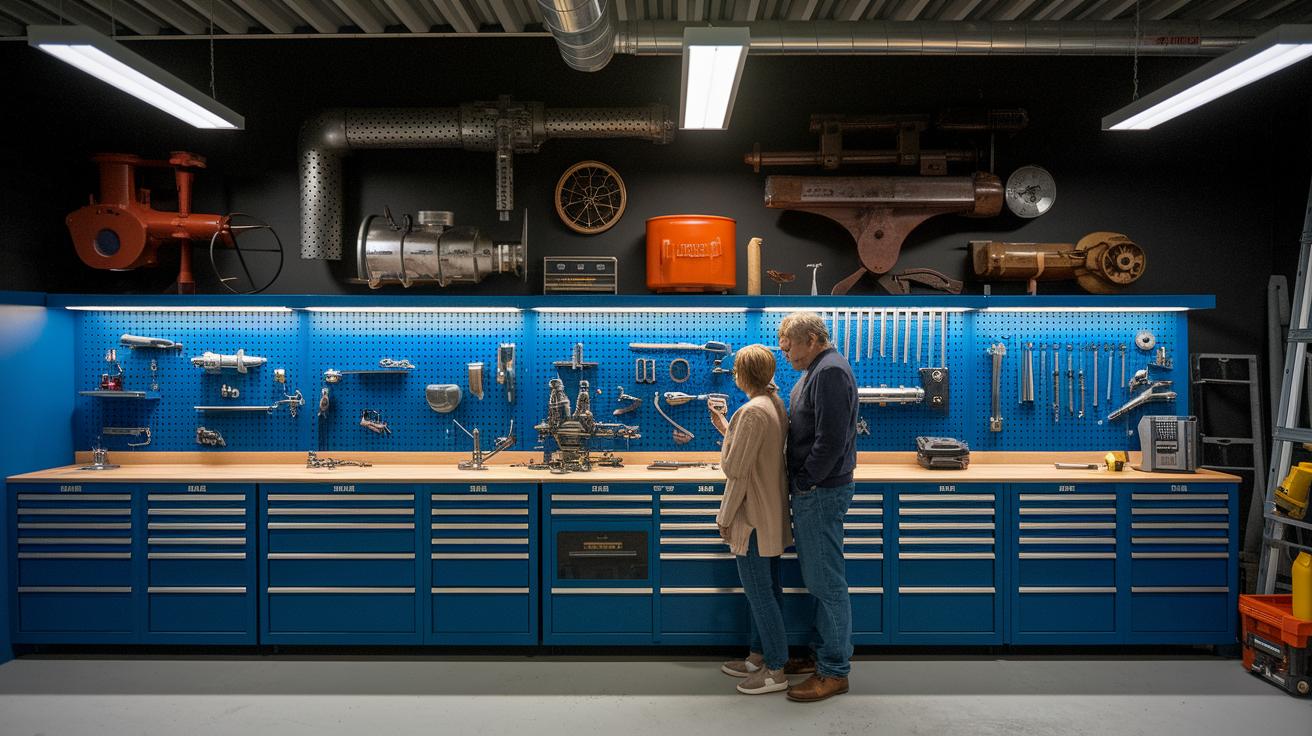
Add a touch of industrial style to your workshop. Paint one wall with BEHR Satin Black PPU26-01 for an eye-catching look that contrasts with lighter surfaces. Include decorative shelves or displays of vintage machinery to bring in personality. This mix of security and style makes your space both functional and uniquely yours.
Final Words
In the action, we mapped out a clear plan for your garage conversion. We covered space evaluation, zone mapping, electrical safety, lighting optimization, workbench assembly, custom storage, and flooring tips.
Every step builds toward a safe, efficient space that reflects your style. With proper planning and iterative tweaks, your DIY workshop setup in a garage becomes a reality that meets both function and flair. Enjoy every step and watch your creative space come to life.
FAQ
How do I set up a free DIY workshop in my garage?
The idea of a free DIY garage workshop setup means finding cost-effective ways to convert your garage. Look for free layout planner tools and online guides that help you design a workspace suited to your needs.
What are the available plans and layout tools for designing a garage workshop?
The query about available plans and layout tools refers to ready-to-use blueprints and free digital planners. Many resources provide step-by-step instructions and sketches to help you visualize and plan your garage workshop.
What are some effective mechanical workshop layout ideas for a garage?
The inquiry about mechanical workshop layout ideas means setting clear zones for machining, assembly, and storage. Organize the space with defined pathways and accessible tools for a safe and efficient garage workshop.
How can I design an appealing and functional garage workshop layout?
The question about designing a workshop layout refers to blending practicality with aesthetics. Combine areas for work, storage, and natural light while ensuring clear traffic flow and secure tool placement.