

Have you ever looked at your backyard and thought it could be both fun and safe? Picture a small play area where your kids can explore and enjoy clean, non-toxic sand. This guide shows you how to build a strong DIY sandbox with simple materials and basic tools. You will start by planning your design and cutting the wood to size. Next, you will secure the frame so it can stand up to everyday play. Before you know it, you will have turned a quiet corner of your yard into a safe, inviting space for your family to enjoy.
DIY Sandbox Step-by-Step Build Guide
-
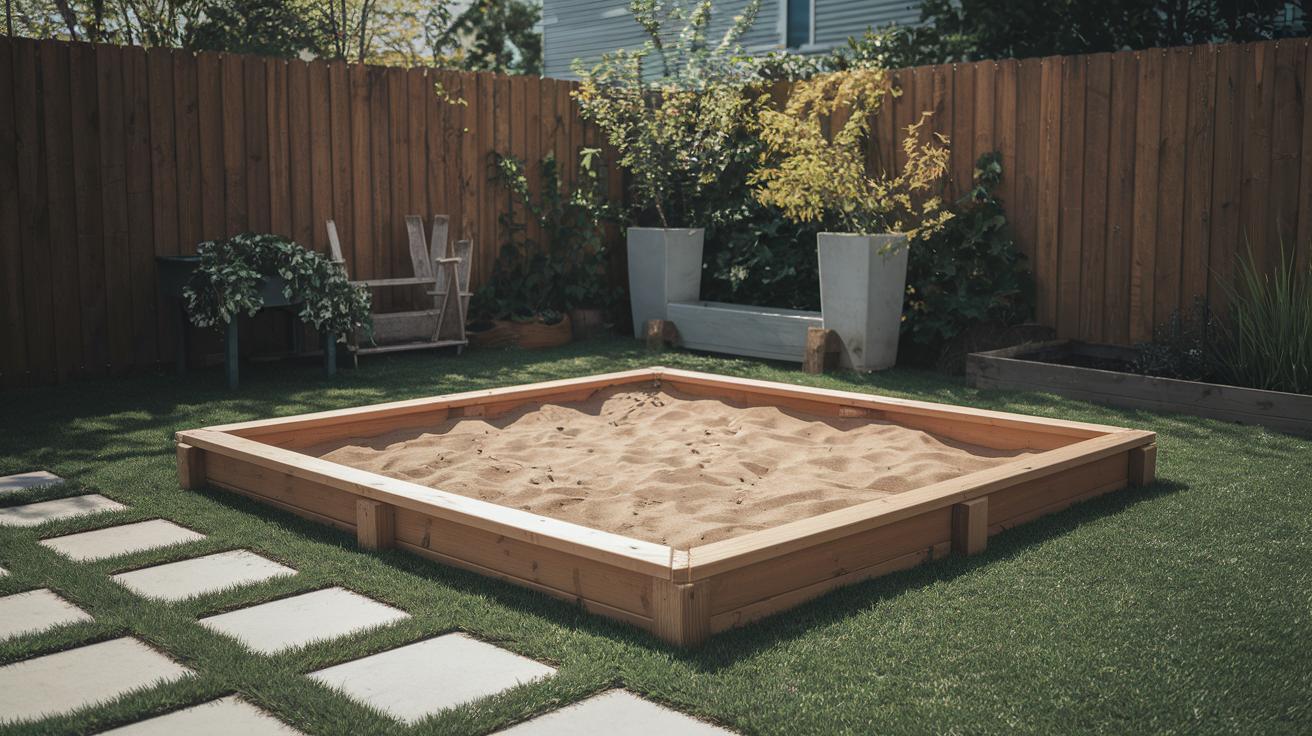
Plan your sandbox. For a 4 ft x 4 ft sandbox with a 6 in depth, pick a flat spot that drains well and gets both sun and shade. Use our DIY planning template (https://theoriented.com?p=98) to list your materials and layout details. Sketch your space first to avoid costly changes later.
-
Cut four 2×12 boards to your chosen length. These boards make up the frame. Make each cut straight and true so the frame will be strong and square enough to support about 150 lb of play sand.
-
Assemble the frame by joining the boards. Drill pocket holes on the short sides and fasten them with 2½ in screws placed ½ in apart. Take your time here to build a sturdy box.
-
Add 2×4 braces inside for extra support. Place each brace ½ in from the interior edge. This step keeps the box from warping over time and helps it handle the weight of the sand and outdoor weather.
-
Line the inside of the box with landscape fabric or a heavy-duty plastic liner. This protects the wood from ground moisture and stops sand from leaking out.
-
Fill the sandbox with 2–4 in of non-toxic play sand. Spread the sand evenly to create a safe and inviting play area.
Optional: Boost your project with a bench-cover combo. Cut bench boards to match the sandbox length, attach them with hinges, and secure with 2×4 supports while leaving a ½ in gap for drainage. This addition gives you extra seating along with the play space.
Follow these six steps for a clear DIY sandbox plan that makes building a safe play area both fun and doable.
Selecting Materials and Tools for Your DIY Sandbox
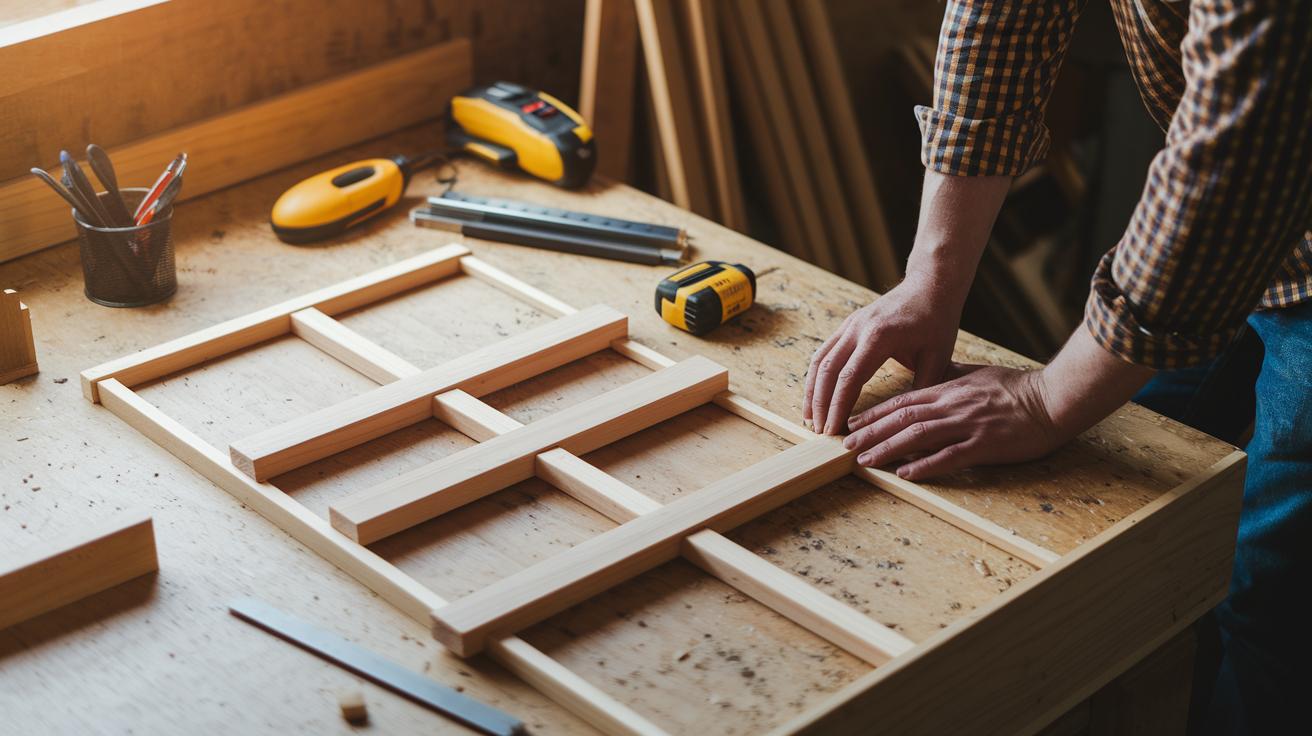
Before you begin building, take a moment to gather your materials and tools so everything runs smoothly. Here is what you need:
- Four 2"x12"x8' cedar or pressure-treated boards to form the sandbox frame.
- Six 2"x4" braces to strengthen the structure.
- One box of 2½" outdoor deck screws to secure the pieces.
- Landscape fabric or a plastic liner for your sandbox to help keep moisture away from the wood.
- About 150 lb of non-toxic play sand (or kinetic sand if you prefer a cleaner feel).
Picture the satisfying sound of your circular saw making a clean cut on a board. Each cut brings you a bit of pride and excitement!
You will also need these tools to complete the project:
- A circular or miter saw for straight, even cuts.
- A pocket hole jig that helps join pieces securely.
- A drill/driver to quickly drive in the deck screws.
- A tape measure to check your lengths.
- A speed square to ensure your angles are true.
- Gloves and eye protection for your safety.
For more details on the suggested tools, visit the Essential Home Improvement Tools list (https://theoriented.com?p=367).
| Material | Quantity |
|---|---|
| 2″x12″x8′ Boards | 4 |
| 2″x4″ Braces | 6 |
| Outdoor Deck Screws | 1 Box |
| Sandbox Liner | 1 |
| Non-toxic Play Sand | ~150 lb |
DIY Sandbox Cover and Bench Seat Designs

You can make your sandbox even more useful by adding a cover that doubles as bench seating. One idea is a bench-cover combination. Cut three 1×6 boards to the length of your sandbox. These boards serve as strong seats along the edge. Attach them underneath with 2×4 cleats for extra support. Then, hinge a 1×3 fascia board at the front to close the top neatly. This setup gives you a seating area that transforms into a lid to keep water and debris out.
Another option is to install a hinged wood lid. First, build a basic frame using cross-spaced slats. Leave 1/2-inch gaps between the slats so water can drain easily. Secure the lid with exterior-grade hinges that work well even in wet or humid weather. Imagine a lid that opens with a steady click, revealing a sandy play area and protecting the sandbox when not in use.
A third choice is to use a plastic lid. Repurpose a lid from an under-bed storage box with a 6¼-inch side height. This cover is light, portable, and easy to clean. Its smooth finish makes it safe for children. It is a perfect choice if you want a cover that needs little assembly.
Both the wood and plastic options manage water well by offering drainage gaps and tight seals. Each design is simple, practical, and built with safety in mind while adding a smart twist to your DIY sandbox project.
Planning and Customizing Your Backyard DIY Sandbox

Location and Dimensions
Start by choosing a flat spot in your yard with some natural shade. A level area helps your sandbox sit evenly and stops water from collecting. Before laying the liner, add a 2-inch layer of gravel (about 50 mm) to boost drainage and keep the sand dry. Pick a size that fits your space and the number of kids using it. For toddlers, a 3 x 3 ft sandbox works well, while a 6 x 6 ft sandbox suits several children. Keep at least 1 ft of space around the sandbox for safe play and easy access.
Tip: Measure the area carefully and mark the boundaries with spray paint before you start, you can think of it as drawing a simple treasure map.
Design Themes & Decoration
Once you have the size set, you can make the sandbox your own. Paint the borders in bright colors to bring in a fun, lively look. Use stencils (templates for painting designs) to add fun characters or simple patterns to the wood. You might even add built-in storage benches so the sandbox doubles as a seating area.
Let your kids help pick stickers or small decorations. This makes the sandbox not just a play area but a special space they can call their own.
Maintaining and Ensuring Safety for Your DIY Sandbox

Regular care will keep your sandbox both safe and fun. After every play session, cover your sandbox to keep out debris and keep critters away. Once a month, wipe down the wooden boards with a damp cloth and a little mild soap to remove dust and any residue. Regularly sift the sand to pick up sticks, stones, and leaves that could become hazards during play.
Every 3 to 6 months, or sooner if the sand gets very dirty, replace the sand. Always use non-toxic play sand so your kids stay safe, and do not use masonry sand since it may have harmful particles. Keep an eye on the children at all times while they play; this helps prevent bumps, accidental sand ingestion, or unwanted eye contact with the material.
Secure any hinged lids with child-proof latches to keep both children and animals safe. This extra step not only protects your sandbox but also gives you peace of mind, ensuring that your DIY play space remains clean and hazard-free for your little ones.
Final Words
In the action of building your diy sandbox, you followed clear steps from planning and cutting to filling with non-toxic sand. You learned how to pick the right materials, add optional bench or cover designs, and plan a safe, personalized backyard spot. Each part of the guide serves to boost your confidence and keep your project safe and fun. Enjoy the satisfaction of a job well done and the excitement of a backyard space built with care and creativity.
FAQ
What is a sandbox with a cover?
A sandbox with a cover is built with a lid or bench design that protects sand from debris and moisture. It helps keep the area cleaner while offering a dual seating or storage feature.
What are some cheap DIY sandbox ideas?
Cheap DIY sandbox ideas focus on using cost-effective wood, repurposed materials, and basic hardware. This approach minimizes expenses while creating a safe play area.
How can I build a DIY sandbox using PVC?
Using PVC in a DIY sandbox involves creating a lightweight frame with PVC pipes, adding a durable liner, and filling the box with non-toxic play sand for a weather-resistant, child-safe structure.
How do I build a DIY sandbox for kids?
A DIY sandbox for kids is built by assembling a sturdy, smooth-edged box, lining it with fabric or plastic, and filling it with non-toxic sand. A secure cover option also enhances play safety.
How can I build a DIY sandbox for adults?
A DIY sandbox for adults can be designed for relaxation by adding stylish covers, seating, and customized details. This creates a versatile backyard feature for leisure as well as play.
How do I build a sandbox with a cover?
Building a sandbox with a cover involves constructing a wooden box, adding internal braces and a liner, and attaching a hinged or bench-style cover. This design protects the sand and provides added functionality.
Where can I find free DIY sandbox plans?
Free DIY sandbox plans offer step-by-step instructions, including material lists and dimensions. They guide you through the build process, helping you create a functional play area at no extra cost.
What are some easy DIY sandbox solutions?
Easy DIY sandbox solutions use pre-cut lumber, simple tools, and uncomplicated designs. These methods provide a quick build while ensuring the structure is safe and durable for everyday use.
What is the cheapest way to make a sandbox?
The cheapest way to make a sandbox is by using affordable wood, recycled materials, and minimal hardware. A simple design keeps costs low while delivering a fun and safe play space.
How many 50 lb bags of sand do I need for a sandbox?
For a standard 4-ft by 4-ft sandbox filled to 6 inches deep, you need about three 50 lb bags, as this roughly meets the 150 lb play sand requirement. Check bag details to confirm.
Does cinnamon in a sandbox keep bugs away?
Using cinnamon in a sandbox is thought to deter some insects with its strong scent. However, it is not a proven or reliable method to keep bugs away from the play area.
Does a sandbox need drainage?
A sandbox needs drainage to prevent water buildup. Incorporating a liner with gaps, a gravel base, or a cover design with drainage space ensures water flows out safely, keeping the sand dry.