

Have you thought that a new fence could boost your home's charm? DIY fencing mixes style with function. It lets you add your own touch while following local rules. With a clear plan and the right supplies, you can build a strong fence that is truly yours. So give it a try and build a fence that protects your space and makes your neighbors take notice.
Comprehensive DIY Fencing Overview and Project Planning
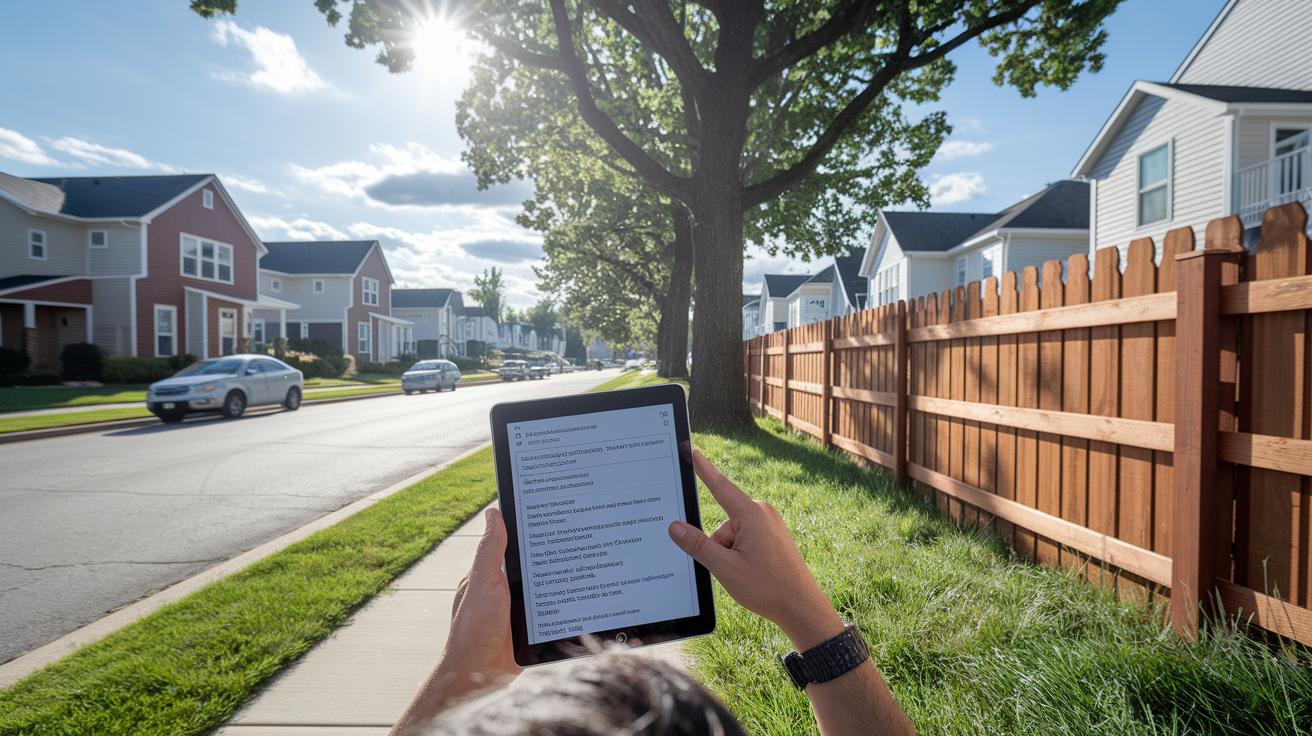
Before you start, check your local HOA and city rules. Fences taller than 6 ft may need a permit or a special finish. Make sure your design follows local guidelines. This saves you time and prevents problems later.
Checking Local Regulations and Permit Requirements
Research your city building codes and HOA rules early in the project. Look for limits on fence height, allowed materials, and required finishes. Local officials might need proof that you are following the rules, so plan for both extra time and money for permits. Keep a checklist to track your research. Even if you can remove old posts quickly (for example, eight posts in about 30 minutes), skipping this step could lead to fines or force you to change your plan.
Plotting Your Fence Layout
First, mark your property lines by staking or digging a 4- to 6-inch trench near each marker. Next, run a string line between stakes placed every 8 ft to keep your posts straight. Measure the total fence length accurately to estimate material costs. Precise measurements matter when you set your budget. Also, plan for extra tools and unexpected supplies. A clear layout makes the build faster and results in a secure, level fence that boosts your home's curb appeal.
Plan every step using your DIY project planning template to stay organized and on budget. This upfront planning makes your fencing project smoother and more enjoyable.
DIY Fencing Materials and Tools Selection

When picking fence materials, look at durability, upkeep, and style. Cedar gives you a natural look and long-lasting strength. Pressure-treated wood fights rot and is a solid, budget-friendly choice. Vinyl fences can last about 20 years with almost no upkeep and keep out rot and termites. If security is your top need, chain-link fences are the lowest cost option.
| Material | Key Benefits |
|---|---|
| Cedar | Strong and naturally beautiful |
| Pressure-Treated Wood | Resists rot and fits a tight budget |
| Vinyl | Low upkeep and lasts about 20 years |
| Chain-Link | Inexpensive and secure |
Gather the right tools to make the job easier. You will need a level, clamps, circular saw, drill, screw gun, and air nailer. For digging post holes, you can use manual tools or a gas-powered auger. One-man augers work well if you are working alone, while two-man models help when you have a buddy. For more details, visit the essential home improvement tools list. And if you want to cut costs, check out tips on finding repurposed materials for your project.
Step-by-Step Fence Construction DIY: Setting Posts and Installing Rails
-
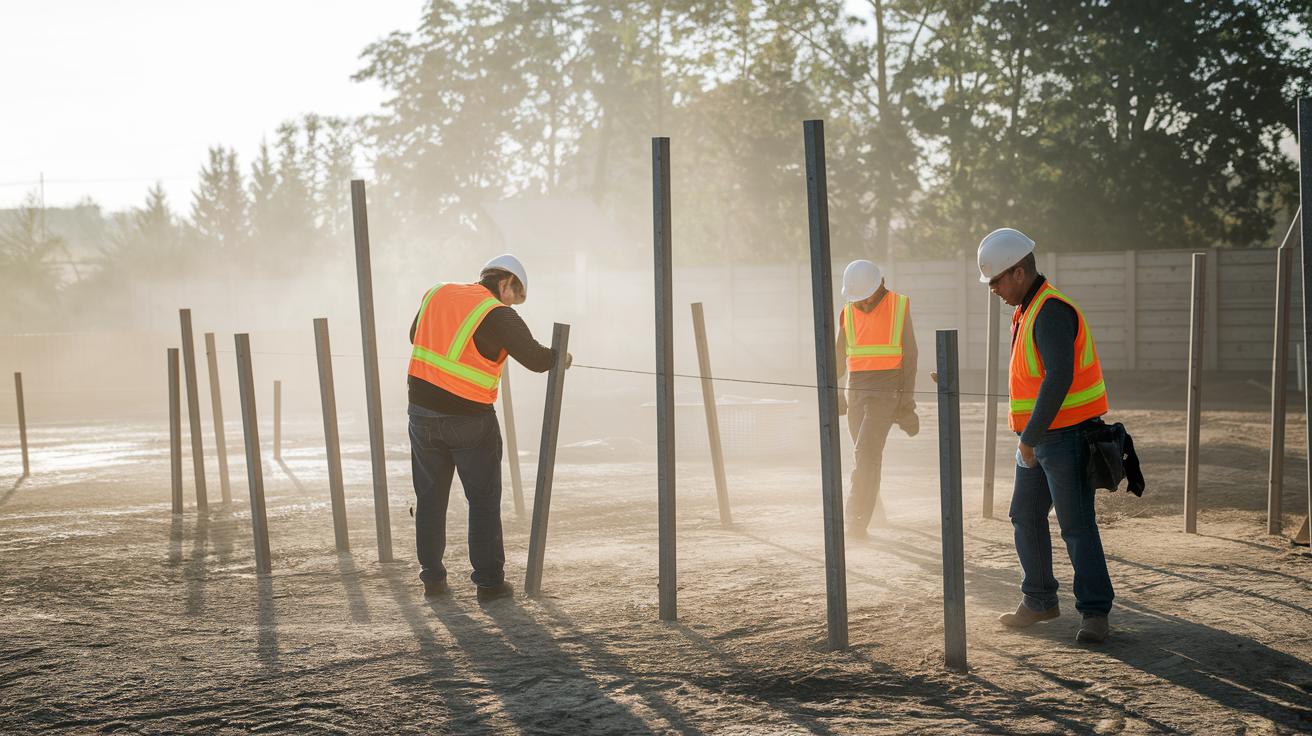
Start by marking your fence line. Place stakes every 8 ft along the path and run a string between them to guide your work. For example, measure carefully to mark the very first post spot.
-
Next, dig holes that are 2.5 to 3 ft deep using a post hole digger or a gas-powered auger. Add 3–4 inches of gravel at the bottom to help water drain away. A good tip: pour a cup of water into the hole to check the drainage before you set the post.
-
Set each post by mixing quick-setting concrete with a little sand and gravel for extra stability. Insert the post into the hole and use a level to make sure it stands straight both before and after you add the concrete. Use clamps to hold it steady if needed, and let the concrete cure as the package instructions say.
-
Now it’s time to build the rails. Take two 2×4 boards and join them at a 90° angle with 3-inch deck screws to create a strong rail. When you attach the rails to the posts, drive in 4-inch deck screws to secure them. Use a level and clamps to check that each rail is straight and matches the guide string.
-
Finally, check the alignment of all posts and rails with a level. If you spot any misalignment, adjust them slightly before tightening all the screws. A well-aligned fence sets a strong foundation for any finishing touches or decorative elements.
Take your time with each step and measure twice. Enjoy building a secure, straight fence that adds a special charm to your home!
DIY Fence Picket Installation and Gate Assembly
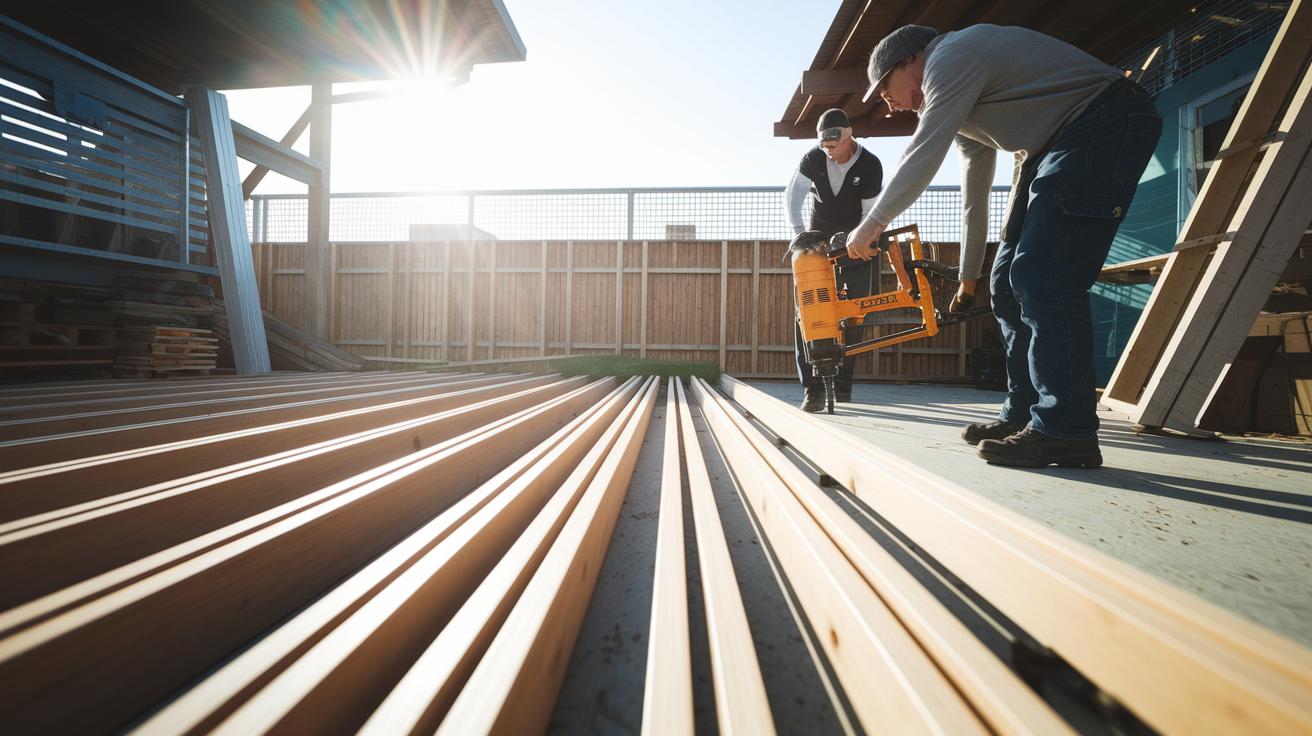
Start by getting your fence pickets ready. Make sure the rails are level and tightly fixed to the posts. Line up the pickets so that their edges form a smooth, even line along the fence. Use an air nailer or drive 2-inch screws by hand, with two fasteners for each rail. If you notice that a picket is a bit off, trim it to fit exactly with a table saw or circular saw.
Next, assemble your gate. Use a steel kit with an X design and set the gate into its opening. Secure it with heavy-duty hinges and a latch. Check that the gate swings freely and sits flush when closed. This will give you a gate that works well and adds a nice touch to your overall fence design.
Then, trim any overhanging fence posts with a circular or reciprocating saw. Smooth the cut edges to boost the look of your fence and to prepare the posts for capping. Adding post caps helps protect them from the weather while giving your fence a polished finish.
Finally, inspect the entire setup. Look over every picket to ensure they are evenly spaced and that all screws are tight. Taking the time to check each part means your fence and gate will look great and last a long time.
Finishing Techniques: Staining, Weatherproofing, and Safety Measures in DIY Fencing
Wood Staining and Sealant Application Techniques
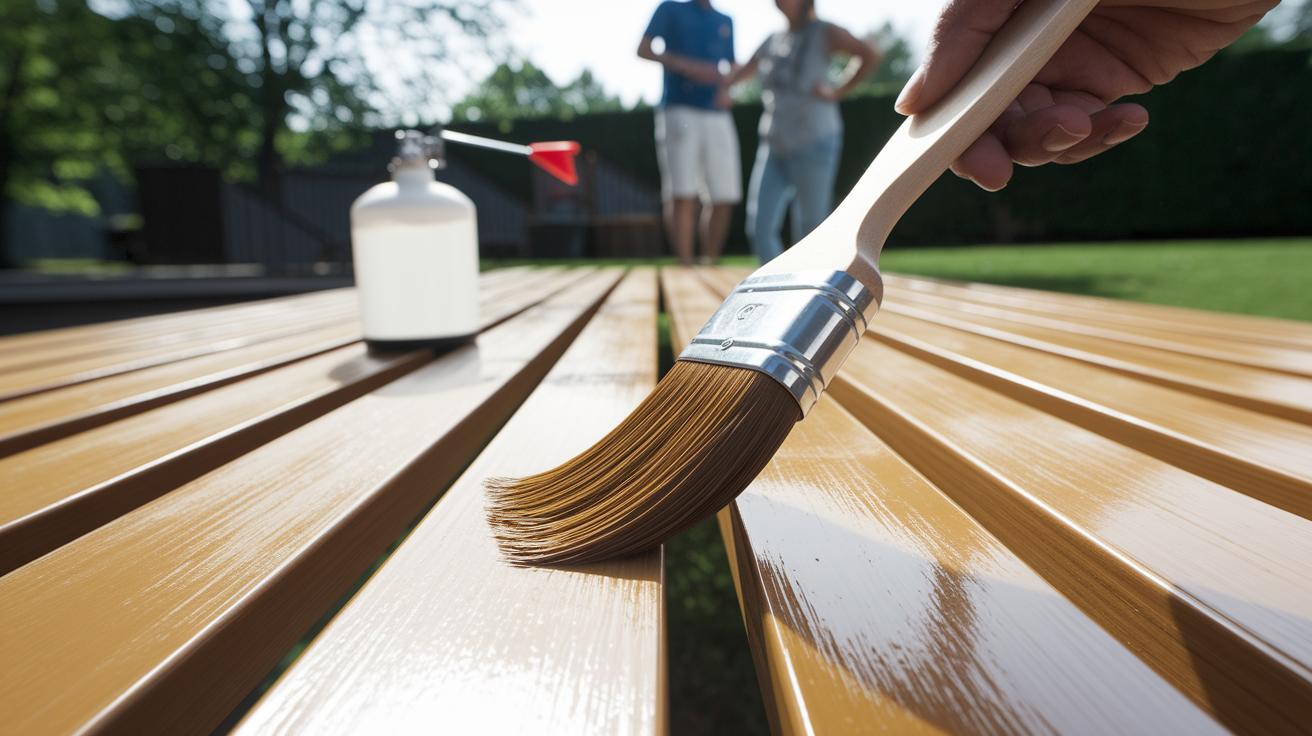
For a fence that lasts, you need the right stain. You can choose a semi-transparent stain for a natural wood look or a solid stain for full coverage. Begin by applying the stain with a sprayer or a large brush. Use long, smooth strokes to cover the wood evenly. Once the stain dries, add a UV-protected sealant to protect the wood from moisture and the sun. Be sure to follow the product instructions for drying times and wait the recommended time between coats.
Essential Safety Precautions
Safety should come first in any DIY project. Always call before you dig to avoid underground hazards. Wear gloves and eye protection when staining or applying the sealant. Check that your ladders are in good shape and use them carefully. Keep your work area clear and store your tools safely. A tidy workspace helps prevent accidents and makes sure you can complete the project safely.
DIY Fencing Sparks Your Home's Unique Charm
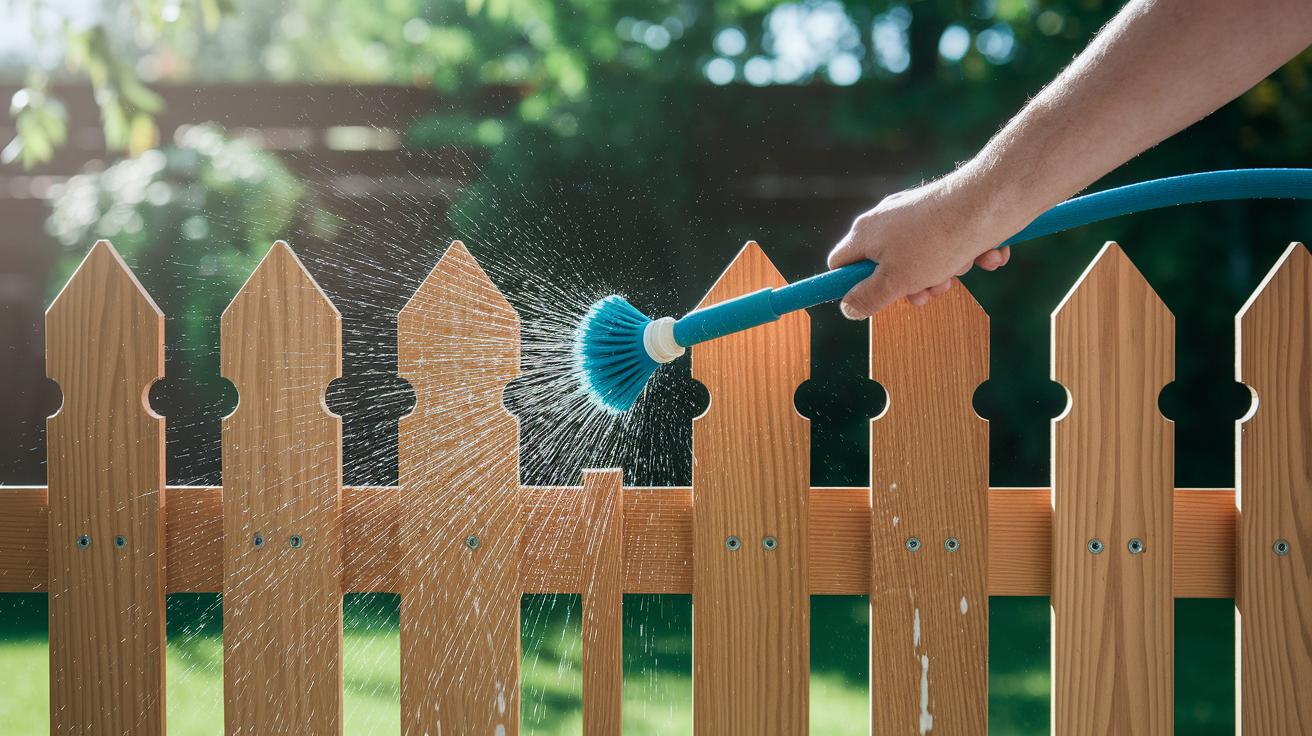
Keep your fence looking great by giving it a simple annual clean. Use a garden hose and brush to wash off dirt and check each panel for damage. This light scrub helps you spot loose screws and worn spots.
Every 1–2 years, add another coat of stain or sealant to your fence. This new layer protects the wood from the sun and rain, helping it stay healthy and bright. It can make your fence look as good as new.
Take a close look at your fence for any signs of leaning, warping, sagging, or rust. These signs mean that a section may need repair. Fix loose panels by tightening screws, replacing any rotten pickets, or using clamps to set them straight.
- Measure for gaps or misalignment.
- Remove and replace damaged pickets promptly.
- Tighten screws and fasteners to secure each panel in place.
A bit of routine upkeep helps the fence last longer and boosts your home's curb appeal. Enjoy the process and watch your outdoor space come to life.
Creative DIY Fencing Design Inspiration and Budget-Friendly Ideas
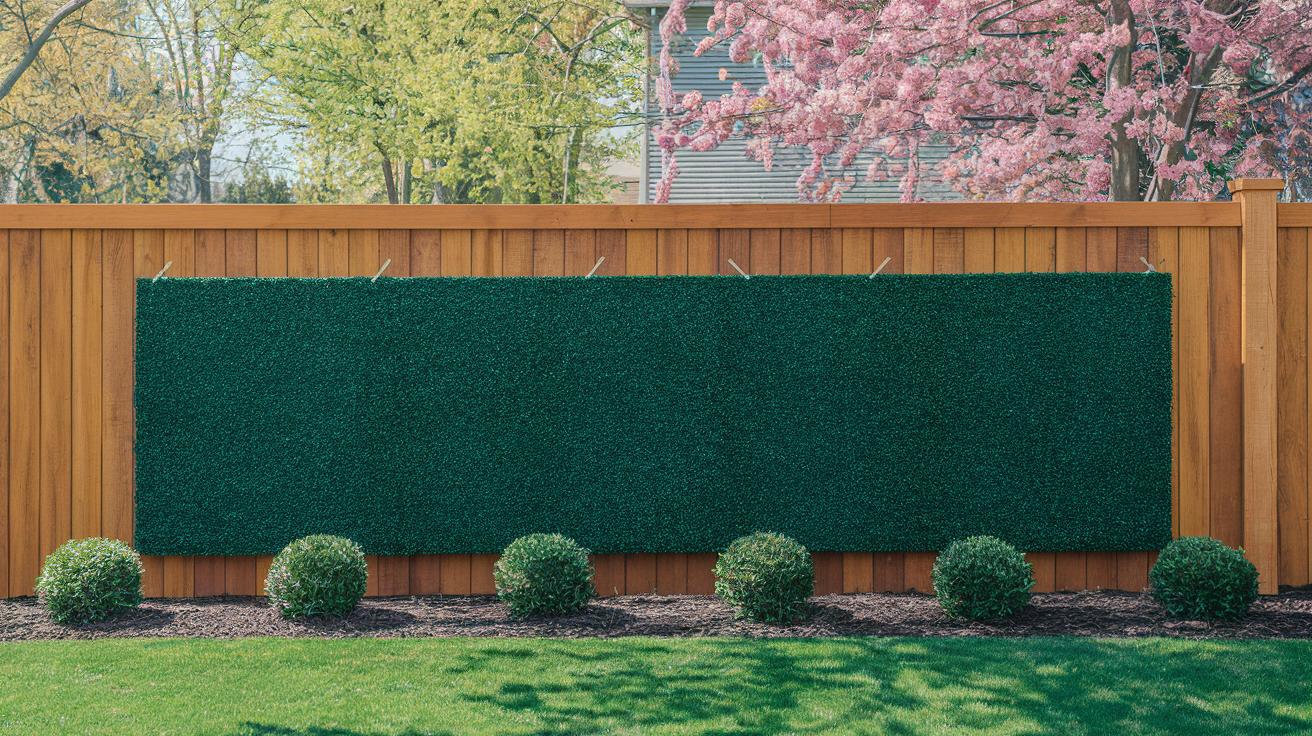
Give your old fence a fresh look without spending a lot. You can create a faux hedge by attaching UV-protected fake greenery to plain wood panels with nails or zip ties. This simple update adds privacy and a touch of nature without the work of caring for live plants. Picture your fence with a burst of green that makes your outdoor space feel like a mini garden wall.
Brighten your fence with a bold coat of oil-based paint. This type of paint soaks deep into the wood for long-lasting protection. Whether you hand-paint a design or use a large stencil, a splash of lively color can change your fence entirely. Imagine a deep blue base with bright accents that draw everyone’s eye.
Try giving your fence character by reusing old barn wood or antique window frames. These salvaged materials add history and style while keeping costs low. Mix pieces of weathered wood for a patchwork look that tells a personal story.
For an artistic touch, build custom lattice panels from pressure-treated wood. Arrange them in a diamond pattern to boost both style and privacy. This idea creates a unique, decorative fence that is easy on your budget.
Final Words
In the action, you moved from planning and measuring your space to picking the right materials and laying out your fence with care. You learned to check permits, set reliable posts, install rails and pickets, and add a secure gate. Plus, you got tips on staining, weatherproofing, and regular maintenance to protect your project. This step-by-step guide empowers you to create a safe, budget-friendly, and attractive diy fencing project. Enjoy building and the pride of seeing your work come to life.
FAQ
DIY fencing ideas
DIY fencing ideas offer creative techniques to build a fence using affordable materials and personalized designs. They help you customize your project to match your style and budget.
DIY fencing panels
DIY fencing panels focus on constructing individual sections of your fence using pre-cut or repurposed materials. They let you build modular components for a tailored and efficient project.
Cheap DIY fencing
Cheap DIY fencing focuses on using low-cost materials like reclaimed wood or chain-link options. It emphasizes budget-friendly planning and simple installation methods to keep expenses low.
DIY fencing kits
DIY fencing kits provide pre-measured materials and clear instructions, making the project simpler. They save time and reduce mistakes, ideal for beginners looking to create their own fence.
DIY garden fence cheap
A DIY garden fence built on a budget uses repurposed or low-cost materials while maintaining design appeal. It offers a cost-effective solution that protects your garden without a high price tag.
Easy to install fence for dog
An easy-to-install fence for dogs uses lightweight panels and secure posts. It provides a safe, quick solution to keep your pet contained and your yard organized without complexity.
Easy DIY fencing
Easy DIY fencing relies on simple materials, clear instructions, and minimal tools. This approach makes it accessible for beginners to quickly improve property privacy and security.
DIY fence for dog
A DIY fence for a dog focuses on durability and safety. It involves secure panels and reliable posts, ensuring your pet stays safely within the yard while easing installation and maintenance.
Is it cheaper to build your own fence?
Building your own fence generally reduces costs compared to hiring professionals. It lets you select affordable materials and invest your own time to trim expenses on construction.
What is the easiest fence to DIY?
The easiest fence to DIY uses pre-made panels or kits that require minimal cutting and simple assembly. This method streamlines the process and suits beginners perfectly.
What is the cheapest way to do fencing?
The cheapest way to fence involves using reclaimed or low-cost materials like chain-link. Careful planning and resourceful sourcing help reduce overall expenses without compromising function.
Do you need a permit to build a fence in VA?
In Virginia, permit requirements depend on fence height and location. Typically, taller fences or those near property lines may need permits, so check with local authorities for specific rules.