

Ever wonder why some home projects go wrong? It might be because each step is rushed or overlooked. When you build with care, you plan every part of your project carefully. This means you pick the right tools and protect yourself at every stage.
Break big projects into smaller tasks. Check each one for hazards and use the proper safety gear. Doing this lowers your risks and saves you time. In the end, smart planning makes your DIY journey safe and successful.
DIY construction safety basics: Build with Confidence
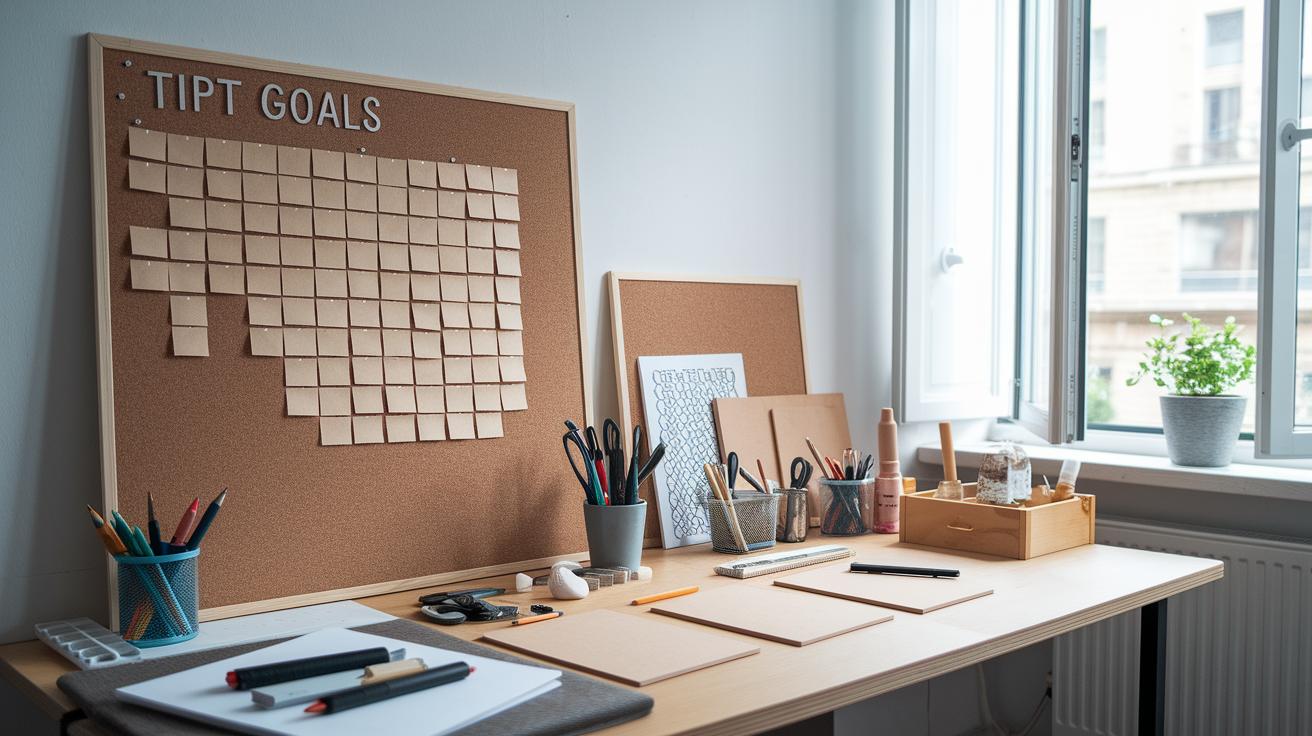
Start by setting clear, achievable goals that match your skill level and the time you have available. Break the work into smaller tasks with a timeline so you know what to do next, and clear away any loose cords or scattered materials to prevent trips and falls.
Before you begin, take a close look around for any overhead hazards. Check for low-hanging beams or wobbly fixtures that might hurt you. If you are using paints, solvents, or adhesives, open a window or run an exhaust fan to keep the air fresh and stop harmful fumes from building up.
Make sure your work area is well lit. Use portable lamps in dark spots to brighten the space. Always wear basic safety gear like goggles, gloves, and a dust mask to protect yourself from flying debris and chemical fumes. These steps not only help keep you safe, they also lead to a smoother, more controlled project.
- Set clear, achievable goals matching your skills and available time.
- Break the project into smaller steps with a timeline.
- Clear away loose cords and scattered materials to prevent falls.
- Check your work area for overhead hazards like low beams or unstable fixtures.
- Ensure good ventilation by opening windows or using an exhaust fan.
- Brighten dark areas with portable lamps.
- Always wear safety gear (goggles, gloves, and a dust mask).
Essential Protective Gear Selection for DIY Construction Safety

Using the right protective gear is a must when working on home construction projects. It stops serious injuries from flying debris, sharp objects, and harmful dust. Whether you are drilling, cutting, or sanding, items like impact-resistant goggles, heavy-duty work gloves, and dust masks protect you from hazards. This simple safety step lets you work with real confidence.
When picking out your gear, choose equipment with trusted ratings such as ANSI and NIOSH. Look for goggles that clearly state they are impact-resistant. Heavy-duty gloves should fit snugly to protect your hands from cuts, splinters, and chemicals. Dust masks or respirators must seal well to keep harmful particles out. You might also want to add a hard hat or bump cap for head protection, a high-visibility vest for better recognition in busy spaces, and steel-toe footwear to guard your feet on rough surfaces.
Avoid common mistakes like using gear that is too loose and skipping items such as ear protection during loud tasks. Stick to proper protective clothing that meets safety standards. This careful step is key to building safely and confidently.
Safe Tool Handling and Operation Techniques in Residential Projects
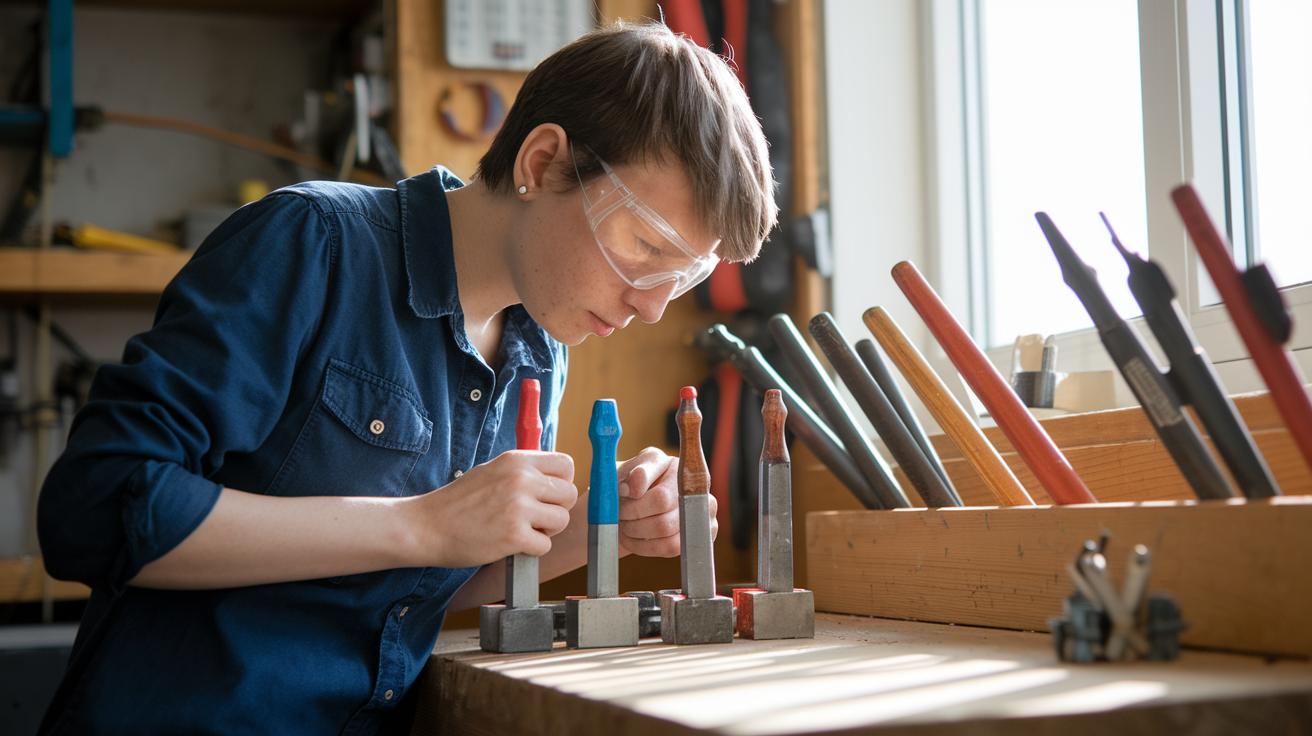
Before you start a project, take a few minutes to read the manual for each tool. This helps you understand the proper grip, stance, and function. Check your tools for signs of wear on cords, moving parts, or blades every time before you use them. This step lets you know what the tool can do safely.
When you are working, always follow these safety tips. Do not use power tools if you feel tired or if you are under the influence of alcohol or medications. Use clamps or a bench vise to hold workpieces in place instead of holding them by hand when using manual tools. Pay close attention to the tool's balance and control as you work to reduce accidents and improve efficiency.
After you finish a project, take care of your tools by cleaning and storing them properly. Unplug corded tools or remove batteries before changing blades or doing any maintenance. Keep blades and bits sharp, and check your equipment for any damage regularly. Store your tools in clearly labeled racks or toolboxes to minimize trip hazards and extend their lifespan.
Fall Prevention Techniques and Ladder Safety in DIY Construction
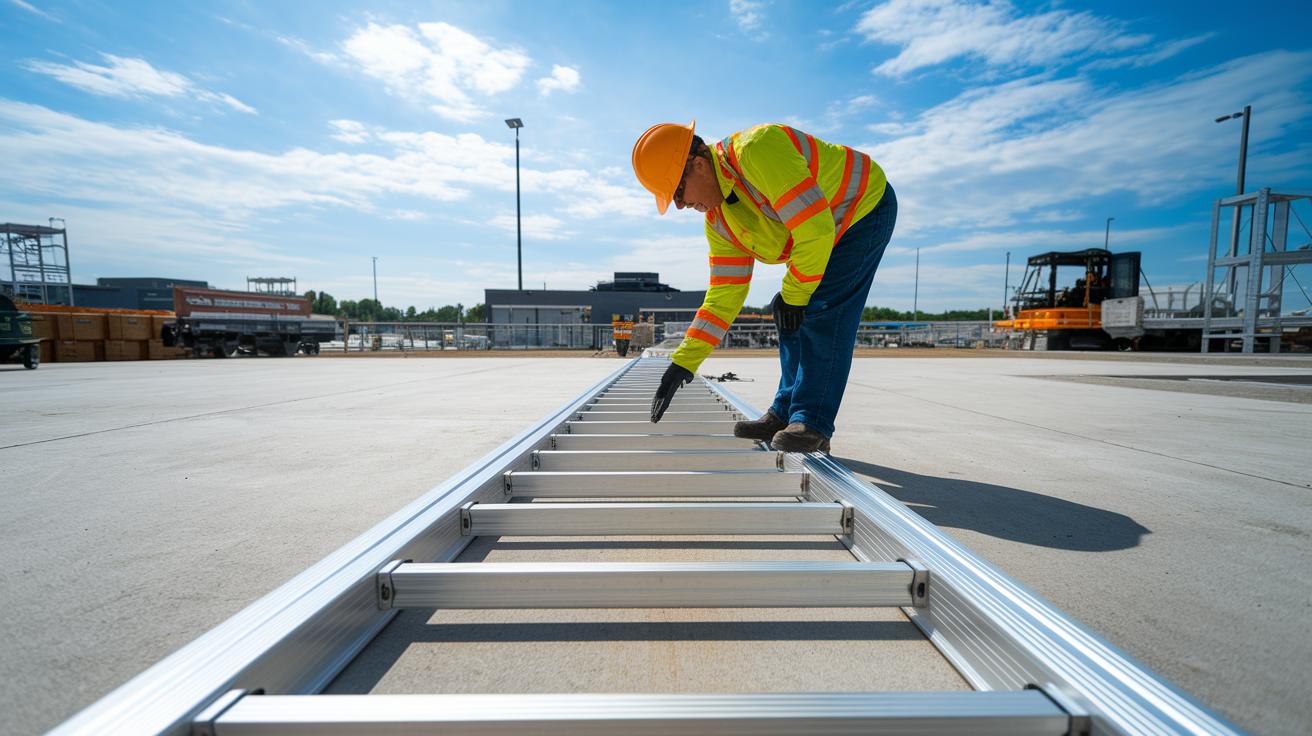
Working at heights can be risky. Falls may lead to serious injuries. That is why you need to check your ladder before every use. A well-maintained ladder lessens your chance of slipping or falling. Make sure you set up your ladder carefully and use it correctly each time you work above ground.
Here are five important safety checks for your ladder:
- Look over the ladder legs, rails, and steps for any cracks, bends, or loose parts.
- Place the ladder on flat, solid ground. Use a base stabilizer or mat if needed.
- Always keep three points of contact (two hands and one foot) when climbing or descending.
- Do not use the top two steps. Stay in the center to keep your balance.
- For extension ladders, secure the top or tie it off to a fixed point so it does not move.
For more detailed ladder safety tips, check out our guide at https://theoriented.com?p=152
Hazard Mitigation and Site Management for DIY Home Builds
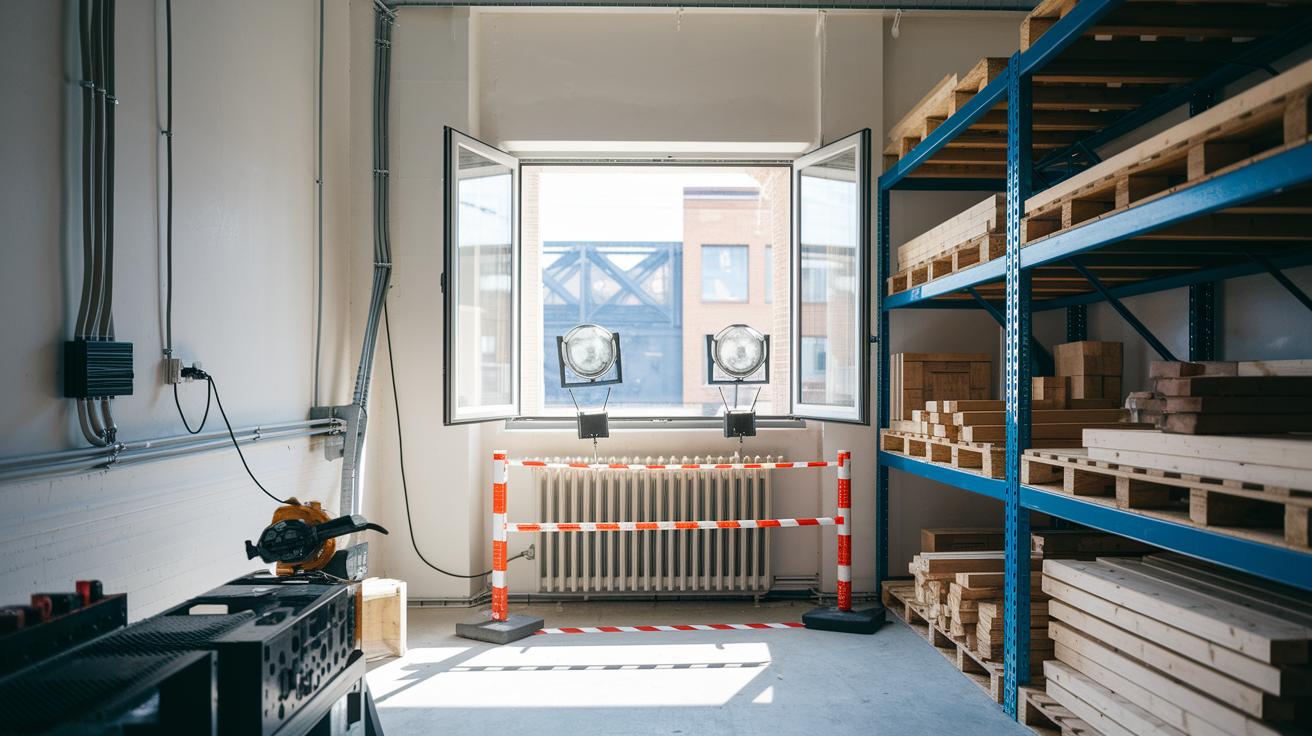
Clear your work area of any objects that could make you trip. Move cords, hoses, and scraps aside. Sweep up sawdust after each work session. Use barrier tape or temporary fencing to keep children, pets, and others away from busy work zones. For example, if you see a messy power cord, move it or secure it right away to help prevent accidents.
Set up good ventilation, proper lighting, and clear storage for your materials. Open windows and run fans when you use paints, solvents, or adhesives so the air stays fresh. Use portable work lights to add at least 300 lux in dark corners. Store heavy items like lumber on racks or pallets and keep them off walkways. Keeping your area tidy and well-lit helps stop injuries and makes your DIY project run smoothly.
Electrical Hazard Prevention and Fire Safety in DIY Construction
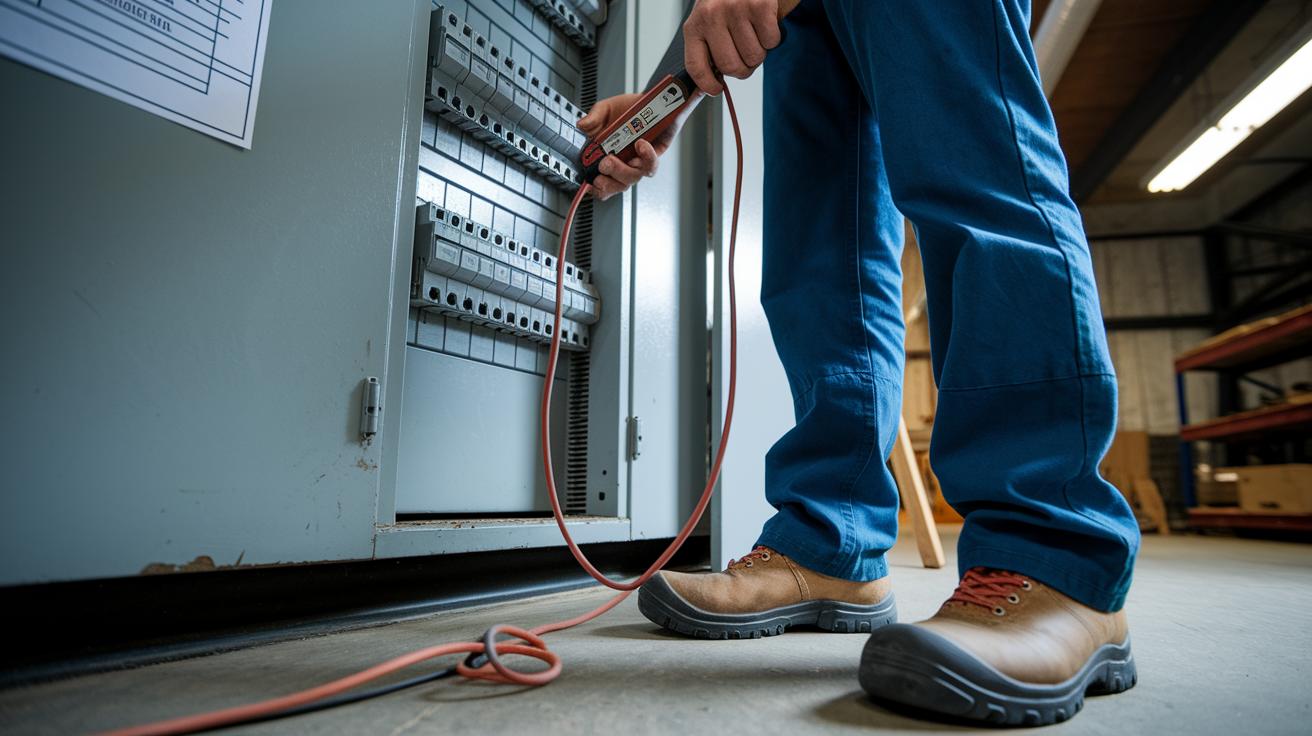
Before you begin any wiring work, turn off the power at the breaker box and use a non-contact voltage tester to check that the circuits are dead. This step helps you avoid accidental shocks. Always use insulated tools and wear rubber-soled shoes for extra safety. For a complete electrical safety checklist, visit the DIY electrical safety checklist page.
When you work with live circuits, spread the electrical load across several breakers. Overloading one outlet or circuit can cause overheating and start a fire. Take a moment to check that all cords, plugs, and connections are secure and in good condition. This extra time can help prevent dangerous malfunctions later.
Keep an ABC-rated fire extinguisher within 25 ft of your work area. Learn the PASS method (Pull, Aim, Squeeze, Sweep) so you know how to use it quickly. Also, set up a clear emergency shutdown procedure and display it where everyone can see it. Following these steps will help keep your work area safe from both electrical hazards and fire.
Emergency Response Planning and Incident Prevention in Home Renovations

Plan regular breaks and set clear stopping points to help manage fatigue. Fatigue can cause mistakes, so take a short pause whenever your focus slips. A quick break can stop a small error from turning into a big one. Stay alert and well-rested to create a safer work area.
Keep a full first-aid kit on-site that has bandages, antiseptic wipes, burn dressings, and eye wash. Place the kit in a spot that everyone can reach quickly in an emergency. This simple step ensures you can treat minor injuries immediately and prevent things from getting worse.
Mark all emergency exits on your work area map. Use clear signs or barrier tape to show hazardous spots like areas with live wires or wet paint. This makes it easier for everyone to know where to go if something happens.
Write down and share any near-miss or small accidents right away. Reporting these incidents helps you adjust safety steps and build a safer work site for everyone.
Building a Safety Culture: Manuals, Checklists, and Ongoing Inspections
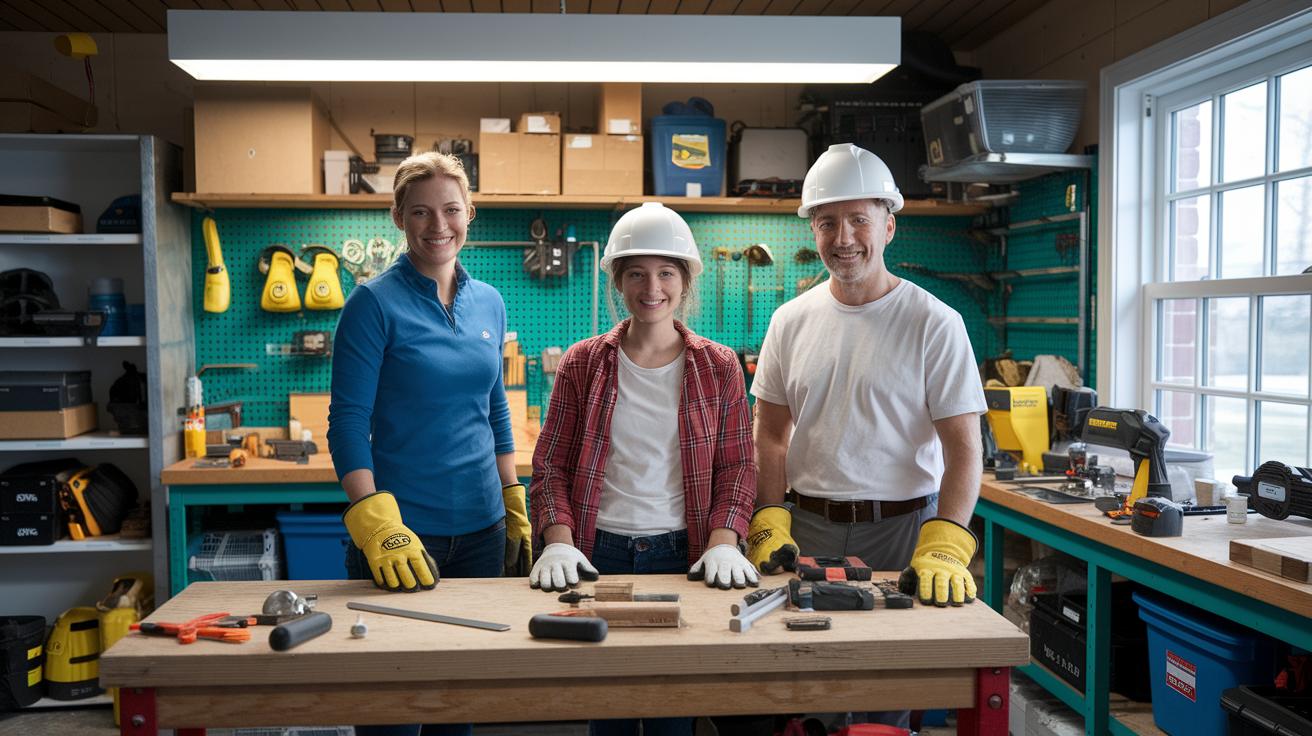
Start by creating a clear, site-specific safety manual. Write down which personal protective equipment (PPE) to use for each job. List items like gloves, goggles, masks, and hard hats and explain when and how to use them. Include easy-to-follow steps for using tools safely and what to do if an emergency happens. Train all helpers and family members on these rules so everyone understands their role in keeping the work area safe.
Next, set up a checklist for each major task such as electrical work, cutting, or painting. This checklist will help you spot risks before you begin. Also, plan a weekly review of your tools, ladders, barriers, and workspace to make sure everything is in good condition and in the right place. Use what you find to update your safety manual and checklists, especially if local rules change. Regular checks like these keep safety a top priority throughout your projects.
Final Words
In the action, you tackled planning, hazard removal, and the smart setup of your work zone while following DIY construction safety basics. You selected the right protective gear, handled tools properly, and practiced safe ladder and fall prevention techniques. You also managed hazards with proper lighting, ventilation, and organized material storage while planning for emergencies. Each step sums up proven on-site safety measures. Keep these guidelines in mind and enjoy the process, knowing you’re set to build a secure, efficient, and successful project.
FAQ
How do DIY construction safety basics guide beginners?
DIY construction safety basics for beginners cover planning projects, removing hazards, ensuring proper ventilation, and using protective gear. These steps help you set a safe work zone and prevent injuries.
What do EPA lead firm renovators, licensed lead abatement contractors, and certified lead professionals do?
EPA lead firm renovators, licensed lead abatement contractors, and certified lead professionals follow EPA guidelines to safely test, remove, and manage lead-based paint. They help protect families from potential lead hazards during renovations.
What does the 20/20 rule in construction mean?
The 20/20 rule in construction means that if you can spot a hazard from 20 feet away, you should be able to react within 20 seconds. It stresses the importance of quick hazard recognition and prompt action.
What are the 10 basic safety rules in construction?
The 10 basic safety rules cover planning, using proper protective gear, keeping work zones clear, handling tools safely, ensuring proper lighting and ventilation, following ladder safety, managing electrical risks, preventing falls, reporting incidents, and performing regular inspections.
What are the 4 major hazards in construction?
The 4 major hazards in construction are falls, electrical accidents, tool or machinery injuries, and exposure to hazardous substances. Addressing these risks with specific safety measures reduces the chance of injury on site.
How do I avoid DIY project fails?
Avoid DIY project fails by setting realistic goals, breaking tasks into steps, keeping your work zone organized, using proper safety gear, and following established safety guidelines. This approach minimizes mistakes and boosts project success.