

Ever notice how a little help can change your whole DIY experience? In our hands-on world, a solid community does more than just swap ideas. It grows your skills and sparks new creativity. When neighbors work together with clear goals and a genuine wish to help, every project turns out better for everyone. This blog shows you simple steps to build a DIY community that boosts your skills and creates lasting bonds.
Key Steps to Building a Supportive DIY Community

Start by setting clear expectations for how your DIY group will work. Decide if you want to meet online, in person, or mix both. This helps everyone know if the group will focus on creative projects or emotional support. For more on the basics, check out what makes a DIY community unique.
Keep building trust by showing up often. Going to regular meet-ups like coffee-shop craft nights or hobby classes helps everyone feel connected. A friendly smile and a genuine compliment can go a long way in forming a strong bond.
- Define your meeting style before you start inviting people.
- Attend local events or hobby classes each week to build a familiar presence.
- Use simple techniques like eye contact and sincere compliments to stay approachable.
- Choose the right setting for your group, be it face-to-face or online.
- Set clear, realistic goals that match your idea of a helpful community.
Plan regular gatherings and check in with the members to see what works best. As your group grows, keep fine-tuning your plans to make sure the community stays supportive and lively.
Designing Collaborative Projects in a DIY Community

Setting Clear Goals and Milestones
Start by listing what you want to accomplish. Write down clear, SMART goals (Specific: clear details; Measurable: you can track progress; Achievable: within reach; Relevant: fits your project; Time-bound: set deadlines). Check your progress every 2 to 4 weeks. For example, if you plan a weekly workshop for 15 to 20 people, set a goal like finishing a project demo or learning a new skill by the end of the session. This keeps everyone on track and proud of their work.
Assigning Roles and Mentorship Pairings
Give every team member a clear role. Let each person take a turn leading the project. Pair up experienced makers with beginners to share tips and guidance. One person can handle materials while another manages time and logistics. This builds skills and keeps the spirit of the community strong.
Showcasing Work and Gathering Feedback
Finish your project with a demo where everyone shows what they have made. Hold a group chat to share feedback and ideas for improvement. Save these results in an online library for future projects. This cycle of planning, doing, and reviewing builds engagement and strengthens the DIY community.
Leveraging Online and Offline Platforms for a DIY Collective

Staying connected with your DIY community is easier than ever. You can use different tools to spark group chats or plan events. Build a space where ideas flow and everyone feels backed up. Online forums with active moderation and fresh tutorials can see 30–40% monthly engagement. That means a lively online group boosts teamwork and sparks creative ideas. Meanwhile, meeting face-to-face adds energy and hands-on learning.
Here are some platforms worth checking out:
- Slack: A digital hub where you can chat with fellow makers in real time.
- Discord: Offers organized channels for focused talks on various projects.
- Facebook Groups: Great for sharing tips and posting community updates.
- Meetup: Perfect for planning in-person gatherings and local craft nights.
- Eventbrite: Helps you schedule and manage event sign-ups with ease.
- Zoom: Ideal for live Q&A sessions and online demos.
Keep your community engaged by picking a trusted moderator to guide online chats and answer questions quickly. Rotate the leadership of virtual sessions so everyone feels they own part of the process. At in-person meet-ups, encourage makers to share their progress and ask for quick feedback. Refresh your events and online content often by listening to what the community wants. Combining digital tools with face-to-face meet-ups lets you enjoy the benefits of remote collaboration while keeping real-life connections strong and inspiring.
Creating a DIY Resource Sharing and Tool Lending System
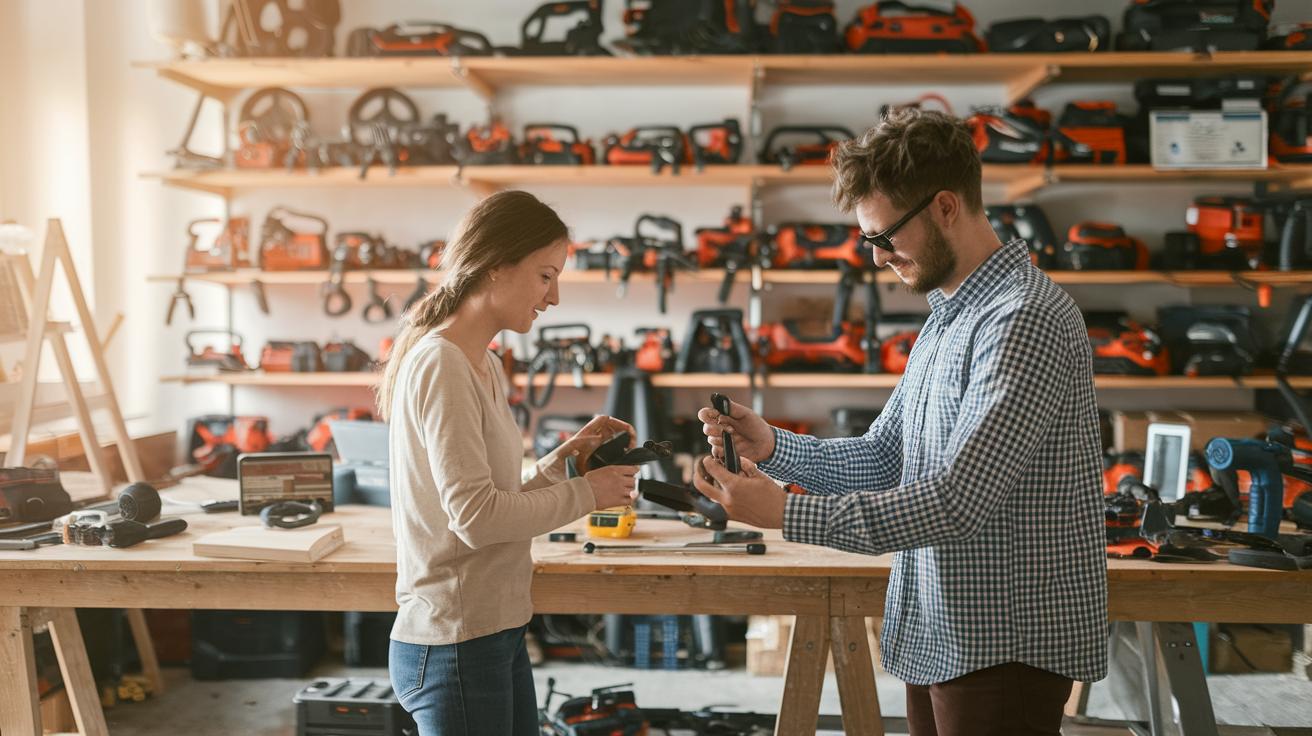
A community-run tool sharing program helps everyone save money and access special tools when needed. Public tool libraries that offer power tools and specialty equipment can grow their membership by 25-30%. This lowers costs for each person and keeps quality tools in use. It also brings people together as members share their favorite tools.
To make this work well, start by setting clear guidelines and a simple way to track tools. You can use a basic spreadsheet or free club software to manage an inventory of 50-100 items. Holding swap meets every three months gives members a chance to trade extra supplies. These events help everyone stay involved and remind borrowers to return items on time.
- Use a simple spreadsheet to log check-in and check-out dates.
- Set clear rules for borrowing and decide on a standard return time.
- Schedule quarterly swap meets to trade extra supplies and introduce new tools.
- Focus on key tools like power tools and specialty gear to boost membership.
- Create a check-out process where every member is responsible for the tools they borrow.
- Set up a clear signup and orientation that covers how to use, care for, and stay safe with the tools.
- Remind members to update the inventory regularly so the list stays accurate and reliable.
Fostering Peer Mentorship and DIY Skill Swaps

Set up regular peer mentorship sessions to help your DIY community grow. Organize groups of 4 to 6 people to meet every two weeks for a 90-minute skill-sharing workshop. Rotate the host each time so everyone gets a chance to lead, share tips, and show their progress. These meetings boost your skills and build trust among neighbors.
Match beginners with experienced makers during these sessions. When you pair a newcomer with an expert, you mix fresh ideas with time-tested methods. This blend gives every meeting a new lesson to learn from. Many communities report up to a 20% boost in member engagement when they swap skills each month.
Keep the momentum going with a set schedule. Stick to a firm plan for your biweekly meetups. Ask each participant to prepare a short demonstration or tip. A simple sign-up sheet can help plan topics and presenters ahead of time. Review past projects and outline upcoming challenges so everyone sees quick benefits from the group effort.
Maintaining Engagement Through Workshops and Feedback Loops
Planning Engaging Hands-On Workshops
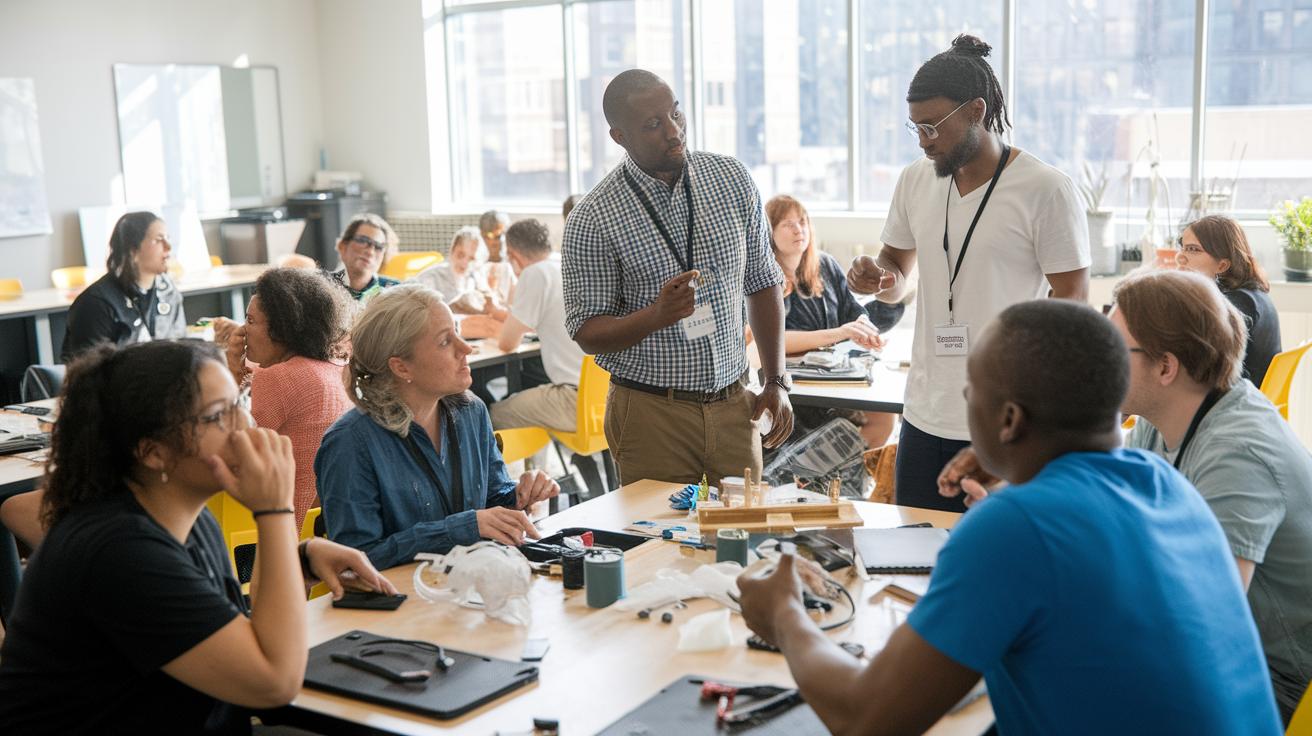
Set up interactive 2-hour workshops that boost creativity and strengthen community bonds. Choose topics that cater to all skill levels and pick presenters who speak clearly and inspire trust. Prepare your venue early to make sure you have enough space for live demos and hands-on projects. Set clear goals for each workshop so participants can try out new techniques right away. Pair attendees into small groups to work on fun challenges. For example, start with a short demo on one task, then let the group finish a related project together. This format usually attracts 10 to 15 people and scores around 85% in satisfaction.
Implementing and Closing Feedback Loops
Right after each workshop, hand out quick surveys to capture what worked and what could be better. Collect responses for one week to keep feedback fresh and honest. Use the survey results to adjust your future sessions, keeping the community in the loop. Every three months, hold a brainstorming roundtable to gather 15 to 20 new ideas from the group. These regular check-ins help keep the creativity flowing and the DIY spirit strong.
Final Words
In the action, we covered clear goal setting, regular meet-ups, and approachable steps that lay the foundation for building a supportive DIY community. We explored how to plan collaborative projects, set up online and offline platforms, and share tools and resources. We also looked at peer mentorship and workshops that keep energy high and ideas flowing.
Keep these steps in mind as you plan your next project. With careful preparation and steady engagement, you can create a community that grows stronger every day.
FAQ
How do I build a supportive DIY community?
Building a supportive DIY community starts with clear goal setting, regular event attendance, and friendly, approachable behavior while choosing the right format—virtual, face-to-face, or hybrid.
What are the key steps to designing effective collaborative DIY projects?
Designing collaborative DIY projects means setting clear project objectives, defining roles, scheduling milestone check-ins every 2–4 weeks, and rotating leadership to foster shared ownership.
Which online and offline platforms can boost DIY community collaboration?
Boosting DIY community collaboration means using digital tools like Slack, Discord, and Facebook Groups for discussion, while using Meetup and Eventbrite to plan and schedule in-person gatherings.
What should I know about setting up a DIY resource sharing and tool lending system?
Setting up a DIY resource sharing system involves tracking community tools with spreadsheets or free software, establishing member guidelines, and hosting periodic swap meets to share materials.
How do I foster effective peer mentorship and DIY skill swaps?
Fostering peer mentorship means organizing biweekly skill-share sessions, pairing beginners with experienced makers, and rotating leadership roles to encourage knowledge exchange.
How do I maintain community engagement through workshops and feedback?
Maintaining community engagement starts with hosting hands-on workshops, distributing immediate surveys post-event, and holding quarterly brainstorming rounds to adapt future sessions based on feedback.