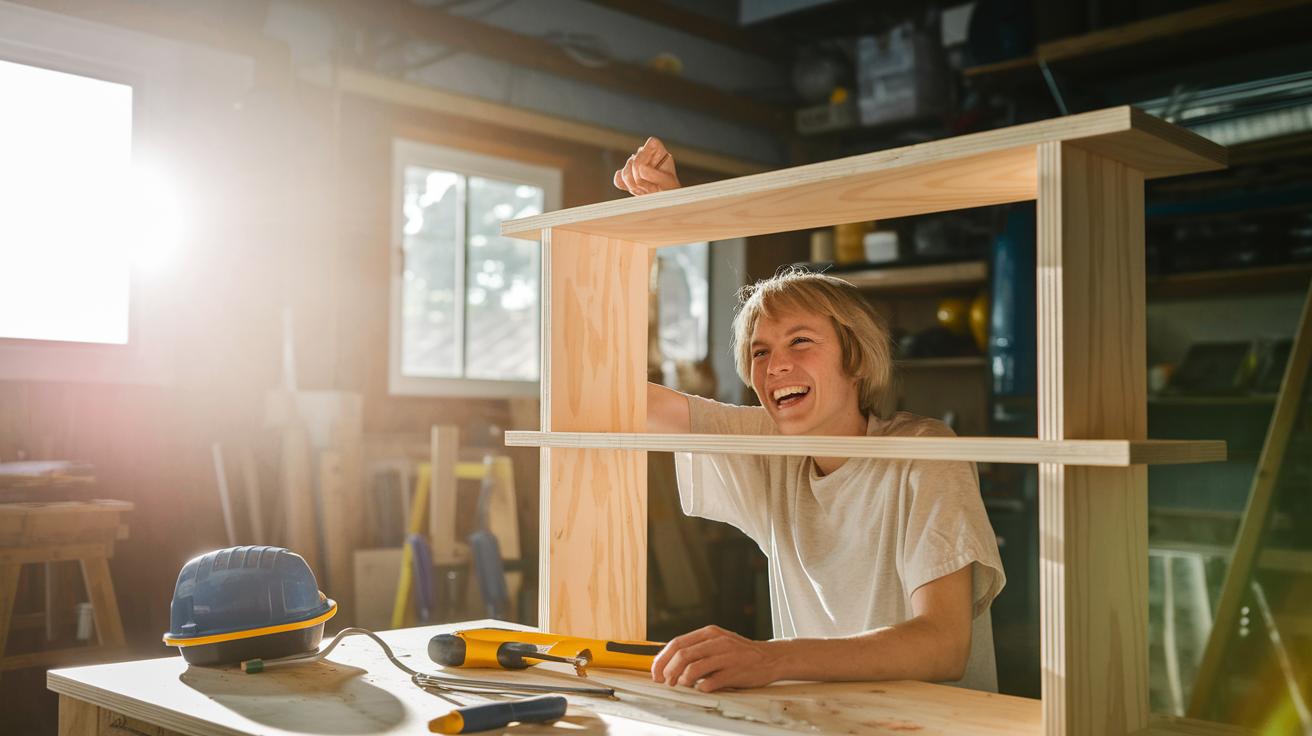

Ever thought your weekend could be a chance to create something new? Creative DIY projects might be the spark you need. Imagine turning a plain wall into a piece of art or a tired porch into a welcoming spot with simple ideas. These projects refresh your home and lift your spirits. In just a few hours, you can change your space and your mood. Ready to get started? Let's dive into some creative ideas that make home improvements feel easy and fun.
Kickstart Your Home Transformation with Creative Weekend DIY Projects
Weekend DIY projects are a great way to refresh your home without spending too much time. You can update your living room, kitchen, or outdoor area with simple ideas that feel fun and friendly. Picture a fresh coat of paint on your porch that makes your entryway shine or a small barn door that adds charm to your laundry room. Most of these projects need only a few common tools and can be done in less than 48 hours.
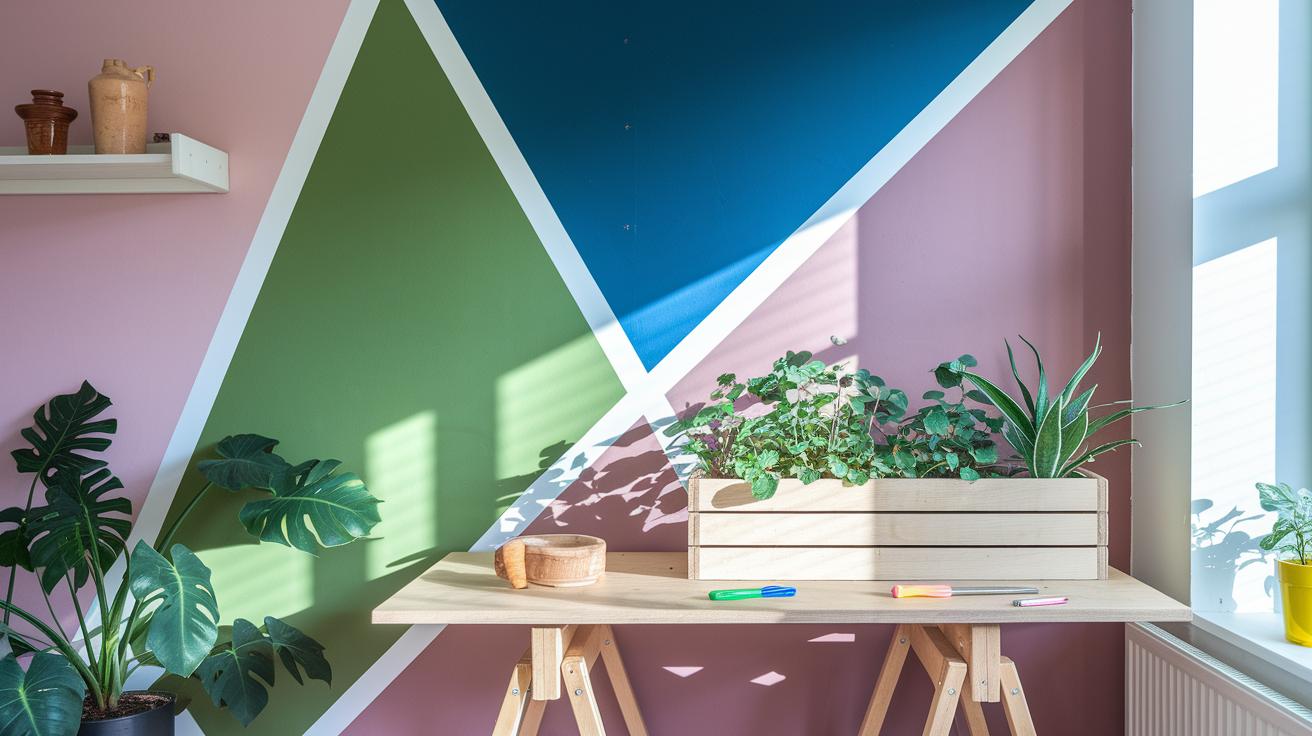
Try painting bold geometric shapes on a small wall for a quick update, or build a wood planter box to bring a bit of nature inside. Other ideas include giving a room a new look with faux plaster, crafting your own roman shades to update a window, or adding oversized checkerboard designs to create an eye-catching spot.
Each project is designed to give a big visual lift without a big expense. You might set aside a fun weekend to turn an ordinary space into a vibrant room. With options from quick fixes to more detailed projects, you can easily add a personal touch throughout your home.
Planning Creative Weekend DIY Projects: Timelines, Budgets & Tools

Start by breaking your project into clear, step-by-step parts. For example, if you plan to paint a fireplace brick white, list four clear steps and note how long each one should take. Most projects like this take about 6-8 hours, which gives you clear milestones along the way.
Set a budget of about $100 to $200 for materials. This helps you avoid overspending and makes it easier to choose the right supplies. Write down every item you will need, both common items and any special gear.
Key planning steps:
- Decide what you want to achieve.
- Set aside time for each task, including setup and cleanup.
- Create a one-page checklist of all the tools you will use. For example, include a drill, a level, and a tape measure.
- Check that you have all your tools before you start.
Review your list with a trusted home improvement tools guide to make sure nothing is missing. This careful planning sets you up for a smooth DIY project.
Material Sourcing for Creative Weekend DIY Projects: Upcycled & Budget-Friendly Options
Many creative DIY projects come alive when you uncover unexpected treasures. Finding recycled or low-cost supplies can make your weekend feel like a fun treasure hunt.
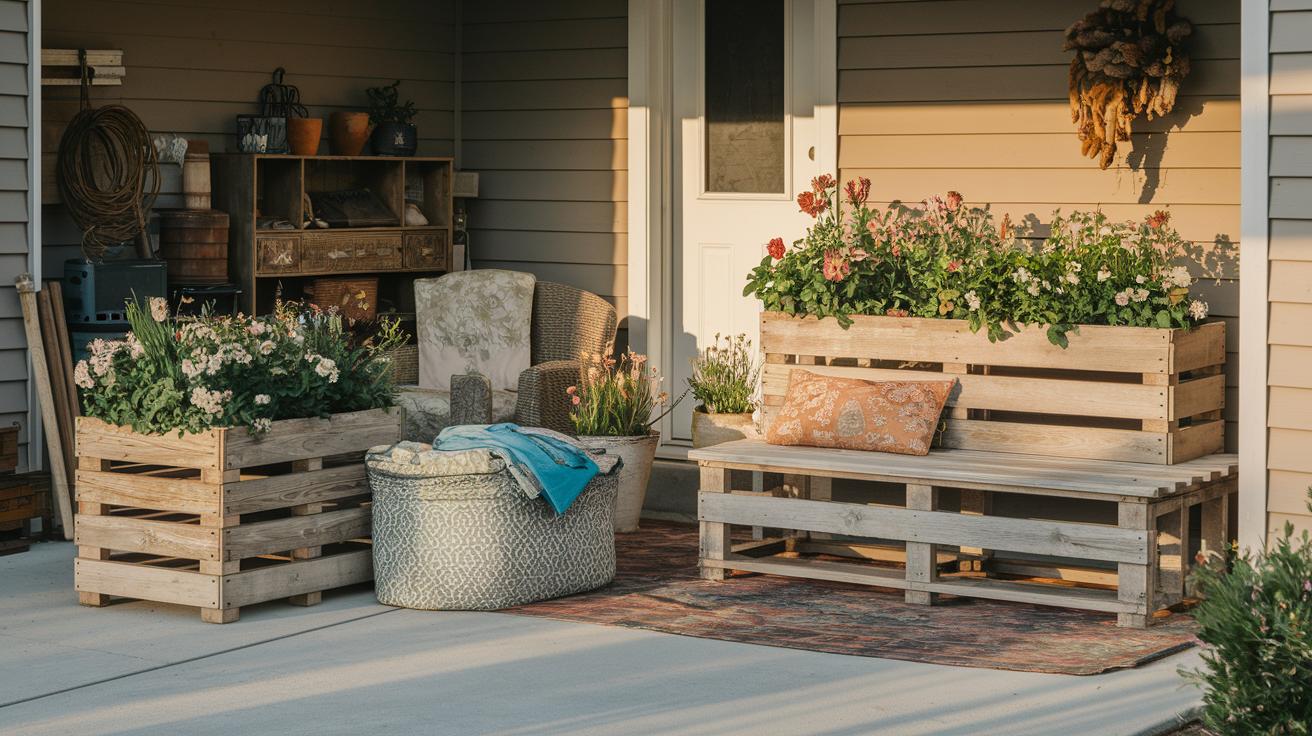
Begin at your local salvage yard. They often have reclaimed lumber and extra tiles that work great for making planter boxes or one-of-a-kind plate racks. One neighbor shared, "I found a stack of old wooden pallets that became the heart of my new garden bench."
You can also explore thrift stores and online swap groups. These spots offer affordable fabrics and furniture pieces that are just waiting for a new life. Be sure to check community bulletin boards too; you might find free giveaways or unused materials that need a home.
Here are a few quick sourcing tips:
- Visit your local recycling center for extra materials.
- Look for online swap groups where neighbors share supplies.
- Check with retailers who sell leftover tiles that work well for peel-and-stick projects.
Taking the time to clean, prep, and repurpose these finds not only cuts costs but also adds a unique, eco-friendly twist to your project. For more ideas, see how to find repurposed materials for DIY.
Five Quick Creative Weekend DIY Projects: Step-by-Step Guides
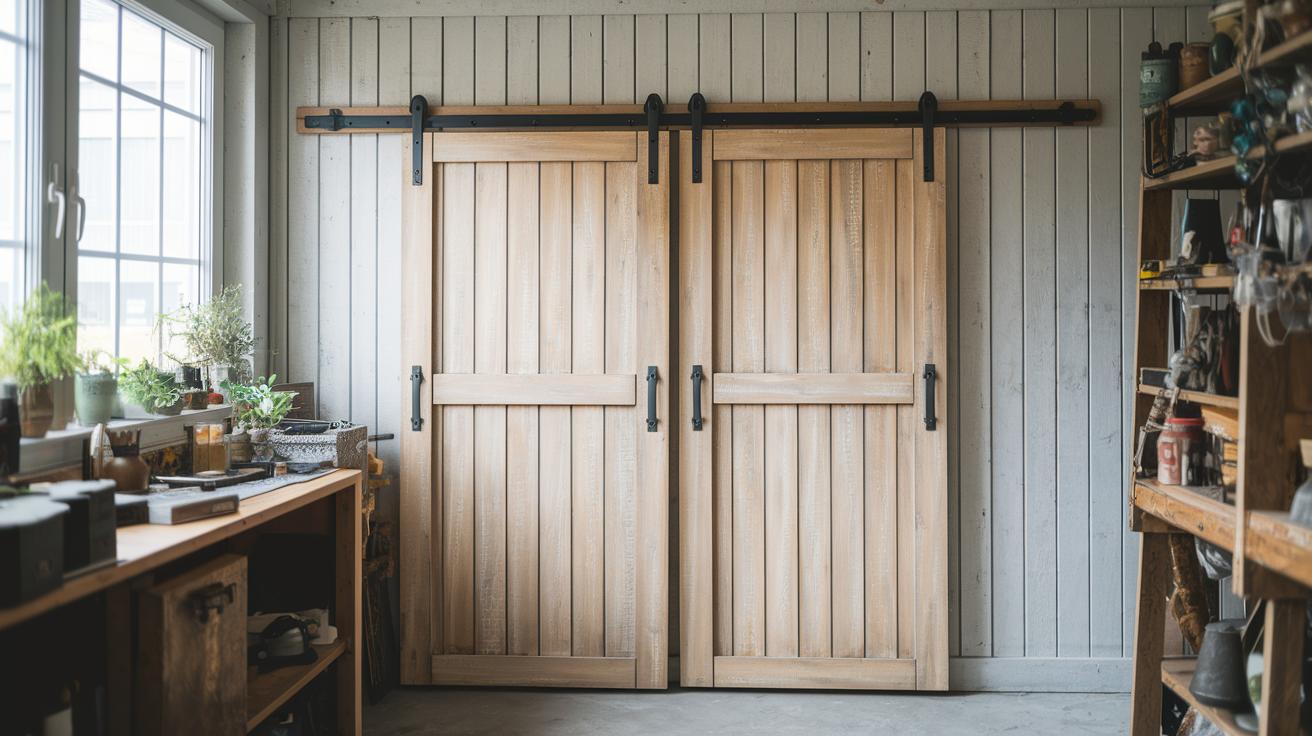
Project 1: Build a Mini Barn Door (Estimated Time: 6–8 hours)
Materials: reclaimed wood, barn door kit, screws, hinges, drill.
- Measure your doorway carefully to get the right door size.
- Cut your reclaimed wood to match the measurements and sand the edges until smooth.
- Assemble the door frame using the barn door kit hardware.
- Attach the hinges and swing the door to check that it moves easily.
- Finish with stain or a light coat of paint to bring out a rustic look.
Project 2: Paint a Kitchen Island for a Color Pop (Estimated Time: 5–7 hours)
Materials: primer, high-quality kitchen paint, painter’s tape, rollers, brushes.
- Clean the kitchen island well to ensure a smooth surface.
- Apply a layer of primer and wait until it dries completely.
- Tape off any edges or details you want to protect from paint.
- Paint the island with two coats of your chosen color, letting each coat dry.
- Peel off the tape and add any touch-ups needed for a clean finish.
Project 3: Construct a Wood Planter Box (Estimated Time: 4 hours)
Materials: reclaimed lumber, exterior screws, wood sealant, saw, measuring tape.
- Cut the reclaimed lumber to the dimensions you need for the planter.
- Assemble the base and sides, making sure the corners are square.
- Drill pilot holes before screwing in the screws to prevent splitting.
- Coat the planter inside and out with wood sealant for weather protection.
- Place the planter in a sunny spot and fill it with soil.
Project 4: Tile the Back of a Bookcase (Estimated Time: 4–6 hours)
Materials: peel-and-stick tiles, a notched trowel, level, utility knife, measuring tape.
- Measure the back panel of the bookcase accurately.
- Clean the surface thoroughly so the tiles stick well.
- Lay out the tiles in your chosen pattern before applying them.
- If needed, use the notched trowel to add extra adhesive for a stronger bond.
- Trim off any excess tile with a utility knife for a neat finish.
Project 5: Paint a Durable Floorcloth as a Rug Alternative (Estimated Time: 4–5 hours)
Materials: fabric paint, stencils, roller, protective gloves, floorcloth.
- Spread the floorcloth flat on a clean, protected surface.
- Secure the stencils where you want a pattern on the floorcloth.
- Use a roller to apply the fabric paint evenly over the stencil areas.
- Let the paint set as directed on the package.
- Remove the stencils and allow the floorcloth to dry completely.
Customization Tips for Creative Weekend DIY Projects: Personalizing Your Builds
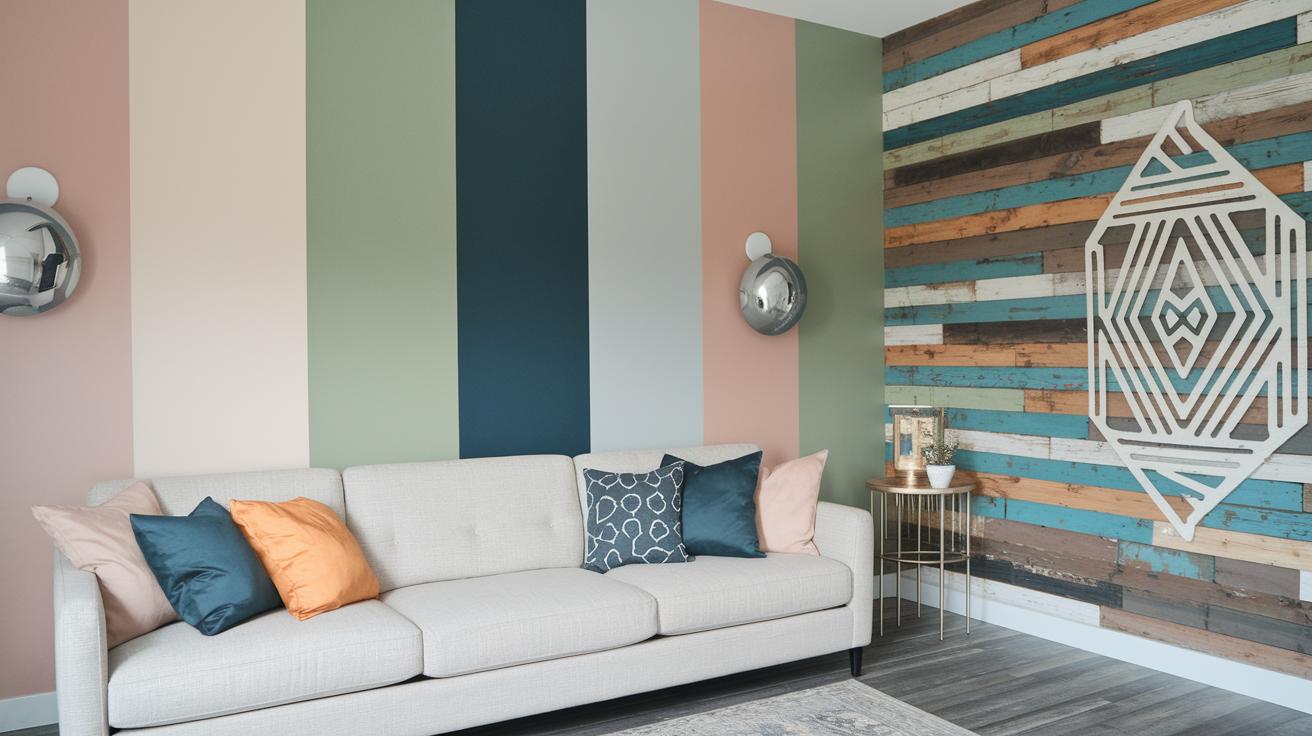
Boost your DIY projects by choosing a paint scheme that fits your modern space. Start with a plan that uses solid blocks of color to wake up your room. For example, use a soft, neutral base and add a pop of bold color on one wall. Try adding eye-catching geometric patterns that change a plain wall into a real statement.
Give your project a personal twist with stenciled murals or mixed media collages on reclaimed wood. You might layer a custom mural with different textures, using hints of metallic shine or a worn, distressed finish for a trendy urban look. Picture it this way: start with a fresh idea, like covering a blank wall with a crisp geometric stencil that plays with shapes and shadows to tell an artful story.
Mixing different materials can create a warm, layered feel. Experiment with textures by adding rough, natural grain to planters alongside a smooth, painted surface. Small details like matching drawer pulls or updated lighting can tie your design together. These simple tweaks boost the look and add your unique personality to each build.
Essential Safety Practices for Creative Weekend DIY Projects
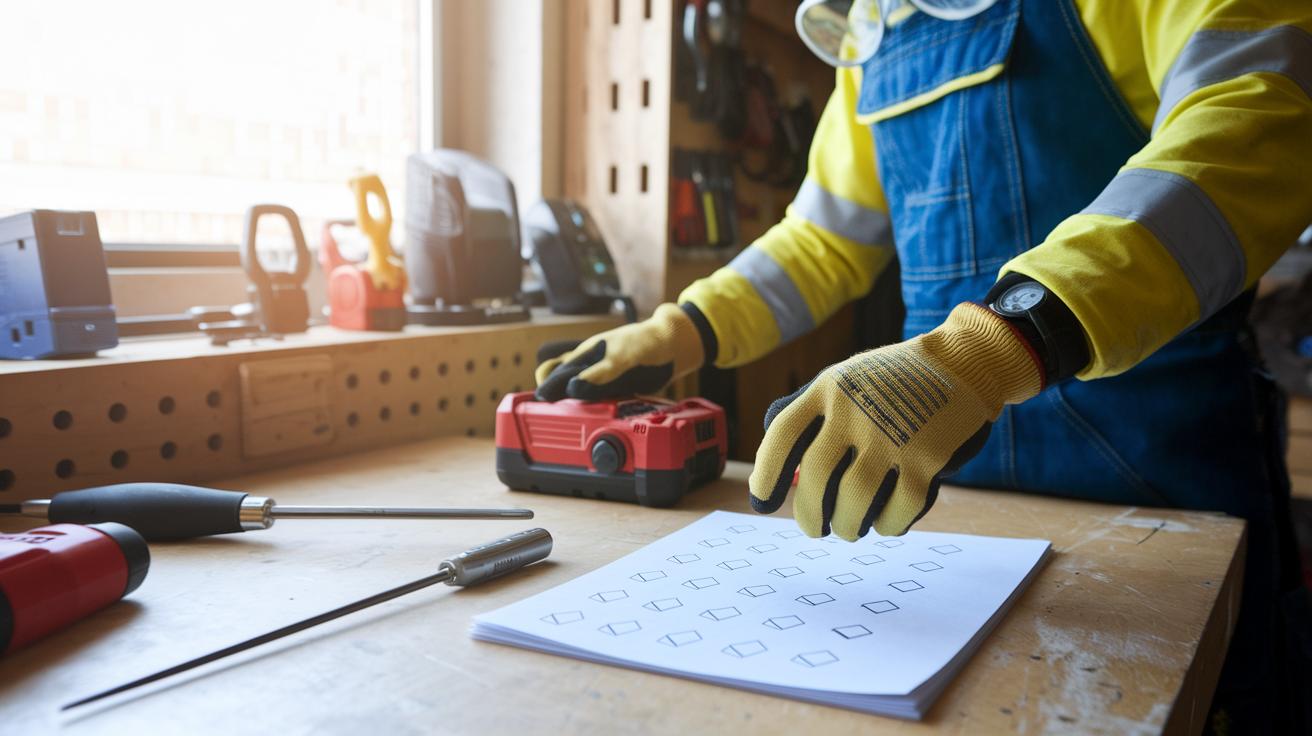
Safety always comes first when you work on a weekend DIY project. Put on your safety gear like gloves and goggles whenever you handle tools or chemicals. Make sure your workspace has good airflow, especially if you are using paints or adhesives. If you need to use power tools, be sure to turn off the power at the breaker. Always read and follow the manufacturer instructions to keep your tools safe and working well.
Here are some key safety tips:
- Set up ladders on flat, even ground to avoid slips and falls.
- Check that your work surface is steady before you begin your project.
- For lower tasks, use a step stool instead of a shaky ladder.
Following these steps will help you work confidently and enjoy your creative DIY projects without any extra risks.
Showcasing Your Creative Weekend DIY Projects: Photo, Styling & Maintenance Tips

Shoot your projects in natural light to show true colors and textures. Capture a clear "before" photo and an "after" photo that shows the change. For example, snap one picture before you add a burst of color and one once the room pops.
Set the scene with matching decor. Add a simple vase or a soft throw to draw attention to your work and create a custom look. Write short captions for your before and after photos that explain your process and the choices you made.
Keep your projects in great shape with these simple steps:
- Seal painted surfaces to protect them from wear.
- Deep-water your landscaped planters to help new plants grow strong.
- Tighten hardware from time to time on features like mini barn doors or floating shelves.
These easy tips will keep your DIY projects looking fresh and inspiring for many weekends ahead.
Final Words
In the action, this guide has offered practical steps to transform your space using creative weekend DIY projects. We explored planning, budgeting, and safety tips, along with material sourcing and step-by-step project guides. Each section showed how manageable tasks can turn into professional-looking, personalized home improvements. Simple tweaks and clear instructions help you make a big impact with minimal tools and time. Keep experimenting, follow safety practices, and enjoy every moment of the process. Your next creative weekend DIY projects are waiting to shine.
FAQ
What are some creative weekend DIY projects on a budget?
The budget-friendly creative weekend DIY projects let you transform spaces using simple updates like mini barn doors, planter boxes, and fresh coats of paint, all with minimal spending and repurposed materials.
What DIY projects are ideal for adults?
The DIY projects for adults focus on practical, stylish updates like faux plastering, unique painting techniques, and custom wood builds that offer a satisfying challenge and a noticeable boost to home decor.
What are some DIY home projects for beginners and students?
The DIY home projects meant for beginners and students are simple, step-by-step tasks such as accent wall painting or basic furniture upcycling, which offer a great introduction to home improvement.
What are the most popular DIY home projects?
The most popular DIY home projects include updating spaces with creative touches like custom shelving, planter boxes, and painted accents that provide a visual lift with manageable steps and materials.
What are some fun DIY craft projects?
The fun DIY craft projects combine creativity with practicality, offering ideas such as upcycled furniture designs, decorative wall art, and personalized home accessories that add a unique flair to any room.
What are quick DIY projects?
The quick DIY projects are designed to be completed in a day or less, such as painting a porch or building a small planter, offering fast fixes and instant visual improvements without heavy tools.
What are some cool projects to do?
The cool projects to try include unique builds like oversized checkerboards or mini barn doors, which mix creative design with hands-on building to add personality and style to your space.
What weekend projects work well for engineers?
The weekend projects for engineers involve precision and creativity, featuring builds like custom tool storage or innovative mini installations that challenge your technical skills while offering practical home upgrades.