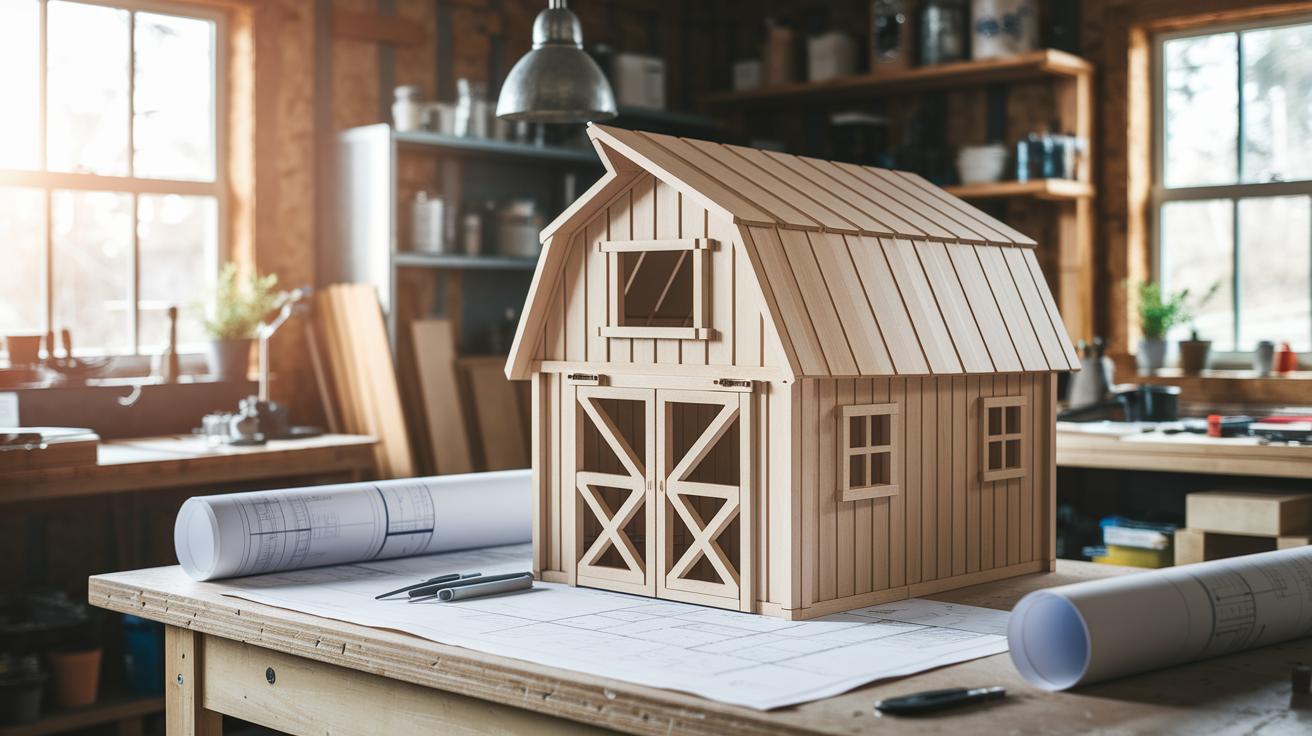

Ever thought of using a DIY barn kit to build your dream barn? These kits come with all the parts you need, including pre-cut wood and treated posts, neatly packaged for you. They help make your project safer, faster, and simpler than traditional methods. Whether you prefer a warm wood design or a modern metal look, a ready-to-assemble barn kit can work for you. Read on for clear, step-by-step guidance to create that perfect barn.
DIY Barn Kits Overview: Ready-to-Assemble Options, Pricing, and Sourcing
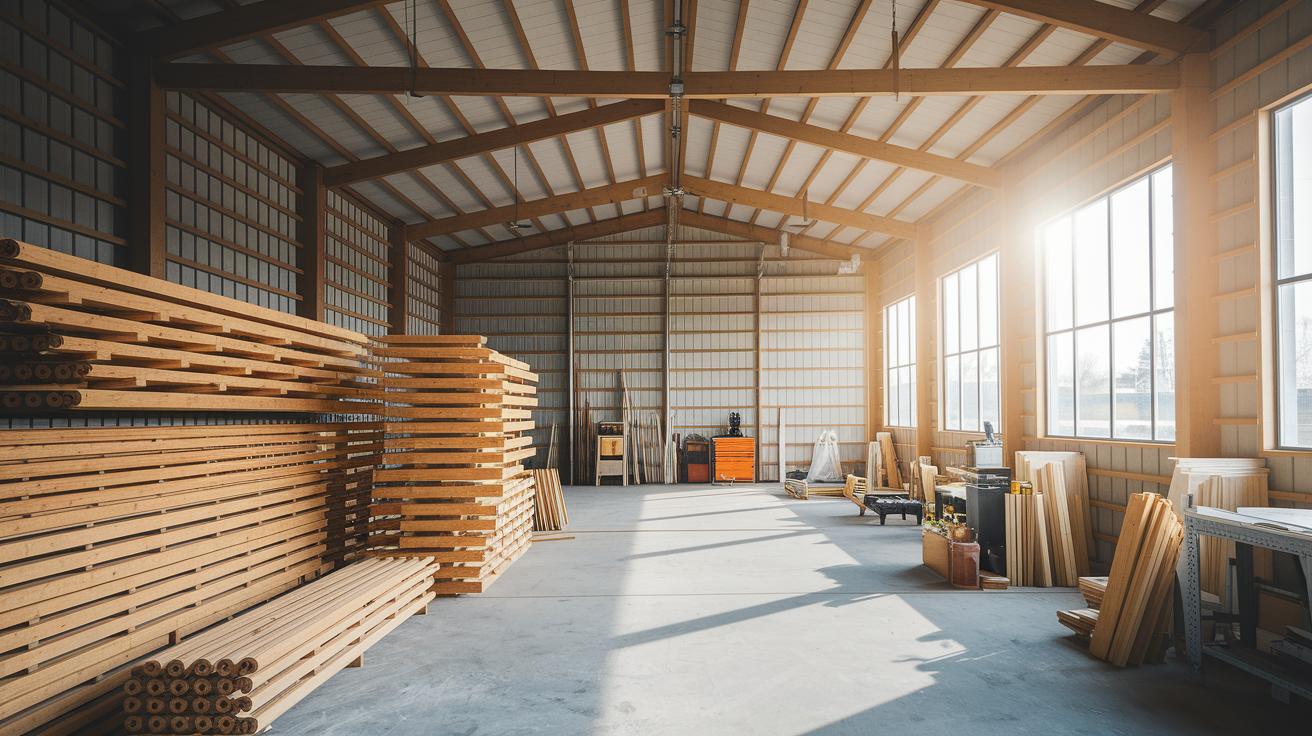
Ready-to-assemble barn kits make building your barn much simpler. They pack everything you need into one complete package. You get pre-cut lumber, pressure-treated posts, and strong roofing and siding, all set to use. This setup is great for DIY homeowners and contractors alike. With clear, step-by-step instructions and a full hardware list, you can build your barn without any guesswork. Plus, many kits come with door and window options and built-in post rot protection so you can add your personal style without any delays.
There are many kit styles to suit your specific project. You might choose a custom pole-frame design, a lean-to, a garage, a workshop, a horse barn, or even a commercial structure. Each kit offers a variety of sizes so you can get the perfect fit. Many include insulated panels and finish options like painted surfaces and vinyl trims. These choices help boost both the look and the durability of your barn.
Online tools also help you plan your project. With features like a Color Selector, Design Gallery, Pricing Tool, FAQ section, and a 3D Pole Barn Designer, you can easily visualize your finished barn and compare different options. This DIY barn kit approach turns building into a simple, enjoyable project that balances quality and cost.
DIY Barn Kits: Build Your Dream Barn
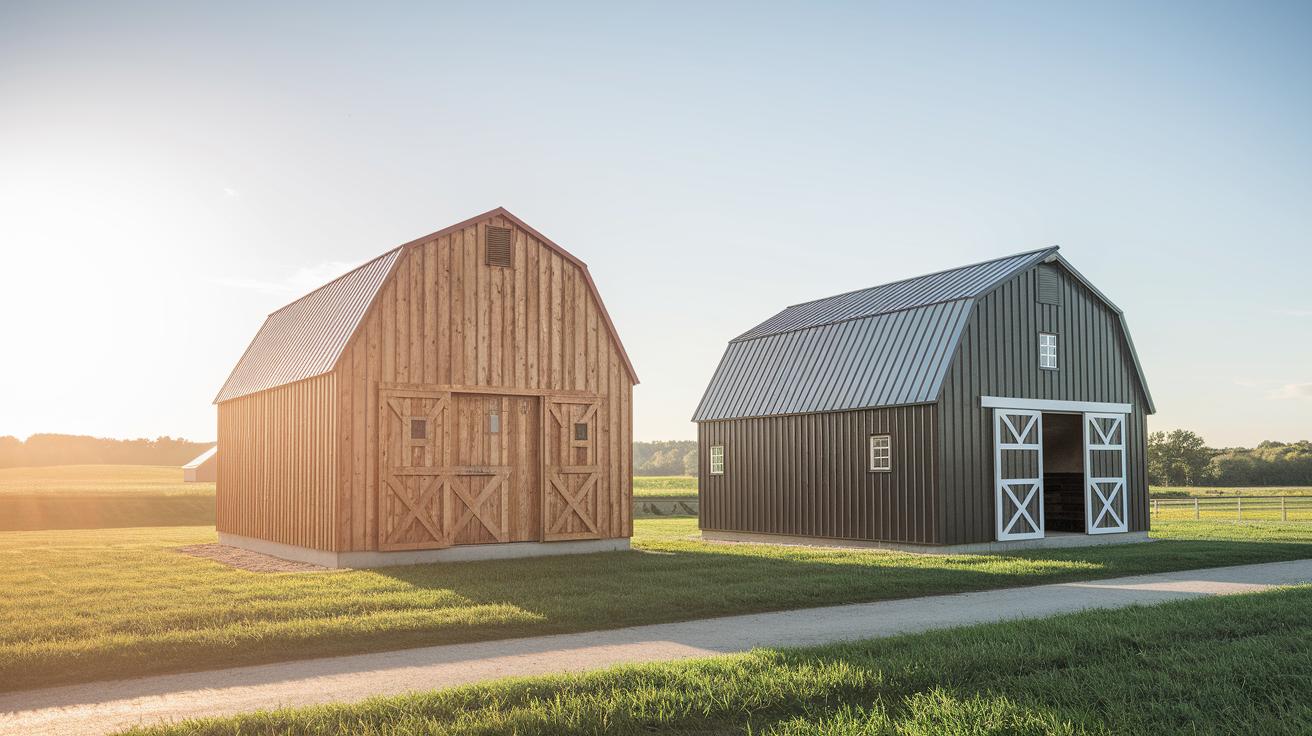
Wood-frame barn kits come with strong, pressure-treated posts and timbers that give your barn a warm, classic feel. They work great if you love a traditional look that fits neatly into a country setting. In contrast, metal-frame kits use tough steel parts and metal roof panels that stand up to harsh weather. A metal barn offers a modern style with smooth lines that are easy to clean and maintain. A wood barn looks cozy and inviting, while a metal barn brings an industrial edge and extra strength during storms.
You can also choose finishes that match your needs. Many kits let you pick painted panels or vinyl trim for a clean, finished look. Insulation options help keep the barn comfortable throughout the seasons, whether you are storing animals, setting up a workshop, or living in a barndominium. Custom choices include loft areas for extra storage, lean-tos for more covered space, and layouts designed for horse barns or modern workshops. With these options, you can mix and match materials and finishes to boost energy efficiency and add a personal touch.
Building Your DIY Barn Kit: Step-by-Step Assembly Guide
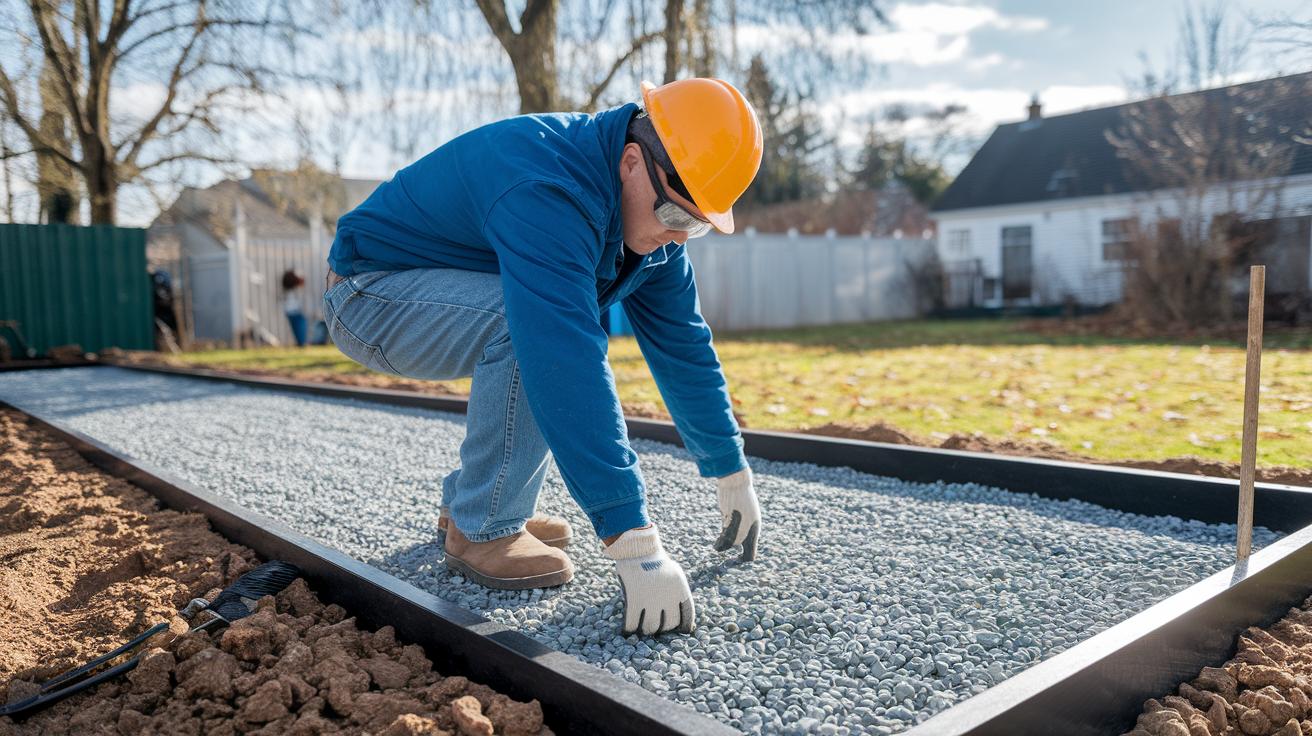
Before you begin your barn kit build, check your local building codes and put on your safety gear like gloves, goggles, and a hard hat. It helps to mark your work area first, making sure you know your boundaries to avoid any mistakes later.
- Clear the site and mark a flat, level border. Spread a 4- to 6-inch layer of gravel (10-15 cm) to improve drainage.
- Dig holes for the posts that are 3-4 feet deep (about 1-1.2 m). Make sure the holes go below the frost line and space them 8 to 12 feet apart.
- Place the posts in the holes and fill around them with concrete to form a strong base.
- Install the girts and roof trusses. Space these pieces 24- to 48-inches apart to support the structure.
- Secure the metal roofing and siding panels firmly to keep out rain and wind.
- Fit the doors and windows next, using shims to ensure they are square. Then fasten them properly with hardware.
- Lay a concrete slab or another type of floor that suits how you plan to use the barn.
- Finish the interior by putting in insulation, wall panels, and by setting up basic electrical and plumbing lines.
Always follow the manufacturer instructions at every step. Check that each piece is level and holds fast before moving on. Take your time during critical stages such as concrete curing and when tightening fasteners. Safety comes first, so work steadily and carefully to build the barn you envision without any unwanted surprises.
Cost Analysis and Price Comparison of DIY Barn Kits
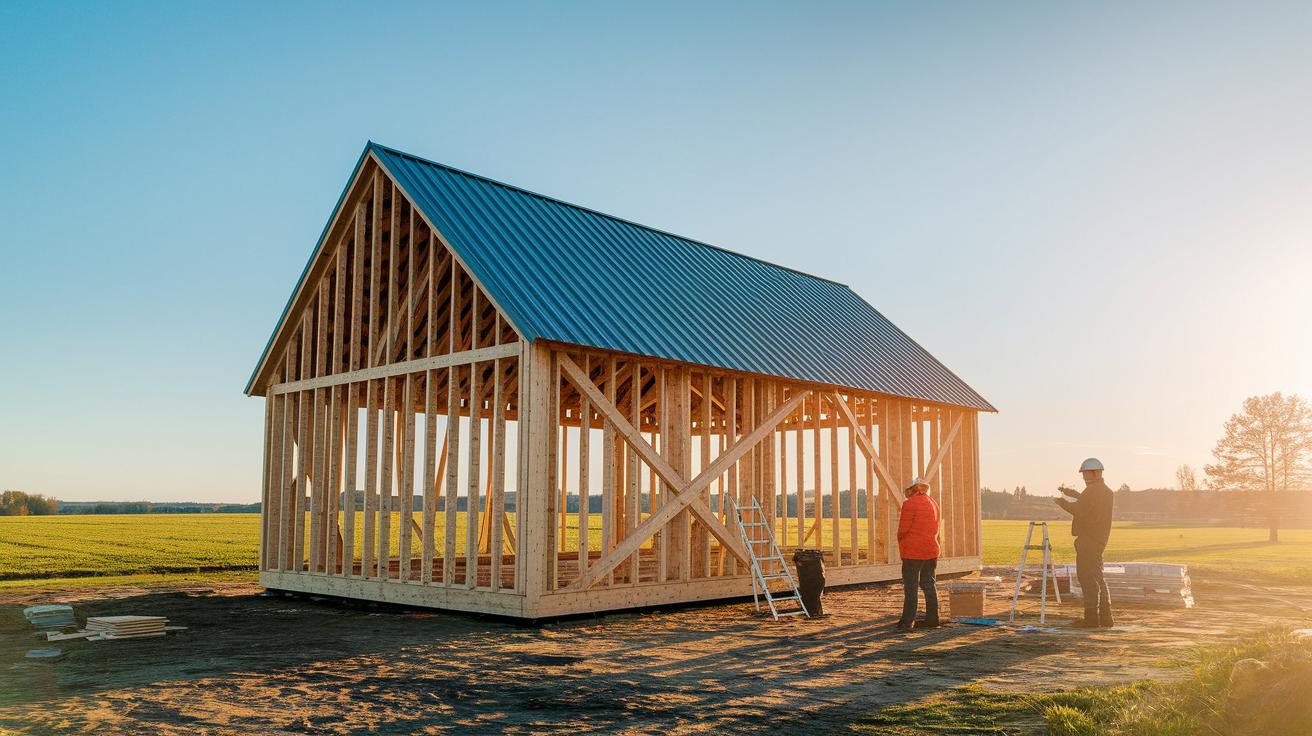
DIY barn kits can save you money by reducing foundation and labor costs. Traditional barn builds call for a full concrete slab, while post-frame kits need only basic site preparation. This lighter foundation work can drop total build costs by 30 to 50 percent. When you build the barn kit yourself, you also cut back on labor, making the project more budget-friendly.
Instant-quote tools and construction cost calculators help you plan your budget. They take into account your barn's size, the materials you need, and the finish you choose. These tools give you an accurate estimate fast so you can avoid surprises. When you know your budget, you can easily compare different kits to find the one that suits your design and financial needs.
Many kit suppliers offer financing and flexible payment plans to manage upfront costs. These options allow you to spread your payments over time. Look around for competitive plans and special offers to get the best deal. Using a barn cost estimator along with payment details helps you make an informed decision as you build your dream barn.
Planning Your DIY Barn Kit: Sizing, Permits, and Custom Design
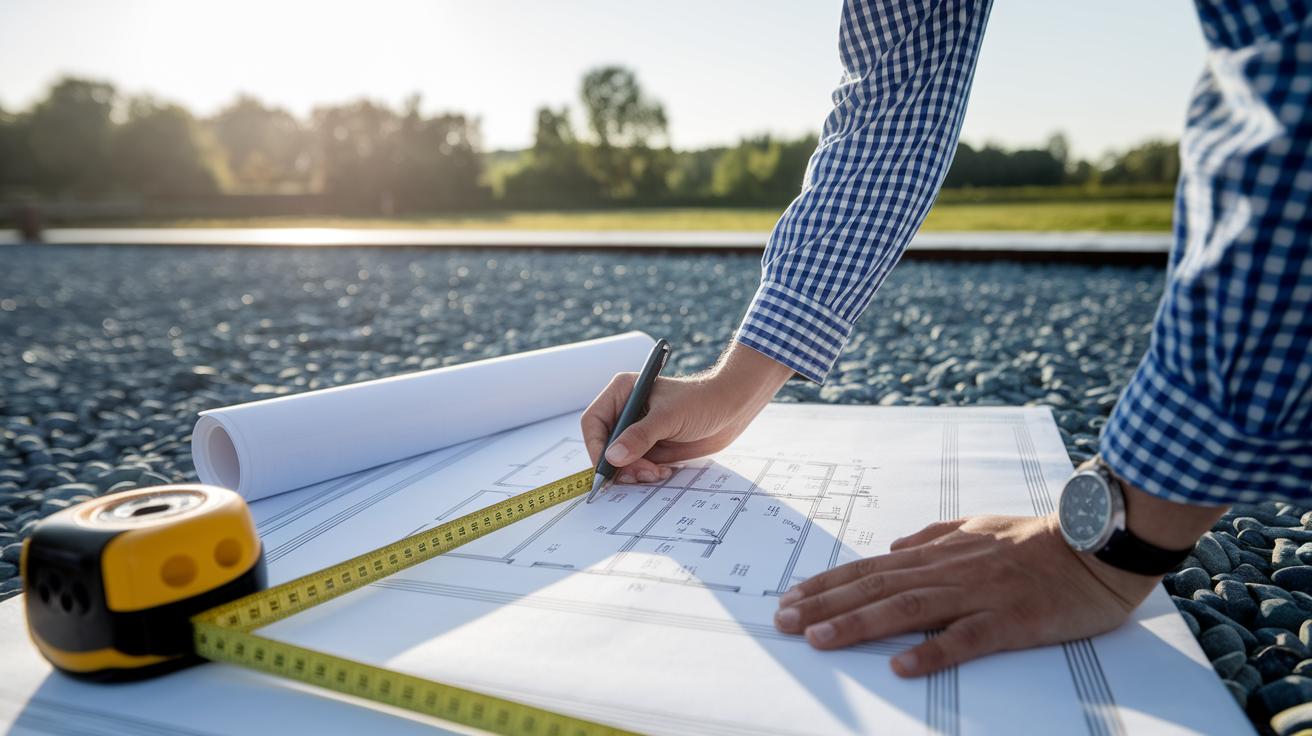
Start by choosing what your barn will be used for. Do you need a five-car garage, a shelter for animals, or a space that mixes a home with a barn? Think about your needs. Use simple measuring guides to figure out the right size and height for your project. For example, if you plan to store vehicles, check that the door and interior space work for your needs.
Next, pick a flat spot with good drainage. A level and well-drained site helps your barn last. You might grade the land and put in a gravel pad so water flows away. This step keeps issues like water pooling at bay. Look at how the spot connects with the rest of your property.
Review permit rules in your area next. Pre-made blueprints can speed up the review process. Check local permit guidelines and use a planning checklist to make sure you have everything covered.
Lastly, make your barn truly yours. Think about upgrades like a loft, extra rooms, or even automatic doors. These custom options let you add both style and practicality, matching your unique needs.
Essential Tools and Material Checklist for DIY Barn Kits
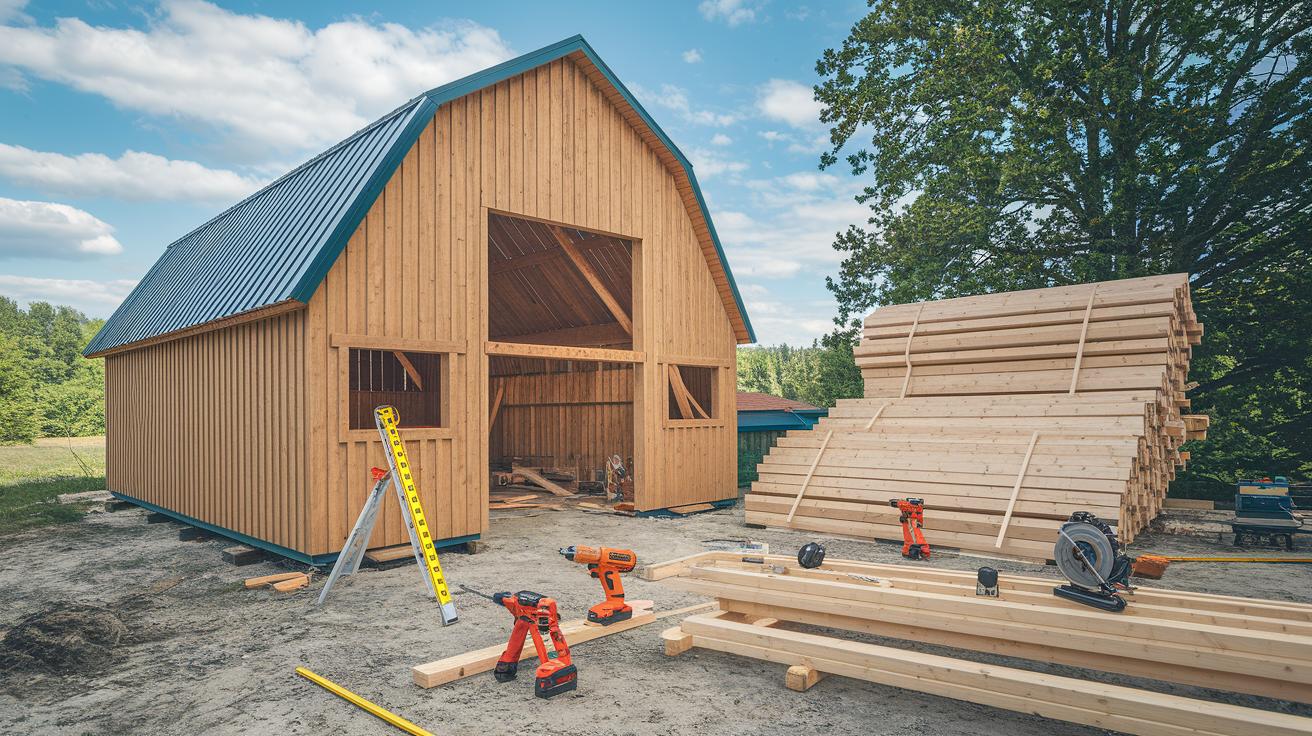
Make sure you have the right tools and supplies before you start building your barn. A tape measure and chalk line help you mark precise lines. Use a post-hole digger or auger to dig deep, stable holes. A level, hammer, and drill/driver secure your barn pieces firmly. A circular saw is important for cutting lumber accurately. And don't forget your kit materials like metal roofing panels to keep your barn weatherproof. For more details, check our list of home improvement tools.
| Tool/Material | Quantity | Purpose |
|---|---|---|
| Tape Measure | 1 | Accurate measurements |
| Chalk Line | 1 | Mark straight lines |
| Post-hole Digger/Auger | 1 | Dig deep post holes |
| Level | 1 | Keep alignment even |
| Hammer | 1 | Nail pieces securely |
| Circular Saw | 1 | Cut lumber accurately |
| Metal Roofing Panels | As per kit | Weather protection |
DIY Barn Kits Support: FAQs, Resources, and Expert Assistance

Our support center makes it easy to get started. We offer an FAQ page that answers common questions and a hotline for immediate help. Topics include the ideal post depth of 3-5 feet, truss spacing of 24-48 inches, and even a comparison of slab versus pier foundations.
The FAQ goes into the details that matter. It explains key measurements like proper post hole depth and spacing. It also helps you decide if you want to do the project yourself or bring in a contractor. For example, one tip tells you to set posts 3-5 feet deep for better stability. Plus, our clear video tutorials show each step of the process, from preparing the site to installing structural parts. These videos work together with the written steps to ensure you feel ready to build.
If you need more guidance, you can call our hotline for expert advice, sign up for a workshop session, or use our 3D design tutorials to fine-tune your barn layout. These resources offer the extra help you need to build your dream barn with confidence.
Final Words
In the action, we covered everything from ready-to-assemble options and materials to step-by-step assembly and budgeting tips. You learned how to plan permits, customize designs, and use essential tools while keeping safety a priority.
Each section showed how diy barn kits can make your project practical and affordable. Take your time, follow the tips, and enjoy the transformation. Happy building and stay safe!
FAQ
What are typical prices for DIY barn kits?
The typical prices for DIY barn kits vary by size, style, and finish options. Many suppliers offer online quote tools to compare competitive prices and budget-friendly choices.
Where can I find DIY barn kits for sale?
DIY barn kits are available from specialty retailers and building supply websites. You can review customer feedback and use online design tools to find the right kit for your project.
What types of DIY barn kits are available?
DIY barn kits include options like pole barn kits and wood barn kits, with sizes ranging from custom dimensions like 40x60x16 to other configurations that meet your specific needs.
Is it cheaper to build a pole barn or buy a kit?
Buying a pole barn kit is usually more cost-effective than a fully custom build. Kits can reduce labor and foundation costs, making them an attractive option for budget-conscious projects.
How much does it cost to build a 50×100 pole barn?
The cost to build a 50×100 pole barn depends on kit materials, custom finishes, and local pricing. Online cost estimators can help you get a more accurate budget for your project.
Do barn kits require a permit?
Permit requirements for barn kits vary by location. Most projects, especially larger builds, need permits. Always check local building codes before starting your project.
How much does a 30×40 pole barn kit cost?
The cost of a 30×40 pole barn kit depends on the quality of materials and customization options. Use online instant-quote tools to help estimate a price that fits your project needs.