

Ever thought about creating an outdoor kitchen without spending too much? Picture yourself hosting backyard barbecues and enjoying fresh meals in a kitchen you built. This guide walks you through easy steps to design a budget kitchen in just a few hours. We explain how to plan your space, spend smartly, and build simple kitchen features. Soon, your backyard will transform into a cozy, practical retreat that fits your style and needs.
DIY Budget Outdoor Kitchen: Enjoy Outdoor Living Now
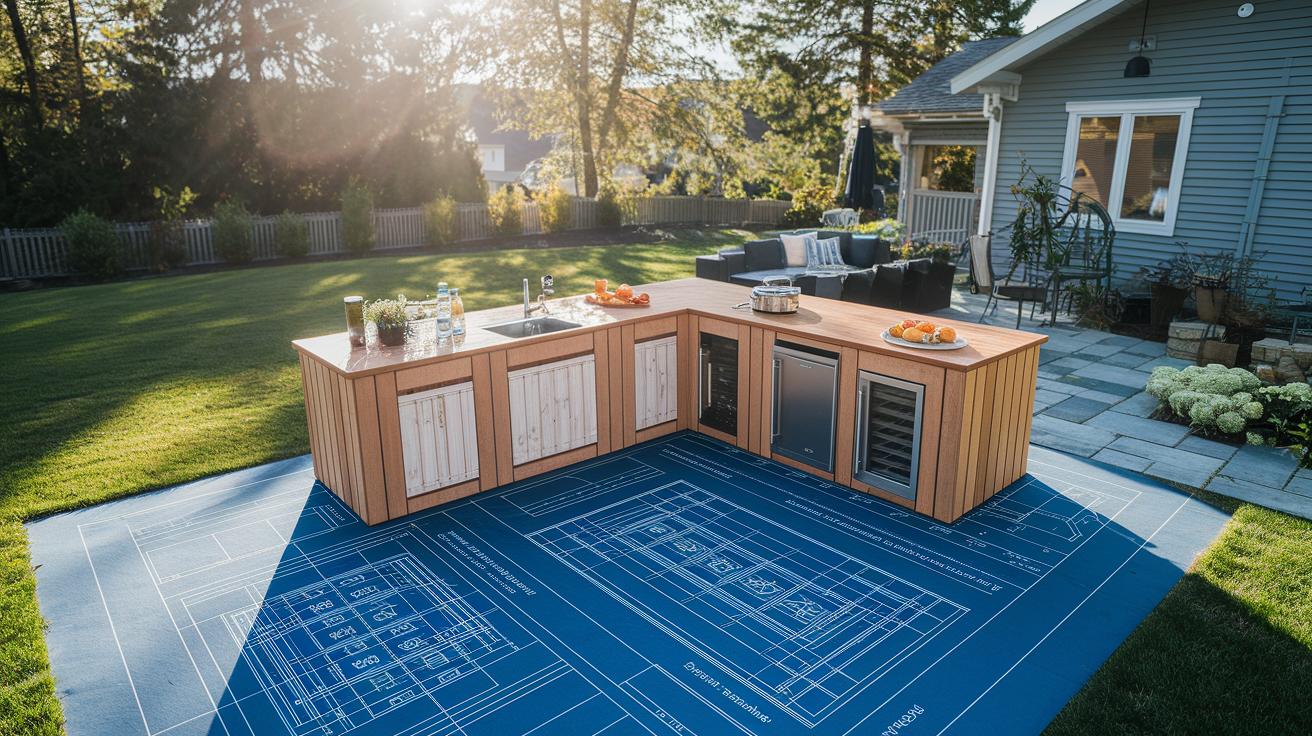
Project Snapshot • 3–6 hours • $100–$300 (materials only, vary by location) • Beginner to Intermediate • Tools: drill, saw, trowel, level • Safety: Use caution with heavy tools and materials
This guide shows you how to build an affordable outdoor kitchen. You can enjoy cooking, prepping, and entertaining outside without blowing your budget. This plan is perfect if you love outdoor gatherings and want a space that can grow with you. The design is simple and modular. You can add more features later when you are ready.
Follow these clear steps:
-
Space assessment
- Measure your yard and choose the best spot for your outdoor kitchen.
-
Budget planning
- Set a spending limit and stick to it to avoid overspending.
-
Layout design
- Sketch out the space. Plan where the grill, prep station, and storage will be placed.
-
Grill island construction
- Build a sturdy island using a 2×4 frame. This gives a solid base for your grill.
-
Concrete countertop pouring
- Pour a durable concrete countertop using a melamine mold. Let the concrete cure well.
-
Repurposed materials sourcing
- Look for old shelves or crates. Use these for extra storage or decorative touches.
-
Appliance installation
- Set up your grill and any other cooking tools safely in the planned spots.
-
Weatherproofing and expansion
- Apply a weatherproof seal to protect your work. This step also makes it easy to add features later.
Every step works together to build a strong, flexible outdoor kitchen. As you check your space, plan your budget, and build each element, you create a setup that meets your needs now and can grow with you in the future.
Assessing Space and Budget for Your DIY Budget Outdoor Kitchen

Before you start building, take a moment to plan your space and budget. First, measure your yard, note its shape, and check how far you are from water, gas, and power sources. This will help you design a cooking area that works well. An L-shaped or U-shaped design can boost your workflow while keeping costs in check. A simple setup might run between $6,127 and $26,015, so planning ahead is key.
| Assessment Factor | Measurement Tips | Budget Impact |
|---|---|---|
| Yard Dimensions | Measure length, width, and note any odd spaces | Shows how much area you have for your kitchen and affects cost |
| Utility Access | Check the distance to water, gas, and power sources | Helps design an efficient layout and affects installation cost |
| Material Cost Allowances | Compare local prices and the quality of materials | Keeps your plan budget friendly while meeting your design needs |
Taking the time to assess these details will help you set up cooking, prep, and serving zones that work smoothly. It also shows you where you may need to adjust your budget. With this solid plan, you can create an outdoor kitchen that is both practical and affordable.
DIY Budget Outdoor Kitchen: Grill Island and Concrete Countertop Builds
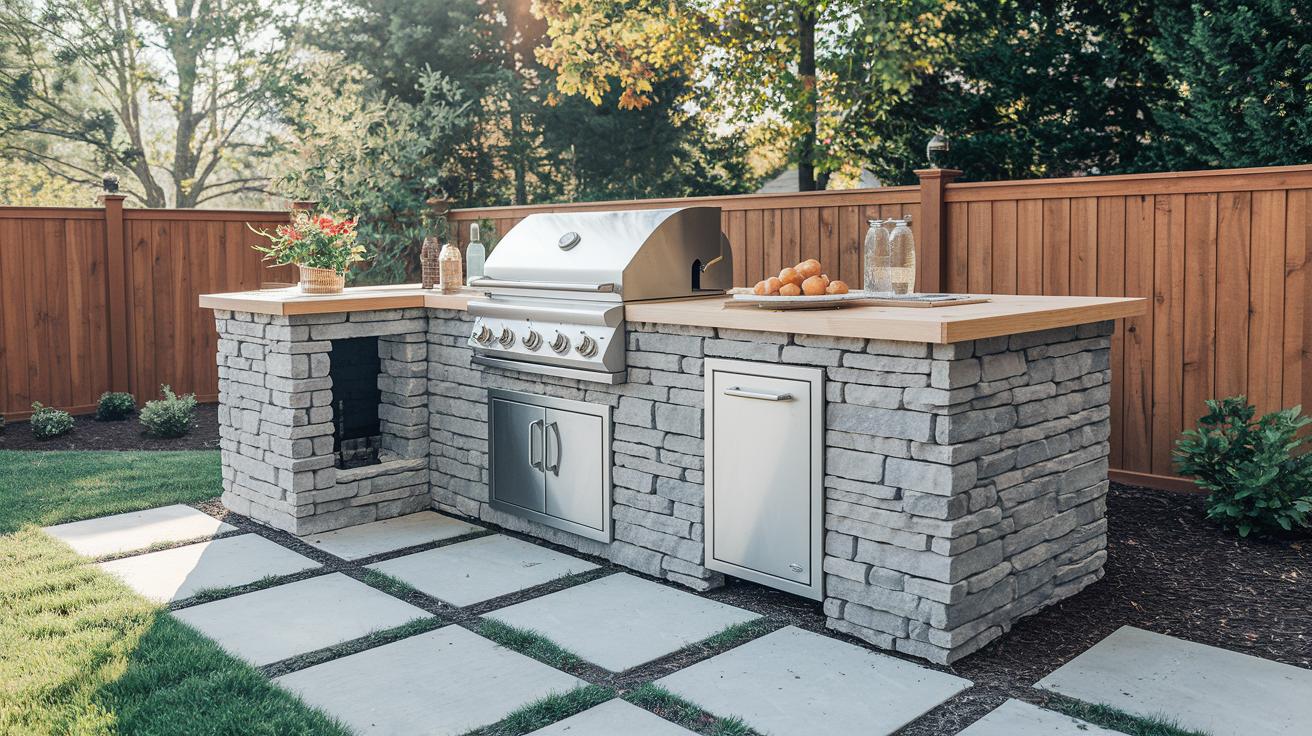
Ready to upgrade your outdoor kitchen without breaking the bank? Today, we cover two projects that will boost your space. One project builds a budget-friendly grill island, and the other creates tough concrete countertops that look great.
DIY Grill Island Construction
Start by building a frame with 2×4 lumber. This step gives you a strong base that will support the island. Next, wrap the frame with affordable wood sheathing to create a smooth surface. Then, spread a thin coat of mortar adhesive over the sheathing. While the mortar is still wet, press decorative stone onto the surface to add a rustic look. The stone and a lathe base work together to boost strength and add an industrial vibe. Let the mortar set completely before moving on.
Poured Concrete Countertops
Begin by making a mold from melamine board. Cut the board to match your countertop’s size and shape. Pour a high-strength concrete mix into the mold and use a trowel to smooth the surface. Make sure to work out any air bubbles as you go. Let the concrete cure for 24 to 48 hours without interference to ensure steady strength. While the concrete is still soft, customize the mold by cutting out spaces for sinks or trash bins if needed. Finally, run a finishing tool along the edges to create a clean, professional look.
Material costs run from $300 to $800 for the grill island. The countertop costs around $150 to $300. Plan for 2 to 3 days to complete the whole project. This schedule covers framing, assembly, curing, and final touches.
Inexpensive Repurposed Materials for a DIY Budget Outdoor Kitchen
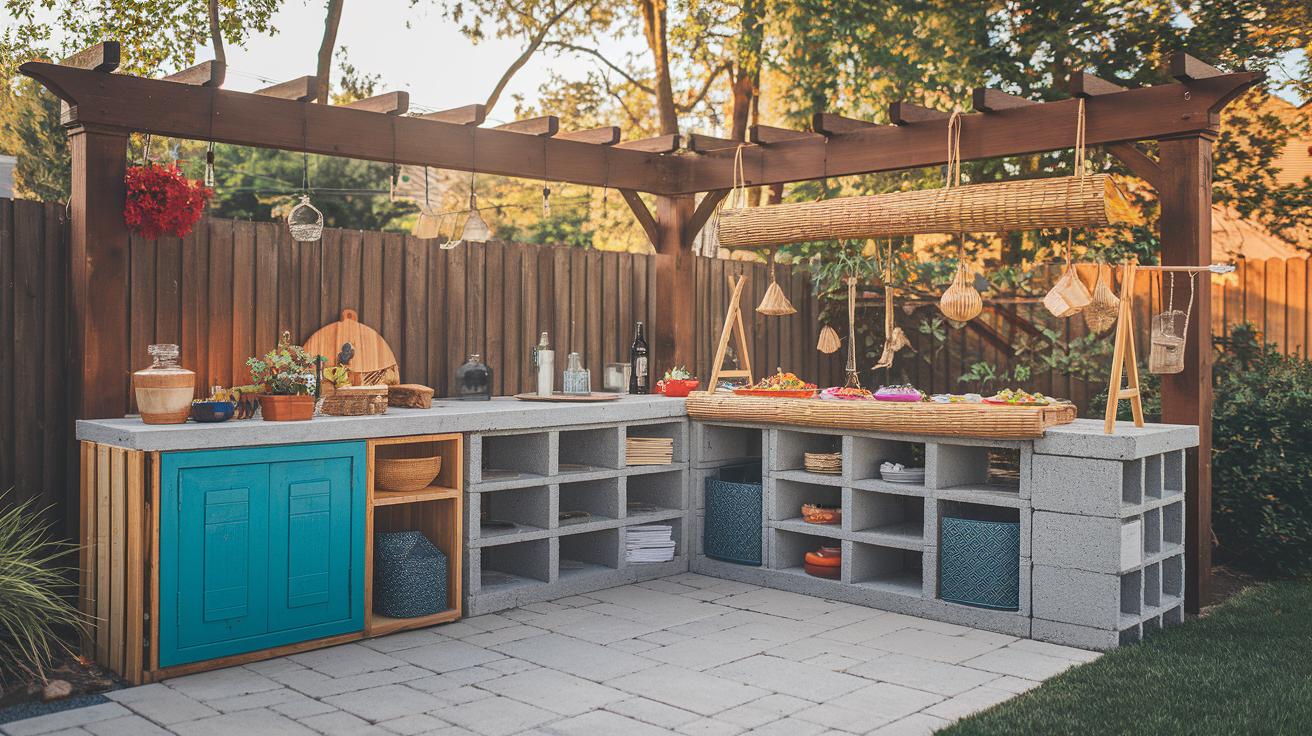
You can turn everyday items into useful features for your outdoor kitchen. Look for old cabinets or chests to serve as storage, wooden pallets or fence posts to frame sections, and cinder blocks to create a strong base. You might even transform bamboo blinds into a taco bar station or use pergola parts to add a unique touch. For more ideas, check out this guide on finding repurposed materials for DIY.
Once you have your items, get them ready for outdoor use:
- Seal wood with an exterior-grade finish to keep moisture out.
- Reinforce joints using galvanized screws for extra strength.
- Apply weatherproof paint to help the items last season after season.
Consider adding a themed tiki bar as well. You can repurpose a recycled cabinet into a bar and use bamboo panels to bring in a natural, tropical vibe. Simple pergola structures can provide overhead cover and tie the island theme to your entire outdoor kitchen setup.
Essential DIY Tools and Affordable Materials for Your Outdoor Kitchen
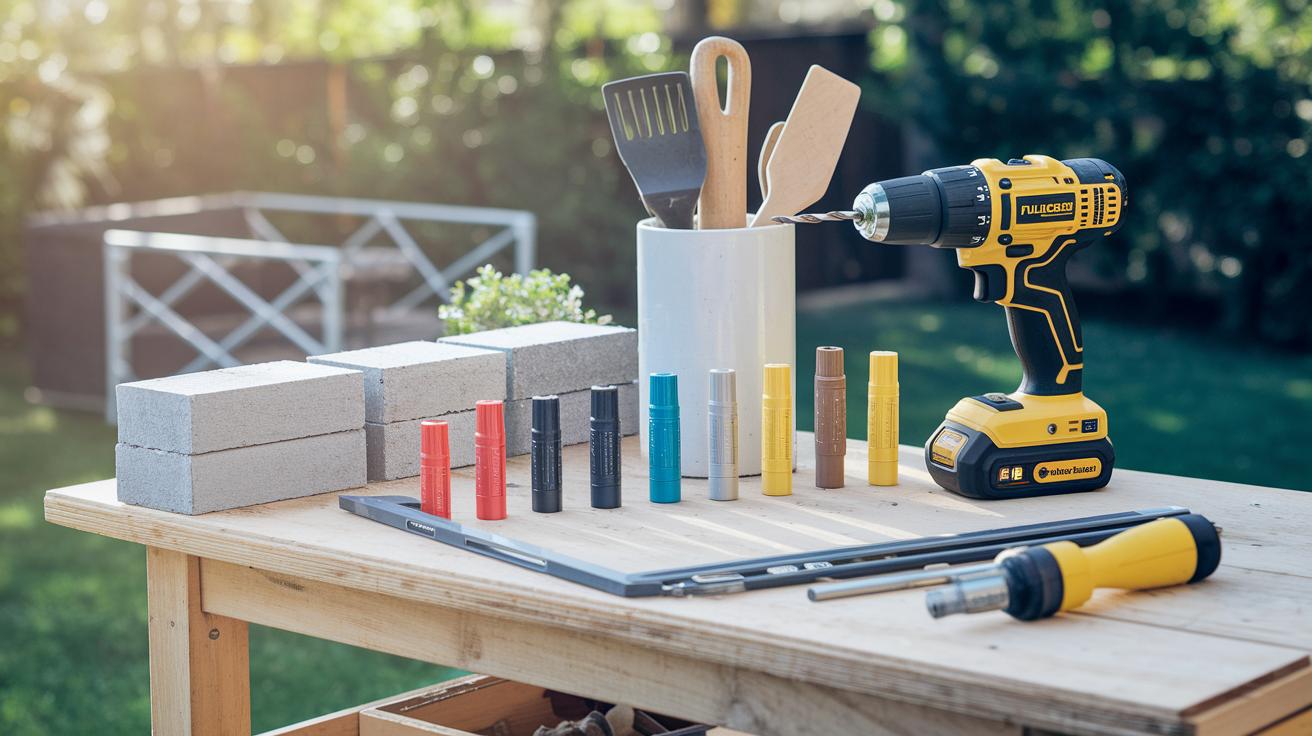
For your DIY outdoor kitchen, you need a few basic and budget-friendly tools. You will use a cordless drill (a battery-operated tool for driving screws) for framing and finishing. A circular saw helps you with straight cuts, and a level makes sure your work is even. A masonry trowel is handy for working with concrete. Also, have drill bits that work on both wood and concrete to save you time. If you plan on welding parts, use welding gloves to keep your hands safe.
When you build your outdoor cooking area, choosing cost-effective materials is key. Prefabricated cabinets offer strong storage without the cost of custom units. For flooring, options like concrete pavers, gravel, or recycled rubber tiles work well and last long. If you include a sink, pick an affordable kit and an outdoor-rated faucet that usually cost between $100 and $250 (materials only, prices vary by region). A budget-friendly metal or charcoal grill, which is generally priced between $200 and $600, completes your appliance setup. Together, these choices create a functional and modern outdoor kitchen on a budget.
Cost Breakdown for a DIY Budget Outdoor Kitchen
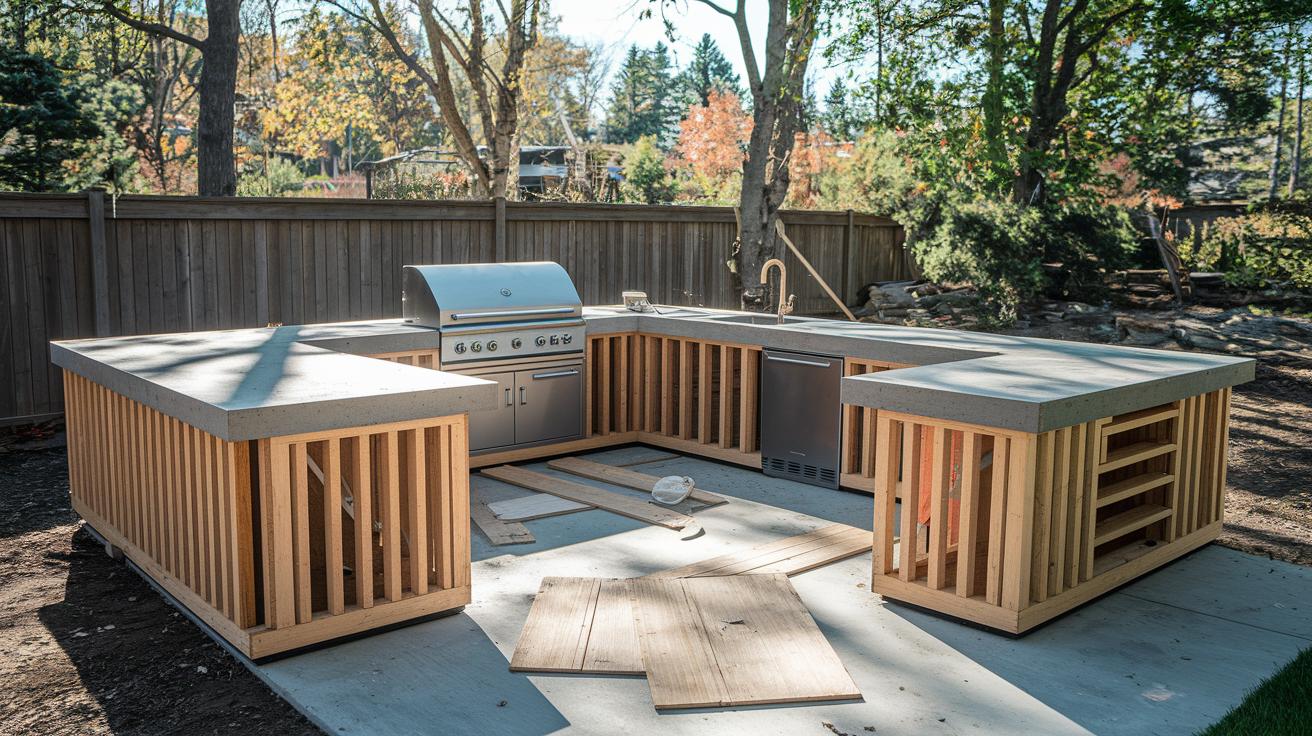
A DIY outdoor kitchen can cost between $6,127 and $26,015. Simple setups can start at about $6,000. Your total cost depends on the materials and features you pick. Keeping a clear cost breakdown in mind helps you plan and stay on budget.
A common cost breakdown looks like this:
| Item | Price Range |
|---|---|
| Grill | $300 to $2,000 |
| Framing and Facing Materials | $200 to $800 |
| Concrete Countertop Supplies | $150 to $300 |
| Prefabricated Cabinetry | $100 to $500 |
| Sink and Plumbing Kit | $100 to $250 |
| Lighting Fixtures | $50 to $150 |
You might also want extras like a mini-fridge, smoker, or tile backsplash. These upgrades can add another $200 to $1,000 if your budget allows.
Stick to the basics at first. Invest in a reliable grill, strong framing, and a durable countertop. Once you have the essential parts in place, you can add more features later as your funds grow.
Maintaining and Weatherproofing Your DIY Budget Outdoor Kitchen

Sealing and Weatherproofing
Apply a sealant made for outdoor use to your concrete countertops and treated wood. This sealer stops water from causing damage and prevents sun fading. Cover your kitchen with a tough, weatherproof cover or build a simple pergola overhead to protect against rain and harmful UV rays. For example, sealing the surfaces and adding a clear cover creates a strong shield against moisture and rough weather.
Seasonal Maintenance
Check your outdoor kitchen once every year to keep it in good shape. Clean your grill burners to remove soot, inspect gas lines for signs of wear, and reseal surfaces if needed. Remove any debris from the flooring and make sure every part, especially reused items, stays securely in place. Regular upkeep like this helps your kitchen last longer and continue to work well.
Final Words
In the action, the guide covered everything from assessing space and setting a realistic budget to designing a layout that works for you. We explored building a grill island, pouring durable concrete countertops, repurposing materials, and confirming your essential tools and appliances. Here’s a quick recap:
- Space assessment
- Budget planning
- Layout design
- Grill island construction
- Concrete countertop pouring
- Repurposed materials sourcing
- Appliance installation
- Weatherproofing/expansion
Each step ties together to help you create a diy budget outdoor kitchen that is practical, fun, and sure to brighten your outdoor space.
FAQ
What do DIY budget outdoor kitchen ideas on a budget involve?
DIY budget outdoor kitchen ideas involve planning a modular setup, using affordable and repurposed materials, and creating a design that suits your space while allowing for gradual expansion.
How can I design and build budget outdoor kitchen cabinets?
Budget outdoor kitchen cabinets are designed by repurposing old storage units or using inexpensive materials, with a focus on durability and weatherproofing to keep costs low while maximazing storage capacity.
What is the typical cost of a DIY budget outdoor kitchen?
The cost of a DIY budget outdoor kitchen can range from about $6,000 to $26,015, depending on materials, design complexity, and whether you repurpose items or use new components.
What are some simple DIY outdoor kitchen ideas?
Simple DIY outdoor kitchen ideas include building a grill island with wood framing, pouring concrete countertops using a melamine mold, and repurposing old cabinets for storage to create a cost-effective setup.
How can I find DIY outdoor kitchen plans in PDF format?
DIY outdoor kitchen plans in PDF format are available through home improvement websites and online DIY communities that offer step-by-step guides and detailed building instructions.
How do I build an outdoor kitchen with wood frame plans?
Building an outdoor kitchen with wood frame plans involves constructing a sturdy 2×4 framework, applying wood sheathing, and finishing with decorative stone or concrete elements to achieve both durability and style.
What rustic outdoor kitchen ideas can I try on a budget?
Rustic outdoor kitchen ideas on a budget include using salvaged materials, adding weathered finishes, and employing natural textures that create a warm, inviting space without exceeding your spending limits.