

Ever seen a messy room and wished for a better way to organize your things? DIY built-ins can change chaos into a neat, stylish space fast. They hide clutter behind fixed cabinets that work with your budget while brightening up your room. This guide gives you simple planning tips and clear measurements to build built-ins that last. Get set to refresh your home with a smart, personal touch.
Master DIY Built-In Fundamentals
Built-ins are fixed furniture pieces that blend storage with style. They are built right into your room, giving a clean look while hiding clutter. You can update your space on a budget by choosing inexpensive, unfinished cabinets from stores like Lowe's, Home Depot, or Menards.
For a neat, uniform design, pick 24-inch-deep base cabinets without drawers. These cabinets not only provide storage but also boost the room’s visual appeal. You get both function and style in one go.
Built-ins let you organize your belongings neatly and showcase special items. This simple change can turn a bare room into a cozy space that feels truly like home.
Key points to keep in mind:
| Planning | Measurements | Material Choice | Cost Efficiency | Design Cohesion |
|---|
Stick with these basics as you work on your project. They help you measure right, choose the best materials, and keep a balanced design. By following these fundamentals, you build a solid framework that allows you to add your personal touch while keeping costs low and the installation smooth.
Planning Your DIY Built-In Layout

You need clear measurements and a solid plan before starting your built-in layout. Every dimension matters to ensure your cabinets and shelves fit well and work as they should. For example, using 24-inch deep cabinets without drawers creates a flush, seamless look. A well-planned design not only makes your space look sharp but also boosts storage, with smart hidden spots for paperwork. Start with a detailed floor plan and consider using a DIY project planning template to set out your design and timeline.
- Check the space – Look at your room, mark the wall studs, and note how much light you get.
- Map dimensions – Record each measurement carefully so everything fits perfectly.
- Gather materials – Find a place to buy your unfinished cabinets and shelving boards.
- Set a timeline – Break your work into several weekends. If you finished the base last weekend, plan three more sessions.
- Plan secret storage – Decide where to add discreet compartments for papers and other items.
Breaking the project into weekend goals makes the work easier to handle. Focus on one step at a time. With your base in place and more sessions scheduled, you can tackle each part with clear goals and steady progress.
Essential Tools & Materials for DIY Built-Ins
Start by gathering all the tools and supplies you need to build your custom shelves. You will need a good drill for driving screws, a level for keeping everything even, a stud finder for locating wall studs, and a nail gun to attach trims quickly and neatly. Using unfinished wall cabinets along with 1×12 boards or plywood makes the build easier. For more help, check out the essential home improvement tools list.
| Tool/Material | Purpose |
|---|---|
| Drill | Drives screws to hold cabinet parts securely |
| Level | Keeps your cabinets and shelves even |
| Stud Finder | Finds wall studs to firmly anchor your build |
| Nail Gun | Speeds up the process of attaching trim and moldings |
| Unfinished Cabinets | Serves as the base for your built-in storage |
| Shelving Boards | Forms sturdy shelves to keep your items in place |
Before you begin, review your list to make sure you have all the tools and materials needed. This extra check prevents last-minute store trips and sets you up for a smooth build.
Step-by-Step DIY Cabinet Construction
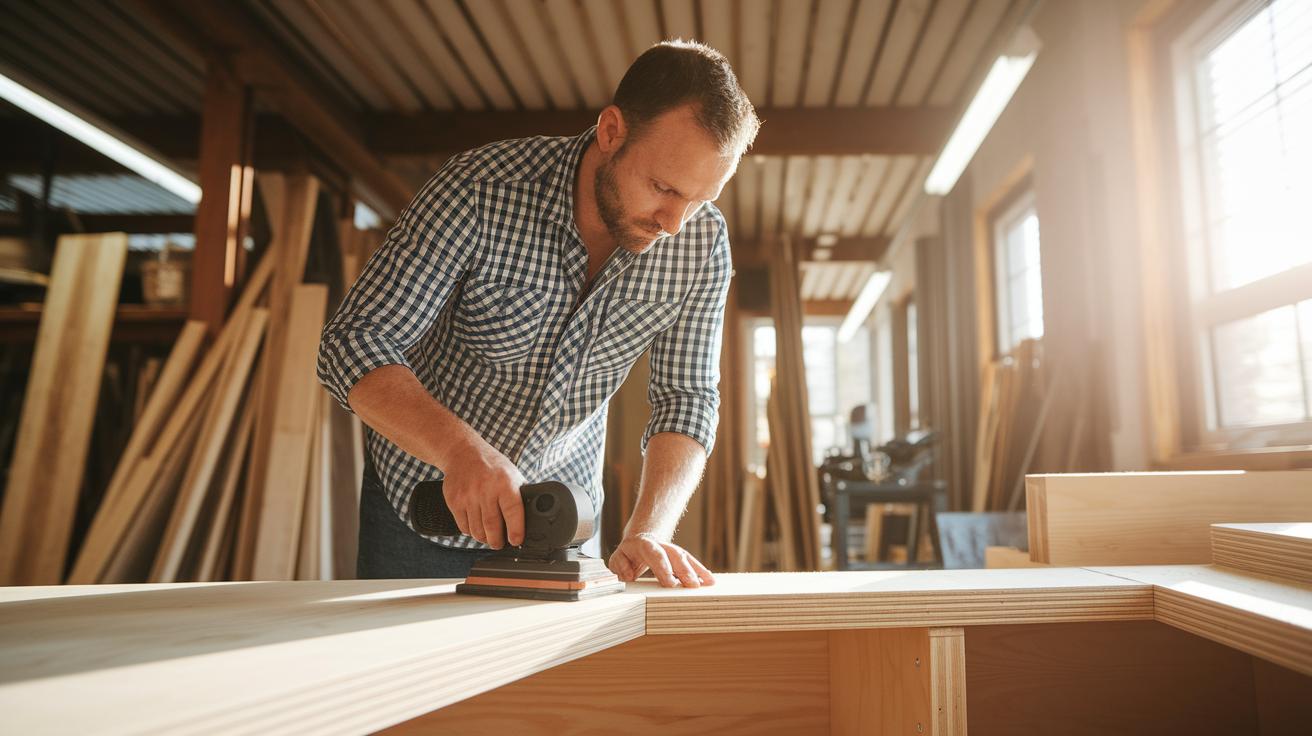
This project shows you how to upgrade plain, unfinished stock cabinets into stylish built-in storage. You will trim, sand, and build a solid frame so your cabinets sit off the ground and look custom-made. We use easy-to-find materials like 1×12 boards or plywood to create custom shelves that fit your space.
- Cabinet Preparation: Start by trimming off rough edges and sanding the surfaces until they feel smooth.
- Build the Frame: Construct a strong frame that will hold your cabinets securely.
- Install Shelves: Add in custom shelves made from 1×12 boards or sheet plywood to maximize your storage.
- Level the Cabinets: Place shims under the cabinets and use a level to ensure everything sits even.
- Add Trim: Attach molding and trim around the edges for a neat, finished look.
- Final Sanding: Do a final sanding of all surfaces to get them ready for your countertop.
Here are some countertop options you might consider:
| Countertop Type | Features |
|---|---|
| Granite | Durable, timeless look, heavy and pricier |
| Laminate | Budget-friendly, many designs, less heat resistant |
| Butcher Block | Warm natural look, needs periodic maintenance |
Once you finish these steps, you will have a custom-built cabinet frame ready for installation. Every component lines up perfectly so that when you lay down your countertop, the entire built-in project looks polished and well-integrated into your home office or living space. Enjoy your new, personalized storage solution!
Proven Cabinet Installation Tips for DIY Built-Ins
Getting your cabinet installation right is key to a safe and stylish built-in look. Use a strong drill, quality screws, and shims to create a solid structure that lasts. A stud finder helps you locate wall studs so your cabinets get the support they need. Keeping the units off the floor helps your design flow smoothly.
Take time to level your cabinets precisely. This simple step stops future gaps and misalignments. Each part of the process, from anchoring to final tightening, builds a structure you can trust.
Here are some tips to remember:
- Stud anchoring: Secure cabinets to wall studs for the best support.
- Leveling: Make sure every cabinet is perfectly horizontal.
- Shimming: Use shims to adjust for small gaps in the wall or floor.
- Spacing: Keep equal gaps between all cabinets for a clean, uniform look.
Before you finish, take a final walk around the room. Look at every cabinet, tap them gently to check for any looseness, and confirm the spacing is even. These last checks help you achieve a polished, professional finish.
Finishing Touch Techniques for DIY Built-Ins

Give your built-ins a polished look by applying a coat of paint or stain. Choose a finish that fits your room's style. For example, a rich stain on the trim adds warmth and shows off the built-in details. When the main work is done, add decorative molding. It covers small flaws and clearly separates the built-in from the wall. A well-done finish makes your built-ins look designed rather than just a place to store things.
Add extra touches to bring in visual interest and a personal feel. Layered lighting in the shelves can highlight your favorite items. Soft LED strips create a gentle glow that makes your space feel cozy. A wood butcher block counter adds a natural, rustic touch with its grain and texture. Try out these ideas:
- Molding: Defines the built-in edges for a cleaner look.
- Lighting: Built-in LED strips give a soft, warm light.
- Butcher block: Offers a warm, rustic contrast.
- Color accents: Small pops of color brighten a neutral space.
- Hardware updates: New handles or pulls give an immediate boost.
These finishing touches lift your built-ins from plain storage to a stylish focal point. They mix practical storage with design, letting your personal style shine through while keeping things functional.
Budget & Timeline Breakdown for DIY Built-Ins
Getting your budget in order is key for a smooth DIY built-in project. When you map out your expenses early, you avoid surprises and can focus on making your space look great. Here is a simple breakdown of what you might spend and when you might do each step. These estimates can change based on where you live or the season, so it's smart to leave a little wiggle room.
| Item | Cost Range | Timeline |
|---|---|---|
| Tools | $200-$300 | Weekend 1 – base installation |
| Cabinets | $300-$600 | Weekend 2 – countertop fitting |
| Materials | $100-$200 | Weekend 3 – shelf assembly |
| Labor | N/A | Weeknights – trim and paint |
Stay flexible with your plan. If costs rise or a weekend takes longer than expected, try shifting some work to weeknights or adjusting your budget categories. This little extra room for changes helps you handle any hiccups along the way, making your DIY project both affordable and stress free.
Troubleshooting & Maintenance for DIY Built-Ins

Built-in units can shift or show wear over time if not looked after. Regular checks help keep them secure and looking their best. If you catch a small problem early, you can avoid bigger hassles later on.
- Tighten screws or add shims if the cabinets seem to shift.
- Fill gaps with wood filler and touch up with matching paint.
- Use a level and clamps to straighten any crooked shelves.
- Wipe surfaces with mild soap and water to remove dust and grime.
- Look over hardware for any signs of wear or looseness.
- Adjust door hinges when needed to keep doors smooth.
Make it a habit to inspect your built-ins after major changes or every few months. A brief check with a level and a few tightened screws keeps your storage both sturdy and attractive. Staying proactive with these simple steps lets your built-ins blend style and function for the long run.
Final Words
In the action, we broke down the fundamentals of diy built ins from planning and tools to budget breakdown and troubleshooting. We looked at how to choose materials, precisely map dimensions, and work through installation and finishing touches.
Each step was explained in easy bites so you know what to expect. This approach helps you build secure, functional, and attractive storage solutions that work within your time and budget. Enjoy your project and watch your space transform for the better.
FAQ
How do DIY built ins from IKEA work?
The DIY built ins from IKEA work by using inexpensive, unfinished stock cabinets repurposed into sleek, built-in storage. They boost room functionality and offer a cost-effective style upgrade.
How do DIY built ins using wood and woodworking techniques work?
The DIY built ins using wood and woodworking techniques mix raw wood materials with careful layout planning. This process creates custom, durable storage solutions with a clean, handcrafted look.
How do DIY built ins around a TV improve my living room?
The DIY built ins around a TV combine smart storage with media display, integrating hidden cable management and organized spaces that enhance your living room’s functionality and style.
How can I make DIY built ins for my kitchen?
The DIY built ins for your kitchen transform stock or unfinished cabinets into efficient storage units. This approach streamlines your space while offering a tailored design on a budget.
How do DIY built ins around a fireplace enhance home design?
The DIY built ins around a fireplace combine decorative framing with practical storage. They create a cozy focal point that balances aesthetics with extra organizational space.
How do DIY built ins cabinets install securely?
The DIY built ins cabinets install securely by using precise measurements, quality tools, and proper anchoring techniques. This ensures a flush, stable build-in that stands up to daily use.