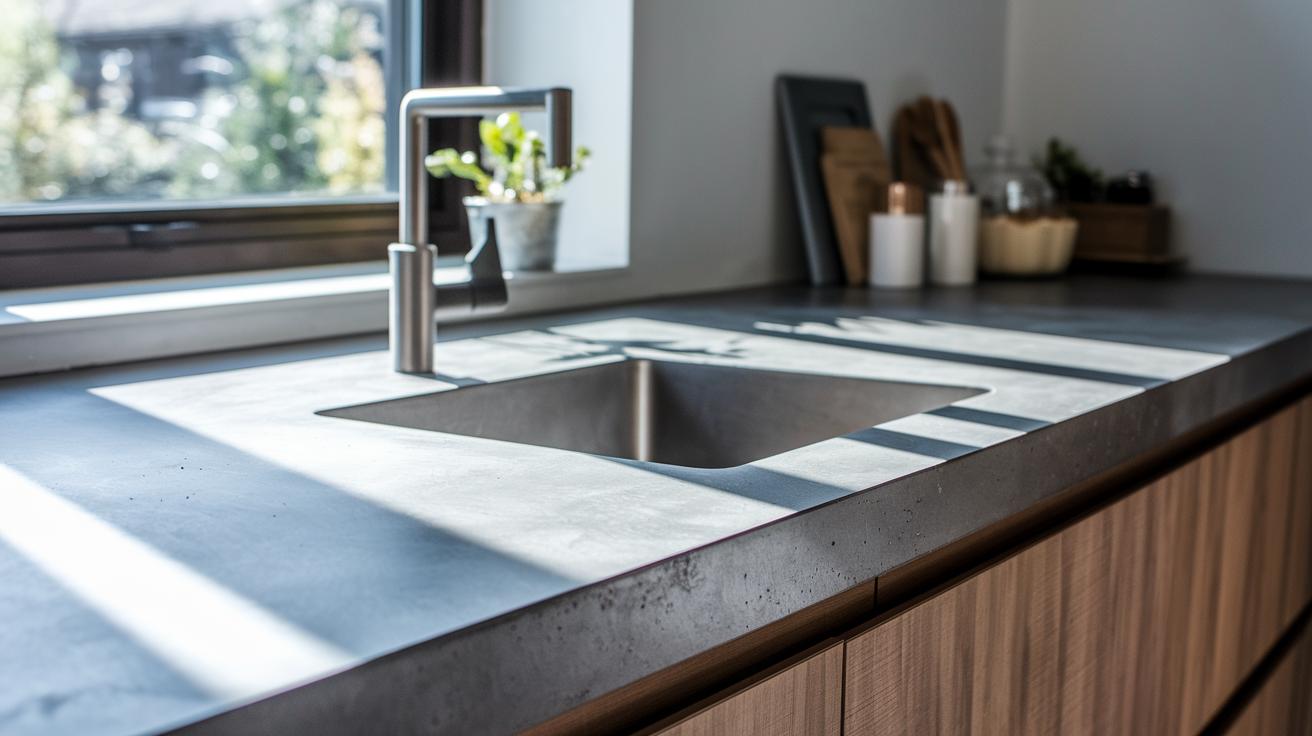

Ever wonder if you can update your kitchen without breaking the bank? DIY concrete countertops are a great choice that add style and strength to your space. In two simple projects, you will learn how to mix the concrete, shape it to fit your counter, and finish it to look modern and neat. We break down every step and share real tips to help you create a durable and attractive countertop. Get ready to refresh your kitchen with clever design and practical know-how.
DIY Concrete Countertops: Step-by-Step Project Overview

This project will update your kitchen with custom concrete countertops that are both durable and stylish. With thoughtful planning and a few key supplies, you can create a modern, long-lasting work surface that works for everyday use.
Start by measuring your countertop space. Cut 2-inch-wide, 1/4-inch plywood strips and use them as guides. Next, cut and label two plywood panels as matching molds. Attach these panels securely to form the outline of your countertop.
Reinforce your mold by placing a 4×8 welded wire mesh. Cut the mesh so that it is 1 inch smaller than the mold on every side. This leaves a 1-inch gap between the mesh and the mold walls. Seal all the edges with a continuous bead of black 100% silicone. Keep paper towels nearby to wipe off any spills.
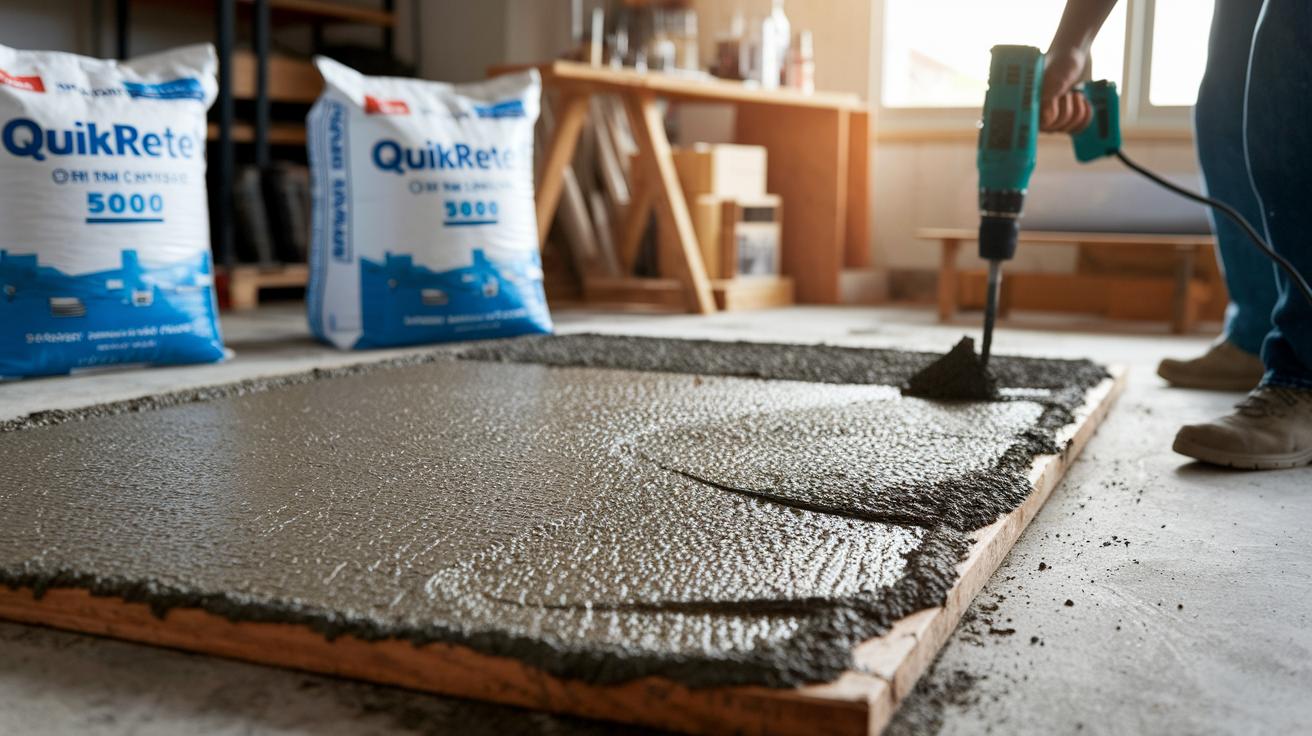
Mix Quikrete 5000 until it has an oatmeal-like texture. (Each bag costs about $6.) For the best mix, use a sturdy corded drill with a mixing paddle. Pour the mixture into the mold and smooth the surface immediately using a hard trowel.
Allow the concrete to cure for at least 48 hours. (Curing times may vary with temperature and humidity.) Once the slab is set, use a flat screwdriver or chisel to carefully remove it from the mold.
Sand the countertop surfaces using 220-grit sandpaper on the top and sides. Use 120-grit sandpaper on the bottom. Fill any small gaps with a slurry made from Portland cement mixed with an acrylic fortifier. Finally, seal the surface with 3-4 coats of Tuff Duck. This gives a neat, matte-satin finish with low odor. Use a dolly to move the heavy countertop and caulk the seams with a mix of black and white silicone for subtle grey lines.
Next, we explain each step with more details on templating, placing reinforcement, curing times, and finishing techniques.
Materials and Tools for DIY Concrete Countertops
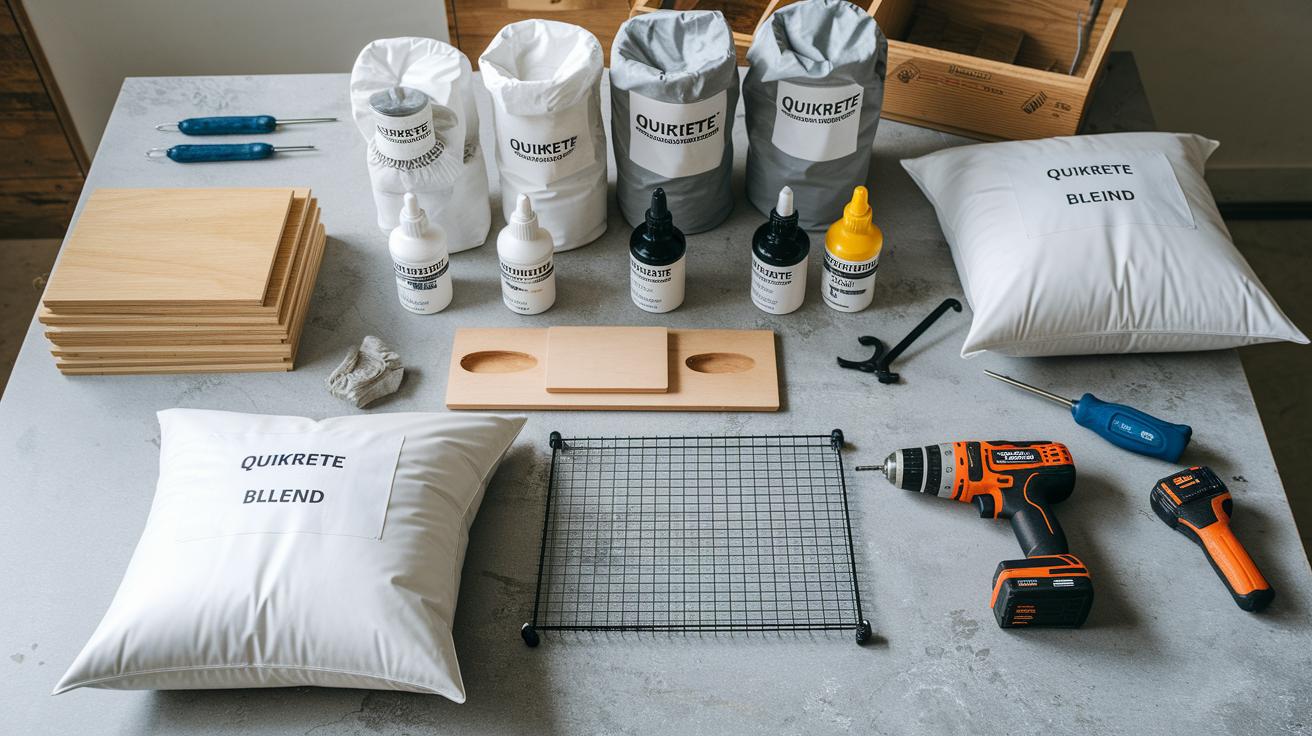
Before you begin your concrete countertop project, take time to gather all your materials and tools. This simple step helps you work smoothly from mixing to finishing. Having everything ready lets you focus on the work and keep safe.
Here is what you will need:
- Quikrete 5000
- White cement blend with bright-white additive
- Portland cement for slurry
- Acrylic fortifier
- Black 100% silicone
- Tuff Duck sealer
- 1/4-inch plywood strips
- 4×8 welded wire mesh
- Silicone applicator
- Powerful corded drill with mixing paddle
- Orbital sander
- Flat screwdriver/chisel
Choose quality items to ensure your project lasts and you stay safe. Always wear proper protective gear, like nitrile gloves and safety goggles, to reduce risks while mixing and finishing your countertop.
Building Molds and Edge Forms for DIY Concrete Countertops

To keep the process smooth, try a reverse-casting method using 2-inch strips of 1/4-inch plywood. Cut these strips into matching panels that mirror each other. Label each panel clearly on a flat work surface so you can align them accurately and achieve a professional countertop finish.
Construct your design by placing the labeled panels in the reverse order of your final countertop shape. This mirror-image layout makes it easier to take the mold apart and creates a smooth, even edge. Think of it like solving a puzzle where each piece fits perfectly into its matching spot.
Run a continuous bead of black, 100% silicone along the entire edge of the mold to seal it well. Wipe off any extra silicone with a paper towel for a neat finish. Next, position a piece of welded wire mesh, cut to 18-inch by 18-inch, so that it hangs 1 inch away from each side. This step reinforces the concrete and helps it cure evenly.
Mixing Techniques and Pouring DIY Concrete Countertops

When you aim for a smooth, tough countertop, start with mixing your concrete until it has an oatmeal-like feel. For example, many DIYers choose Quikrete 5000 (about $6 per 80-lb bag, yielding roughly 0.6 ft³) and mix it with the right water ratio. Use a corded drill fitted with a mixing paddle. A cordless drill might not have the power you need for heavy-duty mixing.
Proper Cement Mixing for High-Strength Countertops
Begin by adding water slowly. You want to reach a point where the mix forms a slight mound that barely holds its shape on your trowel. Follow the instructions on the bag for a 5000 psi mix. Do a quick slump test: let a small sample spread on your trowel. It should spread slowly and not run off. Mix well until every part is even. This strong and consistent mix will help your countertop set well even with daily use.
Pouring Methods: Traditional Mold vs. Z Counterform System
For the traditional method, pour your mix into a pre-built, mirror-image mold. Then, hard-trowel the surface quickly to smooth it out before it starts to set. Timing is key here. Alternatively, you can try a direct cast method using the patented Z Counterform system. Attach the Z Counterform directly to a cement board. Pour the mix against the board and snap off the form to reveal a sharp, clean edge. If you prefer a light-tone finish, mix in a white concrete blend with a bright-white additive. Both methods offer strong countertops with stylish charm, so choose the one that works best for you.
Curing, De-molding, and Finishing DIY Concrete Countertops

Before you move on, let your concrete hit key curing milestones. Check the table below for the best times to work at each stage:
| Stage | Time Needed | Details |
|---|---|---|
| Initial Set | 2–4 hrs | Mix starts to firm up |
| Final Set | About 24 hrs | Concrete keeps its shape |
| De-mold Readiness | 48+ hrs | Safe to remove the mold |
| Full Cure | About 28 days | Concrete reaches full strength |
Once the countertop is ready, use a flat screwdriver or chisel to carefully free it from the mold. When the forms are off, sand the top and sides with 220-grit sandpaper and the bottom with 120-grit sandpaper. For any small holes, mix Portland cement, acrylic fortifier (a product that helps the cement hold together), and water until it has a toothpaste-like feel. Squeeze a small amount that holds its shape to fill in these gaps.
Choose a sealer that matches your finish needs. We like to use Tuff Duck. Apply 3–4 thin coats using a microfiber rag. Work in steady, even strokes. Allow each coat to dry completely before you add the next.
Installing and Sealing Your DIY Concrete Countertops
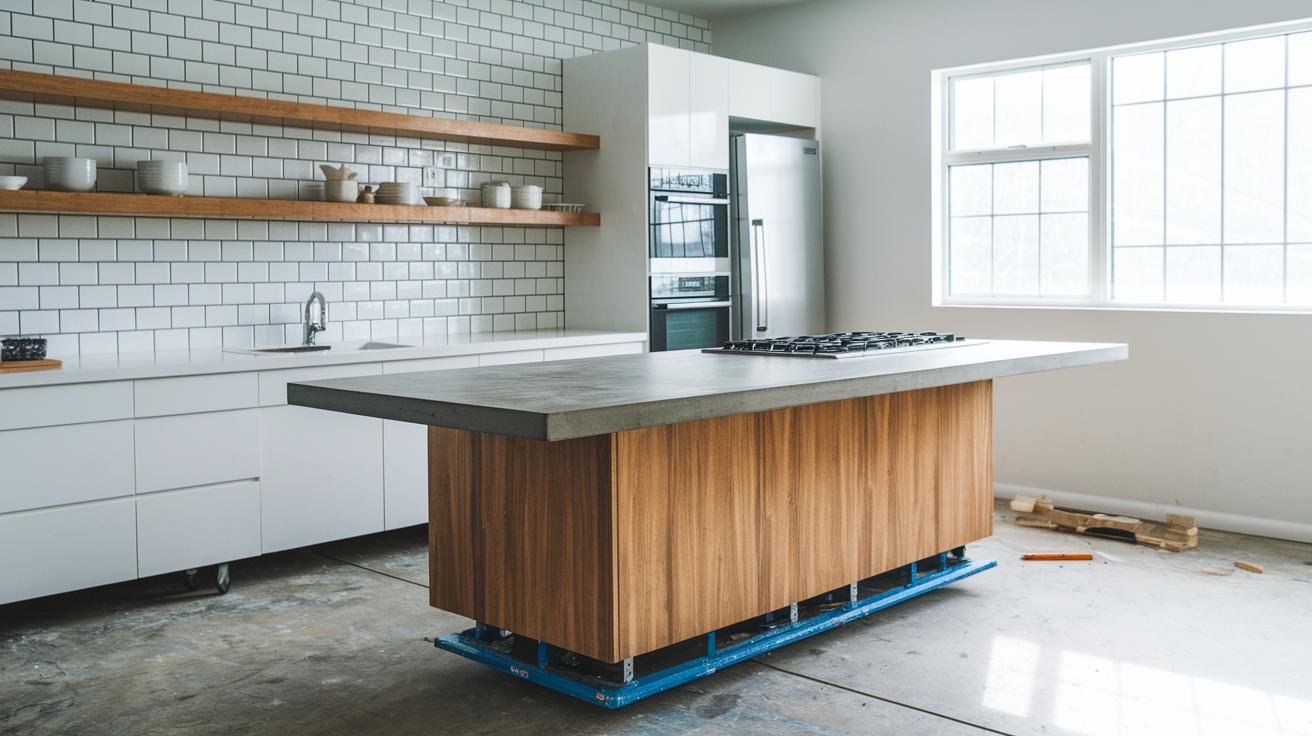
When moving your 2-inch concrete countertops (about 22 lbs per square foot), use a strong dolly to keep them safe. Place the countertop on your cabinet frames and use shims or a piece of plywood to make sure the surface is level. This careful setup stops the countertop from shifting and gives you a strong base. Take a moment to check that everything is level before you start sealing. A level countertop leads to a pro finish.
Once the countertop is set, move on to caulking and trim details. Mix black and white silicone to get a grey mix that fits your seams. Use a caulk gun to fill any gaps along the edges so the seal is tight. You can also add barnwood trim with a finish nailer and adhesive for extra style. Always wipe the edges clean before the final sealer cures. Neat, clean seams help the countertop last and look polished.
Budgeting, Cost Estimates, and Troubleshooting DIY Concrete Countertops
For a 10 sq ft, 2-inch thick slab, you will need about 3 bags of Quikrete 5000. Each bag costs around $18. When you add sealers, reinforcement, and trim, the total cost comes to about $30–$40 per sq ft. This helps you track expenses and plan your project budget better.
Instead of renting a heavy mixer, use a strong corded drill. A corded drill keeps a steady mix and is less likely to overheat. Keep in mind that the concrete weighs about 22 lbs per sq ft. This means you must handle it carefully and plan your labor properly.
You may see small issues like tiny stains from not sealing enough, voids that need filling, or hairline cracks. You can fix these problems by buffing and re-sealing the surface or by patching the gaps with a slurry made from Portland cement (a common building cement) and acrylic fortifier. This approach helps stop further issues with your DIY concrete countertop.
Final Words
In the action, we laid out everything from measuring and templating to mixing the concrete and curing your masterpiece. We broke down each essential step for building molds, reinforcing with welded wire mesh, and mixing Quikrete 5000 to get that perfect oatmeal consistency.
We detailed tips for de-molding, sanding, patching, and sealing your diy concrete countertops. With careful planning and safety in mind, you can tackle this project and enjoy professional-looking results. Good luck and have fun making your space uniquely yours.
FAQ
Frequently Asked Questions
What does a concrete countertop DIY kit provide?
A concrete countertop DIY kit provides pre-measured materials, step-by-step instructions, and molds to help you create a professional-quality countertop with ease.
How do you form concrete countertops?
You form concrete countertops using sturdy molds made from plywood strips and silicone sealants. These forms hold the fresh mix in place and ensure clean, defined edges during curing.
How can I make cheap DIY concrete countertops?
Making cheap DIY concrete countertops means using affordable materials like Quikrete and simple plywood molds. This approach saves money while still delivering a durable, custom surface.
Is it possible to create DIY concrete countertops over laminate?
Creating DIY concrete countertops over laminate is possible if you reinforce and prep the laminate properly. This ensures the underlying material supports the weight and stress of the concrete.
How do I mix and pour concrete countertops in place?
Mixing to an oatmeal-like consistency and pouring into prepared molds in place creates your countertop. Hard-trowel the surface for smooth evenness, and allow ample curing time for strength.
Can I make outdoor concrete countertops with a DIY approach?
Yes, you can make outdoor concrete countertops by using weather-resistant sealers and proper reinforcement. This method provides a durable, stylish surface suitable for outdoor use.
How do I create white concrete countertops at home?
White concrete countertops are made by mixing white cement with a bright-white additive and pouring into molds. The result is a clean, light-toned finish that stands out accenting your space.
Are concrete countertops hard to DIY?
Concrete countertops can be a bit challenging due to the mix and curing process, but with clear instructions, careful planning, and the right tools, DIY success is achievable for many.
What kind of concrete mix is best for countertops?
A high-strength concrete mix like Quikrete 5000 is best for countertops. It offers good durability and a smooth finish when combined with additives to enhance color and workability.
Are concrete countertops cheaper than granite?
Concrete countertops are typically less expensive than granite. They lower material and labor costs, making them an attractive option for custom, budget-friendly countertop projects.
What materials are used to form concrete countertops?
To form concrete countertops, you use 1/4-inch plywood strips, welded wire mesh reinforcement, and a bead of silicone. These materials help create sturdy, well-defined molds for your project.