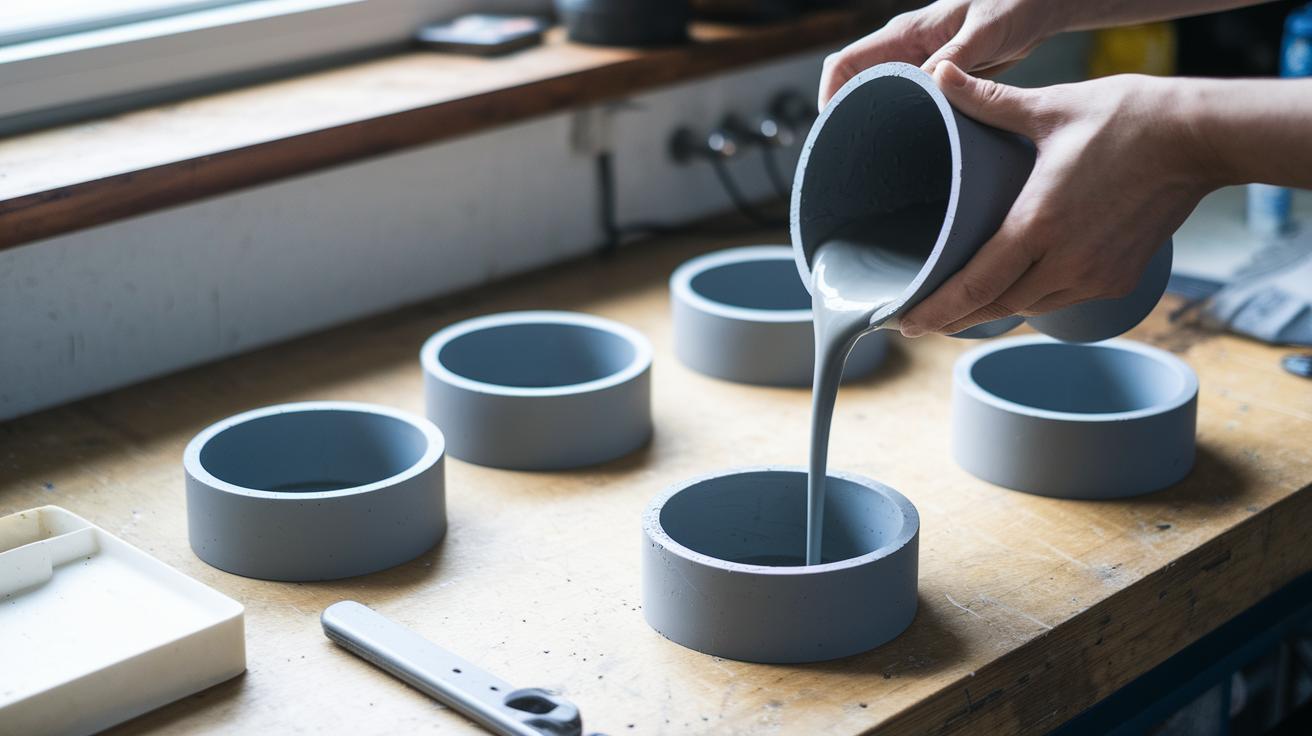

Have you ever looked at plain concrete and imagined it as a stylish feature for your garden or home? DIY concrete molds let you create planters, candle holders, and more without breaking the bank. When you craft your own molds, you control every detail to match your unique style. In this post, we share smart tips and practical steps to transform ordinary cement into creative accents for your space. Give it a try and see how a few simple materials and a bit of creativity can spark your next great project.
Understanding DIY Concrete Molds: An Overview
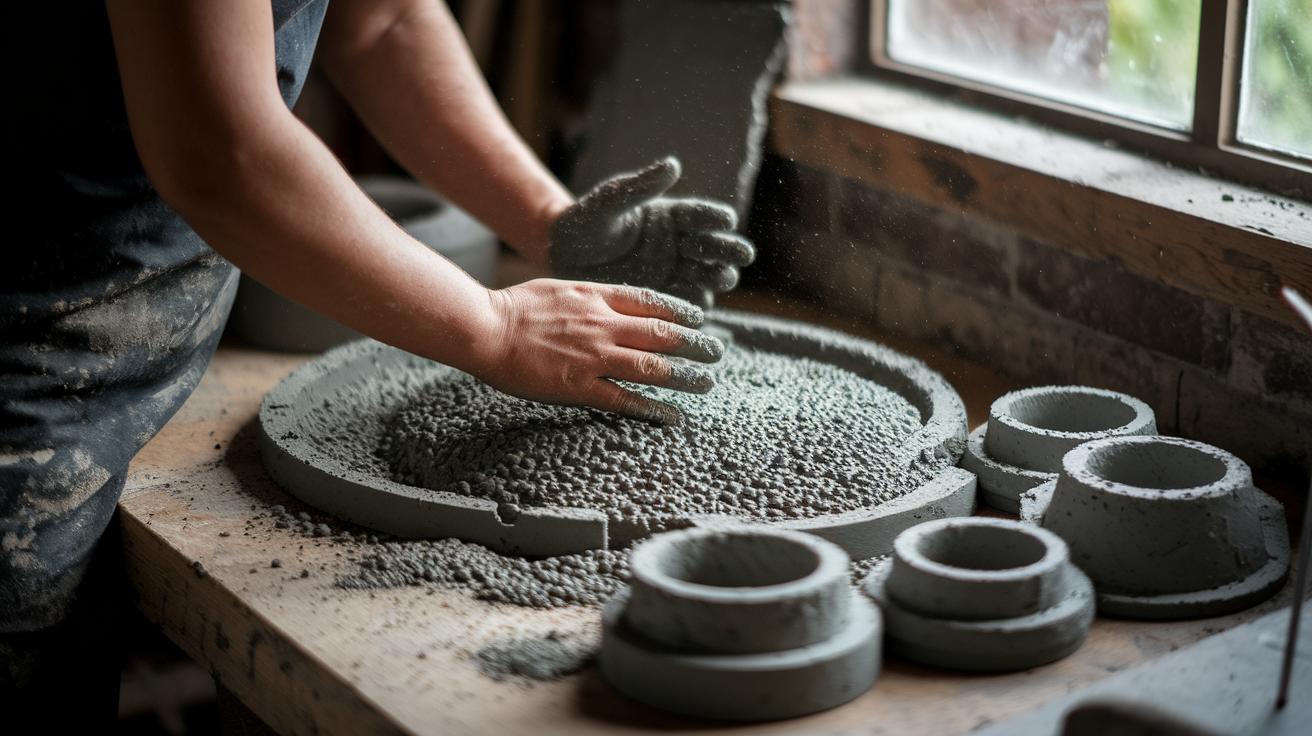
DIY concrete molds are handy, reusable forms you can use to shape concrete into custom designs for your home projects. These molds work well for making items like planters, garden features, and other decor pieces for indoors and outdoors.
There are 13 popular mold types that spark creative ideas. For example, you can cast candle holders to give your room a soft glow, design garden paths that wind naturally across your lawn, or create flower pots and vases for your favorite plants. You might even try making deer figurines for a fun touch, building wood walkways for a rustic look, or crafting stepping stones that resemble natural rocks. Other options include fairy garden stones, duck figurines, interlocking bricks, honeycomb patterns, and bark-textured flower pots. Each option offers a new way to bring your ideas to life.
These projects are great on a budget. With DIY concrete molds, you save money by crafting your own custom decor and useful pieces using a few basic materials. This method not only cuts costs but also lets you tailor each design to match your own style and space.
Materials and Tools for DIY Concrete Molds
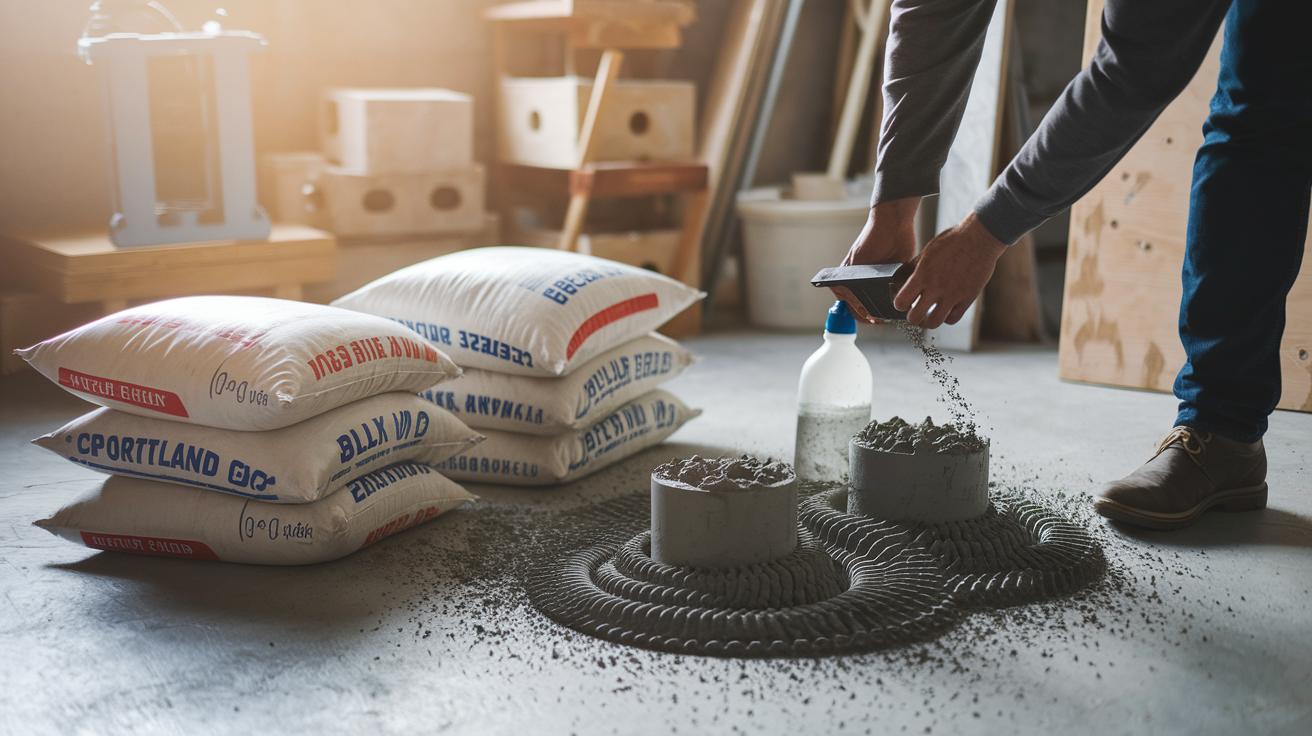
Choosing the right cement and mold supplies is the first step for a successful concrete project. Use quality cement that fits your needs. For example, Bulk Portland Cement, Bulk Slag Cement, Packaged Cements, or QUIKRETE work well for both professionals and home workshop projects. These products create strong, lasting forms and let you design your own cement molds with ease.
-
Key Materials
- QUIKRETE Concrete Mix
- Mold release spray to keep the mold from sticking
- Clean water for mixing (follow the package directions)
- Pigments to add color and a personal touch
-
Essential Tools
- A mixing bucket for a smooth blend
- A trowel to smooth out surfaces
- A respirator to keep cement dust out of your lungs
- Waterproof gloves to protect your hands
Keeping your workspace organized is important when working with cement. Always wear your safety gear and set up in a well-ventilated spot to reduce dust. A clear area helps you focus on the project and work more efficiently. For more ideas on tools, check out home improvement tool lists that include both hand and power tools.
Planning and Designing Your Custom Concrete Mold

Start by putting your ideas on paper. Measure your work area and note the size of your mold. Draw a simple diagram to show the shapes and sizes you have in mind. This quick sketch helps you pick the best layout and avoid mistakes later.
Next, look into different casting patterns. You might design a mold for stepping stones, garden edging, or custom planters. Check product selector guides to find patterns that mimic natural textures like wood grain or river-washed stone. Compare options that offer both a nice look and strong structure. For example, a stepping-stone pattern can add charm to your outdoor space while serving a useful purpose. Use past guides such as "How to Build a Mold for Concrete Projects" to match your vision with the right materials.
Finally, set your timeline and budget. Write down all the supplies you will need, from cement mix to safety gear. Plan the order of your tasks using a DIY project planning template. This careful planning keeps your project running smoothly and helps you avoid delays and extra costs.
Step-by-Step Construction of DIY Concrete Molds

Start in a clean, flat space with plenty of room to mix and pour your materials. Make sure the area has good airflow and is free of obstacles. Wear your safety gear, including a respirator and waterproof gloves. Follow the mix ratios on your QUIKRETE Concrete Mix label so your mix is smooth and cures well. A solid mix is key to a strong mold.
- Prepare your mold form. Use a container such as a plastic bottle or another simple shape. Seal all edges well so the mix does not leak.
- Mix the concrete and any additives as directed on the package. Slowly add water while stirring until the mixture is smooth and free of lumps.
- Apply a mold release inside the form. This step with a spray or liquid helps the finished concrete piece come out easily.
- Pour the mixture slowly into the mold. Doing this carefully helps avoid trapped air pockets that can weaken the mold.
- Gently tap the mold on a hard surface. This allows any trapped air bubbles to escape and ensures an even fill.
- Cover the mold and let it cure as instructed on the package. Keep the mold protected from dust and temperature changes as it sets.
After filling and covering the mold, let it sit undisturbed. When the curing time is up, lightly test the surface. It should feel firm and not sticky before you remove the mold and work on any finishing touches.
DIY Concrete Molds Spark Creative Home Projects
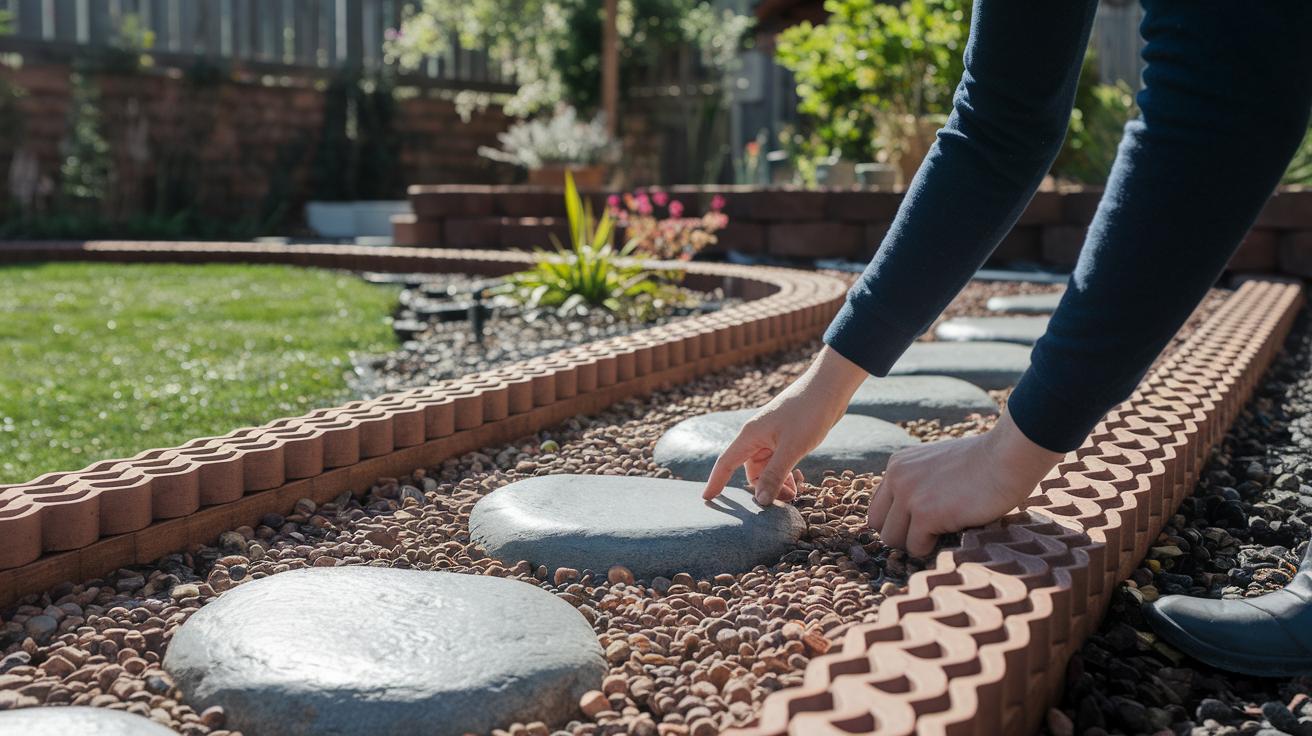
When you start your project, mix practicality with a bit of art. Use shapes that feel natural. Instead of a plain stepping stone, try one that looks like water-smoothed river rocks. Think about making pieces that remind you of carved wood. Picture a stone that feels worn by nature.
Plan your design with creativity and care. Draw ideas for planter molds that work as decorative borders. You can even design a honeycomb pattern for your garden paths. Add color or inserts to match your home style. These steps help you create a project that is useful and unique.
| Design Tip | Practical Step |
|---|---|
| Organic Textures | Use shapes that look natural and weathered |
| Functional Art | Combine planter molds with border patterns |
| Customization | Add pigments or inserts for a personal touch |
Advanced Materials: Silicone and Flexible Mold Options for DIY Concrete Molds
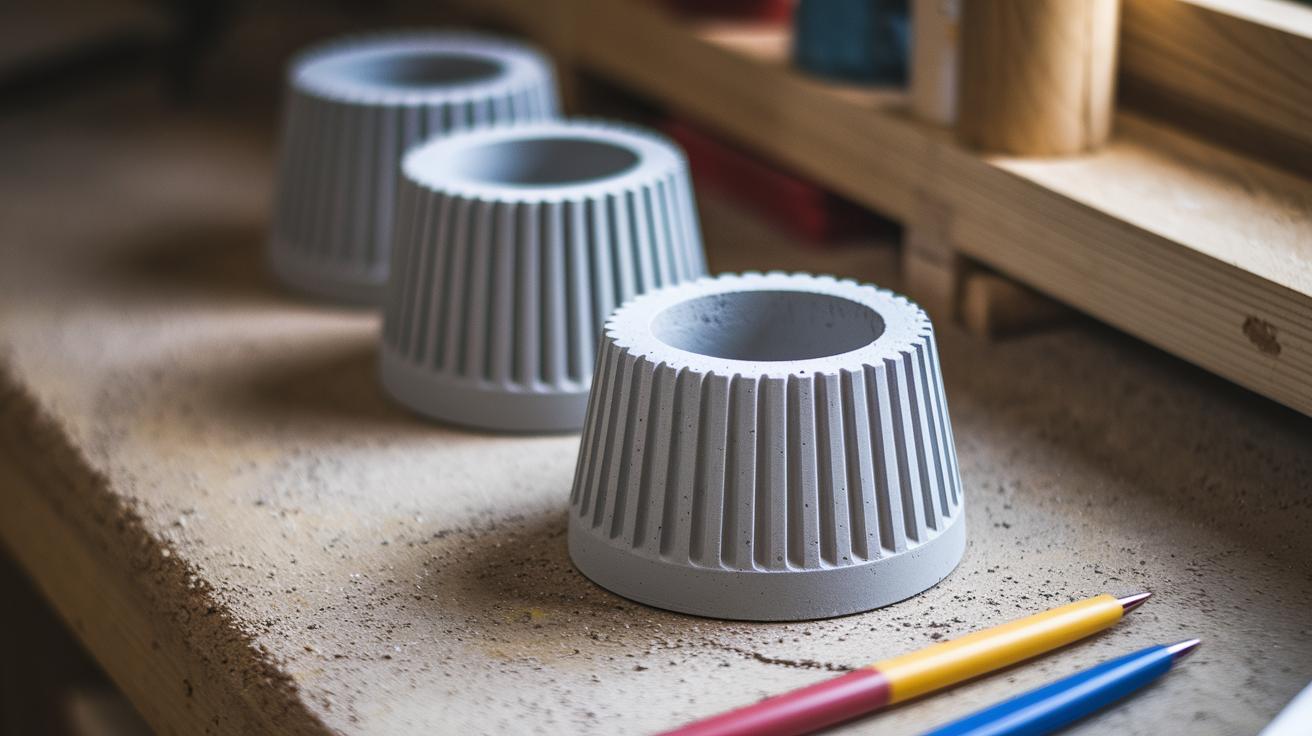
Silicone mold making is a great way to capture small details in your concrete projects. With silicone kits, you get a flexible mold that picks up fine textures and clear patterns. Each kit has its own cure time so the mold sets right while keeping every detail sharp. These molds are perfect for custom jobs like small planters or decorative pieces because they release easily after the concrete hardens. Plus, you can use them again, saving you money in the long run.
Rubber and latex molds are also strong choices for projects that need durability. Rubber molds work well for larger items and can take a bit of rough handling while still showing every detail. Latex molds are lighter and more affordable, though they may not last as long with repeated use. Choose the mold that fits your project needs based on cost and how often you plan to use it.
Curing, Demolding, and Finishing Techniques for DIY Concrete Molds
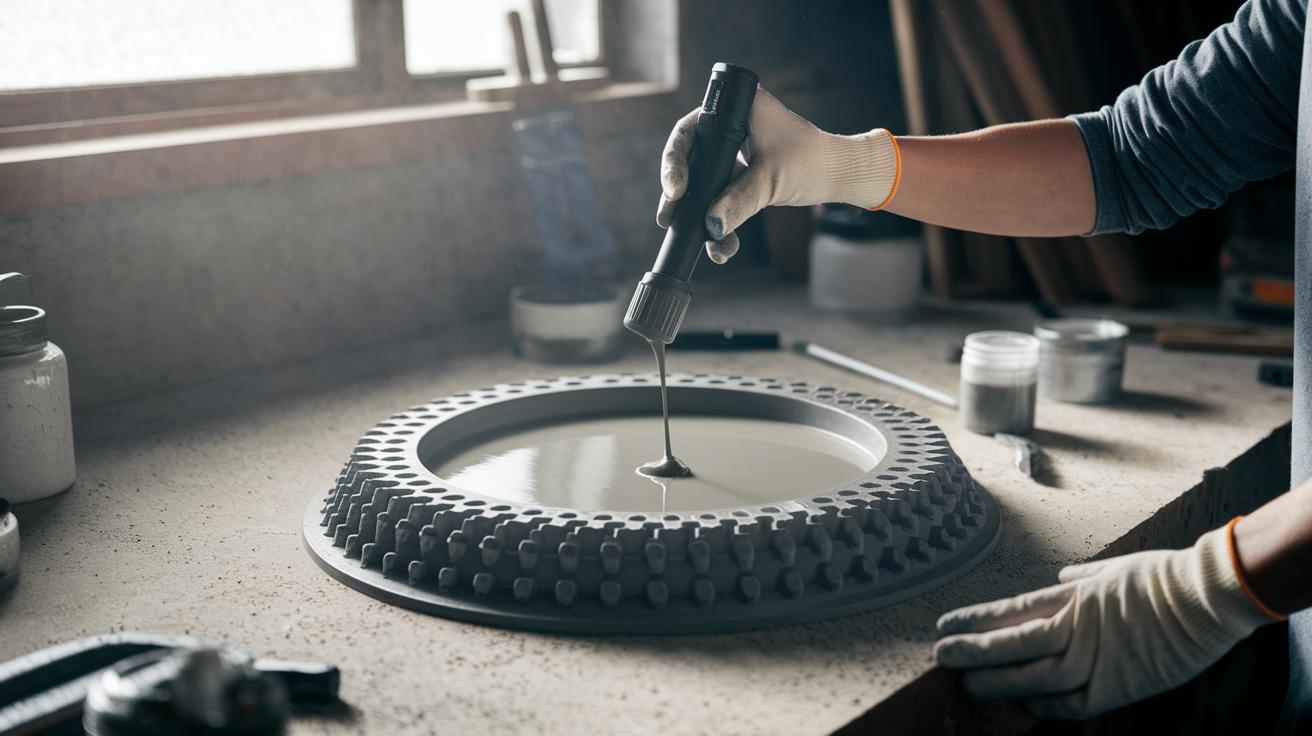
Project Snapshot:
Time: Follow instructions on your QUIKRETE package
Skill level: Intermediate
Tools: Gloves, goggles, fine-grit sandpaper, quality sealer
Safety: Always wear your protective gear
-
Start by letting your concrete cure. Read the QUIKRETE package for the proper curing time. Place your mold in a steady spot with moderate temperature and humidity. In cooler weather, cover the mold with a light cloth to hold in warmth without blocking air flow.
-
Once the concrete cures, apply a sealer to protect it from water and wear. Remember to wear gloves and goggles while handling the sealer.
-
When you're ready to remove the mold, work slowly. Use gentle pressure and a slight twisting motion if needed. This helps prevent any damage to your concrete piece.
-
After you take out the mold, check the concrete for minor bumps or rough spots. Use fine-grit sandpaper to smooth out any rough edges. Keep sanding until the surface feels even.
-
Finish by applying a quality sealer to give your project a sleek, durable look. This step not only makes the piece attractive but also adds lasting strength and protection.
Take your time, follow these steps, and you will enjoy a strong, long-lasting finished piece for your home projects.
Troubleshooting Common Challenges in DIY Concrete Molds
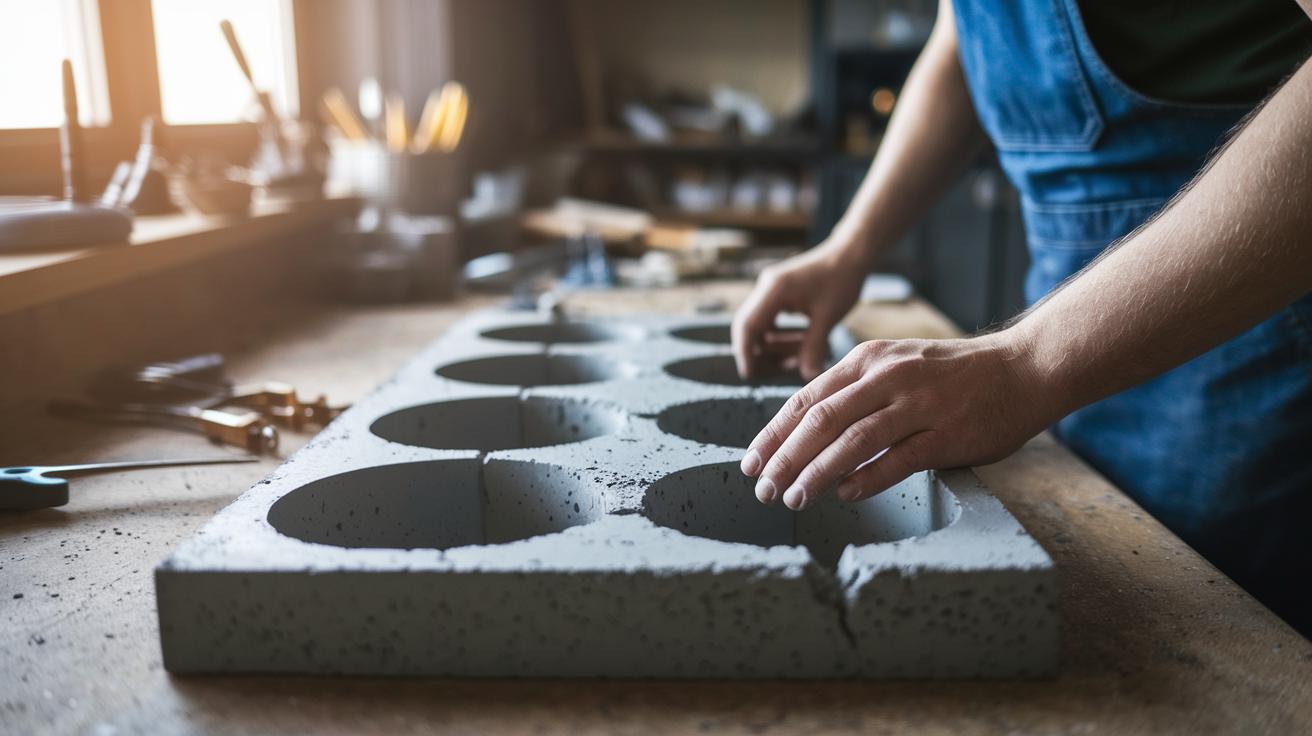
When working with concrete molds, you might run into air pockets, cracks, or the mix sticking to the mold. These problems often come from uneven mixing or a mold that is not sealed well. For example, trapped air bubbles can lead to weak spots and rough textures. Cracks may show up when the mix is too dry or the curing temperature is low. Catching these issues early lets you adjust your process and save both time and materials.
To fix these issues, patch small cracks with a bit more mix or a repair compound once the piece is firm enough to handle. Use an extra coat of mold release agent before pouring another batch to keep the mix from sticking. Also, check that your mold is properly sealed and supported before you pour the mix. These simple steps can help you get better results and improve the overall quality of your project.
Safety Guidelines and Best Practices for DIY Concrete Molds
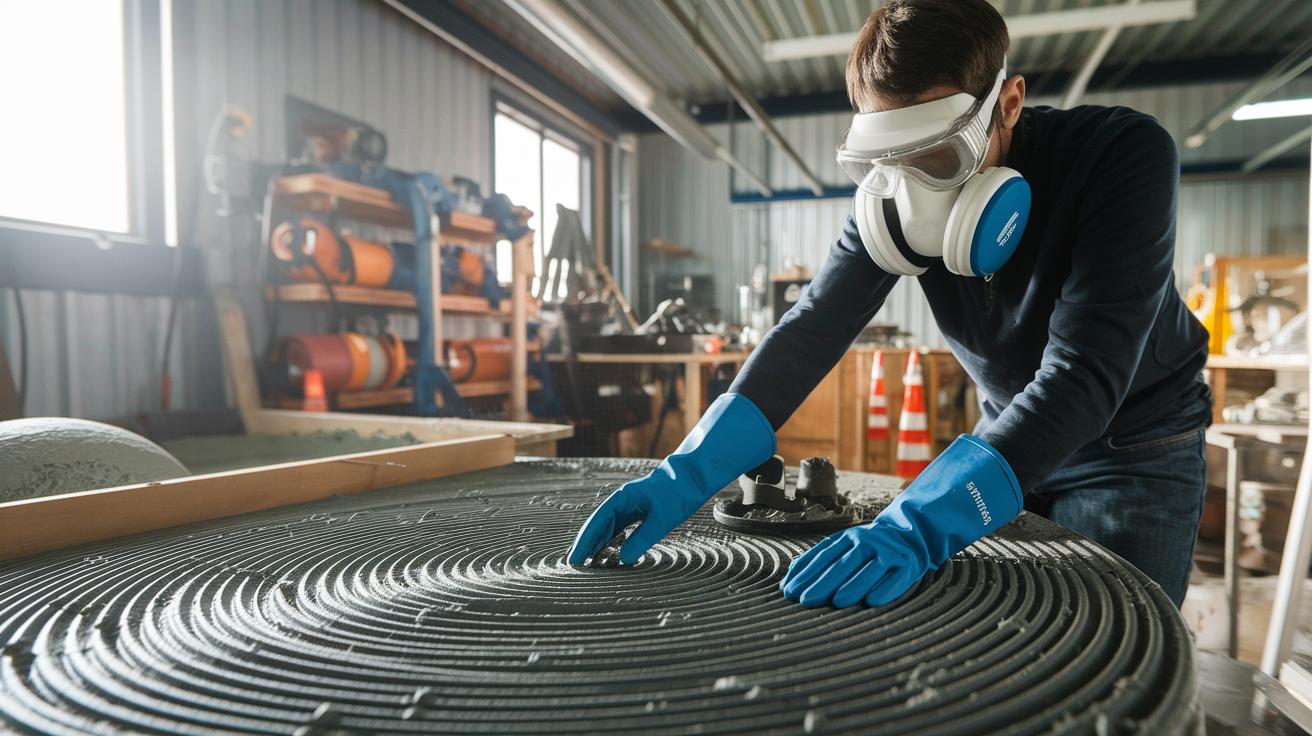
When you work with concrete, start by putting on waterproof gloves, goggles, and a respirator (a mask that keeps dust away from your lungs). Check your safety gear before each use and replace any worn items. For example, inspect your respirator filters to be sure they are clean and free of dust.
Keep your work area neat. Arrange your tools so you have a clear path and avoid tripping. Make sure you have good airflow and clean up any cement spills right away to prevent slips. For example, wipe off any concrete residue as soon as you notice it.
Final Words
In the action, you explored everything from defining diy concrete molds to choosing and mixing your materials safely. You read how to plan and design your mold and followed clear steps to build and finish your project. We also covered creative design twists, troubleshooting tricks, and advanced silicone options. Each step emphasized safety, clear measurements, and budget-friendly practices, so you can enjoy impressive results. Keep the momentum and trust your skills as you create your next DIY masterpiece.
FAQ
How do you create DIY concrete molds for outdoor projects like patios?
DIY concrete molds for outdoor projects, including patios, involve building forms with durable materials, applying a proper release agent, and using techniques that withstand weather to ensure long-lasting concrete shapes.
How can you make concrete molds from wood, plastic, or cardboard?
Making concrete molds from wood, plastic, or cardboard involves cutting or shaping your material to the desired form, sealing seams, and then applying a release agent before pouring in the prepared concrete mix.
What is a concrete mold making kit?
A concrete mold making kit provides pre-measured materials and flexible mold solutions like silicone or rubber, which help streamline the process and let beginners create accurate, repeatable shapes effortlessly.
What are rubber molds for concrete?
Rubber molds for concrete offer flexible, reusable forms that are ideal for capturing intricate details, reducing sticking issues, and ensuring a smooth finish when you remove the hardened concrete.
How do you make a mold for concrete pavers?
Making a mold for concrete pavers involves constructing a sturdy frame, applying a release agent to the interior, and carefully filling the mold with a well-mixed concrete blend to produce uniform, durable paver shapes.
What materials can be used to make a concrete mold?
Materials such as wood, plastic, cardboard, and rubber can be used to build a concrete mold. Each option offers different benefits in terms of durability, cost efficiency, and the level of detail achievable.
What does the 10/20/30/40 rule signify in concrete mold making?
The 10/20/30/40 rule outlines specific guidelines for mix proportions and curing times, helping you achieve optimum strength and consistency in your concrete projects when followed correctly.
What is the cheapest way to make concrete forms?
The most cost-effective method to create concrete forms is by repurposing low-cost materials like scrap wood or cardboard, ensuring you prepare them correctly with a release agent to avoid sticking.
Can you use WD-40 as a concrete release agent?
Using WD-40 as a concrete release agent is not advised. Instead, use products specifically designed for concrete molds to ensure a clean release and to help protect your mold material.