

Have you ever wanted your outdoor space to shine in its own unique way? Making your own concrete pavers can turn a plain path into a small work of art that shows off your style. You get to choose the colors, textures, and layout that suit you best. With a simple step-by-step guide, you'll learn how to plan and install them so that your vision comes to life. Not only does this project boost your home's curb appeal, it also gives your space a personal touch that makes it truly yours.
DIY Concrete Pavers: Complete Step-by-Step Creation
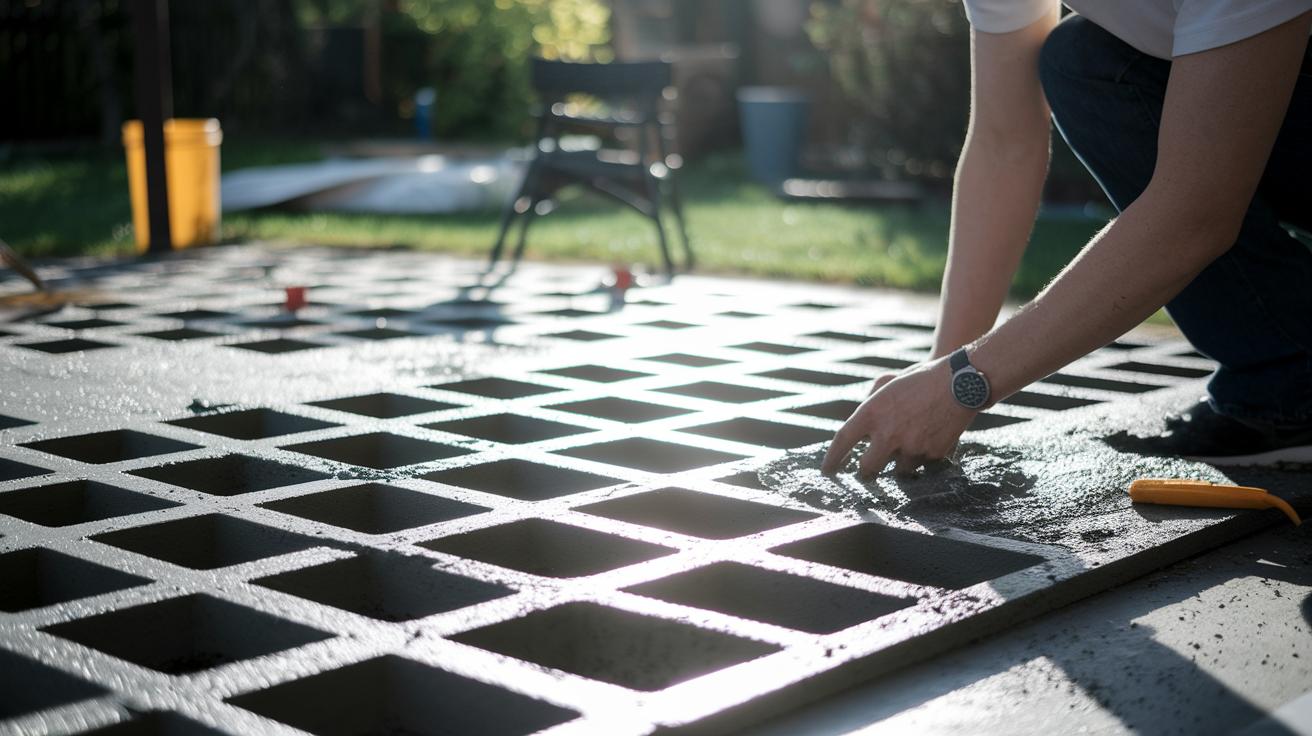
Making your own concrete pavers is a rewarding way to add a personal touch to your outdoor space. You can pick the colors, textures, and layout that suit your style. Imagine stepping onto a pathway that you built yourself, it looks unique and feels truly yours.
The project breaks down into six simple phases:
- Design and planning. Start by sketching your layout and measuring your area. This helps set clear goals.
- Mold creation. Build or buy molds to define the shape and size of your pavers.
- Mixing. Combine cement and water in the right ratio (check your mix for proper consistency).
- Casting. Pour the mix into your molds to form the stones.
- Curing. Let the pavers harden well. This step ensures they are strong and durable.
- Installation. Lay the pavers in your chosen pattern to create the finished look.
Each step builds on the last to give you a beautiful, custom outdoor finish. Enjoy the process, take your time, and soon you will have a space you can be proud of.
Planning Your Home-Cast Concrete Pavers Project
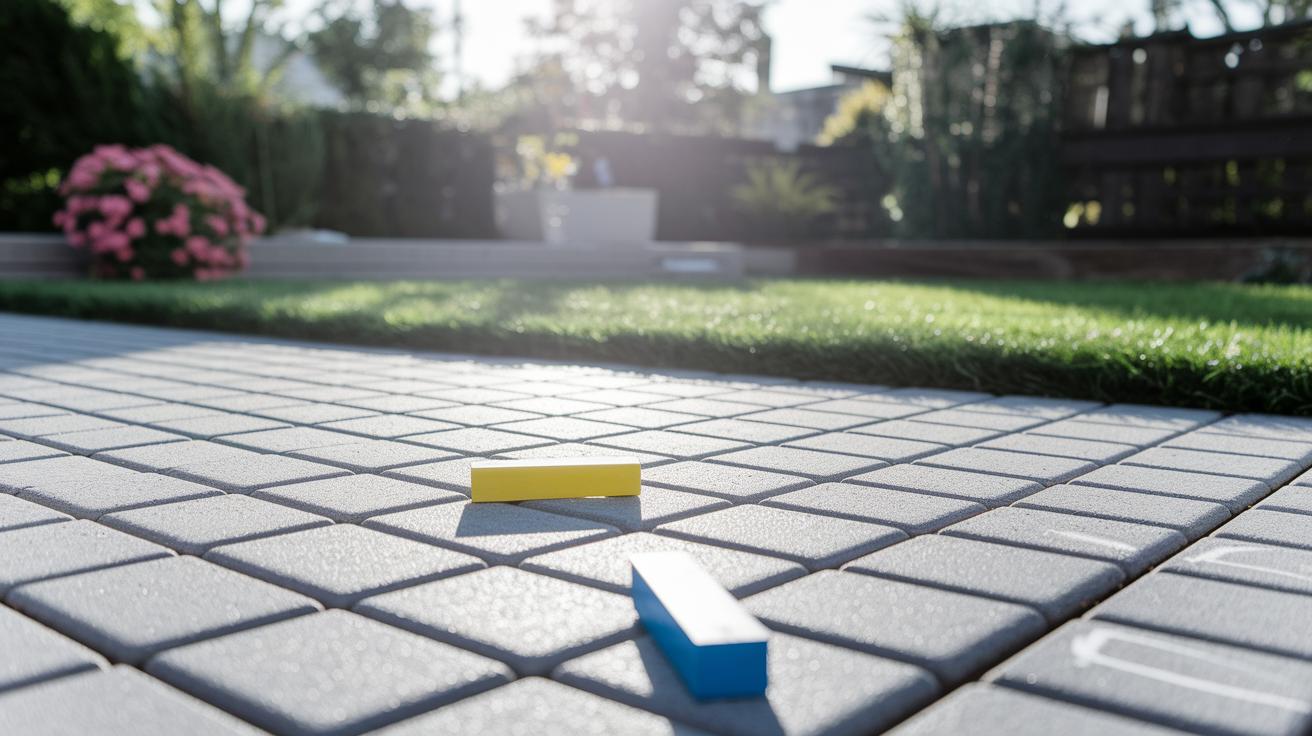
Before you start, decide what you want to achieve. Choose a spot that fits your plans and set clear design goals. Picture your outdoor space with pavers that show your style. Good planning from the start makes the build smoother and helps you avoid surprises later.
Consider these five points:
- Paver shape, size and thickness.
- Pattern and layout options.
- Drainage, slope and base preparation.
- Material sourcing and budget limits.
- Project timeline and milestones.
Taking time to think over these points can make the project feel less overwhelming. Imagine marking your space with chalk and picturing the final look before placing a single paver. With smart planning, you can match your design dreams with practical needs. For extra help with your ideas, download the DIY project planning template to keep track of costs and deadlines.
DIY Concrete Pavers: Brighten Your Outdoor Space
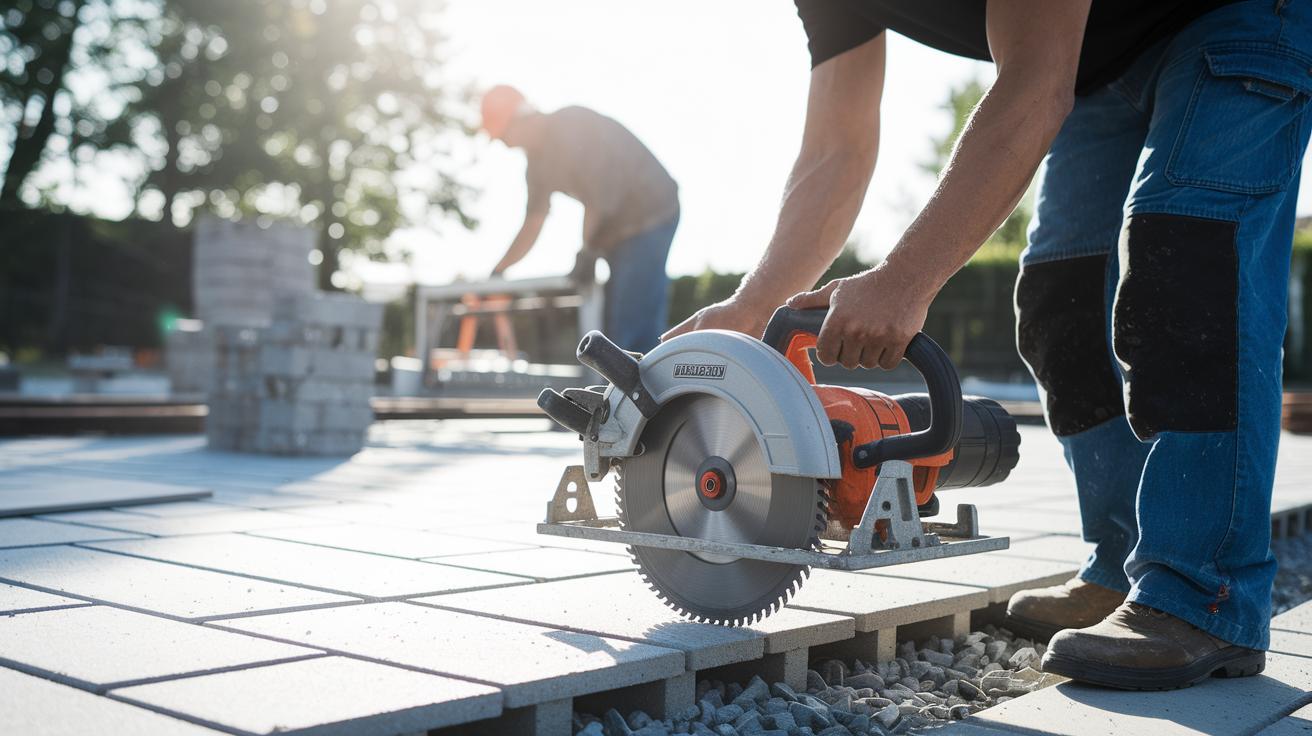
When you choose the right tools and quality supplies, you can build concrete pavers that look great and last. Good tools help you get clean cuts, smooth edges, and a solid base. They also keep your pavers in shape and ready to handle heavy use and rough weather.
| Item | Purpose/Quantity |
|---|---|
| Circular Saw with Diamond Blade | For straight, precise cuts |
| Angle Grinder with Diamond Disc | For smooth curves and refined edges |
| Plastic Paver Edging Spikes | To hold the paver borders in place |
| Landscaping Fabric & Weed Killer | Stops weeds from growing under and around pavers |
| Paver Base Sand & Polymeric Joint Sand | Makes a stable base and keeps joints secure |
| Plastic Spacers | Makes sure the gaps are even |
When planning your project, think about how you will get these items. Many local hardware stores sell or rent them. Renting a circular saw or angle grinder can be a smart choice if you only need them for one project. You might also find budget options like $1 pavers at big stores. Mixing professional-grade tools with low-cost supplies helps you create pavers that are both durable and attractive.
Reusable Mold Techniques for DIY Concrete Pavers
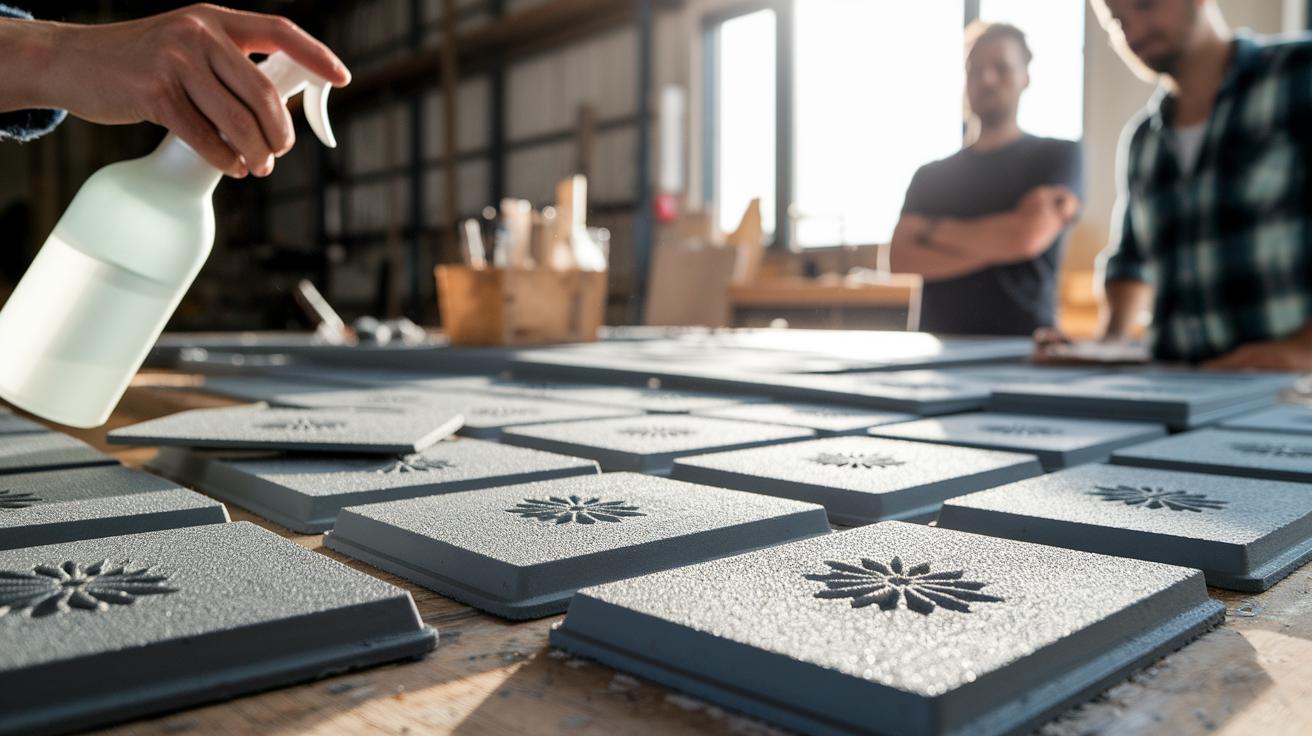
Reusable molds help you create concrete pavers that are the same shape and size every time. You can choose from different materials. Silicone molds give you flexibility and let you capture small details in decorative designs. Plastic molds are tough and work well for standard shapes. Plywood forms are a good budget-friendly option if you want to make your own mold. No matter which type you choose, be sure to use a release agent. Spray your mold with a silicone-based release or lightly coat it with petroleum jelly. This simple step stops the concrete from sticking and helps your paver come out smoothly.
Taking good care of your molds is important too. After you use them, scrub off any concrete with a stiff brush and warm, soapy water. Rinse well to get rid of all soap and let the mold air dry completely. Store your molds flat in a cool, dry spot so they do not warp or hold moisture. Following these tips will give you reliable results and long-lasting molds, making your DIY concrete paver projects a breeze every time.
Mixing and Curing DIY Concrete Pavers
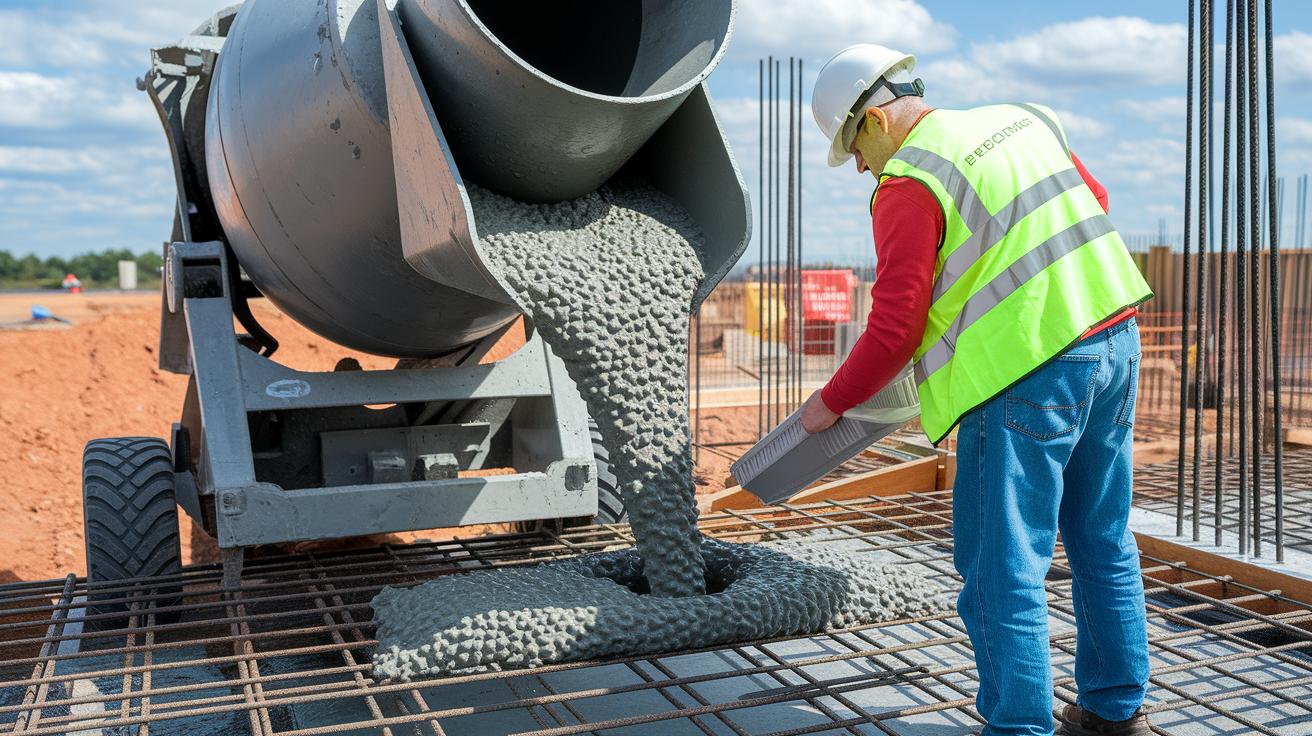
Getting the water-to-cement ratio right is key to a strong mix. Too much water weakens the concrete and leads to cracking, while too little water makes it hard to mix properly. You can add materials like fiber (small strands that boost strength) or a plasticizer (a liquid that improves workability) to help the mix blend smoothly and cure evenly.
- Weigh all ingredients instead of measuring by volume.
- Mix in two stages: first dry ingredients, then add the wet component.
- Do a slump test to check for proper consistency.
- Check the initial set for 20-30 minutes before removing from the mold.
- Let the mix cure in a controlled humidity environment for 24-72 hours.
Weather plays a big role in how your mix sets. On hot, breezy days, the surface can dry too fast and cause cracks. On cooler, humid days, the mix sets more slowly. Adjust your curing plan based on the weather. Protect the pavers from strong winds if you can and use temporary covers when temperatures change a lot. Watching the weather will help you decide if you need to take extra steps during curing. Balancing all these factors makes sure your pavers reach full strength and look great in your outdoor space.
Installing Your DIY Concrete Pavers
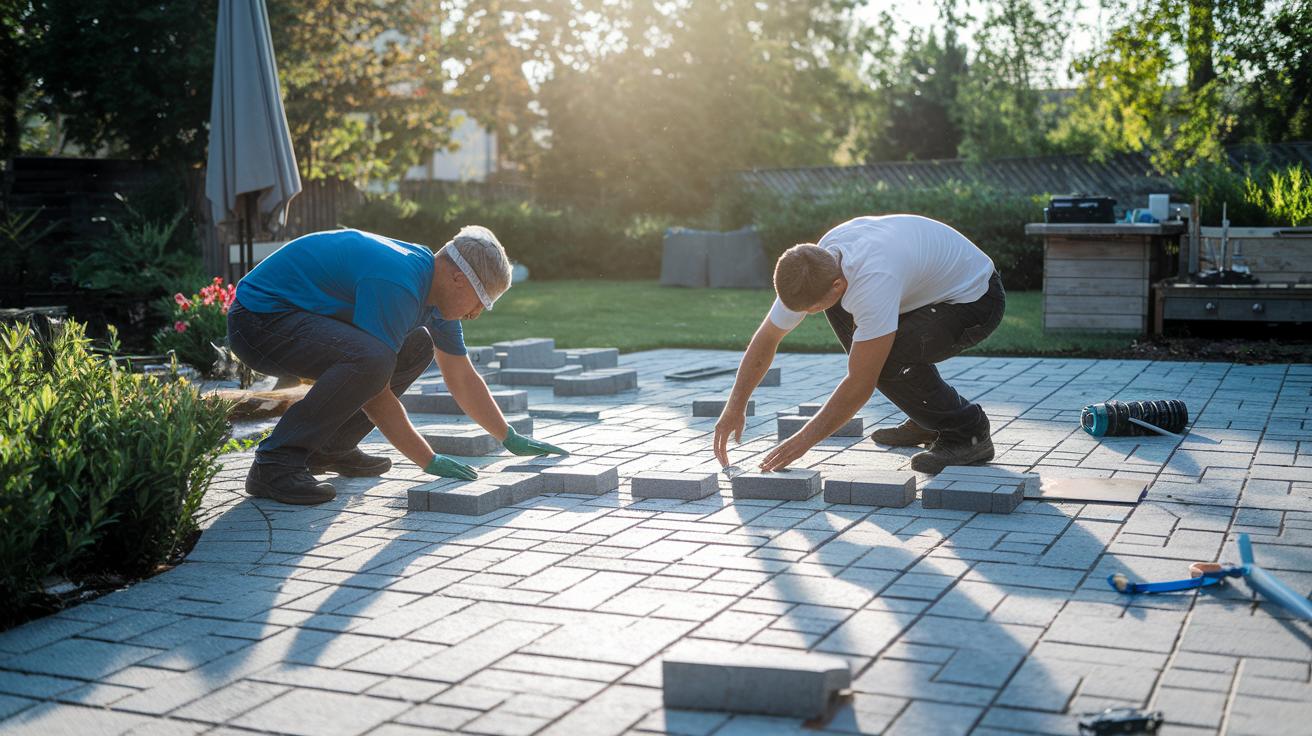
Project Snapshot: Weekend project • 4–6 hours • $100–$250 (materials only, prices vary by region) • Intermediate • Tools: shovel, circular saw with diamond blade, angle grinder with diamond disc, tape measure • Safety: wear goggles and gloves
-
Prepare your site. Clear away debris and mark the spot for your pavers. Lay down landscaping fabric as a barrier and spray weed killer on cracks in the existing surface. Next, secure the layout with plastic edging. Finally, spread a 1/4- to 1/2-inch layer of paver base sand evenly to build a solid, level foundation.
-
Do a dry run. Before setting the pavers, place them on the base to check your layout. Mark the pattern and cut lines so you know exactly where everything will go. Use plastic spacers between pavers to keep gaps even. This helps you avoid mistakes and ensures a neat finish when you add polymeric sand later.
-
Cut and place edge stones. When it comes time to fit the edge stones, cut them carefully. Use a circular saw with a diamond blade for straight cuts and an angle grinder with a diamond disc for curves. Spray weed killer on any visible cracks before placing the stones. Your earlier dry run will guide you in fitting each piece so that the edges line up perfectly with your design.
-
Add the final touches. Once all the pavers are in place, spread polymeric sand into the joints. Lightly mist the surface to activate the sand and tap each paver firmly into the sand base. Check any stairs or risers to ensure smooth transitions. For extra appeal and stability, you can also install a budget-friendly retaining wall around the area.
Finishing DIY Concrete Pavers: Texturing, Coloring, Sealing
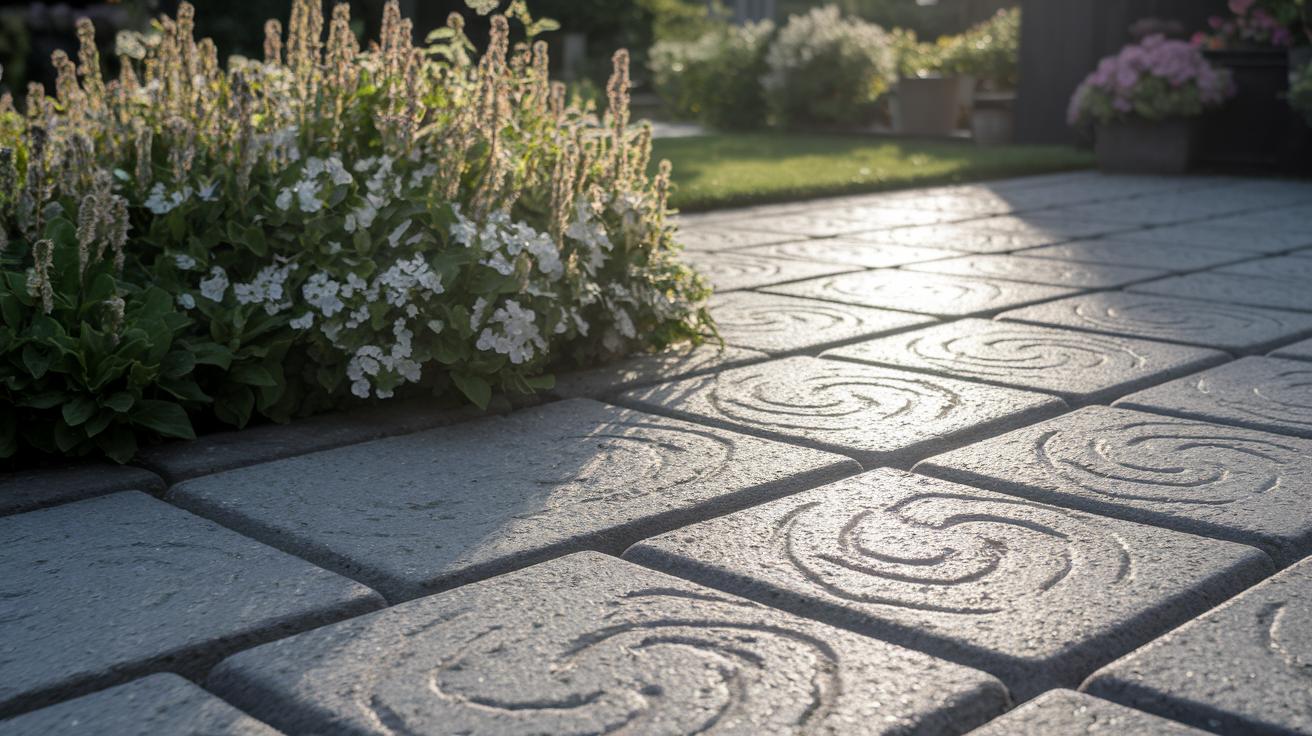
Stamp your concrete pavers using special tools or mats to give them a one-of-a-kind look. Use a brush or roller to press in raised or sunken designs that imitate natural stone. This easy method instantly adds charm and character.
To add color, mix in oxide pigments or apply acid stains. You can add these while pouring the concrete or after the pavers have set. Oxide pigments blend evenly into the mix for soft, consistent hues. Acid stains react with the surface to create a varied, natural look. Try small amounts first and adjust until you get the right intensity. Work with the mix while it is still wet for an even finish, or wait until it cures for layered effects.
Choose the right sealant to protect your work. A penetrating sealant boosts durability, while a film-forming one gives a glossy finish and extra slip resistance. Use a brush or roller to spread it evenly. This step not only enriches the paver color but also protects them from weather and everyday wear.
Maintaining and Troubleshooting DIY Concrete Pavers
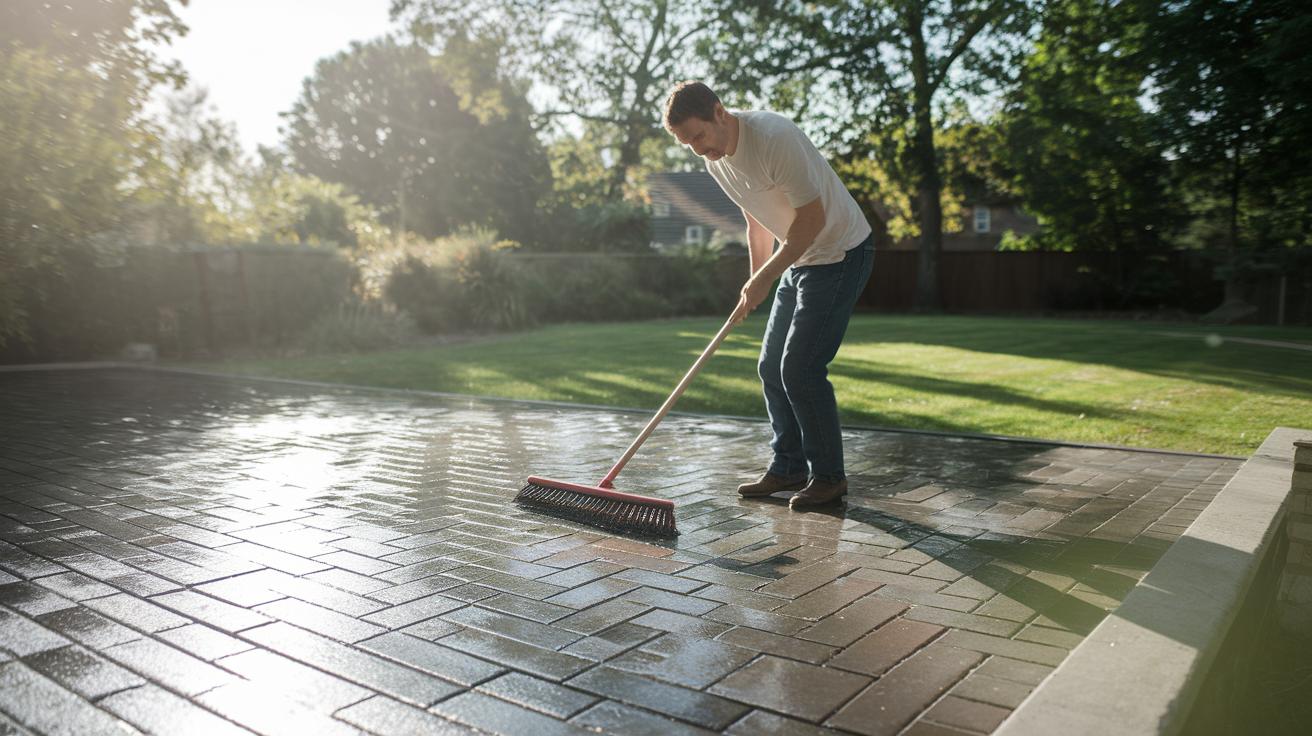
Routine care goes a long way in keeping your pavers strong and inviting. Start by sweeping away dirt and debris often. Every 12 to 24 months, wash the surface with a mild soap solution. Then, apply a quality sealant to block moisture and stains.
For small cracks or chips, fix them right away with a quick-set repair mix. First, clean out loose dirt from the crack and dampen the area. Next, fill the crack with the mix using a putty knife. Let it fully set before walking on it.
Before winter hits, refresh the joint sand. Check for gaps or worn spots and add new sand to keep the pavers evenly spaced. If heavy frost is coming, cover the area to protect the pavers during freeze-thaw cycles. This simple routine will help maintain a bright, sturdy pathway all year round.
Budget and Timeline for DIY Concrete Pavers
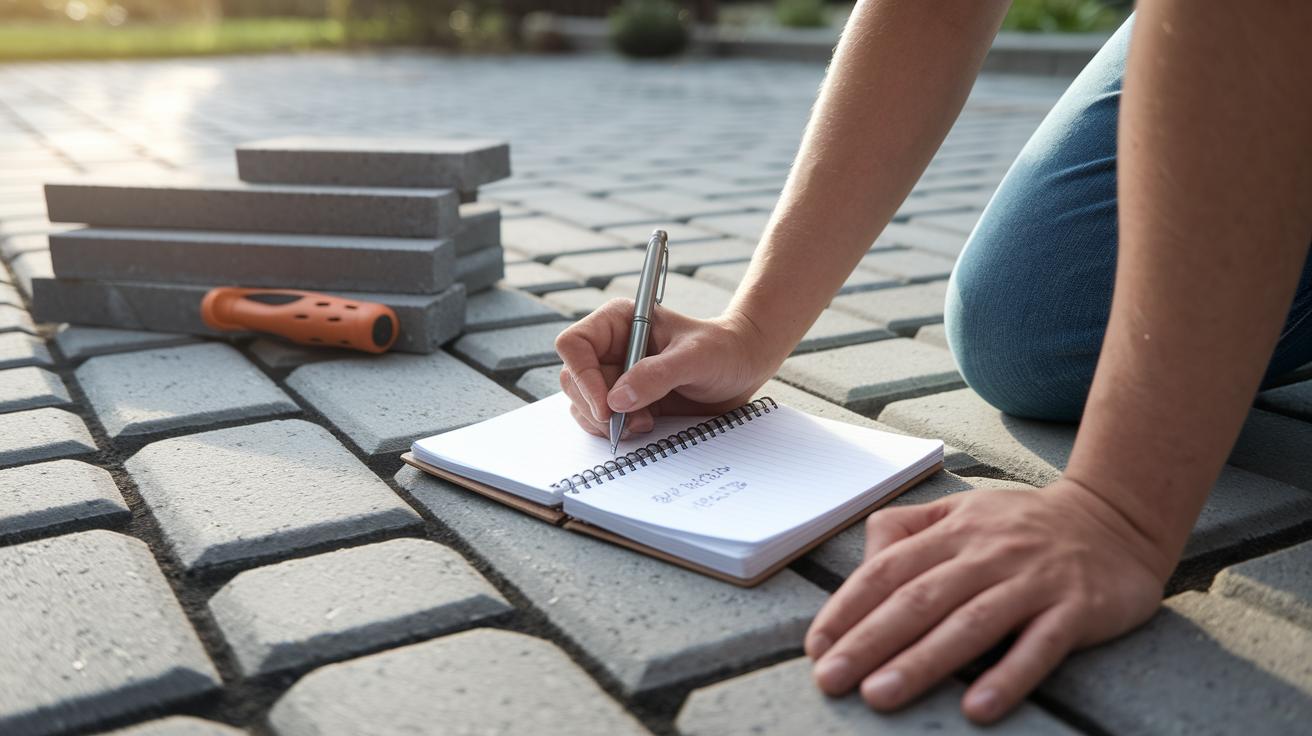
Start by writing down your costs. Look for deals on pavers; you can sometimes buy them for about $1 each at big stores. Next, add the cost for tools such as a circular saw with a diamond blade, an angle grinder with a diamond disc, plastic edging, and the sands and sealants you need. If you do not plan to use a tool again, consider renting it. You might also want to add a small retaining wall to boost curb appeal while still keeping the budget low.
A good plan for a weekend project is to work on it over two days. On day 1, work on your design, prepare your mold, and mix your concrete. Imagine drawing out your layout, picking a neat pattern, and mixing the concrete just right. On day 2, form your pavers and let them set for at least 24 hours. After that, allow about 3 days for the concrete to fully cure so it reaches its full strength. This schedule helps keep each step safe and well done while keeping your project on track.
DIY Concrete Pavers: Brighten Your Outdoor Space
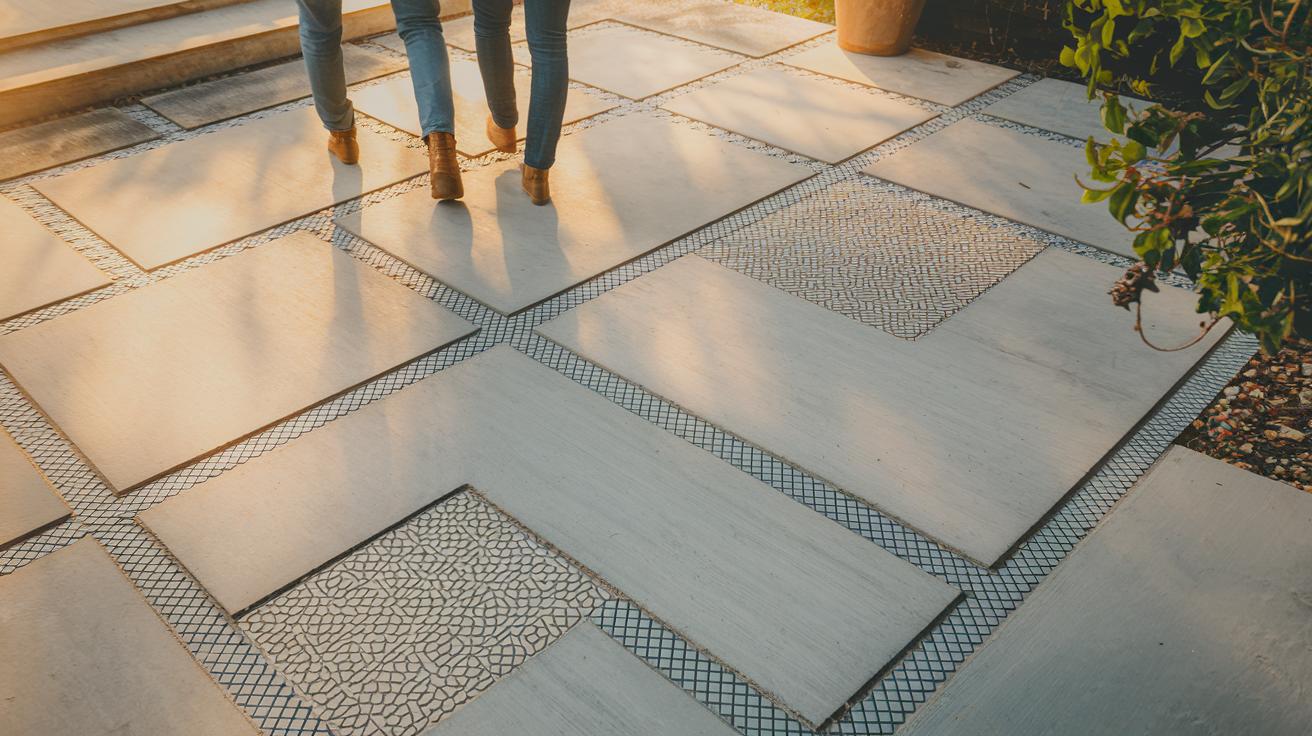
Transform your outdoor area by choosing creative concrete paver designs. Try patterns such as herringbone, circular, or mosaic to give your patio or walkway a fresh, classic look.
Here are three project ideas to boost your backyard style:
- Use wood-grain stamped stepping stones for a natural, warm feel.
- Create two-tone geometric tiles that mix colors for a modern, eye-catching pathway.
- Lay out concentric-circle clusters that serve as garden features, adding a unique, artistic touch.
Mix these ideas with other styles you like to build a space that is as practical as it is beautiful.
Final Words
In the action of building your project, you discovered the benefits of planning, mold creation, mixing, and installation. Each step, from design to finishing touches, brings you closer to a beautiful upgrade in your outdoor space.
By following these clear steps and smart budgeting tips, your diy concrete pavers will transform your space with lasting style and durability. Enjoy the process and know every step counts toward a project that’s as solid as it is stunning.
FAQ
What are concrete paver molds and how do they work?
Concrete paver molds serve as reusable forms that give your pavers a uniform shape and size. They help guide the concrete during casting so your project looks neat and professional.
How do I create DIY concrete pavers for outdoor projects, including driveways, patios, walkways, and for beginners?
DIY concrete pavers for outdoor areas involve planning, mold building, proper mixing, curing, and installation. Beginners should start small and follow step-by-step guides while ensuring the site is prepped for durability.
Are homemade concrete pavers a cost-effective alternative compared to buying ready-made options?
Homemade concrete pavers offer a budget-friendly option. They let you control costs by using affordable materials and methods, making them a practical alternative to expensive, pre-cast pavers.
Can plastic bags be used when making DIY concrete pavers?
DIY techniques sometimes use plastic bags as temporary molds or release agents. They can help form pavers but may not offer the durability of dedicated molds, so use them carefully with added support.
What is the best concrete mix to use for making pavers?
The best concrete mix for pavers typically combines cement, sand, and gravel in balanced proportions. This mix offers the strength and durability needed to ensure your pavers withstand outdoor conditions.