

Ever wonder if a new floor can change your home's look? Picture turning your old garage floor into a sleek and hard-wearing surface in just a few days. DIY epoxy flooring gives you a professional finish without a high price tag. This project boosts your home's curb appeal and adds long-lasting strength to your space. Follow clear steps and take your time, and you can enjoy a high-end look right at home. Ready to give your space a budget-friendly style upgrade?
How to Achieve Professional DIY Epoxy Flooring Results
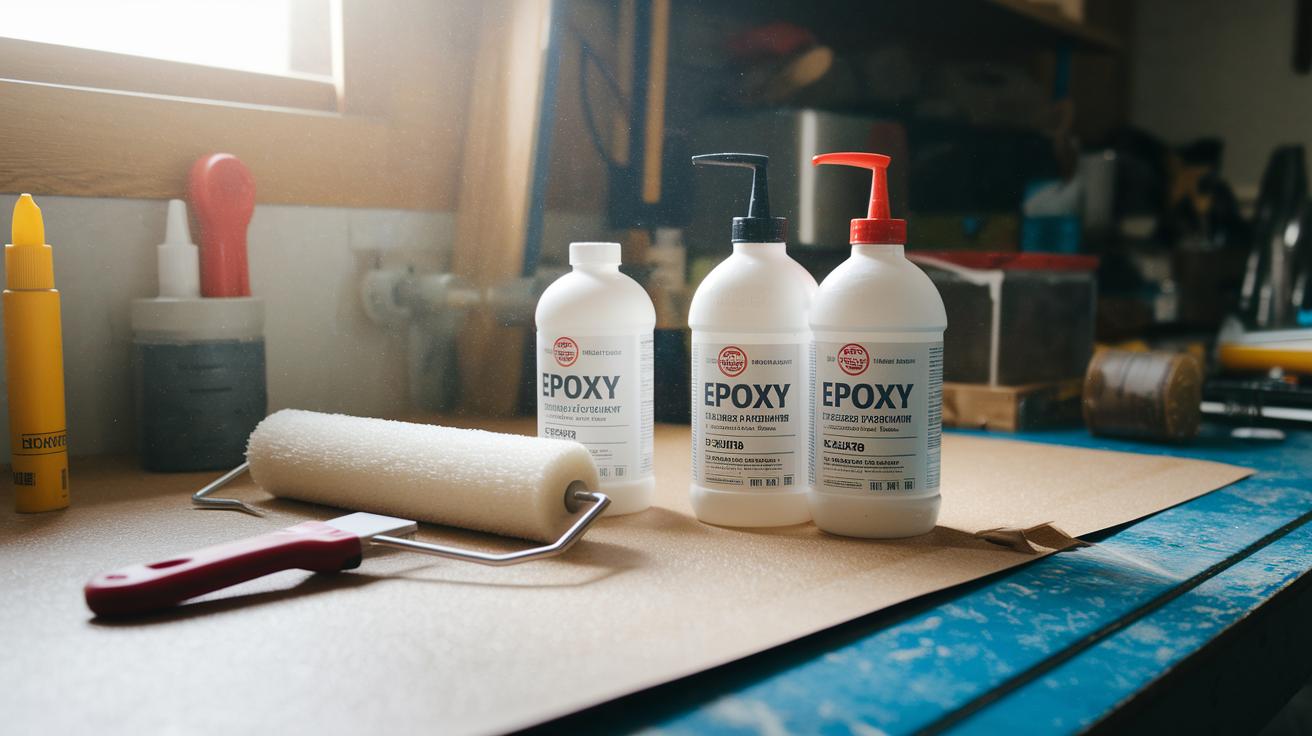
Project Snapshot:
Time: 2 days (including drying steps) • Cost: About $500 for a standard garage kit • Skill Level: Beginner to intermediate • Tools: two-part epoxy kit (resin and hardener), 3/8-inch nap roller (9-inch or 12-inch), paint brush, paint tray, drill with mixing paddle (optional) • Safety: Work in a well-ventilated space and follow product instructions closely
-
Gather Your Materials
• Get a quality two-part epoxy kit (Part A: resin; Part B: hardener)
• Use a 3/8-inch nap roller for large areas and a brush for corners
• Have a paint tray ready for smooth application
Remember, one gallon covers roughly 206–350 sq ft and a two-gallon kit covers 412–700 sq ft. Popular kits run about $85 per gallon, so a typical garage kit is around $500. -
Prepare Your Floor
Clean your garage floor thoroughly. Remove all debris, oil spots, and paint with a stiff brush and a good degreaser. Check the floor with a moisture meter to ensure it is completely dry. This step is key for a strong bond. -
Mix the Epoxy
Follow the manufacturer’s instructions. Combine Parts A and B slowly and carefully. Using a drill with a mixing paddle can help create a uniform mix. Mix gently to prevent air bubbles; think of it like slowly folding ingredients into a cake batter. -
Apply the Epoxy
Start by rolling a self-leveling primer over the floor. Then, apply the first epoxy coat. Brush around the edges and work in 4×4 ft sections in the main area. If you like, sprinkle decorative flakes evenly for extra texture and slip resistance. Let the first coat dry for 12–24 hours. -
Apply a Second Coat and Cure
Repeat the same method for the second coat. After the second coat, the epoxy needs a full cure of 5–7 days. This ensures a long-lasting, budget-friendly finish that you can be proud of.
Essential Tools and Materials for DIY Epoxy Flooring
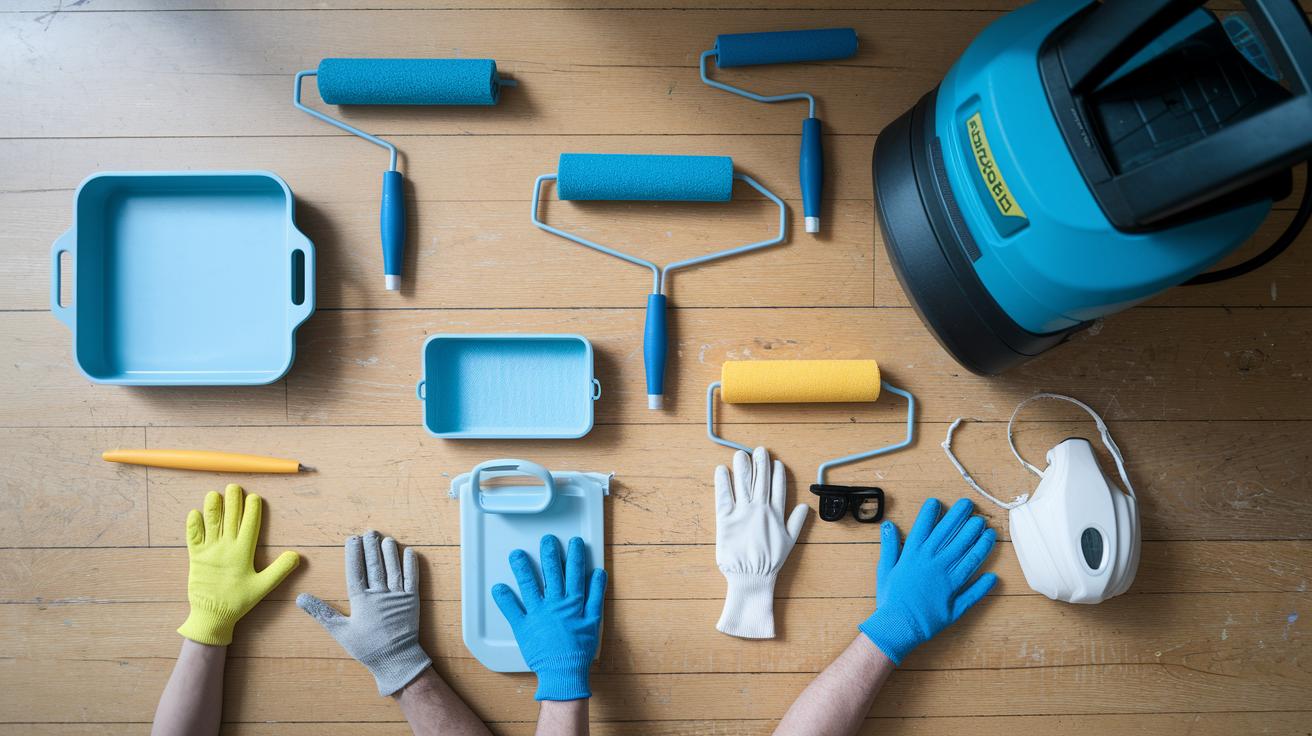
Getting the right tools is important for a lasting finish. Start with a 3/8-inch nap roller, available in both 9-inch and 12-inch sizes. If you have a large floor, choose the 12-inch option so you can work faster without losing detail. A solid paint brush is great for cutting in around edges and corners.
Your kit should also include a paint tray for a steady epoxy pickup and a push squeegee to spread any extra material smoothly. For a deep clean, use a power washer rated at 3000 PSI to remove oil, dirt, and stubborn debris.
Safety is key. Always wear gloves, safety glasses, and a respirator to guard against fumes and splashes. Make sure you work in a well-ventilated area to stay safe.
Remember this basic tool list:
- 3/8-inch nap roller (9-inch or 12-inch)
- Paint brush
- Paint tray
- Push squeegee
- Power washer (3000 PSI)
Choosing these tools carefully helps you achieve a smooth application and a durable epoxy finish that boosts your home's style while keeping the project safe and efficient.
Concrete Surface Preparation Techniques for DIY Epoxy Flooring
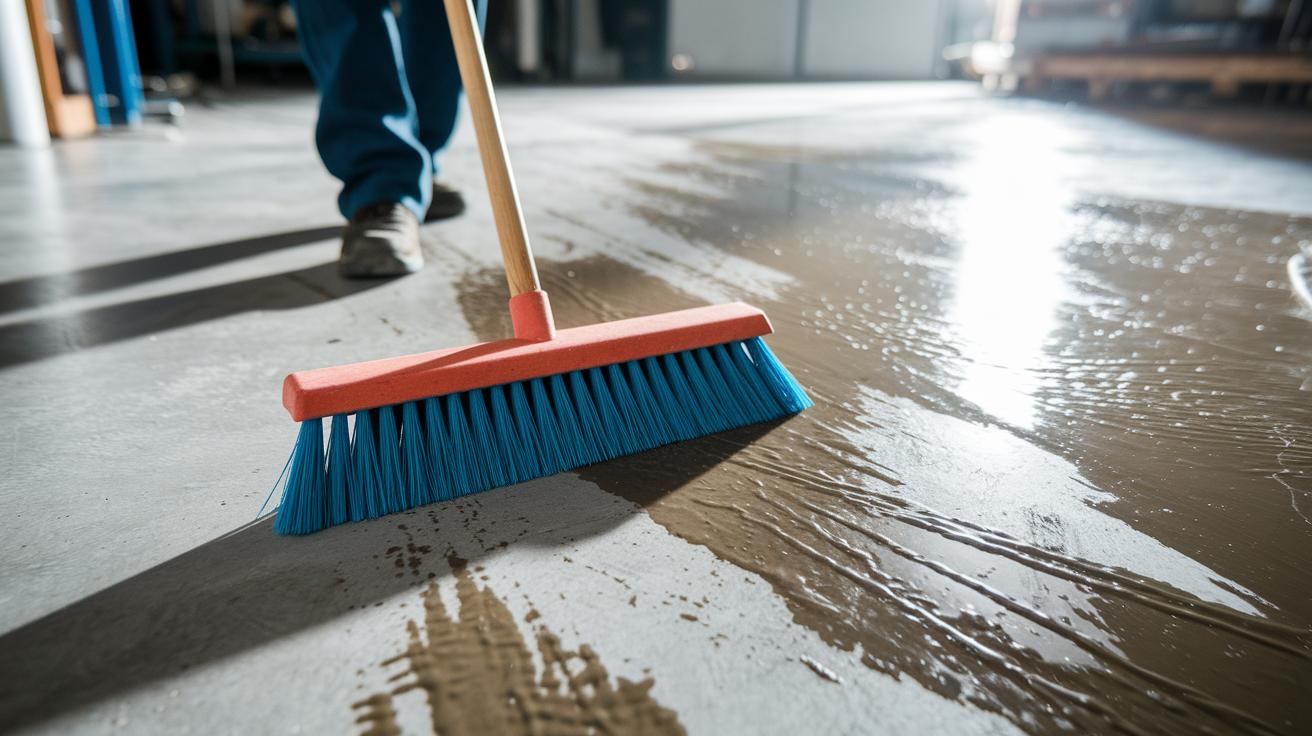
Start by clearing the floor of all items and debris. Sweep the surface to remove any loose dirt. Then, grab a stiff-bristle brush and some degreaser to scrub away oil stains and paint marks. For tougher spots, use an orbital sander to smooth out imperfections. Think of it like cleaning a well-worn path and getting rid of years of built-up dirt.
Next, fix any remaining rough patches by etching the slab. Use a concrete cleaner or acid etcher (a product that roughs up the surface so the epoxy can stick better). Rinse the entire floor with water using a hose or a pressure washer. A power washer at 3000 PSI works well to clear away debris and open the pores in the concrete.
After etching, let the floor dry completely. Leave it overnight so it is 100% dry before you continue. Use a moisture meter (a tool that checks for dampness) to confirm the floor is dry. If you find any damp spots, wait a bit longer. Check any cracks or spalled areas closely. Fill small imperfections with a patch compound to create an even surface. These steps are important for a durable finish.
Following these cleaning and moisture testing steps is key to ensuring the epoxy bonds well and lasts for years.
Applying and Curing DIY Epoxy Flooring: Step-by-Step Application Guide

This guide builds on earlier advice and highlights key points for success. We recommend using a quality 3/8-inch nap roller with a brush to tackle those tricky spots when priming.
First, brush the edges along your room’s perimeter to secure them. Then, work in small 4×4-ft sections with your roller to apply the epoxy evenly.
If you want a non-slip finish that hides minor flaws, sprinkle decorative flakes over the wet epoxy.
Keep drying times in mind:
- Wait 12–24 hours after applying the primer and the first epoxy coat.
- After the second coat, let the floor dry for 48 hours and allow a full cure of 5–7 days before heavy use.
For example, think of it like framing a picture. Secure the edges first, then roll over the center in small sections for a smooth finish.
DIY Epoxy Flooring: Elevate Your Home Style
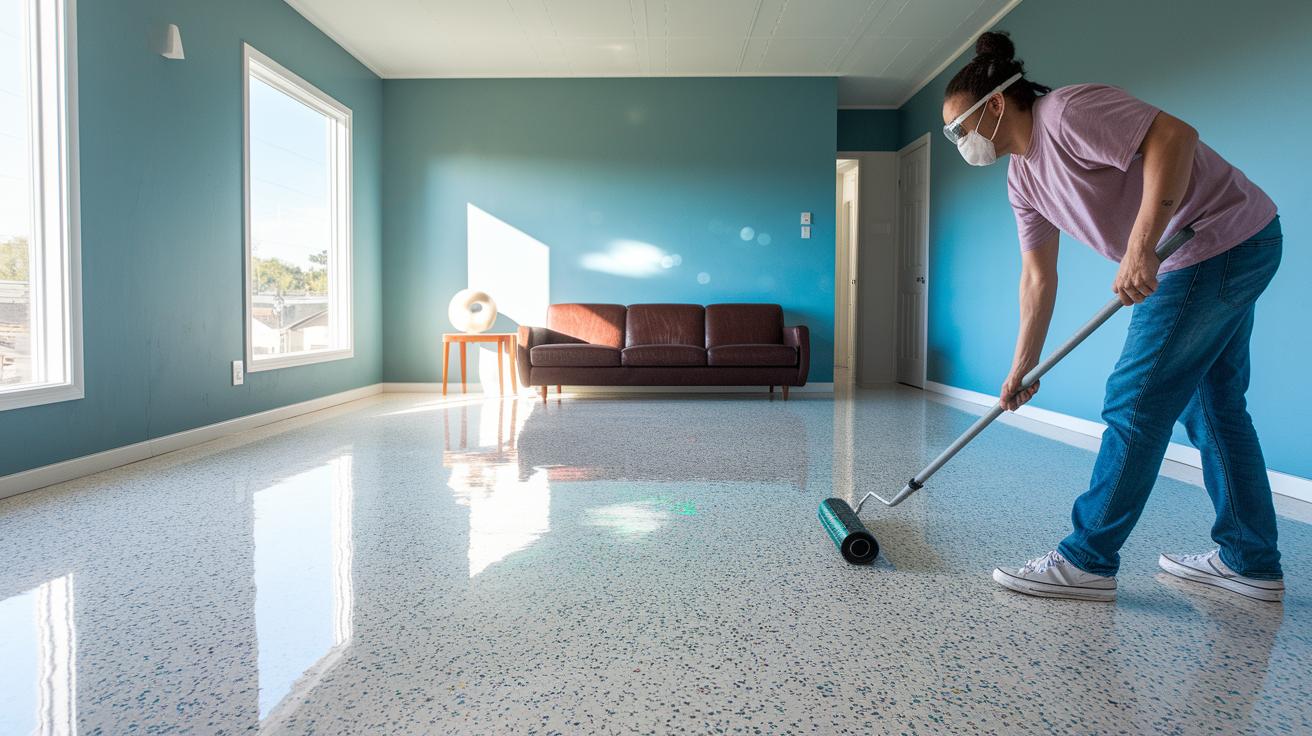
Project Snapshot: Weekend project • 3-5 hours • $200–$500 (materials only) • Intermediate • Tools: epoxy kit, roller, squeegee, gloves, mask • Safety: work in a ventilated area and wear protective gear.
Give your floor a fresh upgrade with a custom epoxy finish. Mix in vinyl or mica flakes with your epoxy for a speckled look that hides small flaws and adds grip. When the epoxy is still wet, sprinkle the flakes evenly to create a terrazzo-like effect. Picture a floor that shimmers softly like stardust in gentle light.
For a more dramatic style, try metallic epoxy. The metallic pigments swirl and form a 3D pattern that can mimic marble or even a galaxy. This approach provides a bold, artistic centerpiece for your room. If you like a simpler look, solid color epoxy gives you a uniform gloss with a modern edge.
Decide if you want a gloss or matte finish. Gloss coats reflect light to brighten your space, while matte finishes offer a subtle, smooth texture. Finally, add a clear topcoat for extra UV resistance and chemical protection. This extra layer seals your design and keeps your floor looking great for many years.
DIY Epoxy Flooring Cost Analysis and Budget-Friendly Planning
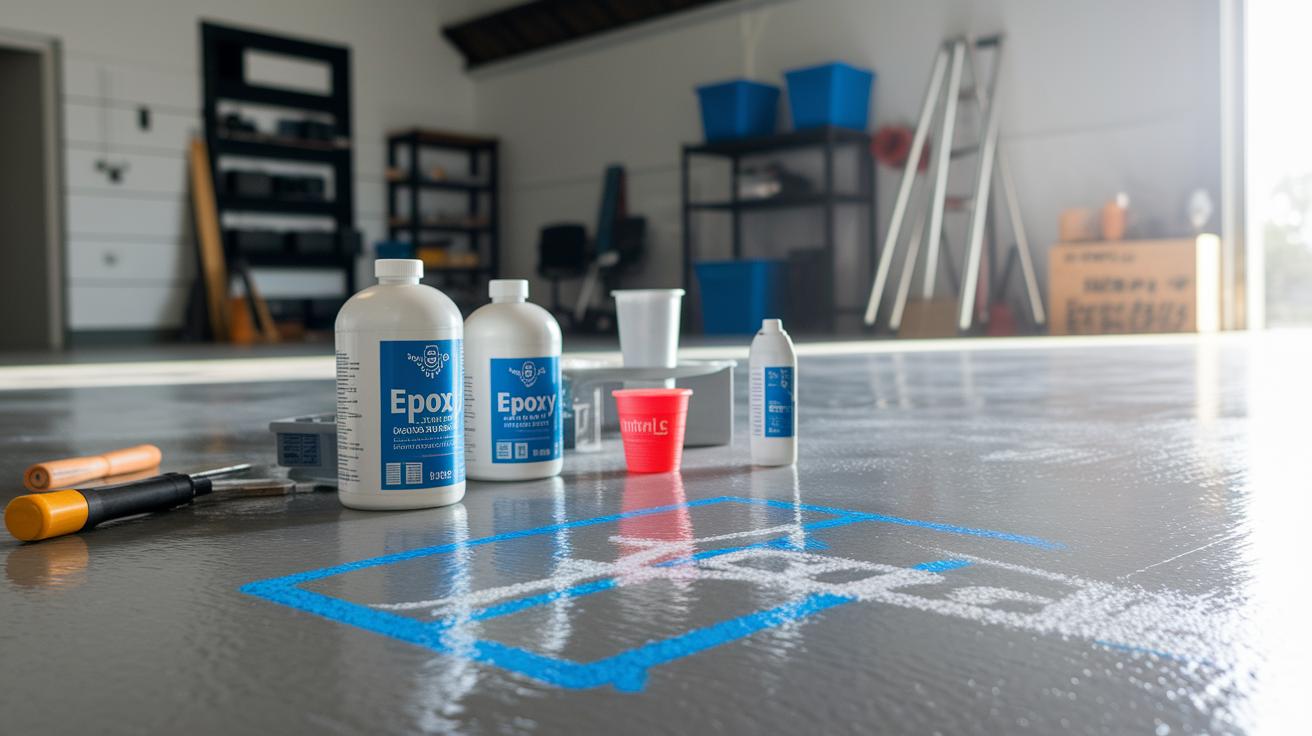
A typical two-gallon epoxy kit covers up to 700 sq ft and costs about $85 per gallon. That means you spend roughly $170 total, or about $2–$4 per square foot. For a 400 sq ft garage, your DIY cost may run between $400 and $600, while hiring a pro can cost $2,000 or more.
Remember to factor in extra items. You may need etching solution, patch compounds, primer, decorative flakes, and a topcoat. These additions help the epoxy bond properly and keep the finish intact. Breaking down costs by square foot lets you plan carefully and spend smartly.
| Item | Cost Estimate |
|---|---|
| Epoxy Kit (2 gallons, covers 700 sq ft) | $170 |
| Etching Solution & Patch Compound | $50–$100 |
| Primer, Flakes, & Topcoat | $100–$200 |
Using these estimates, you can create a detailed and budget-friendly plan that saves money while achieving a professional look.
Maintenance, Durability, and Troubleshooting DIY Epoxy Floors
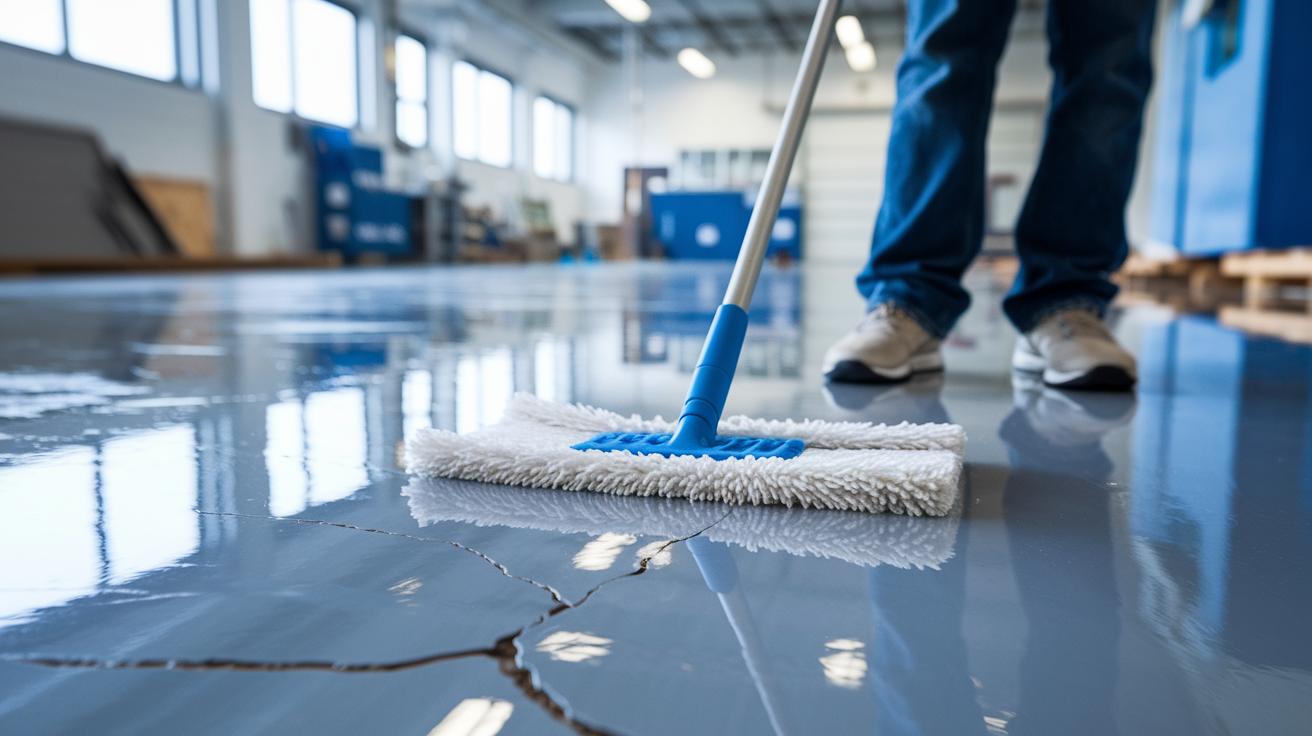
Keep your epoxy floor looking its best by cleaning it every day. Sweep or vacuum to remove dust and grit that can leave scratches. Then mop with a mix of mild soap and water using a soft cloth or mop. Think of it like washing your favorite car, gentle products really go a long way.
Each year, take a close look at your floor for any chips, cracks, or small flaws. Even a well-kept epoxy surface can develop tiny imperfections. When you see a minor issue, repair it right away with a small epoxy patch kit. This quick fix stops problems from growing and helps the floor hold up better over time.
Here is a simple routine for lasting care:
- Sweep or vacuum daily.
- Mop weekly with a gentle soap solution.
- Avoid harsh or rough cleaning tools.
- Check for damage yearly and fix with an epoxy patch kit when needed.
Epoxy floors are built to handle oil, chemicals, and everyday wear. With proper care, they can last 5 to 10 years. If you notice extensive damage, you might need to reapply a topcoat or perform a deeper repair. Keep a record of your cleaning and repairs to help plan for future maintenance. This will keep your DIY epoxy floor looking vibrant and strong for many years to come.
Final Words
In the action, you now have a clear roadmap for transforming your space with diy epoxy flooring. Step-by-step, you learned how to prep the concrete, mix and apply the resin and hardener, and add decorative finishes. We covered essential tools, budgeting details, and proper safety techniques. With careful planning and regular upkeep, your newly installed floor will stand the test of time. Enjoy the process and watch your project come to life with every careful coat and touch-up.
FAQ
How do DIY epoxy flooring kits work?
The DIY epoxy flooring kits combine resin and hardener with clear instructions and necessary tools so you can mix, apply, and achieve a professional finish on your own.
How can I get cheap DIY epoxy flooring?
The cheap DIY epoxy flooring method uses budget-friendly kits with basic resins and hardeners, letting you create an attractive finish as long as you prep the surface properly and follow the mix directions.
What do pictures of epoxy floors in homes show?
The pictures of epoxy floors in homes reveal a range of styles—from sleek, glossy surfaces to textured flake designs—that can inspire your own project ideas.
What do epoxy flooring videos cover?
The epoxy flooring videos cover step-by-step application, tool demonstrations, and practical tips that help you master the process and avoid common errors.
How do you apply epoxy flooring over tiles?
The epoxy flooring over tiles process involves cleaning, lightly sanding the tile, and using an adhesion promoter so the epoxy bonds well and provides a durable finish.
What benefits does an epoxy flooring garage offer?
The epoxy flooring for a garage gives a tough, attractive surface that resists oil, chemicals, and heavy traffic, making it easier to clean and maintain.
How do you prepare an epoxy floor?
The epoxy floor preparation consists of clearing debris, deep cleaning, etching the surface with a cleaner or acid, and ensuring the floor is completely dry for strong adhesion.
How is the cost of epoxy flooring determined?
The epoxy floor cost is determined by square footage, kit quality, and any extras like decorative flakes or topcoat, with a standard garage kit usually costing around $400–$600.
Can I perform an epoxy floor application myself?
The epoxy flooring process is a doable DIY project when you follow proper surface prep, mix the resin and hardener correctly, and adhere to step-by-step instructions for a lasting result.
What is the cost to epoxy a 400 square feet area?
The cost to epoxy 400 square feet generally ranges from $400 to $600 based on kit prices and necessary materials, making it cost-effective compared to professional installation.
What is a disadvantage of epoxy flooring?
The epoxy flooring disadvantage includes issues like slipperiness without a non-slip additive and UV sensitivity, which can lead to yellowing if exposed without proper topcoats.
What happens if you don’t sand between epoxy coats?
The lack of sanding between epoxy coats can cause adhesion problems and visible imperfections, potentially leading the top layer to peel or chip over time.
What does an epoxy flooring demo show?
The epoxy flooring demo shows the complete process—from mixing components to applying coats and decorative elements—providing a practical look at each step for clear guidance.
Which is the best coating for a garage floor?
The best garage floor coating is a high-quality epoxy designed for durability, chemical resistance, and ease of cleanup, making it ideal for high-traffic areas like garages.
How do I do epoxy flake flooring?
The epoxy flake flooring method involves applying a base epoxy coat, broadcasting decorative flakes evenly, and sealing with a clear topcoat to create a textured, slip-resistant finish.
What is the price difference for epoxy flake flooring?
The epoxy flake flooring price is generally higher than plain epoxy due to the added cost of decorative flakes, which slightly increases the overall cost per square foot.
What is pour on flooring?
The pour on flooring refers to a self-leveling epoxy application that spreads evenly over a surface, forming a seamless, smooth finish suitable for both home and commercial projects.