

Do you find your workspace too small for big ideas? This folding workbench could be just what you need. It folds down to a lean 7-inch height (about 18 mm) when stored yet gives you a solid surface when in use. Picture a sturdy bench that neatly folds away, leaving extra room for storage and movement. This project uses smart design and simple style to add work space in a small room or workshop. Read on for simple steps to make your tight space more flexible.
DIY Folding Workbench: Enjoy Smart, Stylish Efficiency

This workbench folds down to a slim 7-inch thickness and rests neatly against your wall when not in use. It gives you a solid work surface but leaves plenty of room for storage and movement. Perfect for small workshops or craft rooms, it helps you make the most of a tight space.
The project is designed to be both affordable and practical. You can complete it for about $100 with new materials from a home center or possibly for just $20 if you use scrap wood. You also have the option to add wheels (castors) for easy mobility. The frame size is adjustable so you can match it to your shop or craft area. Clear, step-by-step instructions show you how to connect the frames, attach the folding supports, and secure the work surface with sturdy screws. Imagine tightening a set of 1-3/4-inch construction screws, each one ensuring your bench stays solid and reliable.
In the end, you get a durable, fold-away workstation that is both smart and stylish. Its clever design proves you do not need a large area for a high-quality work surface. This workbench strikes a great balance between being easy to move around and very stable, ideal for anyone looking to upgrade their space with a practical DIY project.
Designing Your Space-Saving Fold-Away Workbench
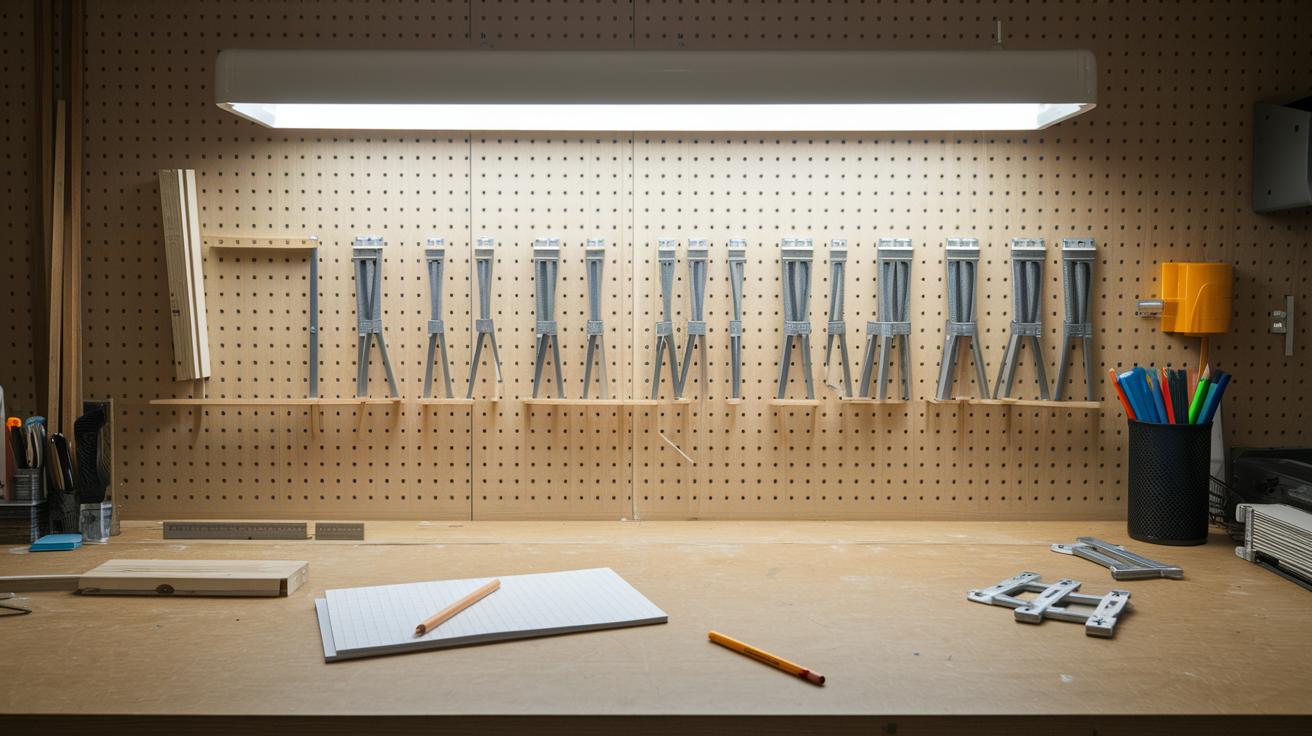
Start by planning your measurements and mounting style. You need to measure your available space and choose a mounting option that works for your shop or craft room. You can pick wall-mounted brackets, folding braces, or pivot hinges. Each option lets the workbench fold down to just 7 inches deep while staying strong and easy to use.
| Design Type | Pros | Cons |
|---|---|---|
| Wall-Mounted Brackets | Secure support; sits flush against the wall | Needs careful stud finding and precise drilling |
| Folding Braces | Strong stability; can adjust to your space | May need careful alignment during setup |
| Pivot Hinges | Simple design; quick to set up | Less sturdy under very heavy loads |
Choosing the right design makes your workbench both space-efficient and sturdy. Take a moment to picture each option and match it with your unique layout. With careful planning, your fold-away workbench becomes a smart, flexible addition to any small workspace.
Essential Materials and Tools for Your Folding Workbench

Before you start building your folding workbench, take a moment to gather all your supplies. Getting everything ready now helps you avoid delays later. This list covers the basics: strong lumber, secure hardware, and trusted tools for a workbench that folds neatly.
• Materials
- 2×4 boards for a sturdy frame
- 3/4-inch board or plywood for the work surface
- Heavy-duty piano hinge or folding braces to allow movement
- A stop-block piece of lumber to keep the leg in place
- A mounting strip to fasten the bench to the wall
- 1-3/4-inch construction screws for putting it all together
- Optional castors for easy mobility
- Wood glue for extra joint strength
• Tools
- A drill/driver to drive screws quickly
- A stud finder to locate wall studs accurately
- A level to make sure everything is straight
- A pocket-hole jig to create secure joints for the stop-block
- A circular saw to ensure clean cuts on your lumber
- A measuring tape for exact dimensions
With all your materials and tools ready, you can focus on each step with confidence. Enjoy the process and build a workbench that is both smart and durable.
Step-by-Step Assembly of the DIY Folding Workbench
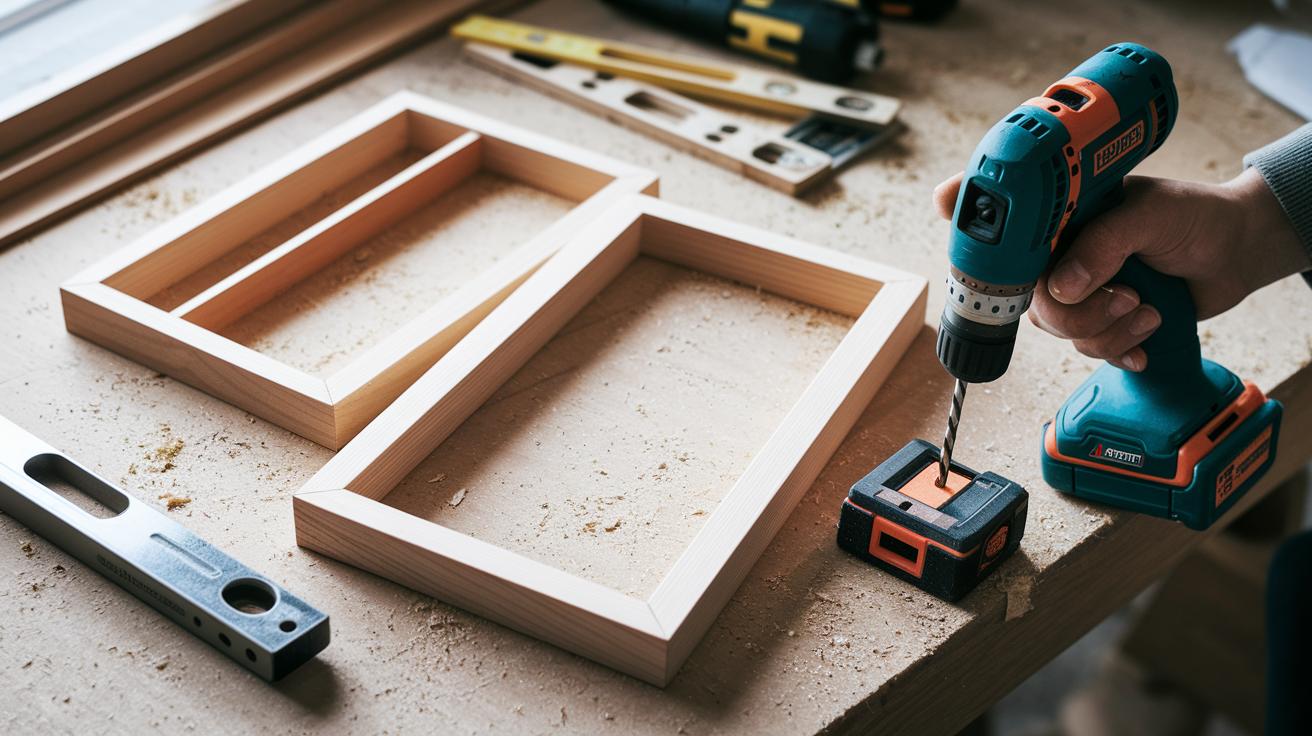
This project is a fun weekend task. You'll need 4–6 hours and a few tools like a drill, carpenter's square, level, saw, and measuring tape. Safety first: wear your safety glasses and work in a clear area.
Building the End Frames
Start by measuring and cutting your 2×4 boards into the pieces you need for two end frames. Use a carpenter's square and level so each cut is straight. Drill pocket holes where the boards meet, then screw the pieces together. Take your time; these frames are the strong base of your workbench. Check your measurements carefully and tighten each screw for safety and stability.
Installing Support Brackets
Next, add the support brackets that help your bench fold smoothly. First, cut notches into the edges of your frame to fit the brackets. Hold a heavy-duty hinge or folding brace in place, then mark its spot. Measure two times to be sure the brackets sit evenly along the frame. Use construction screws to attach the brackets securely. Make sure each notch fits the bracket perfectly so your bench stays balanced when it folds.
Attaching the Work Surface
Now it’s time to attach the work surface. Place your 3/4-inch board on top of the frame so that its edges line up evenly. Pre-drill some pilot holes along the sides. Then screw the board in place firmly. Check that the board is level and smooth. This step hard-wires your work surface to the sturdy frame so you can work safely.
Adding Support Legs and Testing
Finish the build by creating a folding support leg from a 2×4. Cut the leg and a matching stop block. Attach the stop block using pocket-hole screws for extra strength. Make sure the leg is straight using a level, and that it folds out nicely. Fold and unfold the bench a few times to test for any looseness. Tighten any loose screws, and then your workbench is ready for action. Enjoy your new, sturdy, and easy-to-use folding workbench!
Installing and Adjusting the Folding Mechanism
Wall Mounting and Stud Attachment
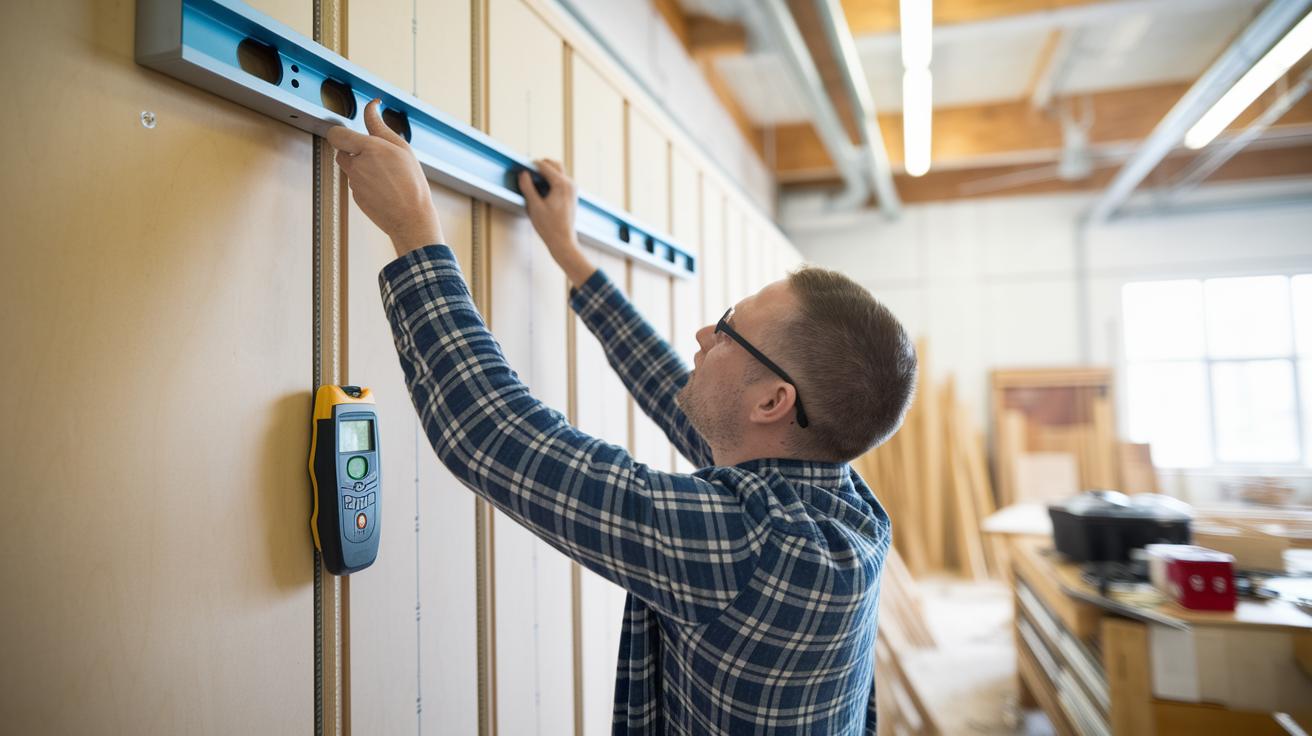
Start by following the assembly guide to mount the frame on the wall. Draw a level line and use a stud finder to locate the center of the studs. Predrill the holes for the mounting bracket, and lightly mark the stud centers so you can see exactly where the bracket will go.
Stop Block Installation
Next, cut a 2×4 block to the right length for the stop block. Position the block so the folding legs open evenly. Check with a level to make sure it is straight, then secure the block using pocket-hole screws. For example, set the block so that each fold extends to 7 inches.
Testing and Fine-Tuning
Now attach the hinge as instructed and tighten all fasteners. Slowly fold and then unfold the bench to spot any areas where it might bind because of the castors or braces. Adjust the hardware tension as needed until the motion is smooth.
Customization, Storage Solutions, and Maintenance

Make your workbench your own by changing its look and how it works. You can paint or stain it to match your indoor craft space, and adjust the frame cuts to get the perfect size for you. Adding lockable wheels lets you move it around with ease. You can also add storage by hanging a pegboard or installing a shelf under the work surface. This keeps your tools in place and your work area neat. For more ideas, check out diy workbench plans.
Keep your workbench working well with simple, regular upkeep. Tighten hinges and braces after long use to keep it stable. Clean the surface and any storage spots often. With these small fixes, your bench stays secure and ready for your next project. A few easy adjustments keep your foldable workbench a smart, efficient tool for your home shop or craft room.
Safety Precautions and Long-Term Maintenance

Before you start installation, check that your mounting hardware and pivot points are secure and free of clutter. Make sure the bench base sits evenly. This extra step supports the safety tips in the assembly guide.
For ongoing upkeep, inspect the hinges, sliding parts, and screws every month. Look for small cracks or looseness around the pivot bolts. Clean the castors often to remove debris that could slow their movement. Also, be careful not to overtighten screws, as this can make parts stick. These simple checks help you find issues early, lower repair costs, and keep your workbench safe over time.
Final Words
In the action, this guide walked you through every step of building a compact, budget-friendly workbench. You learned how to plan dimensions, choose materials, assemble the structure, and fine-tune the folding mechanism.
Your diy folding workbench brings together smart design and easy maintenance for small spaces. Each step helped ensure stability and safety while keeping the project affordable and efficient. Enjoy your new workbench and the extra room it creates in your shop!
FAQ
What are Folding Workbench Plans PDF?
The Folding Workbench Plans PDF provide clear diagrams and precise measurements to guide you through building a compact, fold-away workbench. They clearly detail dimensions and essential assembly steps for an efficient build.
What are DIY Folding Workbench Plans?
The DIY Folding Workbench Plans deliver a complete guide with step-by-step instructions, material lists, and hardware details. They help you build a sturdy, space-saving workbench from scratch.
What are DIY Folding Workbench Plans Free?
The DIY Folding Workbench Plans Free offer a cost-effective way to build a foldable workbench by providing free, detailed instructions and diagrams. They give you the essential steps and measurements without extra cost.
What is a Portable Folding Work Table?
The Portable Folding Work Table design focuses on mobility by featuring optional castors and adjustable frame dimensions. It is ideal for small spaces where you need a workbench that easily moves and stores.
What is a Wall Mounted Folding Workbench DIY?
The Wall Mounted Folding Workbench DIY guide explains how to securely mount a fold-away workbench on a wall. It details stud attachment, hinge installation, and safe, space-saving design tailored for tight work areas.
What does DIY Folding Workbench Woodworking involve?
DIY Folding Workbench Woodworking involves using basic woodworking tools and techniques to cut, drill, and assemble a fold-away bench. It offers detailed plans that combine practicality with sturdy construction for small shops.
What is a 4×8 Folding Work Table?
The 4×8 Folding Work Table plan provides instructions to create a large, robust work surface that folds neatly. Its design maximizes workspace and offers versatility for various small shop layouts.
What is Heavy Duty Wall Mounted Folding Workbench?
The Heavy Duty Wall Mounted Folding Workbench plan focuses on enhancing durability and secure wall attachment. It includes guidelines for quality hardware, proper framing, and a stable design that handles heavy use effectively.