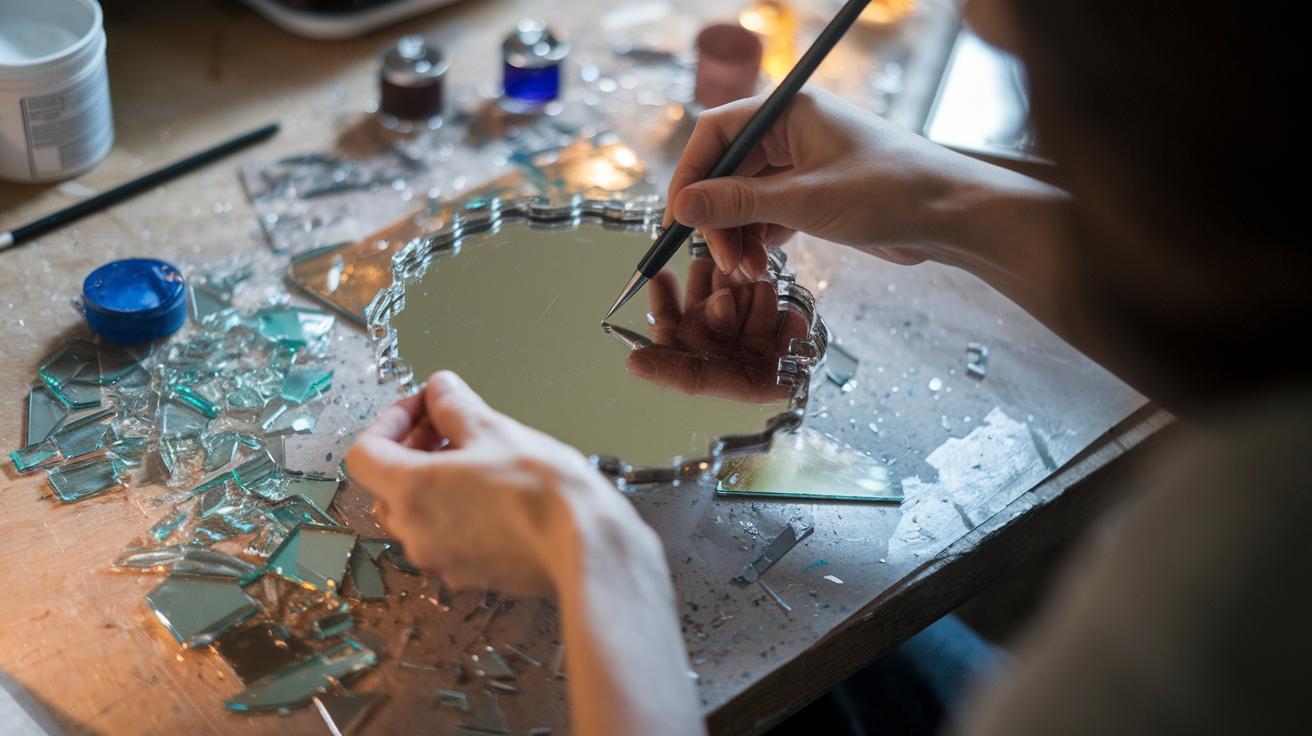

Have you ever thought about how a simple mirror can refresh a room? With just a few tools and affordable supplies, you can create beautiful reflective art for your home. This guide gives you clear, step-by-step instructions to build a mirror that fits your style. Whether your mirror is 24 inches or 48 inches wide, taking time to plan, measure carefully, and be creative will help you achieve a modern look. Get ready to dive in and watch your home come to life.
Mirror DIY Essentials: Tools, Materials & Budget
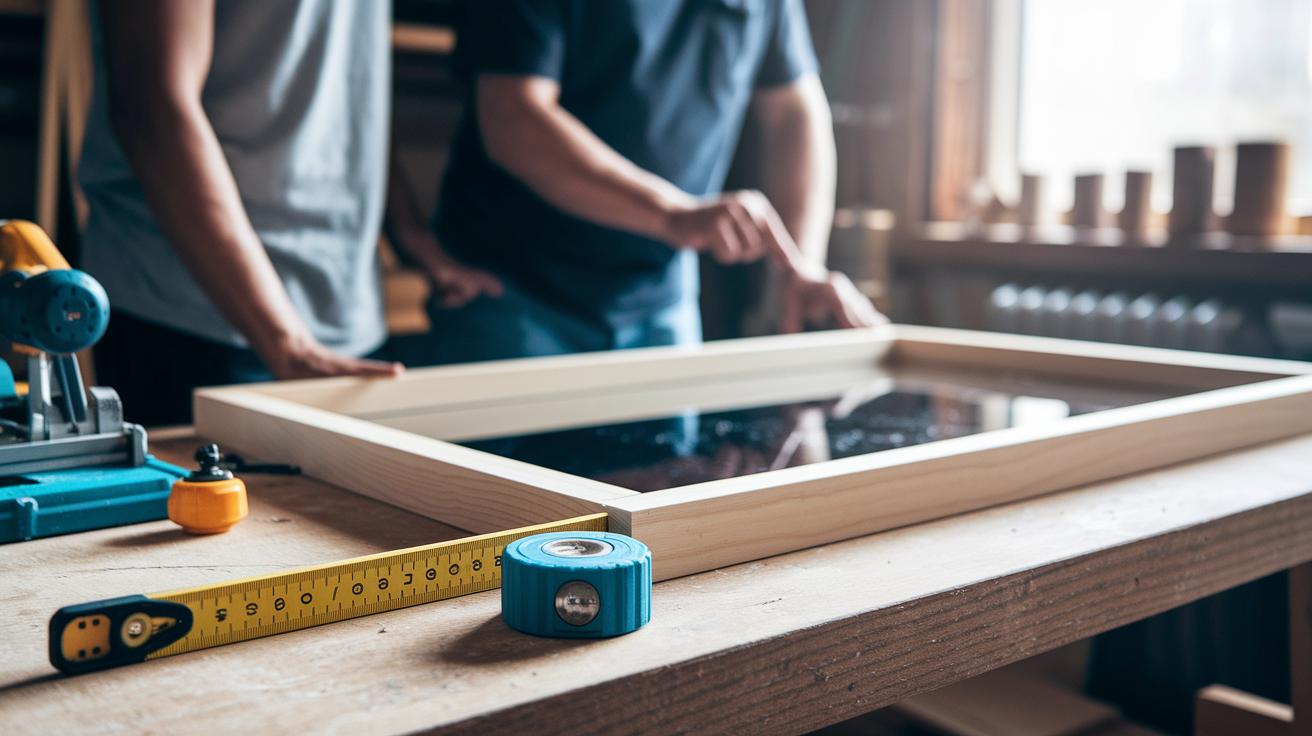
If you want to give your mirror a fresh look at home, make sure you have the right tools and materials first. This budget-friendly project works well for mirrors that measure 24, 36, or 48 inches. You will need a measuring tape, a level, a miter saw, a drill, wood glue, clamps, and a paintbrush. For example, you can create a 36-by-66-inch mirror frame for about $29.92 by using two 10-ft 1×2 boards. Good planning and precise tools can make your mirror project simple and stress-free.
Before you start your project, double-check that you have all the supplies. Along with the mirror glass, you will need lumber, plywood for backing, brackets, screws, and finishing touches like paint or stain. Costs can vary: mirror glass typically runs $15–$60, lumber is about $10–$30, and finishes cost around $5–$20. With careful planning, you can work confidently and adjust your project as needed.
Key tools you will need:
- Measuring tape
- Level
- Miter saw
- Drill
- Wood glue
- Clamps
- Paintbrush
Essential materials include:
- Mirror glass (available in 24, 36, or 48 inches)
- Lumber (1×2 boards)
- Plywood backing
- Brackets and screws
- Paint or stain
- Wood filler
- Sandpaper
| Item | Quantity | Estimated Price |
|---|---|---|
| Mirror Glass | 1 piece (24″ to 48″) | $15–$60 |
| Lumber (1×2 boards) | 2 boards (10 ft each) | $10–$30 |
| Plywood Backing | 1 sheet | $5–$15 |
| Hardware (brackets & screws) | Assorted | $5–$10 |
| Finish (Paint or Stain) | 1 container | $5–$20 |
Take your time, measure carefully, and enjoy the process. Happy DIYing!
Step-by-Step Build Guide for DIY Mirrors

Step 1: Prep and Workspace Setup
Clear off your work area and remove any old mirror frame if needed. Gather all your tools and supplies. Make sure your surface is flat and that you wear safety gear like gloves. Secure your workbench before you start.
Step 2: Measuring Your Mirror
Use a tape measure to record the mirror's dimensions. For example, if it is 36" x 66", write those numbers down clearly. Accurate measurements set you up for a perfect fit when you build your new frame.
Step 3: Cutting Frame Pieces
Get two 10-ft boards and mark them with your mirror's measurements. Mark carefully for butt joints, which are simple and clean. A good tip is to use a carpenter's square to keep your cuts straight.
Step 4: Assembling the Frame
Lay out your cut pieces like an open box. Pre-drill 5 to 8 holes along each side for the screws. Clamp the pieces together and apply wood glue to hold the joints firmly. Check each corner with a level to ensure they are square.
Step 5: Attaching the Backing Board
Measure and cut a lightweight plywood board so that it creates an even border around the frame. Pre-drill holes along the edges of the plywood and secure it with screws. This board will support the mirror and add strength to the frame.
Step 6: Inserting and Securing the Mirror
With someone to help you, gently lower the mirror into the frame. Adjust it until you have equal space on every side. Slowly tighten the screws to lock the mirror against the backing board.
Step 7: Sanding and Cleaning
Smooth out any rough edges on the frame with sandpaper. Wipe the surface with a dry cloth to get rid of dust before you add any final finish.
Step 8: Finishing with Paint or Stain
Use a clean brush to apply your chosen paint or stain. Wear gloves and cover nearby areas to protect from spills. Allow the finish to dry completely before you move or hang the mirror.
Custom Framing Techniques for DIY Mirrors
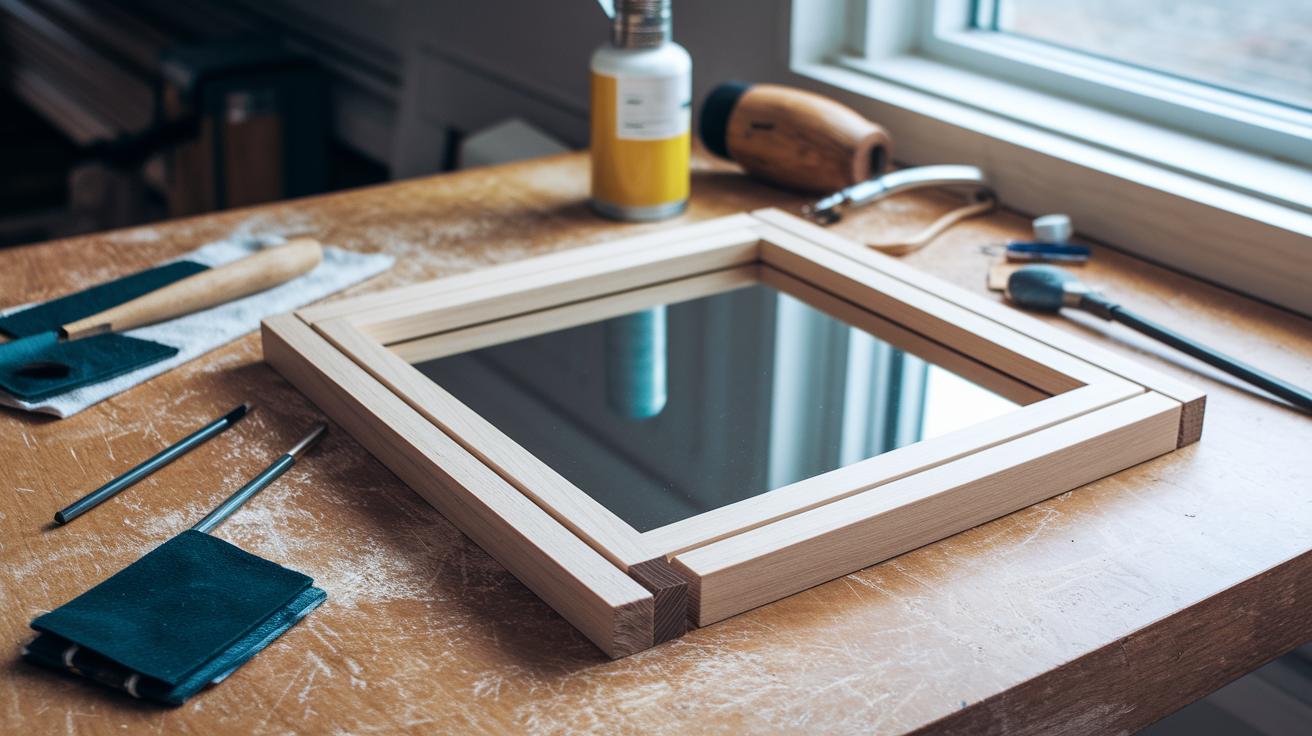
Modern minimalist frames give your mirror a sleek, stylish look. Many people use 1×2 strips joined with simple butt joints for a thin profile. Butt joints do not require as much precision as mitered corners. This saves time and makes assembly easier, even if you do not have a miter box.
For example, cut the 1×2 boards to your mirror's size and join them together using butt joints. Sand each piece with 120 to 220 grit sandpaper. Then, wipe them with a tack cloth to remove dust so the wood glue will stick properly. Next, apply a thin layer of glue along the joining edges, clamp the pieces for 30 minutes, and secure them with brad nails.
Rustic designs give you a warm, contrasting look by using reclaimed barn wood or wider boards (2–3 inches) that show off the natural grain. This style highlights the wood's texture and history for a layered, inviting feel. You can build rustic frames with the same butt joint method, or try mitered corners if you want a tighter finish. Keep in mind that mitered cuts need extra care and a miter box to get perfect 45 degree angles.
No matter which style you choose, proper surface preparation is important. Make sure each cut edge is smooth and dust-free before assembly for a cleaner, more refined finish. These techniques let you customize your mirror frame to match your decor and add a personal touch to your DIY mirror project.
Creative Glass Accent & Decorative Edge Styling

Project Snapshot: This project takes about 1 hour. It is ideal for beginners who want a modern twist on a classic mirror. Tools needed include etching cream, nitrile gloves, safety glasses, adhesive mosaic tiles or trim strips, and decorative brackets or J-molding. Safety first: always wear gloves and safety glasses when working with chemicals.
Step 1: Frost the Edges. Start by applying etching cream to the edges of your mirror. Follow the product instructions and let the cream sit for about 5 minutes. This treatment gives the glass a soft, matte finish that feels unique to the touch.
Step 2: Add a Colorful Border. Next, place adhesive mosaic tiles or trim strips along the mirror border. Set aside about 15 minutes for this step. Mix hues to match your decor. The textured mosaic catches the light and adds a playful, tactile look.
Step 3: Complete with Decorative Accents. For a polished finish, attach decorative corner brackets or J-molding to the mirror frame. These additions smooth out the transitions and create a balanced, artistic appearance.
With careful planning and these simple steps, your mirror becomes a striking centerpiece that reflects both light and your personal style.
Personalized Installation & Display Strategies for DIY Mirrors

Make sure your mirror is mounted securely. If it weighs over 50 lbs, use French cleats for strong support. For a simple look, try Z-clips. When drilling, use a 1/8-inch drill bit for the anchors and install toggle bolts rated for 75 lbs on each side. These methods keep your mirror safe and level. One DIYer shared, "I used French cleats and felt confident letting my mirror shine in my entryway."
Consider creative ways to display your mirror. Here are a few ideas:
- Hang the mirror above a console table for an elegant focal point.
- Place it in your entryway so natural light highlights its surface.
- Mix different frame styles to create a gallery wall centerpiece.
For an extra upgrade, add an LED back-light strip around the mirror. This simple addition takes about 20 minutes to install and casts a warm, ambient glow. Enjoy turning your DIY mirror into a statement piece that reflects both light and your personal style.
Troubleshooting & Maintenance Tips for DIY Mirrors

DIY projects often have little hiccups. If you spot gaps in the frame, fill them with wood filler and smooth the area after it cures. If your mirror starts to shift, secure it with rubber bumpers or mirror clips so it stays in place. Clean the glass using an ammonia-free cleaner to protect the backing and keep the reflection bright.
Here are some quick maintenance tips:
- Tighten screws every 6 months to keep the frame secure.
- Reapply edge sealant when needed to block moisture.
- Fix small scratches with a 3-step cerium oxide polishing method for a smooth finish.
Keeping up with these simple steps helps prevent larger problems and ensures your DIY mirror stays a standout piece in your home.
Final Words
In the action, you’ve discovered the essentials for a successful DIY mirror project.
You learned how to choose the right tools and materials, follow clear build instructions, and use creative techniques for custom framing and decorative accents.
Each step from measuring to finishing builds your confidence for a budget-friendly home upgrade.
With these practical tips, your diy mirror project is set up for lasting, professional-looking results.
Enjoy the process and celebrate each small win along the way.
FAQ
How do you create a DIY mirror frame for wall installation?
The DIY mirror frame process begins with taking accurate measurements, selecting quality materials, assembling the frame, and using proper hardware to hang it securely on your wall.
What are some affordable DIY mirror decorating ideas?
Affordable DIY mirror decorating ideas include using budget-friendly mirror stickers, inexpensive paints, and creative accents that transform your mirror without a high cost.
How can I make a DIY mirror from glass?
Making a DIY mirror from glass involves cleaning the glass thoroughly, applying a reflective coating or mirror-look spray paint, and finishing with a protective clear layer for durability.
What spray paint turns glass into a mirror?
The mirror-look spray paint is formulated with a reflective finish that, when applied to clean glass, creates a mirror-like surface with even coverage and lasting appeal.
How do I convert a piece of glass into a mirror?
To convert glass into a mirror, you start by cleaning the glass, then apply a specially designed reflective coating or spray, and finish by securing a backing to ensure it functions properly.
How heavy of a mirror can you safely hang on drywall?
The weight a mirror can safely hang on drywall depends on the mounting hardware; typically, mirrors up to 50 lbs can be secured using proper anchors like French cleats or toggle bolts.
What creative DIY mirror ideas can I find on Pinterest for small mirrors?
Pinterest-inspired creative ideas for small mirrors include using unique mirror stickers, custom frames, and decorative touches that add character without taking up much space.