

Have you ever noticed how a simple monitor stand can change the feel of your workspace? This project uses scrap wood to create a neat, sturdy platform that lifts your screen and brightens your desk.
Built for beginners, it is both budget-friendly and fun to make. With just a few basic tools and clear instructions, you can build a strong, attractive stand that boosts productivity and adds a bit of personal style to your office.
5-Step DIY Monitor Stand Build Guide

Project Snapshot • 2–3 hours • $20–$50 (materials only, prices vary by region) • Beginner • Tools: clamps, saw, round-over bit (optional), sandpaper, brush • Safety: Wear safety glasses and work in a well-ventilated area.
This guide shows you how to build a monitor stand using scrap wood. You can use reclaimed boards to create a sturdy platform that lifts your screen while keeping costs low. We designed this project with beginners in mind and kept the steps simple.
First, glue the boards together to form a solid panel. Clamp them and let the glue dry completely. Next, cut your panel to the final size of 20" x 9".
If you like a more decorative look, shape the ends with a round-over bit for gentle, surfboard-inspired curves. This step is optional, but it can give your stand a modern twist.
After cutting and shaping, sand all the surfaces. Start with a 100-grit paper and work your way up to 220-grit for a smooth finish. Finally, apply a coat of matte polycrylic and wait for it to cure before attaching the legs.
Follow these five steps and you will have a stable, attractive monitor stand that brightens your workspace. Enjoy the process and take pride in a project made entirely by you!
Essential Tools & Materials for DIY Monitor Stand
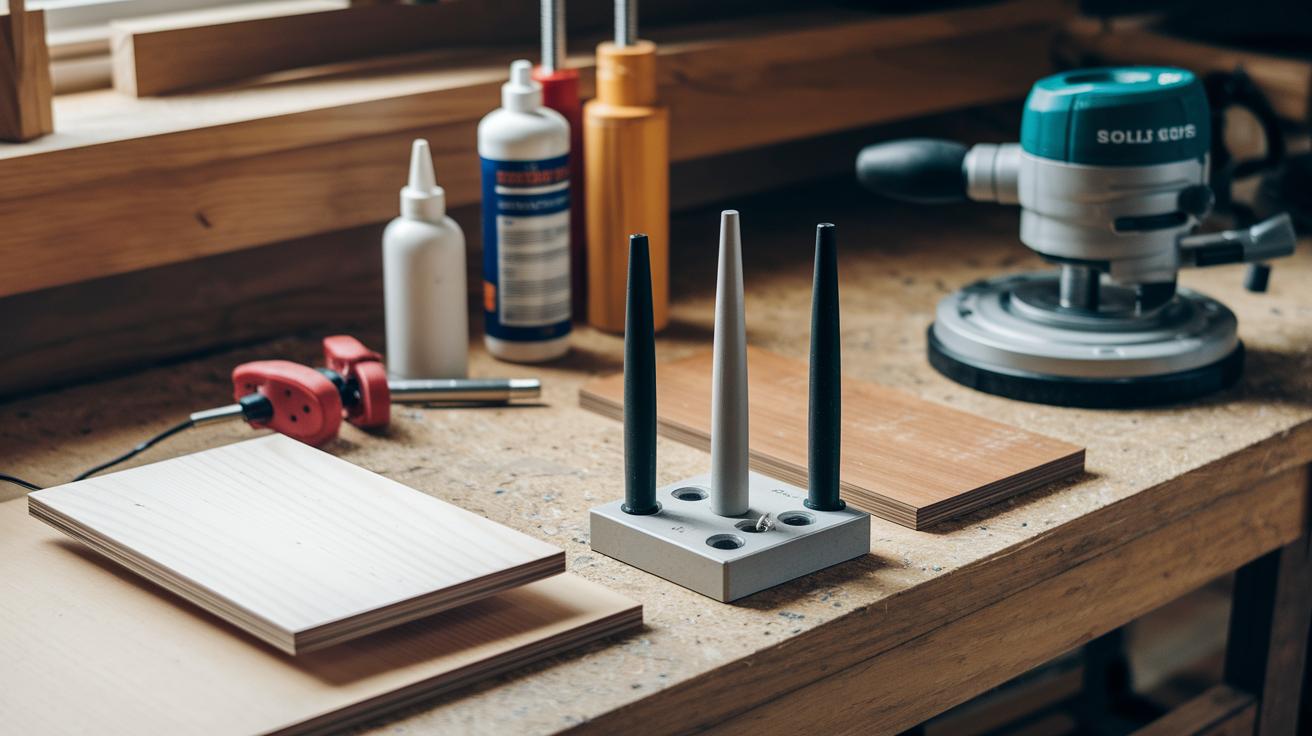
Before you begin, make sure you have all the right tools and supplies on hand. Using scrap wood panels, wood glue, and clamps can help keep your costs low while still getting a great result. You will also need basic woodworking gear, such as a router with a 3/8-inch round-over bit (this bit smooths edges) and a solid sander. For more details on choosing the right tools, see this helpful guide: essential home improvement tools list.
| Tools/Materials | Quantity/Notes |
|---|---|
| Scrap wood panels | Enough for a 20″ x 9″ shelf |
| Wood glue | 1 bottle |
| Clamps | Several for a strong bond |
| Router & bit | 1 set (optional round-over bit) |
| Sander | Belt or random orbital sander |
| Finish | Matte Polycrylic or similar |
| Legs | Existing or repurposed options |
When you shop for supplies, check both local hardware stores and online marketplaces for reclaimed wood. This is a good way to find quality scrap lumber that fits your budget and adds a sustainable touch to your project.
Cutting & Assembly for a Stable DIY Monitor Stand

After your panels have hardened, measure and mark a 20-inch by 9-inch rectangle on your board. Use a tape measure and a carpenter square to draw straight, true lines. Double-check your marks to ensure they are perfectly square; even small mistakes can make the stand wobbly. Test the angle by placing the square along the edge, and if it fits well, you’re ready to cut. Use a circular or table saw to cut along your marks, whether you prefer a simple rectangle or a surfboard-style design with curved ends.
When assembling, line up your pieces carefully. As the glue begins to set, use cauls and clamps to hold the edges tight and keep everything flat and square. Allow 30–45 minutes for the glue to bond before you handle the stand. Check your alignment often to prevent any gaps or warping, ensuring that your monitor stand is both functional and visually appealing.
Sanding & Finishing Techniques for DIY Monitor Stand

Start by sanding your wood with a random orbital sander. Use 100-grit sandpaper first to remove small flaws, then switch to 220-grit for a smooth finish. If you are working with reclaimed wood, smooth out rough spots with a belt sander or hand planer before moving on. For uneven areas, run the belt sander over the surface before using finer sandpapers.
Make sure to remove all dust before you start finishing. Use a synthetic-bristle brush to apply two to three coats of matte water-based Polycrylic. Let each coat dry for at least 2 hours. Wait until the finish changes from a wet gloss to a matte look before adding the next coat; this helps create a tough surface.
If you want a finish with color or a different shine, try oil-based polyurethane or cabinet-grade paint like Benjamin Moore Advance. These choices let you customize your monitor stand while keeping the project simple and eco-friendly.
Installing & Positioning Legs on Your DIY Monitor Stand

Start by choosing your legs wisely. You can reuse legs from old furniture or pick up threaded metal ones that match your style. Before you attach them, pre-drill holes at each corner of the shelf's underside to keep the wood from splitting. This step makes your stand solid and safe. Take your time to line up the holes correctly for a secure fit.
Next, attach your legs carefully. Use 1.25-inch screws that work with the leg insert plate and tighten them evenly to keep everything balanced. If you see large base plates sticking out and impacting the look, adjust the leg placement inward or switch to smaller plates. This not only improves stability but also gives your monitor stand a neat, modern look that brightens your workspace and supports setups like dual displays or adjustable screens.
diy monitor stand Elevates Your Office Space

Try out different woods like oak, maple, or walnut to give your monitor stand a fresh look. You can update its finish with a tinted stain or a splash of colored paint that lights up your workplace. Add practical cutouts for cables to keep your desk tidy. Rounded edges and special leg shapes not only boost the stand's style but also add extra strength. Picture a shelf with a warm, natural feel that hides messy wires while blending perfectly with your room.
For a modern touch, build in features like a sliding drawer beneath the shelf for small items or install LED strip lighting under the top to create a soft glow. These details keep your stand useful while turning it into a standout piece in your office.
Budget Breakdown & Timeframe for a DIY Monitor Stand

You can build your monitor stand without spending a lot. Start by reusing scrap wood. This cutting method brings your glue and finish cost down to under $15. If you need extra lumber, expect to spend another $10-20. You might also find free legs or pay about $10 each. In total, you will likely spend between $15 and $50. This makes it a smart way to add a screen lift to your workspace without breaking the bank.
Plan to work on the project over two days. Begin with about 30 minutes of planning. Next, spend 1 hour cutting and gluing your pieces. Then, take 2 hours for careful sanding. After that, apply two coats of finish during two separate drying periods that add up to 4 hours. Finally, set aside 30 minutes to attach the legs. All told, you should expect around 8 hours of work.
For scheduling ideas, you can use a DIY project planning template to help keep you on track.
Final Words
In the action, you tackled every step of your project by planning, gluing, cutting, sanding, and finishing your diy monitor stand. Each stage built on the last, ensuring a safe, sturdy, and attractive upgrade for your workspace.
Your careful process turned scrap wood into a unique piece that blends function with style. Enjoy your new monitor stand, and remember that every step you complete builds your confidence and skills for the next creative project.
FAQ
How do I make a monitor stand at home?
Making a monitor stand at home means building a custom riser using reclaimed wood or 3D printed parts. The process includes gluing, cutting to size, sanding smooth, and applying a durable finish.
What can I use instead of a monitor stand?
Using an alternative to a monitor stand means repurposing any stable piece like a table, sturdy books, or even an upcycled furniture element to safely support your monitor at the right height.
How can I elevate my monitor’s height safely?
Elevating your monitor safely means building or using a stable riser to raise your screen. This adjustment improves your posture and creates an ergonomic viewing angle.
What creative DIY monitor stand ideas can I try?
Creative DIY monitor stand ideas include using reclaimed wood boards, upcycled IKEA designs, 3D printed elements, or even cardboard. Each method offers a unique and cost-effective style for your workspace.
How do DIY monitor stand legs and built-in drawer features add functionality?
Incorporating DIY monitor stand legs and built-in drawers adds stability and storage. Repurposed legs keep your stand sturdy, while a drawer offers a handy spot for cable management and small accessories.