

Have you ever wanted a frame that truly matches your style? Try making one yourself with simple pine boards and a few basic tools. You can build this custom frame for less than $20 in about 3 hours. You will turn plain wood into a strong, one-of-a-kind frame that is ready to hang. This project proves that you don’t need to spend a lot to create something impressive. Let's get started and enjoy a mix of style, savings, and hands-on fun.
Step-by-Step DIY Picture Frame Build
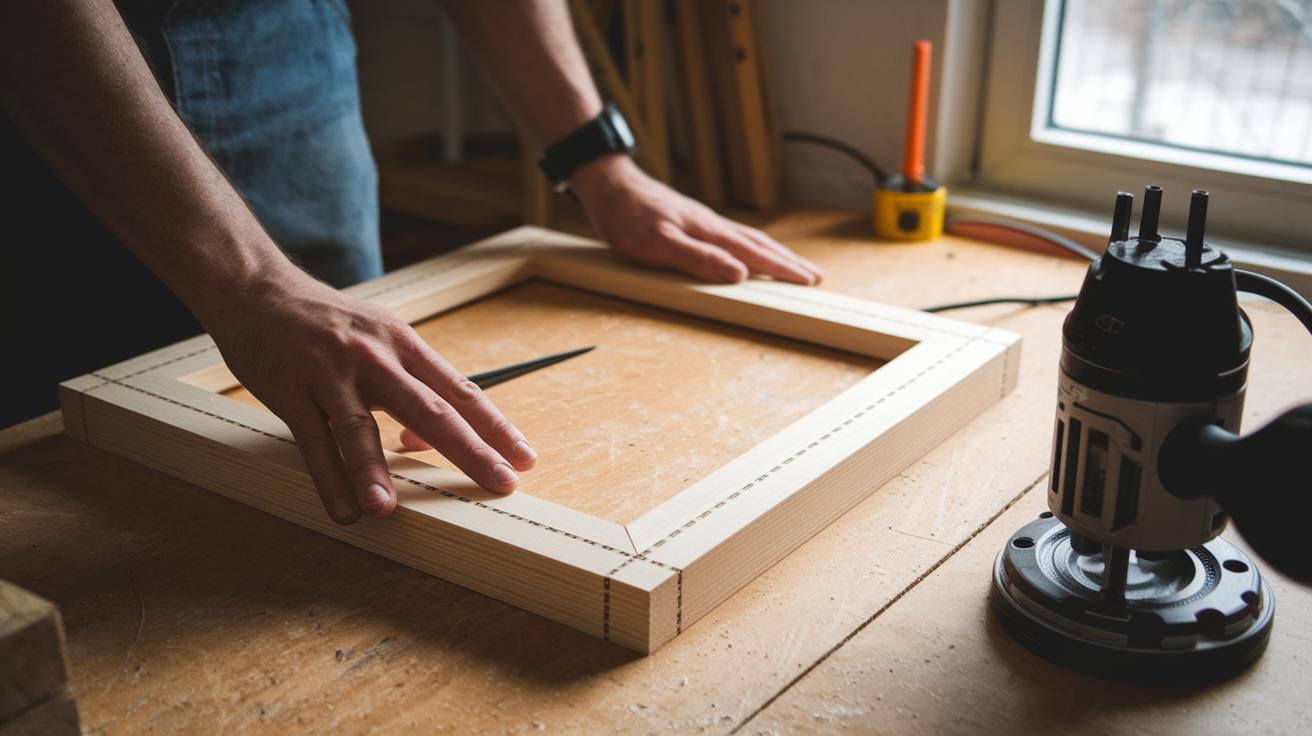
This project turns cheap 1×2 pine boards into a strong, large picture frame for less than $20. In about 3 hours, you can change plain wood into a custom frame ready to hang. It can even support a heavy glass pane. First, you measure and mark your board lengths. Then, you make precise 45° cuts with a miter saw. Next, you use a handheld router with a 3/8-inch rabbeting bit (a tool bit that cuts a groove) to create a neat recess for your photo and glass, ensuring a firm fit.
Once you finish routing, glue the mitered corners together. Hold them in place with painter’s tape or clamps. Finally, sand the frame until it is smooth. For a personalized touch, you can stain or seal the wood. This guide is perfect for DIY fans looking to build a beautiful wooden picture frame.
Required Materials:
- 1×2 pine boards cut to size
- Wood glue
- 3/8-inch rabbeting bit for the router (a bit used for cutting grooves)
- Painter's tape or corner clamps
- Sandpaper (medium grit, such as 120 or 150 grit)
- Stain or sealant (optional)
- Glass or acrylic pane for the picture
Steps:
- Measure and mark the board lengths for your frame.
- Set your miter saw to make 45° cuts.
- Cut the boards to form precise mitered corners.
- Arrange the pieces and apply wood glue at each joint.
- Clamp or tape the corners to hold them steady.
- Use the handheld router with the rabbeting bit to cut the recess for your photo.
- Sand all sides until the surface is smooth.
- If desired, apply stain or sealant for a finished look.
Safety note: Always check that your miter saw and router are set properly. Keep your workspace clean and use safety gear like goggles and gloves while cutting and gluing. Follow each step carefully and refer to your home improvement tools list if you need more guidance.
Essential Tools & Frame Materials for DIY Picture Frames

This guide helps you build a strong picture frame with the right tools and materials. You'll use a miter saw to get perfect 45-degree cuts and a handheld router to carve a clean groove for your picture and glass. A sanding block smooths the wood, and painter’s tape or corner clamps keep the joints tight while the glue dries. High-quality materials like 1×2 pine boards form the frame's backbone, and a glass or acrylic pane protects your artwork.
For added strength, consider using MDF or plywood for backing. Reliable hanging hardware will ensure your frame stays safely on the wall. Use the table below as a handy list of what you need, and always check that your tools are safe to use. Wear your safety gear when working with power tools.
| Item | Purpose | Approx. Cost |
|---|---|---|
| Miter Saw | Makes precise 45° cuts | $150–$300 |
| Handheld Router | Carves a groove for picture and glass | $40–$100 |
| Sanding Block | Smooths the wood finish | $5–$10 |
| Painter’s Tape/Corner Clamps | Keeps joints steady while gluing | $5–$15 |
| 1×2 Pine Boards | Main material for the frame | $10–$20 per board |
| Wood Glue | Holds joints together | $5–$10 |
| Glass/Acrylic Pane | Protects the artwork | $10–$30 |
| MDF/Plywood Backing & Hardware | Offers extra support and hanging options | $10–$25 |
Creative Design & Customization for DIY Picture Frames

Try exploring different woods and surfaces to show off natural textures. You might choose visible-grain pine for a classic, handmade look or painted MDF for a smooth, modern finish. You can even use layered moldings or recycled pieces like pallet wood. For example, swapping traditional boards with reclaimed wood can give your frame a story of its own.
Bring some personality to your project with fun decorative touches. Consider adding rope trim along the edges, tucking small beads into the corners, or applying a stenciled pattern. These details can easily turn a simple frame into a standout piece. Mix a handmade style with a few unexpected accents to make your design truly unique.
For a more modern vibe, try creating a gallery wall or custom art display. Use frames of different sizes and finishes to build a visually interesting mix. Keep the spacing even and vary the decorative details to set up an eye-catching display that celebrates your creativity.
Precision Cutting & Joinery Techniques for a Professional DIY Picture Frame
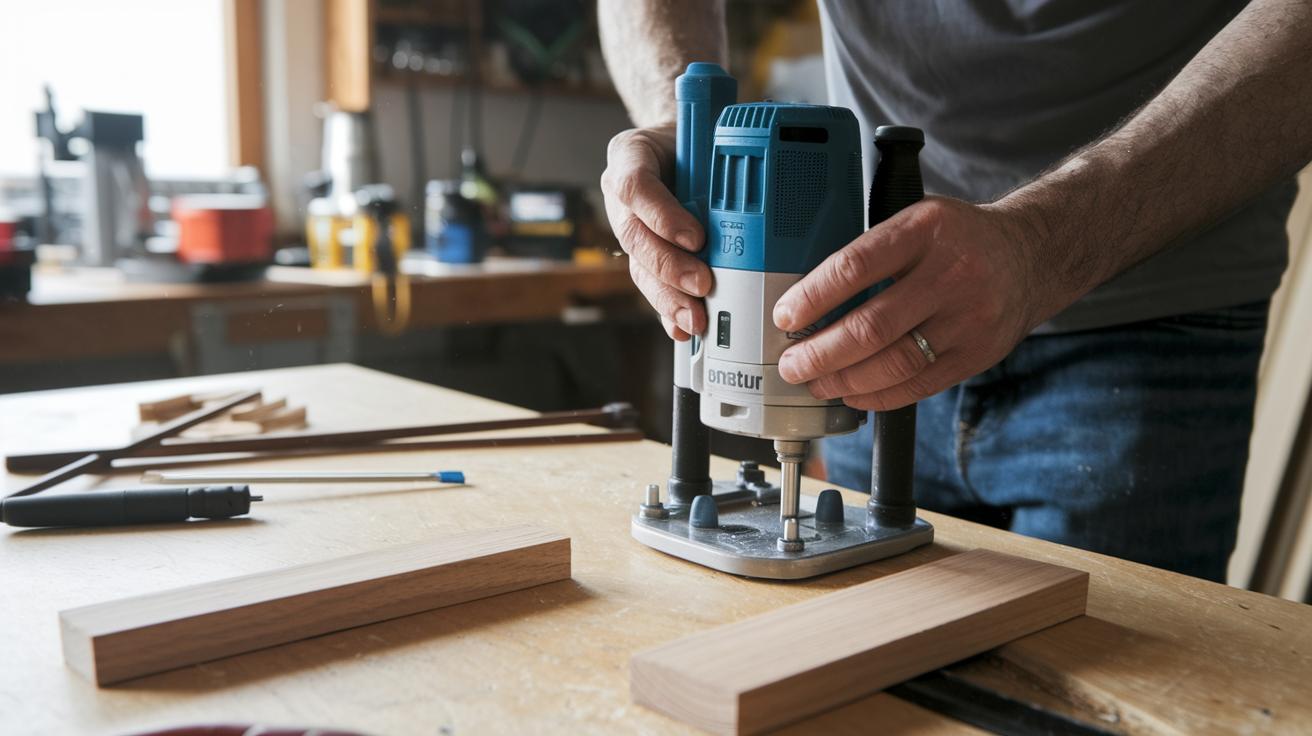
This section shows expert tricks to boost your joinery skills. Instead of covering the basic setups for a miter saw or handheld router, we focus on smart tweaks and advanced tools that bring extra accuracy to your project.
Handheld Router Rabbeting Technique
For a clean, precise recess cut, use a 3/8-inch rabbeting bit with an extra fence. Try these adjustments:
- Fit a zero-clearance insert on your router base for cleaner cuts.
- Clamp the fence securely for extra stability.
- Test your setup on scrap wood. Mark a light guide on paper to check the cut line before making the final cut.
Table Saw & Router Table Joinery
To achieve a professional finish, blend the power of a table saw with a router table. Follow these steps:
- Use your table saw to cut a slight chamfer along the edge. This step removes splinters and sets up a smoother join.
- Adjust your router table, which should have a cast-iron top, using the chain-driven lift to set the bit height precisely.
- Run the board through to create a crisp rabbet along its face.
- Keep your workspace clean and your cuts precise with dust collection systems placed above and below your table.
Think of tweaking the router table bit like adjusting a car headlight: small changes make all the difference.
Finishing & Protecting Your DIY Picture Frame

Begin by getting your frame ready for color. First, apply a pre-stain conditioner to seal the wood evenly. Next, use a stain like Minwax. If you are using different woods such as pine and poplar, test the stain on a small section of each to see how the color turns out. If you want a fresh look, consider using chalk paint or spray paint. Try chalk paint to create a matte, vintage finish that shows off the wood grain. This step adds charm and makes your frame tougher.
Now, protect your work with a clear topcoat. You can choose polycrylic for a shiny finish or polyurethane for a stronger, more durable layer. Lightly sand the frame between coats to help the new layer stick properly. Let each coat dry for about 2 hours. Make sure the finish goes on evenly and allow plenty of drying time to prevent smudges. This careful sealing not only makes your frame look great but also guards it against daily wear and tear.
Cost-Saving Tips & Material Sourcing for DIY Picture Frame Projects
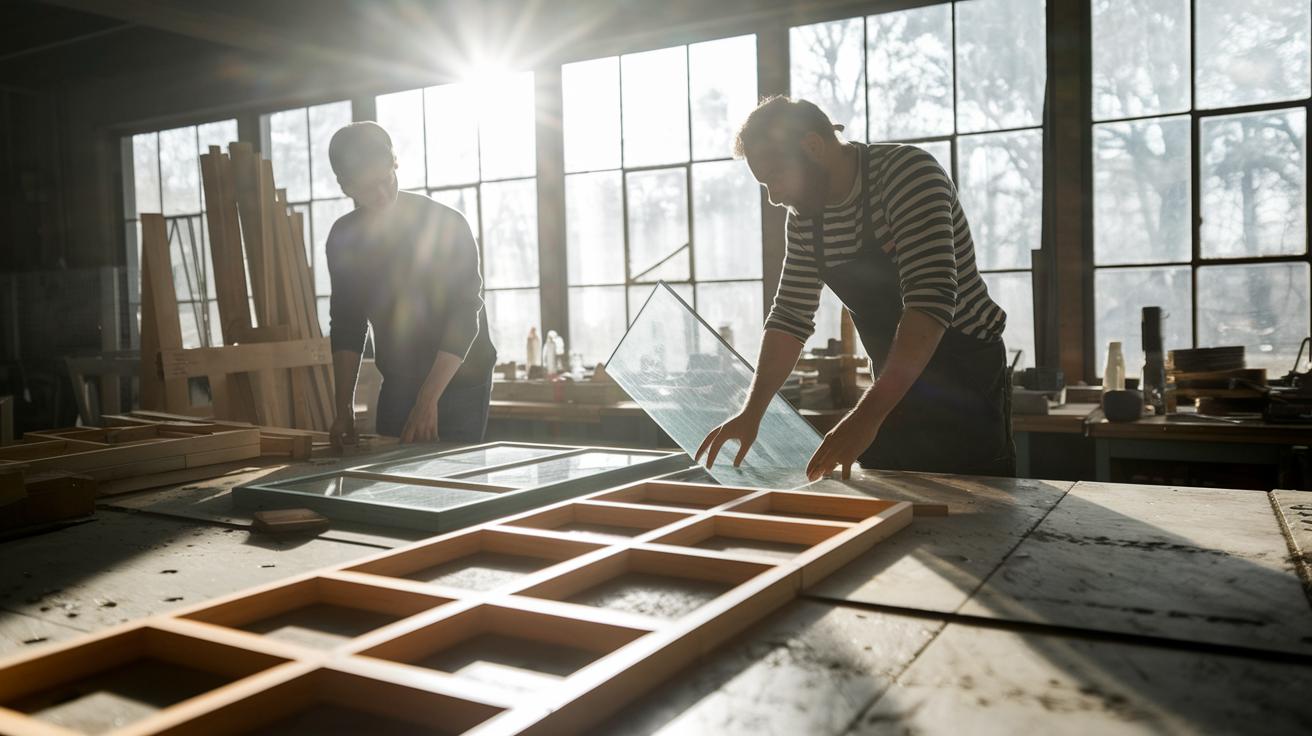
Using recycled wood is a great way to save money on your frame. Look for reclaimed wood or pallet scraps at local salvage yards or community recycling centers. This not only cuts your cost but also gives your frame a unique, worn look. You can ask neighborhood carpenters for advice or check online guides about finding repurposed materials.
For the glass or acrylic pane, hunt for bargain offcuts at local glazing shops. Many shops have extra pieces from larger jobs that they sell at lower prices. This choice helps you protect your artwork without spending much. It works best if you can adjust the size a bit to suit your design.
A quick cost look shows that your DIY frame can be very affordable. Clearance pine 1×2 boards are usually inexpensive, and with wood glue and offcut glass, you can complete a large frame for under $20. By shopping smart and reusing what you already have, you create a custom piece without breaking your budget.
Troubleshooting Common Issues in DIY Picture Frame Assembly
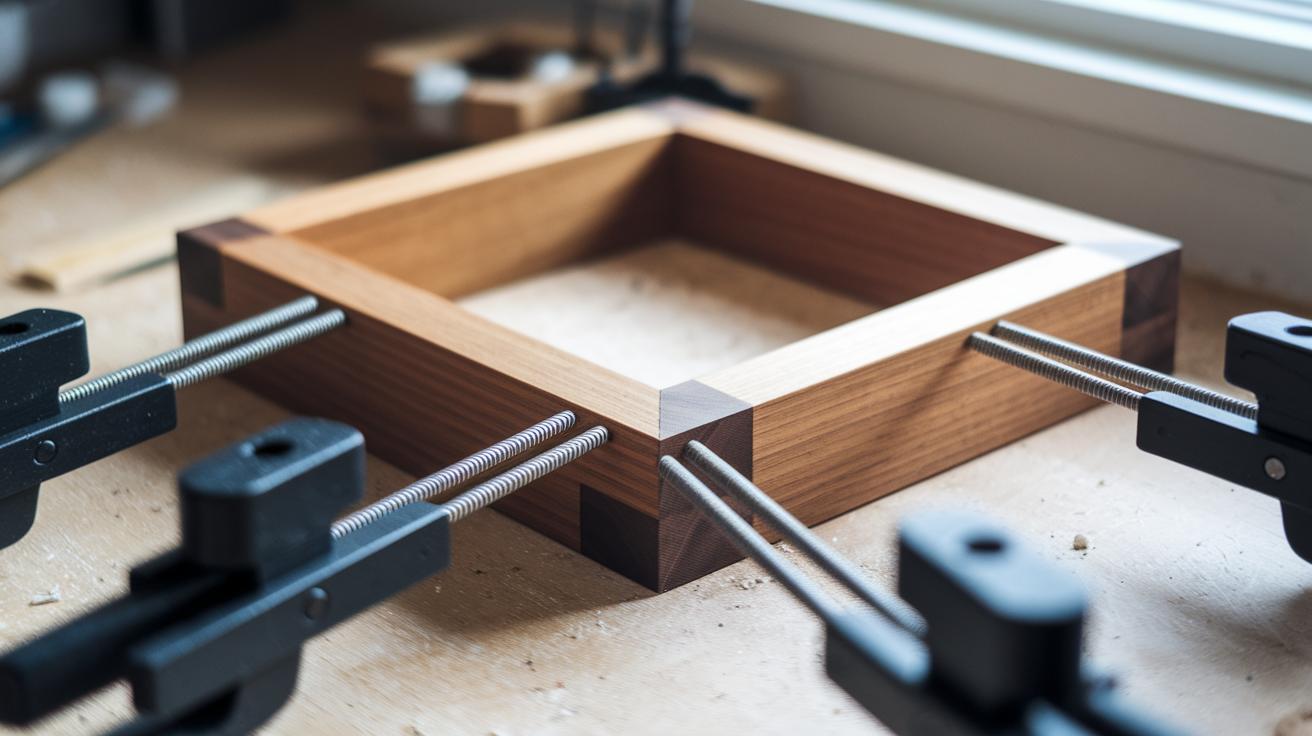
Even a well-planned picture frame project can hit a few bumps. Here are straightforward fixes to help you get a neat, polished result:
- Fixing misaligned corners: If your corners do not match, lightly sand the edges. Then use corner clamps to hold the joints together while the glue dries.
- Preventing tear-out: Before you cut, use a scrap piece of wood (a sacrificial fence) or score the wood along the line. This reduces splintering.
- Managing glue squeeze-out: As soon as you notice extra glue, wipe it away with a damp cloth. This stops the glue from hardening into a messy spot.
- Even stain application: Sand the frame lightly between coats. Add more layers as needed to get a smooth, uniform look.
Take your time with each step. Following these fixes can make your DIY picture frame assembly a smoother and more enjoyable project.
Final Words
In the action, you learned how to measure, cut, and assemble a sturdy frame from 1×2 pine boards under $20. We broke down every critical step from 45° miter cuts to a neat rabbeting cut for the picture recess. Practical cost-saving tips and troubleshooting techniques kept the project simple and safe. This diy picture frame guide shows that with the right tools, careful planning, and a creative touch, you can achieve professional-looking results for your space. Enjoy your handiwork and celebrate your new skill.