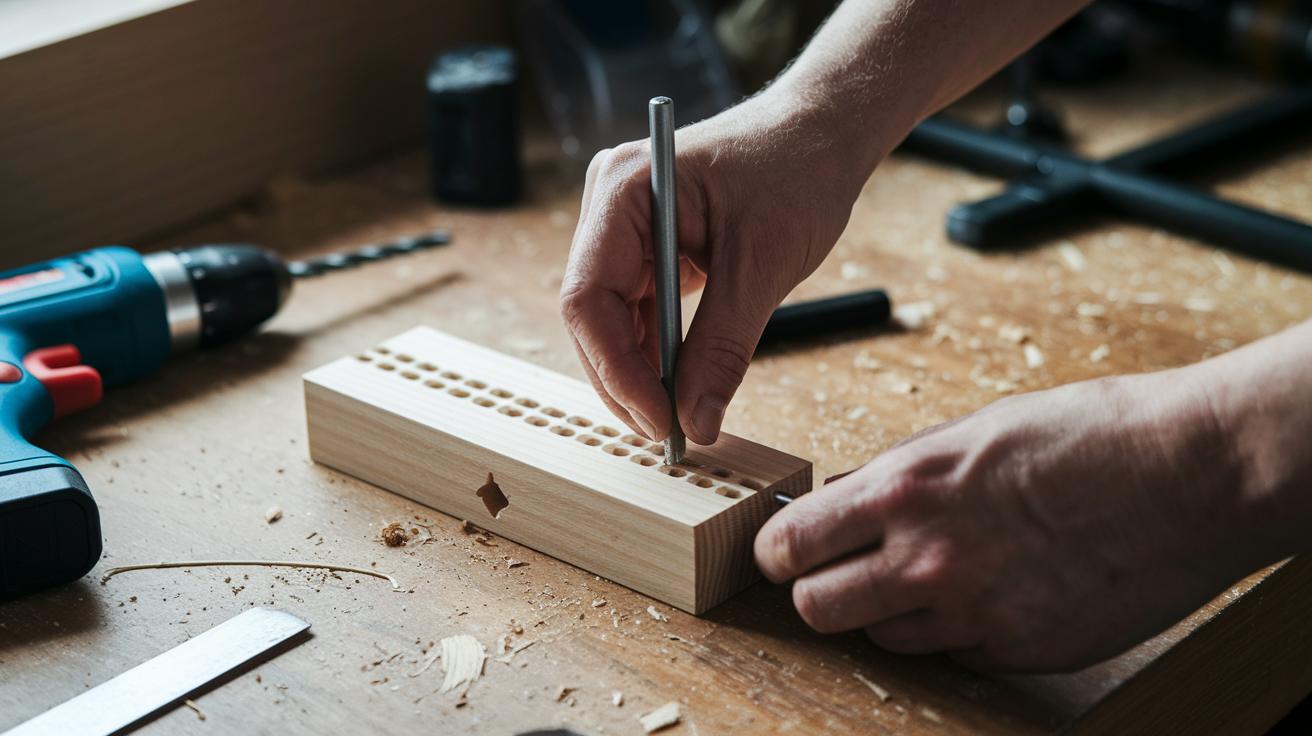

Ever feel like expensive kits limit your creativity? Try building your own pocket hole jig. In one day and with a few basic tools, you can make a custom jig that saves money and meets your needs. This guide walks you through how to drill holes at a 15° angle (a tilt that creates strong, hidden joints). Give it a try, boost your woodworking skills, and make exactly what you envision.
Build Your DIY Pocket Hole Jig in One Day: Step-by-Step Guide
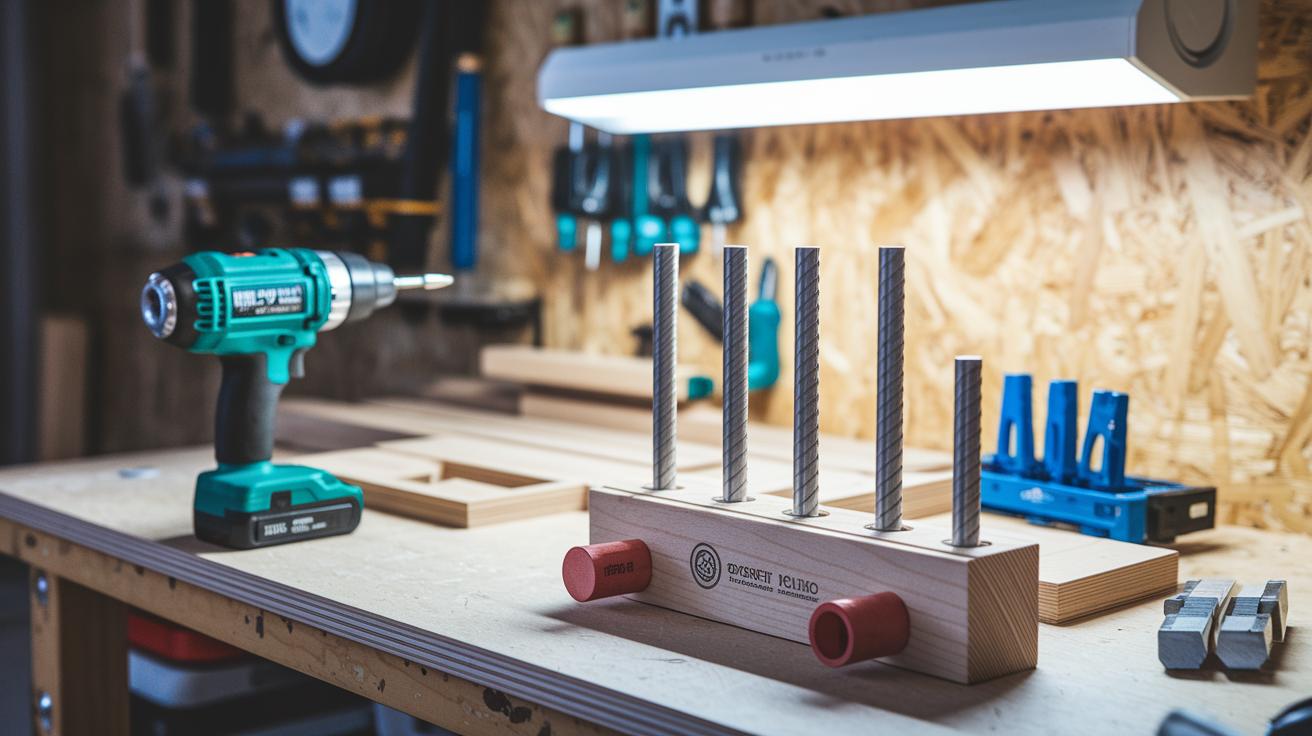
Project Snapshot • One-day project • $20–$40 (materials vary) • Beginner • Tools: hand tools, drill, saw, clamps • Materials: plywood, drill guide, self-tapping screws • Safety: wear eye protection and secure your workpiece
This project shows you how to make a pocket hole jig in one day using basic hand tools and easy-to-follow instructions. When you build your own jig, you control the measurements and design. This DIY method also saves you money compared to buying a commercial kit. It uses angled holes drilled at 15° so that self-tapping screws can create strong, hidden joints in your woodworking projects. A clear nine-page manual walks you through the process, making it both fun and practical.
How Pocket Hole Joinery Works
Pocket hole joinery means you drill holes at about 15° into one board. Then you use self-tapping screws to fasten it securely to another piece. Think of it like drilling an angled opening in a board so that the screw fits perfectly inside, hiding the fastener from view.
Project Plan Options – Imperial vs Metric
There are two plan options for the jig. The Imperial plan is available for $5.95 and offers precise measurements for a sturdy jig. The Metric plan makes a few minor changes so you can work comfortably in your preferred system.
Before you start, gather all your materials, plywood, a 15° drill guide, and self-tapping screws. Check that your tools are ready and look over the step-by-step assembly manual. Review the sections on material preparation, blueprint alignment, and clamping design to help you get accurate cuts and secure joints.
Essential Materials & Tools for Your DIY Pocket Hole Jig

Building a pocket hole jig takes the right tools and quality materials. Good measurements and clean cuts will give you joints that hold strong and steady.
You will need these items:
- 3/4-inch plywood or hardwood block for the base
- 15° pocket hole drill bit
- Depth stop collar
- Clamps or hold-downs
- Carpenter’s square and protractor
- Cordless drill/driver
- Self-tapping screws (1" to 2½")
- Scrap wood for test drilling
Local hardware stores often have budget-friendly options. Look for economy-grade plywood and standard tools that work well. You might even repurpose leftover wood from previous projects or pick up used tools in good shape. Checking online clearance racks or local outlets can help you score reliable equipment at a lower cost. By shopping smart, you can build your DIY pocket hole jig without overspending while making sure every tool and material meets the precision needed for lasting joints.
Crafting Your Woodworking Drill Guide Blueprint for Precise Joinery

Start by adjusting your shop diagrams to match the size of your material. Compare the blueprint with your base board. Measure the length and width of your material first, then mark where the fence goes and where the holes should be saved. This way, every measurement stays in proportion and the 15° drill angle stays accurate. When switching between Imperial and metric measurements, allow a slight 1–2 mm difference so your 15° holes really line up.
The blueprint shows key details you need to follow. It tells you the height of the fence that guides your drill, the correct spacing between holes for a tight joint, and the thickness of the guide block. These measurements make sure each hole is in the right spot and every cut is consistent.
Before drilling on your main pieces, take a bit of scrap wood and test your setup. Drill a few angled holes on the scrap to check that your adjustments are right and the drill angle reads a perfect 15°. If the holes do not line up properly, adjust your markings until you achieve the precision you need.
Assembling the Base & Clamping Design for DIY Pocket Hole Jig

Before you start, choose a sturdy base board that measures about 12 x 6 inches. This size gives you a solid work surface and supports the guide block so your pocket hole jig stays steady while you work.
Building the Base Platform
Cut a 12 x 6-inch board from quality plywood or hardwood. Then, prepare a guide block that is 3 to 4 inches tall. Mark where the guide block will go carefully to keep the 15-degree drilling angle consistent. Spread wood glue along the joints and press the guide block in place.
Use clamps to secure the guide block firmly against the base board as the glue dries. Give it a light tap with a mallet if you need to adjust the position. This step sets a strong foundation for your pocket holes.
Clamping Mechanism Step-by-Step
For more stability, attach two bench clamps at opposite ends of the base board. Position them so the board does not move during drilling. Tighten each clamp evenly to keep the board steady when drilling at an angle.
Next, add slide-in hold-down blocks for extra security. These blocks work like sliding hold-down parts and keep your workpiece in place when the drill bit meets the angled guide. Even basic tools can deliver precise results when properly clamped.
Finally, double-check that the base board and guide block form a perfect right angle. Use a carpenter's square to ensure every corner aligns correctly. Only fasten everything with additional fasteners once you are sure the setup is square. This careful alignment not only makes strong joinery but also helps your project go smoothly.
Drilling Angled Holes: Precision Fastening System & Calibration Tips

Set your drill-bit depth collar with care so that the screw head sits flush and the bit does not go too deep. Match the collar setting to the material thickness and screw length. For self-tapping screws that range from 1 inch to 2.5 inches long, the pilot hole depth must be just right. This careful setup gives you a neat joint and helps protect both the drill bit and your workpiece. For example, when drilling at an angle of 15°, the depth collar is key to locking in a secure fastener every time.
Clamp the workpiece tightly to keep it steady. Use clamps that hold the material firmly to stop any movement. A stable workpiece means you get less vibration and a more accurate drill hole.
Set your drill to run between 400 and 600 RPM. This speed helps reduce tear-out while still providing enough power for a smooth hole. Stick to this range to keep a good balance between cutting efficiency and control.
Before you drill into your final piece, test your settings on a scrap sample. Drill a few trial holes to check the angle and depth. Use these tests to adjust your collar or marking as needed. This step helps you fine-tune your setup and ensures that each hole is drilled perfectly at 15°.
Troubleshooting & Enhancements for Your DIY Pocket Hole Jig
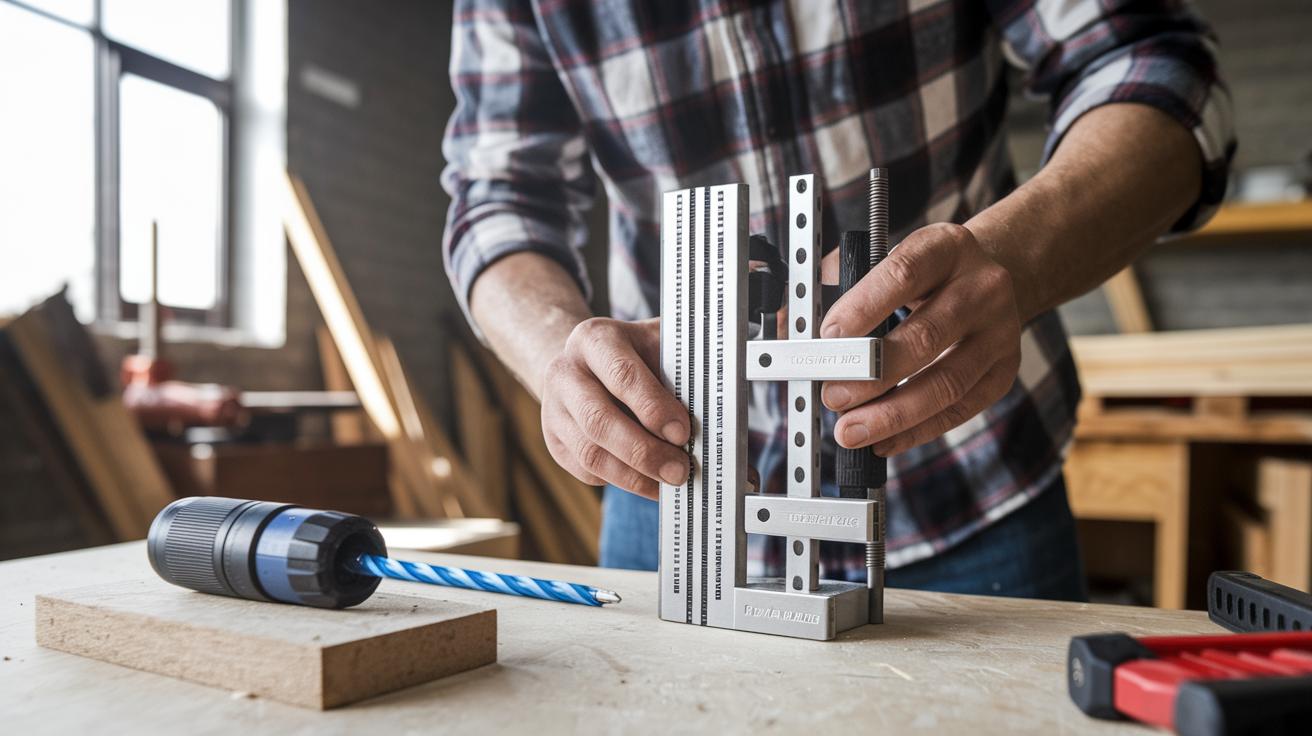
Sometimes you face issues with your pocket hole jig. Off-angle holes, splintered edges, or shifting clamps can weaken your joints and throw off your work.
If you see holes at the wrong angle or notice splintering, pause and check your setup. First, use a carpenter's square to verify your jig is aligned correctly. Then tighten your clamps firmly so nothing moves during drilling. If you spot tear-out, slow down the drill and test it on a scrap piece. Adjust the depth collar to stop drilling too deep, which can cause problems. Keep testing until the drill makes a steady 15° hole.
To boost your jig's performance, consider a few easy upgrades:
| Upgrade | Benefit |
|---|---|
| Sacrificial fence strips | Helps prevent damage to your workpiece |
| Adjustable stop block | Keeps the pilot hole depth the same each time |
| Dust-collection chute | Keeps your workspace clean |
These simple enhancements can make your jig more reliable and your joints stronger. Happy drilling!
DIY vs. Commercial Pocket Hole Jigs: Cost & Customization Analysis
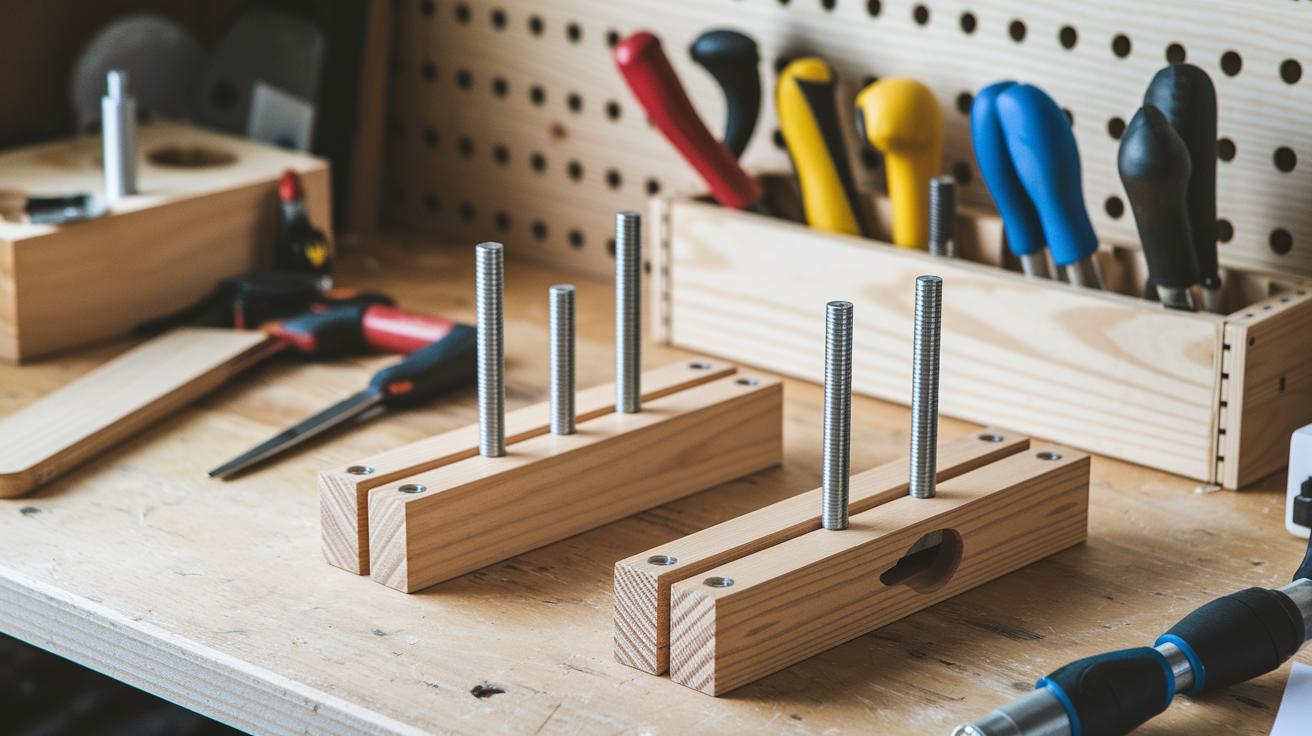
When it comes to pocket hole jigs, you have two paths. One option is to build a DIY jig. This route costs about $5.95 for the Imperial plans, plus any extra materials you might have on hand. Although it takes roughly 4–6 hours to put together, you get full control over the design to suit your project.
The other option is to buy a commercial jig. These kits range from $75 to $150. They come with all the special drill bits, stops, and pocket screws you need. The kit is ready to use as soon as you open it, but the features are preset and not adjustable.
| Feature | DIY Jig | Commercial Jig |
|---|---|---|
| Cost | $5.95 + materials | $75–150 (kit) |
| Customization | Fully adjustable | Fixed features |
| Assembly Time | 4–6 hrs | Ready to use |
Building your own jig saves you around 80% and gives you a chance to learn new skills. Plus, the pride of making something with your own hands can add a unique touch to your workshop.
Final Words
In the action, you built a solid plan for your diy pocket hole jig. We covered the basics, from understanding pocket hole joinery and laying out accurate blueprints to careful base assembly and precise drilling. Each step was designed to help you build a tool that works well and feels custom-made.
You now have a road map for troubleshooting and even upgrading your jig along the way. Enjoy the process and celebrate your progress, each cut and clamped piece brings you closer to professional results!
FAQ
Q: What is an easy DIY pocket hole jig for woodworking?
A: An easy DIY pocket hole jig lets you create precise, angled holes (typically 15°) in wood for strong, hidden joints. It simplifies the process by guiding the drill for consistent results.
Q: What do DIY pocket hole jig plans and PDFs offer?
A: DIY pocket hole jig plans and PDFs provide step-by-step instructions and detailed diagrams to help you build a jig in one day. They include measurements, materials lists, and layout guides for accurate joinery.
Q: How does the Kreg Pocket Hole Jig compare to a DIY version?
A: The Kreg Pocket Hole Jig is a commercial tool that offers convenience and precision, while a DIY version is cost-effective and fully adjustable. Both create secure, 15° angled joints when used correctly.
Q: Can I build a DIY pocket hole jig for 2×4 wood?
A: Yes, you can build a DIY pocket hole jig for 2×4 wood. The design supports use with various lumber sizes and ensures accurate 15° drill angles for strong, concealed joints.
Q: What should I consider when shopping for a pocket hole jig on Amazon?
A: When looking on Amazon, consider cost, ease of use, and included accessories. Reviews can help gauge the tool’s effectiveness and compatibility with your project needs for precise joinery.
Q: How do you drill pocket holes with a jig?
A: Drilling pocket holes with a jig involves aligning the drill bit in the guide, setting a 15° angle, and securing the workpiece. This ensures holes are consistent, properly angled, and ready for screws.
Q: What can I use if I don’t have a pocket hole jig?
A: If a pocket hole jig is unavailable, you can use scrap wood, clamps, and a fixed-angle guide to mimic the jig. These alternatives help achieve the correct 15° angle and secure fit for pocket holes.
Q: How do I make a jig for pocket holes or make pocket holes without a Kreg jig?
A: Making a jig for pocket holes involves cutting and assembling a stable base, marking the 15° angle, and securing a guide block. This homemade jig lets you replicate precise, concealed joints like a Kreg jig.
Q: Do I really need a pocket hole jig?
A: A pocket hole jig is not absolutely required, but it greatly improves joint strength and consistency. Using one saves time, reduces errors, and creates clean, high-quality connections.