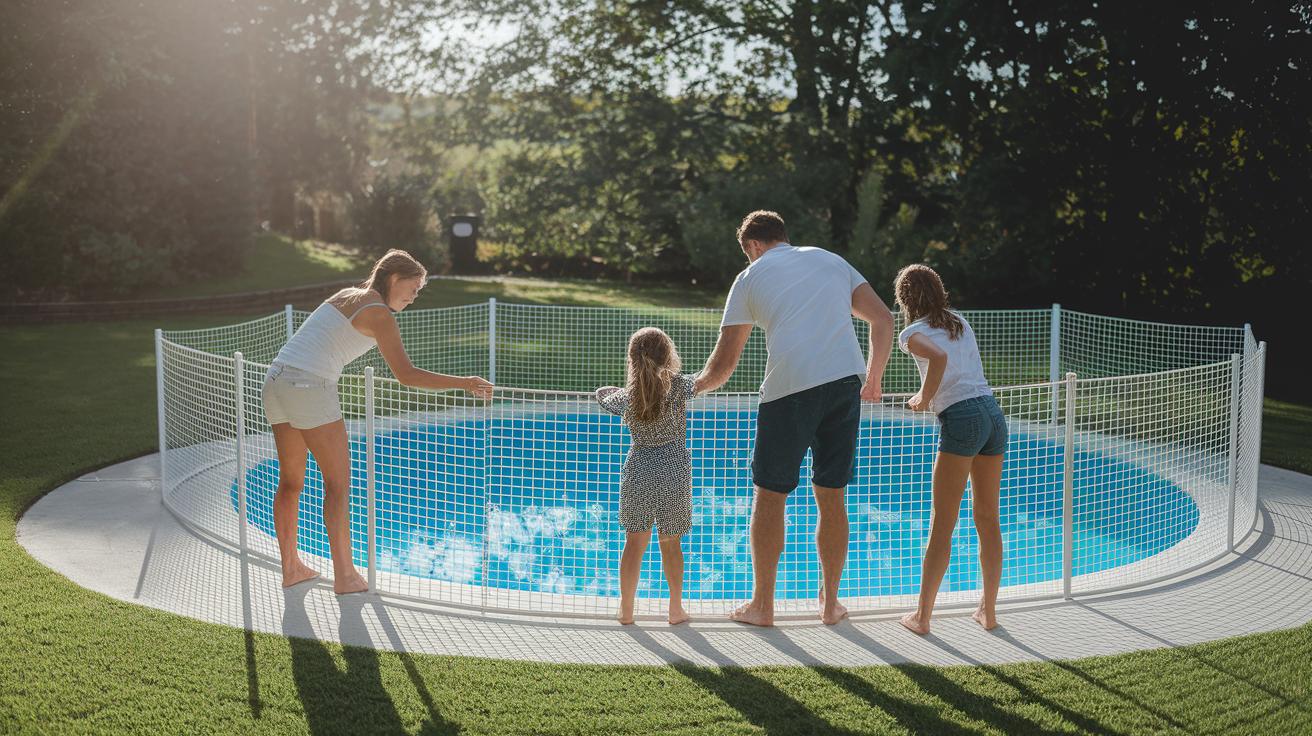

Have you thought about building a pool safety fence yourself this summer? You can turn your backyard into a safe spot where you and your family can relax without worry. A DIY safety fence not only keeps your loved ones secure but also gives you a real sense of accomplishment. In this guide, we take you through every step, from measuring your pool space to fitting a gate that shuts by itself, so you can kick back and enjoy your sunny days with complete peace of mind.
Step-by-Step DIY Pool Safety Fence Installation
-
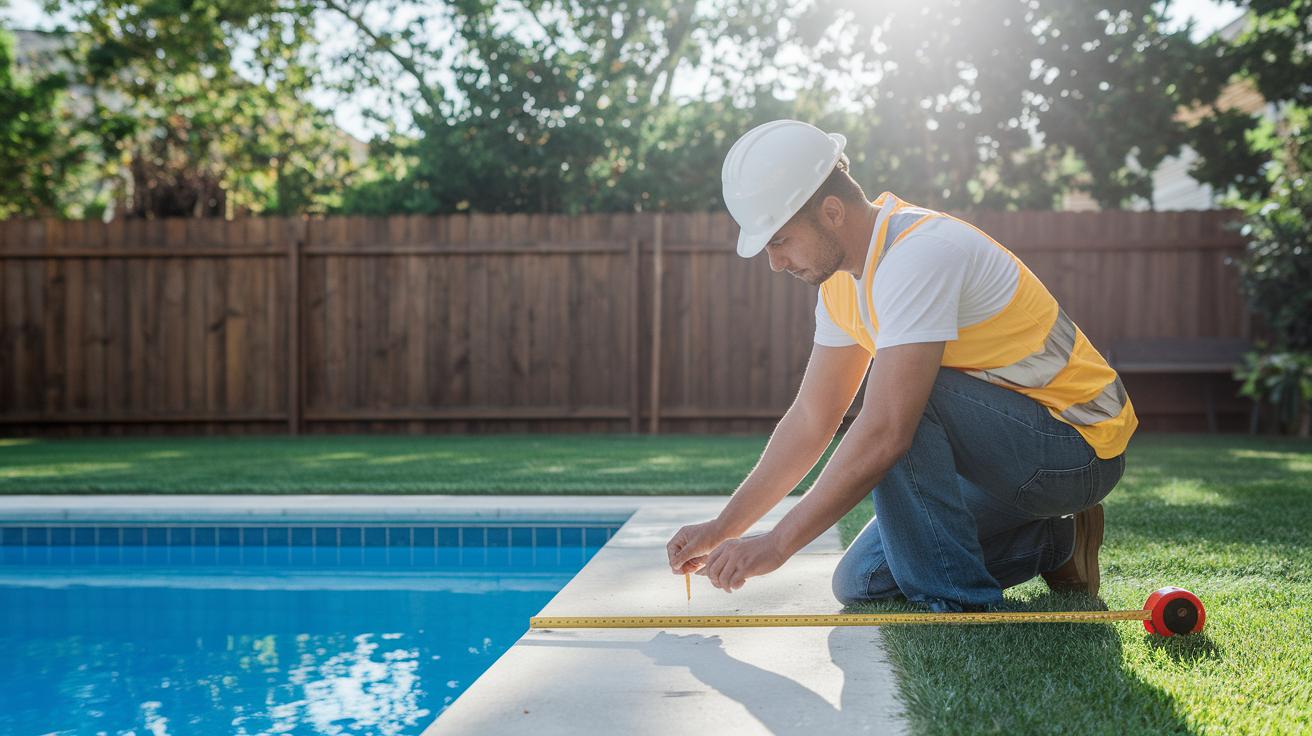
Measure your pool area. Use a tape measure to mark the fence line. Follow local rules for fence size. For example, if you are using a 12-ft UV-resistant section, space your posts every 5–6 ft. Accurate measurements make the fence secure.
-
Dig and set your posts. Use a post-hole digger to make holes at least 2 ft deep. Insert your aluminum or steel posts and fill the holes with concrete mix for a firm base. Use a level to check that each post is straight. Think of it like staking a tent, each post has to be strong and even.
-
Attach the mesh panels. Start at one end of your fence line and fasten the UV-stable mesh panels to the posts with the proper fasteners. Pull the panels tight, and trim any extra material if needed. Remember the tip: measure twice and cut once.
-
Secure tension cables. Run a high-tension cable along the length of the mesh to keep it evenly spaced and secure. Tighten it slowly to prevent sagging. Use a level to make sure the fence stays uniform.
-
Mount the gate. Install a self-closing gate using a no-drill clamping method. Make sure the latch is high enough and works smoothly for easy access.
After each step, stop and perform a safety check. Make sure every connection is firm and every measurement is spot-on.
Planning and Materials for a DIY Pool Safety Fence
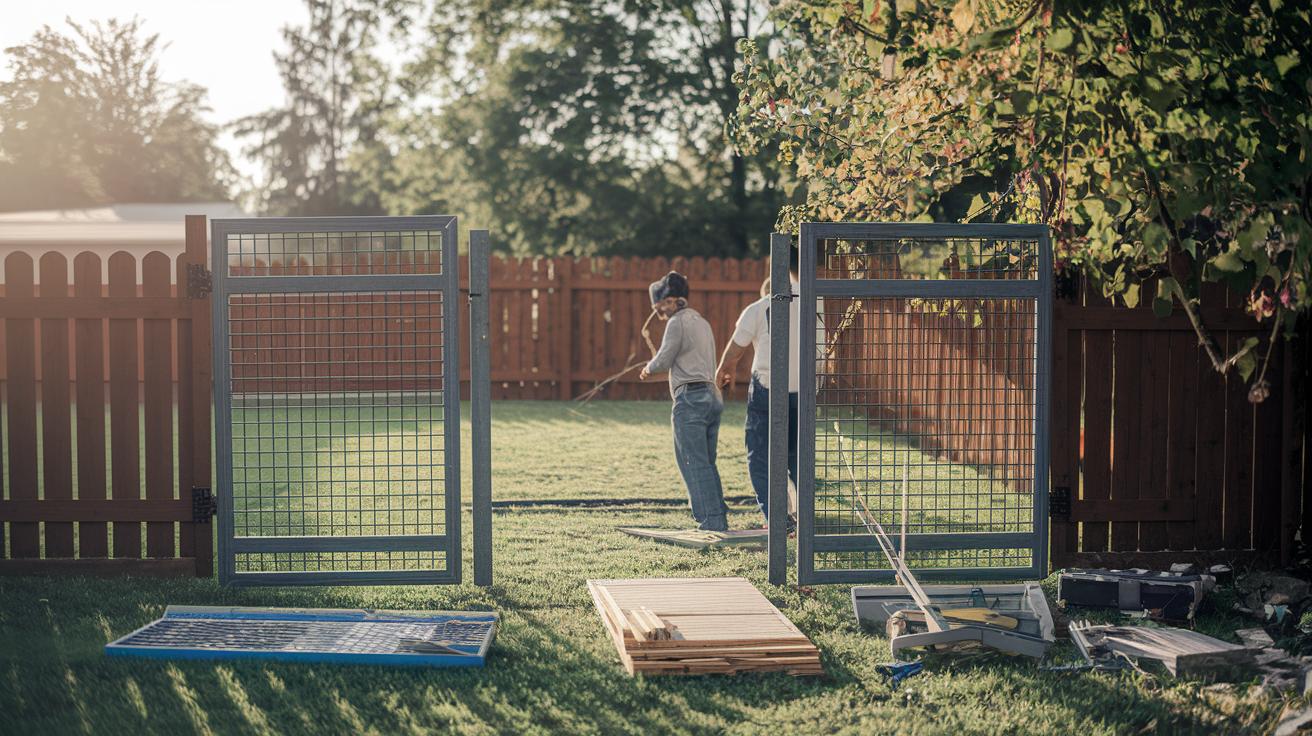
Begin by gathering all the materials you need that follow code and fit your space. You will need sturdy posts, panels that can handle the weather, and good hardware that lasts. Use these guidelines for quantities and sizes:
- Aluminum or steel posts. Place them roughly every 5-6 ft. For a 40-ft fence, you will need about 6-8 posts.
- UV-stable mesh panels. Choose sections that are about 12 ft long.
- Tension cables. Make sure you have enough to run along the entire fence.
- A self-closing gate kit that works smoothly and latches securely.
Next, put together the tools you will use for the project. Shop around for budget-friendly options by comparing local prices and online deals. Here is a list of essential tools:
- Measuring tape. This will help you place posts exactly where needed.
- A level. This tool keeps the posts perfectly vertical.
- A drill. Use it to fasten panels securely.
- A post-hole digger. This makes deep, stable holes for the posts.
- Concrete mix. This anchors your posts firmly in the ground.
Local hardware stores often carry these items. Sometimes donation centers or surplus sales offer cheaper prices. You can also use free resources such as a DIY project planning template to layout your fence design and check that all parts are the right size.
| Material/Tool | Details |
|---|---|
| Posts | Aluminum/Steel; 5-6 ft spacing; 6-8 posts for 40 ft |
| Panels | UV-stable mesh; approx. 12 ft sections |
| Tension Cables | Enough to run along the fence line |
| Gate Kit | Self-closing and secure latch |
| Measuring Tape | For accurate post placement |
| Level | To keep posts vertical |
| Drill | For fastening panels |
| Post-Hole Digger | For digging stable holes |
| Concrete Mix | To set posts securely |
Custom Design Options and Blueprints for Pool Safety Fences
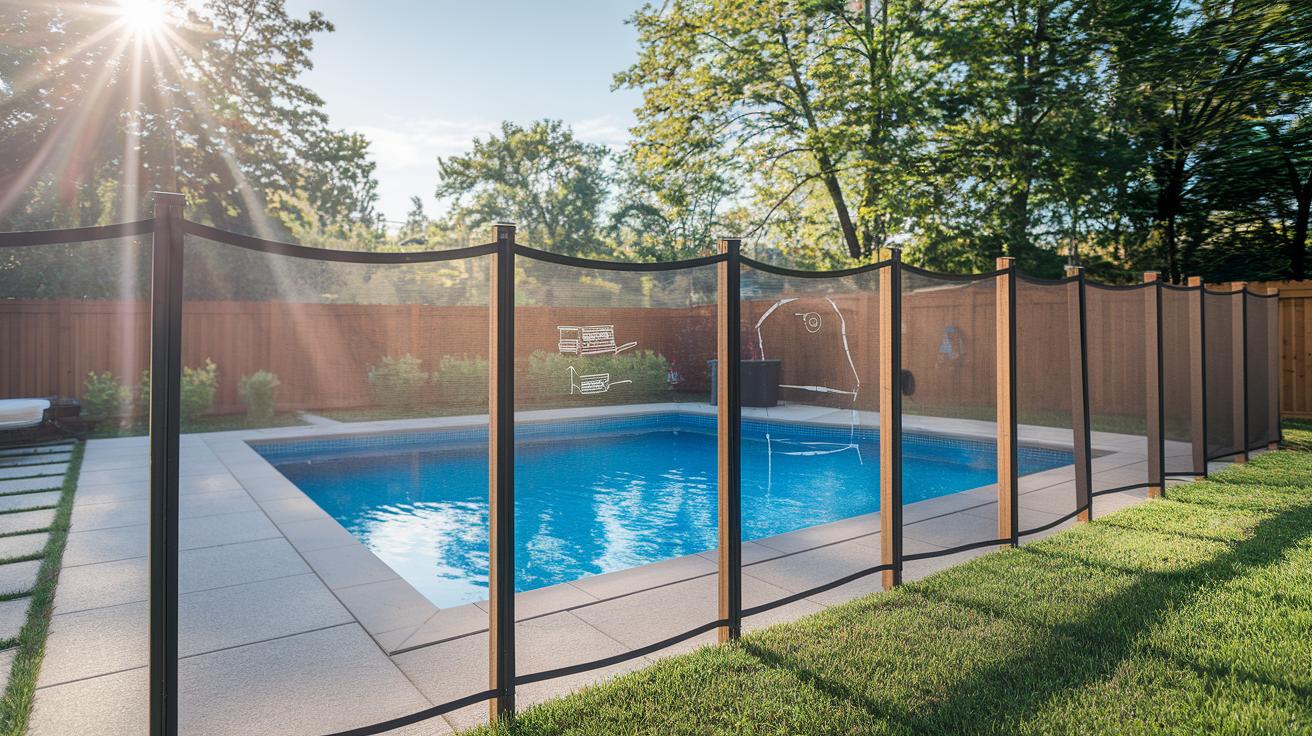
Our pool safety fence designs let you choose a style that meets both your safety and look needs. Fences usually come in heights of 48 inches to 60 inches. With a custom swimming barrier, you get a strong build that also enhances your yard. Pre-cut PDF blueprints offer clear diagrams and exact cut lists to help you build faster.
Fixed Mesh Panel Layout
This design uses ready-made, UV-resistant mesh panels fixed to sturdy posts. For example, picture each panel as 12 feet long and joined with corrosion-resistant fittings. The instructions clearly show where each panel fastens. It is a simple, cost-effective choice if you want a barrier that stays in place permanently.
Retractable Barrier Blueprint
This design features a barrier mounted on side rails so you can easily open and close it. The blueprint explains how to install the rails for smooth movement. While the materials might cost a bit more, you gain the benefit of controlled access to your pool area.
Timber Frame Enclosure Instructions
For raised pools, a timber frame enclosure works well. Space the posts evenly, typically every 5 or 6 feet, and attach either mesh or solid panels. A powder-coat finish adds extra durability and style. This method gives you a warm, natural look while combining function with beauty.
Regulatory Compliance and Safety Guidelines for DIY Pool Fencing
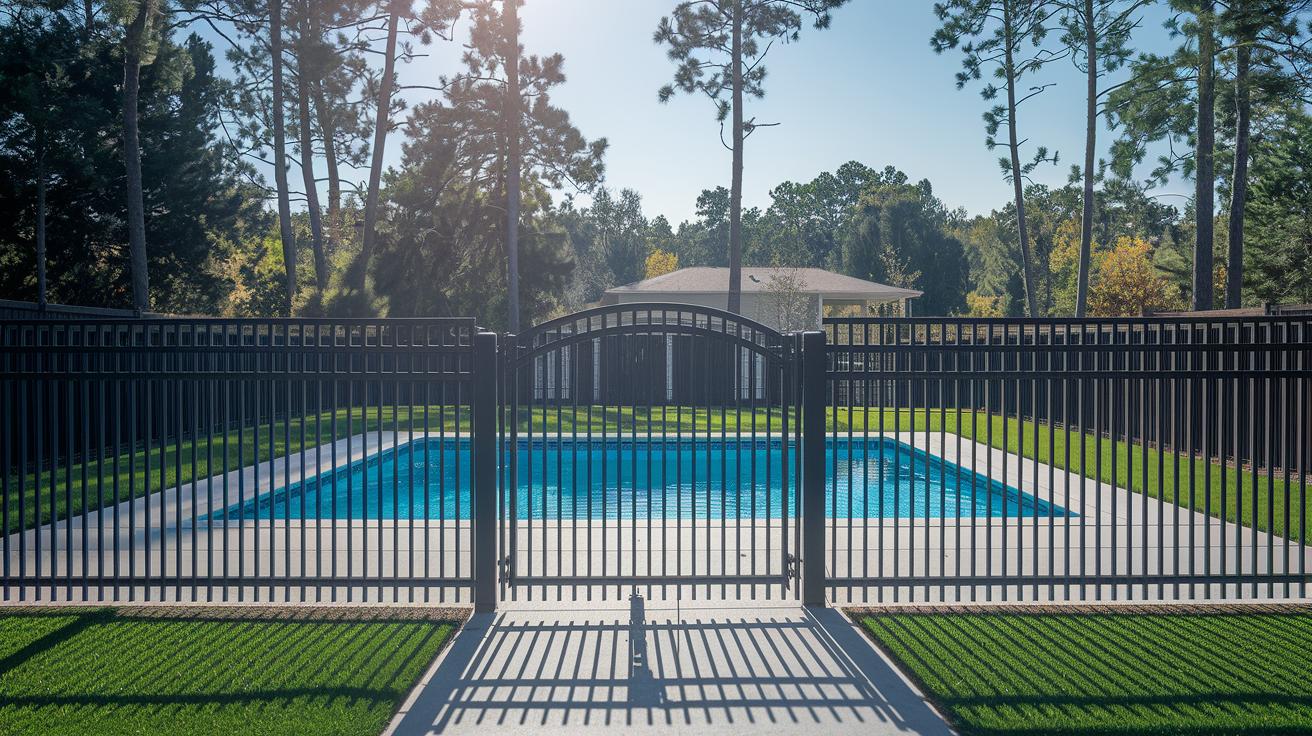
When installing your pool safety fence, it is important to follow local rules. Most guidelines require that the fence be at least 48 inches tall to help keep small children away from the water. Your self-closing gate should have a latch set 54 inches above the ground to prevent it from opening on its own. Remember, alarms and pool covers do not replace the need for a proper fence. If you prefer not to drill into walls, you can choose options like weighted bases or clamp mounts that meet these requirements.
Below are five key compliance elements to follow:
| Key Requirement | Specification |
|---|---|
| Fence Height | At least 48 inches |
| Latch Height | At least 54 inches above ground |
| Spacing Limits | No openings over 4 inches |
| Material Standards | Durable and weather-resistant |
| Gate Orientation | Self-closing and swings away from the pool |
Always check these requirements with your local municipal codes and inspect each part during installation. Following these guidelines will help secure your backyard pool area so you can enjoy a safe, stress-free summer.
DIY Pool Safety Fence Cost Breakdown and Budget Strategies

If you want to build a pool safety fence without spending too much, start by knowing your costs. A 40-foot DIY mesh kit runs between $600 and $1,200. Posts with concrete cost about $25 to $50 each, and a gate kit goes for roughly $150 to $300. Renting a post-hole digger will set you back about $30 for a day.
These numbers can help you compare prices between big stores like Home Depot and your local hardware shop. You can also lower your expenses by bulk buying or reusing posts, which may cut costs by 15 to 20 percent. Checking with your neighbors for secondhand tools is another great money-saving trick.
| Item | Unit Cost | Quantity | Total |
|---|---|---|---|
| DIY Mesh Kit (40′ perimeter) | $600–$1,200 | 1 | $600–$1,200 |
| Posts & Concrete | $25–$50 | 6–8 | $150–$400 |
| Gate Kit | $150–$300 | 1 | $150–$300 |
| Post-hole Digger Rental | $30/day | 1 | $30 |
Compare DIY kit options with quotes for professional services, and look for local deals or used parts to stretch your budget further.
Maintenance and Troubleshooting for Pool Safety Fences
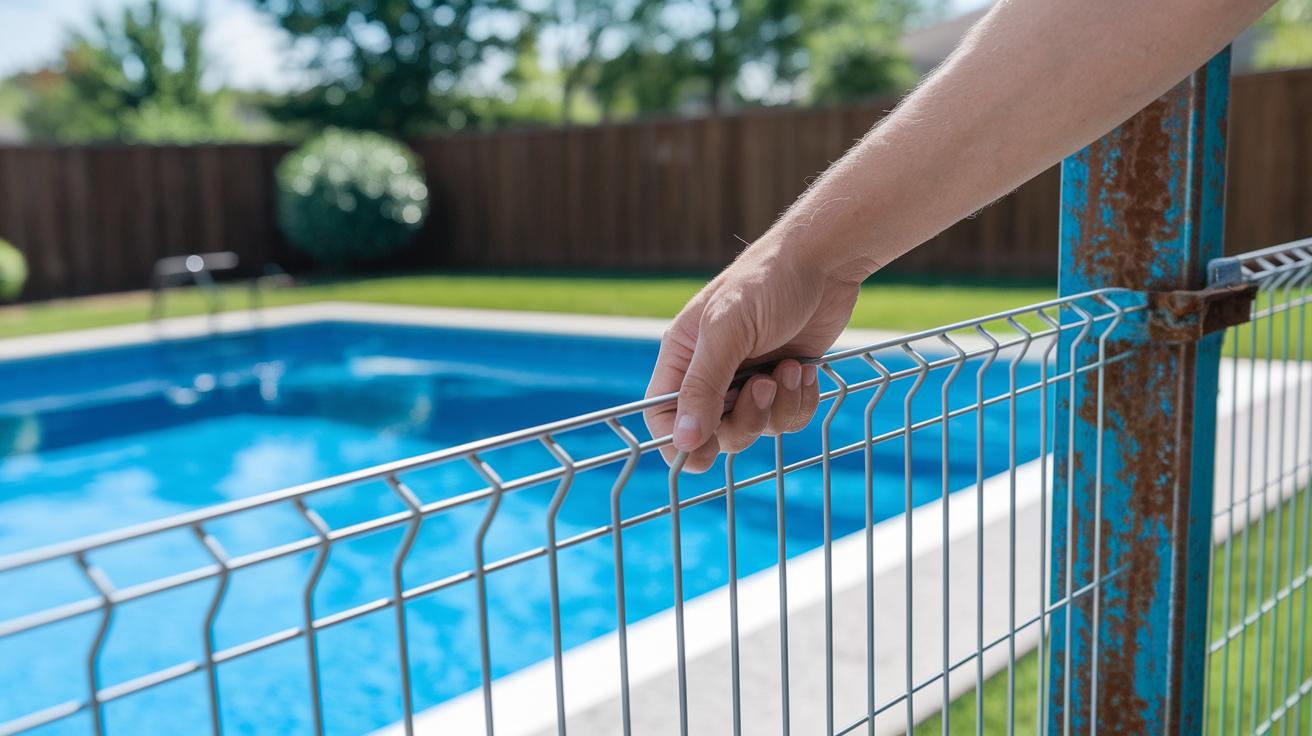
Every three months, give your pool safety fence a quick check to keep it safe and sound. Look over the entire fence and tighten loose parts to stop small problems from costing you later.
Here's a simple quarterly checklist:
- Check the cables and make sure they are tight. This stops the mesh from sagging.
- Look at the mesh panels for any tears or frayed spots. Replace any damaged sections early.
- Inspect the posts for rust. If you see signs of corrosion on steel posts, repaint them with a marine-grade coat.
- Make sure all fasteners and clamps are holding tight.
- Test the gate to ensure it lines up correctly and the latch works for a self-closing fit.
- Examine fittings and brackets for any looseness or wear.
If you run into issues, here are some quick fixes:
- For sagging mesh, slowly re-tension the cables.
- If cables feel loose, tighten the fasteners and check for wear.
- For rusted posts, clean them and apply a fresh layer of marine-grade paint.
- If the gate is out of line, adjust the hinges and reposition the mounting brackets.
- For latch problems, check the alignment and swap out any worn parts.
- If you find small tears in the mesh, try to repair them. Replace the panel if the damage is severe.
Fix the parts when the damage is minor. Replace sections if they are too worn to keep your fence safe.
Additional DIY Pool Safety Fence Resources and Tutorials

If you learn best by watching, try video series like Fence Masters, DIY Safety Projects, and Pool Secure Series. These videos show you every step of the process. You might see a clip that starts with a close-up of a measuring tape, explaining how each inch matters when marking your post spots.
Downloadable PDF plans are also handy. They include clear cut lists and spacing charts to guide you. Two top picks are free fence blueprint templates and installation checklists from trusted safety groups. These PDFs often include a permit-check guide to help keep your project up to code.
Lastly, join online DIY communities. Here, fellow homeowners share their tips and success stories, and even some custom tweaks. Use the forums to ask questions if you get stuck or to see how others have adapted their projects for different pool areas.
Final Words
In the action, we walked through precise measurements and step-by-step installation. We covered site layout, material choices, design options, compliance checks, and budgeting tips. Each phase was explained in clear steps, ensuring you have a safe and lasting build. We also touched on routine maintenance and troubleshooting to keep your work in top shape. With this guide, you have the tools to create a strong, secure diy pool safety fence that meets code and gives peace of mind. Enjoy the results and stay safe!
FAQ
DIY pool safety fence kit
The DIY pool safety fence kit means a set that includes posts, mesh panels, tension cables, and a gate, all designed to meet safety codes. It offers a ready-to-install solution for securing your pool.
DIY pool safety fence PVC
The DIY pool safety fence PVC means using PVC materials as part of your pool safety kit. PVC is lightweight and weather-resistant, making it a practical choice when building a code-compliant barrier.
Pool safety fence no drilling / DIY pool fence no drill
The pool safety fence no drilling approach means installing a secure barrier without creating holes. It uses weighted bases or clamp mounts, making it an ideal option for renters and surfaces you prefer to keep undamaged.
Mesh pool fence
The mesh pool fence means a barrier made of durable, UV-resistant screening that secures your pool area while maintaining visibility. This design uses tension between posts and meets safety standards.
Cheap DIY pool fence / What is the cheapest way to fence a pool?
The cheapest way to fence a pool using DIY methods means choosing budget-friendly kits or repurposing materials. These options balance cost and safety and can be installed with basic tools and good planning.
Pool fence DIY Reviews / Best DIY pool fence
The best DIY pool fence as noted in reviews means selecting a kit celebrated for quality, ease of installation, and code compliance. Reviews help you find options that combine affordability with reliable performance.
How do you make a pool safe without a fence?
The approach to making a pool safe without a fence means using alternatives like secure pool covers, alarms, or constant supervision. Although helpful, these methods usually don’t provide as strong a barrier as a physical fence.
Can you make your own pool fence?
The option to make your own pool fence means that you can build a barrier using approved materials or available kits. DIY builds must follow local safety codes, ensure accurate measurements, and provide secure installation.
Does NJ require a fence around a pool?
The NJ requirement for a pool fence means many local codes mandate a barrier with specific features, such as a minimum height and self-latching gate. Always check local regulations to confirm compliance.