

Ever feel lost with your DIY projects? Planning can be the secret tool you need. A clear plan turns a jumble of ideas into a simple, step-by-step guide. In this guide, we break your project into small parts, from the first idea to the final celebration. This method saves you time and eases stress. When you set goals and plan every detail, you build not just your project but a habit of smart planning for future tasks.
Step-by-Step Guide to the DIY Project Planning Process
A good plan makes your DIY journey smoother. It helps you sort your ideas and sets a clear goal for each step. When you skip planning, the project can feel heavy and you might miss key risks. This guide tells you where to begin and what comes next.
Breaking the project into smaller steps helps keep things clear. Each step builds on the one before it. This way, you have fewer surprises and can stay on track. You get more time to create and less time fixing mistakes.
The process has five parts:
- Inspiration (come up with your ideas)
- Planning (draft your blueprint)
- Preparation (get your tools and materials ready)
- Execution (build it with your hands)
- Completion & Reflection (look over your work and celebrate)
Start by jotting down all the ideas that spark your interest. Then, shape these ideas into a solid plan. Check that you have all the tools and materials set aside. Once you are ready, move into the build phase with confidence. Finally, take a moment to celebrate and think about what went well and what you could change next time.
This clear, step-by-step approach not only guides you through the project but also helps build a habit of good planning for your future DIY projects.
Phase 1: Inspiration and Goal Setting in the DIY Project Planning Process

Inspiration gives your project its start. It lights a fire in you to dream up new ideas and try different approaches. You might see a neat trend on Pinterest, flip through a home magazine, or take a walk outside. These moments help you picture the end result of your work.
Fill your mind with things that match your style and goals. Keep a notebook nearby to write down ideas as they come. For example, you might notice a cool pattern on a leaf and think, "This could brighten my space." Try putting together a mood board or sketching simple designs to turn your ideas into a plan.
When your vision starts to grow, ask yourself a few key questions. Does this project fit your skills? Do you have the right tools and safety gear? Think about how the work might change your daily routine. Set SMART goals. That means your goals should be specific, measurable, achievable, realistic, and time-bound. Breaking your project into small tasks makes success more likely.
Phase 2: Materials Inventory and Budget Estimation in the DIY Project Planning Process
Begin by jotting down every tool and material you need for your project. Think of it as your essential shopping list that covers everything from lumber and paint to small hardware items. This step lets you see the full picture before you start and prevents any surprises later.
Next, work out the cost for each material. Decide if you should buy, rent, or borrow each item based on your budget and how often you'll use it. Compare prices with quality to find the best deal. Keeping track of your spending as you shop helps you stay on budget and may even point out ways to save a little extra.
Set up your inventory and cost details in a clear format so you can manage your money well through the project. Update your list whenever prices change or you need to add new items. A well-organized list not only helps with buying decisions but also acts as a guide to keep your project on track financially.
| Material | Quantity | Estimated Cost |
|---|---|---|
| Lumber | 10 pieces | $150 |
| Paint | 3 gallons | $90 |
| Hardware | 1 set | $50 |
| Drywall | 6 sheets | $120 |
| Flooring | 200 sq ft | $180 |
| Adhesive | 2 cans | $30 |
| Primer | 1 gallon | $40 |
| Sealant | 1 tube | $25 |
Phase 3: Scheduling and Timeline Outline in the DIY Project Planning Process

Creating a real timeline is key to any DIY project. Your schedule lets you set deadlines and mark each phase so you stay on track and organized. A good timeline helps you cover every task and keeps delays to a minimum. With a clear plan, you move through the work smoothly and lower the stress from surprises.
Break your project into daily or weekly parts to make the work feel easier. For example, you can set aside specific time blocks for tool rental, clean-up, and material delivery. This step-by-step method helps you focus on one part at a time while letting you see your progress as you finish each task.
Also, add extra time and review breaks to cover any unexpected issues. Regular check-ins let you adjust the plan when needed. You might find a home renovation project schedule template helpful to avoid common scheduling problems and keep your timeline flexible and realistic.
Phase 4: Resource Allocation and Labor Techniques in the DIY Project Planning Process
Before you begin, list out every task you need to complete. Decide which tasks you can handle on your own and which ones need extra help or a professional. Simple jobs like sanding or painting can be done by you or with a friend's help. But tasks that require special skills, such as complex flooring installation, might call for a pro. One DIYer learned this when a flooring installer was hired mid-project. Recognizing your limits early can prevent delays and keep your project on track.
Next, set up your tools, workspace, and timeline clearly. Make a plan to decide which tools to buy, rent, or borrow. Create a dedicated space for each part of your project and assign specific time slots for each task. Let everyone involved know their role and when they need to be there. Clear communication helps avoid schedule overlaps and miscommunication.
Using these planning techniques ensures that each part of your project runs smoothly and leads to a successful DIY result.
Phase 5: Risk Evaluation and Contingency Strategy Formulation in the DIY Project Planning Process

In every DIY project, problems can show up in many ways. You might feel stressed, hit unexpected delays, see your tools break, or face budget issues. Sometimes, you may also deal with supply shortages or mix-ups with your helpers. Spotting these risks early helps you get ready for any surprises.
To build a solid backup plan, start by writing down possible problems for each step of your build. If you suspect delays, add extra time to your schedule. When a tool fails or material runs out, know where you can quickly get a replacement or try a different method to keep things on track. Set aside a little extra money for emergencies and keep a close eye on your spending. A checklist of these key trouble spots will help you fix issues before they become big setbacks.
Always put safety first. Mark clear safety checkpoints and keep essential gear like a first aid kit and a fire extinguisher handy. These steps ensure you can act fast and safely if a situation turns dangerous.
Tracking Milestones and Progress in the DIY Project Planning Process
Keeping track of your progress is a must. It helps you stay motivated and spot problems early. Each milestone you complete builds your confidence and keeps your project moving. Review your work often, adjust your plan when needed, and then move on to the next step. For example, finishing the prep phase can lift your spirits and give you a clear moment to check your timeline.
Break your project into smaller parts and set specific times to review your progress. Create a simple checklist to mark key moments. After each major step, check that your work is on schedule and meets your quality standards. Use these reviews to tweak your budget or timeline. This milestone system acts as your roadmap to a winning DIY project.
- Idea Approval
- Budget Sign-off
- Prep Completion
- Start of Build
- Mid-Project Inspection
- Final Review
Practical Tools and Best Practices for Efficiency in the DIY Project Planning Process
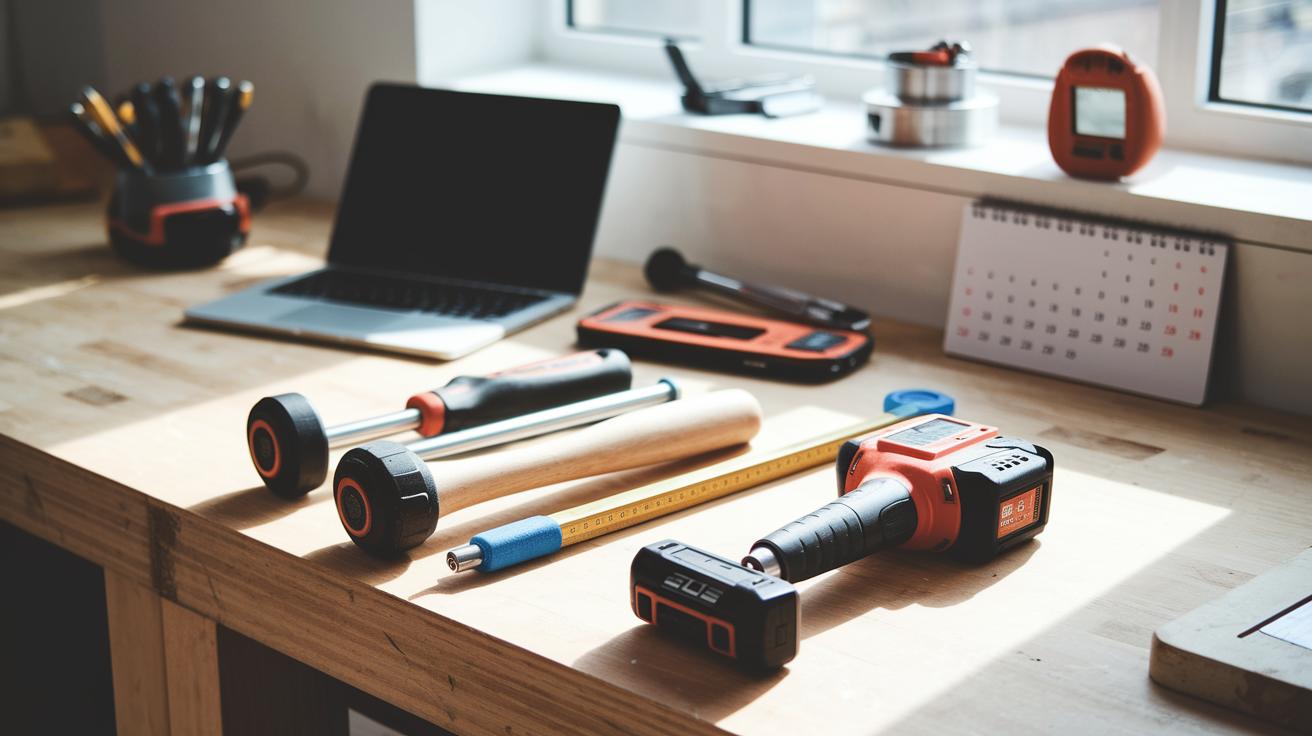
Begin your project with a basic toolkit. Gather common hand tools such as hammers, screwdrivers, and tape measures because they form the foundation of any job. Adding a cordless drill or two can quickly boost your ability. Keeping your set simple makes starting a project much less stressful.
Next, use digital tools to simplify your planning. Simple design software lets you picture each step clearly. Mobile calendar apps and online organization tools help you manage schedules and share updates easily. Together, these digital aids keep your plan organized and easy to follow.
Finally, choose eco-friendly methods to boost efficiency and cut waste. Use energy-saving techniques and recycled materials as much as you can. For example, try reusing leftover supplies or choose products with minimal packaging to lessen waste. Also, remember to measure carefully before cutting to avoid mistakes. These smart steps help save money while promoting a sustainable approach to your DIY projects.
Final Words
In the action, this guide broke down each step from sparking ideas to tracking milestones. You saw how clear phases, like planning, budgeting, scheduling, and risk evaluation, work together to shape your project.
The roadmap gives practical advice to keep tasks on time and budget while ensuring safety. By using this DIY project planning process, you can move ahead confidently and make your home project a success. Enjoy seeing your hard work come to life.
FAQ
Frequently Asked Questions
What is a DIY project planner?
The DIY project planner helps you organize your home projects by outlining tasks, scheduling steps, and tracking your budget. It provides a clear overview to keep you efficient and avoid common pitfalls.
What is a DIY project planner app?
The DIY project planner app offers a digital way to manage your projects. It organizes tasks, tracks budgets, and sets timelines, making it easier to plan and follow through with each project step.
What are the 7 stages of project planning and the 7 parts of a project plan?
The seven stages or parts often include idea generation, detailed planning, resource allocation, scheduling, execution, monitoring, and completion. These steps help break down tasks and ensure no detail is missed.
What are the 5 stages of the project planning process?
The five stages consist of Inspiration, Planning, Preparation, Execution, and Completion & Reflection. This sequence guides you from the initial idea to a final review, ensuring organized progress and safety.
What are common DIY mistakes?
Common DIY mistakes include skipping thorough planning, underestimating budgets, neglecting safety measures, and selecting improper tools. Tackling these issues early on improves project success and reduces rework.