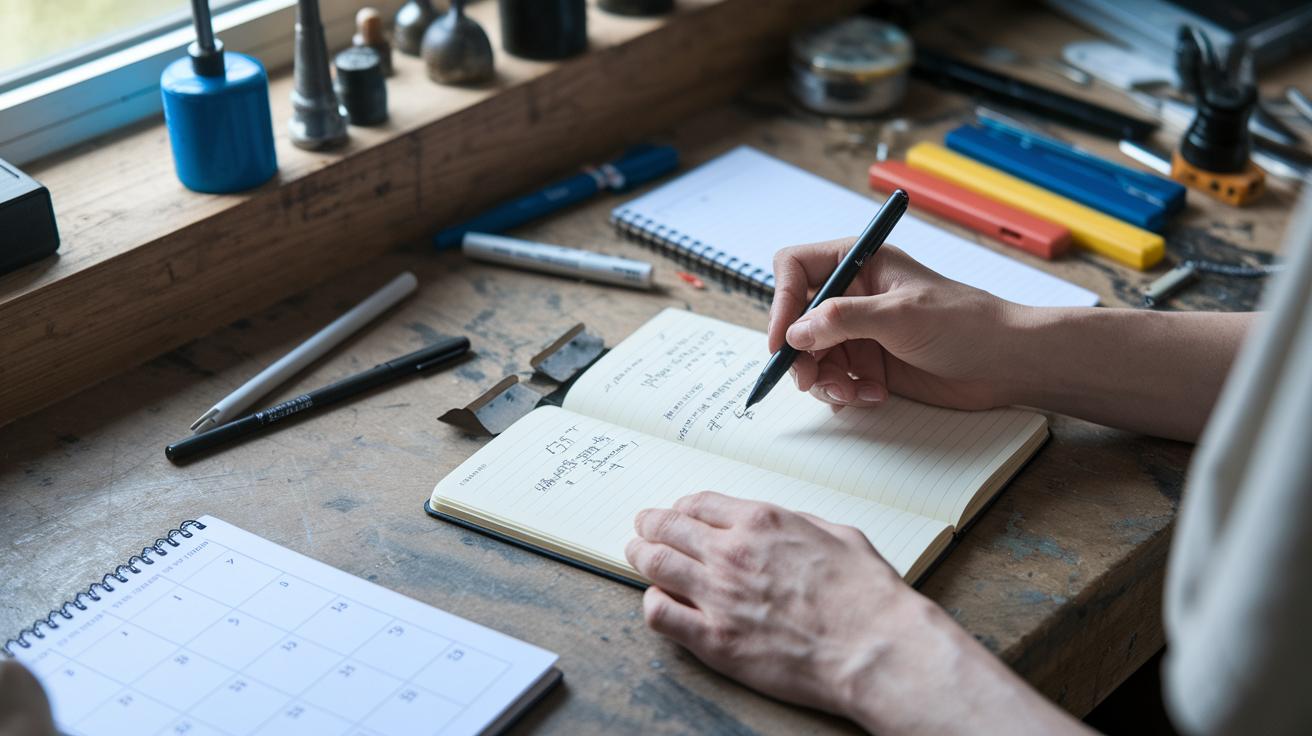

Have you ever started a project and been caught off guard by a hidden risk? Think of your risk management plan like a seatbelt that keeps you safe in a car. It helps you see hazards early, plan your tasks well, and avoid costly delays. By breaking your project into clear steps, you can put safety measures in place before problems grow. Start by planning your risks so your work builds on a strong, safe foundation.
DIY project planning risk management Sparks Success

A DIY risk management plan gives you a clear guide for spotting problems and fixing them early. Using techniques borrowed from professional risk management, you can identify risks, plan your tasks, and set up safety measures without hiring experts. This method breaks your project into phases so you can keep safety in mind and avoid delays or extra costs.
A good plan covers key steps. It shows you how to note hazards, track them in a risk register (a log to record issues), and create response actions. It also suggests setting aside a little extra budget for unexpected fixes. This framework puts you in control of every step while building safety into your plan. It helps you work smart and safe, whether your project is big or small.
- Hazard identification
- Risk assessment
- Mitigation planning
- Monitoring & control
- Contingency planning
Remember, this document should evolve as your project progresses. Update it regularly when conditions change, adjust risk scores, assign new tasks, and tweak your response strategies. Regular reviews keep your plan accurate and effective, acting as a real-time safeguard against issues that could slow you down.
Identifying Hazards in Your DIY Project Planning
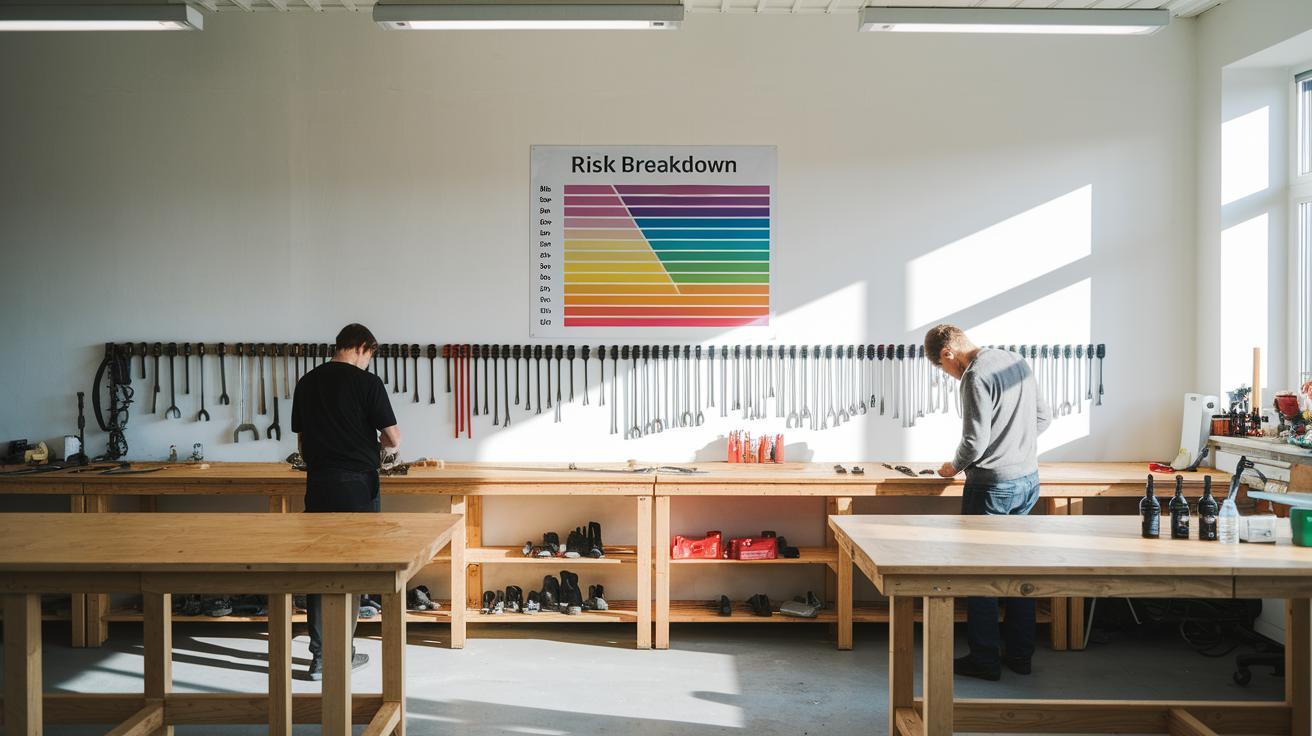
Spotting dangers early saves you time, money, and keeps your project safe. Use a simple risk breakdown structure to split your project into clear stages. This way, you can tackle issues like tool misuse, faulty wiring, material problems, cluttered workspaces, and body strain.
Common DIY Hazards
- Falls from ladders
- Electric shock
- Splinter injuries
- Chemical exposure
- Trips over tools
- Material collapse
- Dust inhalation
Hazard Identification Techniques
- Risk breakdown structure
- Standard checklists
- A peer review of your workspace
- A quick site walk with your phone camera
- Brainstorming potential risks
Taking a few moments for a careful inspection at each step stops small issues from growing into big setbacks. This proactive approach keeps your work area safe and helps you avoid delays and extra expenses later on.
Assessing and Prioritizing Risks in DIY Project Plans

Every DIY project comes with its own set of risks. You can score each risk by looking at two factors: how likely it is to happen and how bad the outcome could be. Rate each risk as low, medium, or high for chance, and as minor, moderate, or critical for impact. This simple scoring system helps you quickly see which hazards need immediate attention.
Draw a 3×3 grid where one axis shows the chance and the other shows the impact. As you fill in the grid, risks that fall in the high chance and high impact cell stand out. For example, if unstable scaffolding might cause a serious injury, it will fall in this top-right cell and signal that you need to act fast.
Keep a risk register to track all your hazards. In this register, include columns for the hazard description, its chance and impact scores, the person who will manage the risk, and its current status. This organized table makes it easy to update your information when new risks come up. One example might be listing a risk like "tool misuse." You can note its rating and assign yourself to monitor it closely.
Focus on the highest-ranked hazards first. Addressing risks with both high chance and high impact helps keep you safe and ensures your project stays on time and within budget.
Developing Mitigation Plans for DIY Project Risks
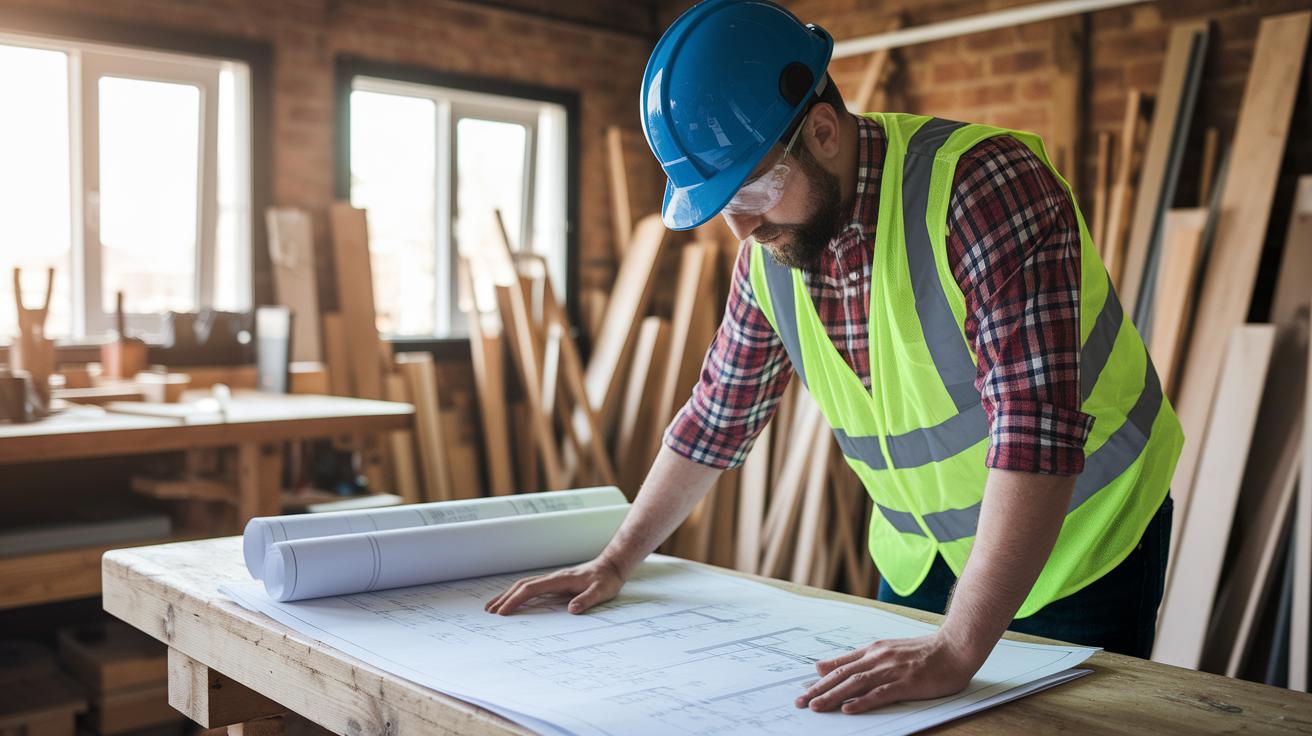
Mitigation planning is a key step to keep your DIY project safe and on track. Take some time early on to list possible risks and decide how to manage them. This simple planning helps you avoid accidents and expensive delays. For instance, if you spot a design flaw, add extra supports or change your layout before it becomes a problem.
There are several ways to lower risks in DIY projects. Use physical measures like guardrails and proper supports to secure dangerous spots. Follow clear step-by-step instructions and set regular safety checks to keep everything in order. Always wear personal protective gear such as gloves, masks, or safety goggles to ward off minor injuries or exposure to harmful materials.
Set aside extra funds, usually 5-10% of your total budget, to cover unexpected fixes. Assign each task to a specific person or take charge yourself with clear deadlines. Tracking these responsibilities helps you solve issues quickly and keeps your project on schedule and within budget.
Monitoring and Adjusting Your DIY Risk Management Plan

Keep your risk plan up to date so your project stays safe. Review your risk list every week to spot any changes in how likely a hazard is or how serious its impact might be. Use tools like checkboxes or diary entries to mark your progress and log any new issues. This routine check makes your plan a living tool that mirrors real conditions.
Start a control log to record each action you take and the results that follow. This record helps you see which steps work and where you might need to change your approach. By writing down each update clearly, you can quickly find new hazards and adjust your plan as needed.
Stay in touch with everyone involved. Share regular alerts and new findings so that all parts of your plan remain flexible and effective as your project moves forward.
Essential Tools and Templates for DIY Project Risk Management

Ready-made templates can make it easier to track risks on your DIY projects. Simple spreadsheets or free template files work well as risk registers. A basic risk plan template includes spaces for hazard details, risk scores, steps to reduce risks, risk owner names, and status updates. You can download one and add your project details quickly. This way, you eliminate guesswork and have a clear risk plan in one document.
RAID logs offer another smart way to manage potential hazards. They break your project info into Risks, Assumptions, Issues, and Dependencies. This helps you record not only the risks but also the ideas behind your choices and any related tasks. Using a RAID log for home projects makes it clear who handles each risk.
Digital checklists also play a big part. They help you check off each step of your risk plan and keep it up to date. Checklists catch any missed steps and keep your project on track.
Case Study: Risk Management in a DIY Home Renovation

For a bathroom makeover that took 3 weeks and cost around $15,000, the homeowner knew that careful planning was key. Right from the start, two big hazards were seen: water leaks and electrical problems. Spotting these issues early helped keep surprises and extra costs at bay.
The risk from water damage was high. To handle it, the homeowner rented moisture meters to catch leaks early and sealed the pipes to block water. Electrical concerns were managed by doing thorough checks and powering down during wiring upgrades. They kept a simple risk log that listed hazards, risk scores, and who handled each task. They even set aside about 10% ($1,500) for tile fixes and unexpected issues. Weekly reviews of the risk log ensured that any changes were quickly addressed.
In the end, the renovation stayed on track and within budget. This careful risk management not only helped avoid delays and extra costs but also provided a clear plan for handling any issues that came up.
Final Words
In the action, you saw how to identify hazards, assess risks, and plan solid responses for your project. We broke down the process into clear steps like hazard identification, risk assessment, mitigation planning, monitoring, and contingency planning. Using DIY project planning risk management helps you keep track of potential issues and adjust as needed throughout your work. With clear plans and ongoing reviews, you can stay safe, on budget, and enjoy a smoother DIY project experience.
FAQ
What DIY and construction risk management plan templates are available?
The DIY and construction risk management plan templates include formats in Word, Excel, and PDF. They give you a clear structure to identify hazards, assign actions, and track progress in your project.
How does a risk management plan work in project management?
A risk management plan in project management lays out steps to identify and assess potential risks. It then defines actions and monitoring measures to keep your project safe and on track.
How do you create a risk management plan for a project?
Creating a risk management plan involves identifying hazards, assessing their impact and likelihood, and then planning how to mitigate them. This plan keeps you ready to act and adjust as needed throughout your project.
What are the 5 P’s of risk management?
The 5 P’s of risk management refer to purpose, planning, process, people, and performance. They provide a framework to set objectives, prepare responses, and measure how effectively you manage risks.
What are the 7 R’s of risk management?
The 7 R’s of risk management include recognize, record, report, review, respond, resolve, and reassess. This series guides you step-by-step to handle risks methodically through all stages of a project.
What are the 4 principles of ORM?
The 4 principles of Operational Risk Management (ORM) are risk assessment, risk control, risk financing, and risk monitoring. They offer a clear approach for managing risks in everyday project tasks.