
Have you ever wondered why you should spend over $1,000 on a projector screen when you can build one yourself? DIY screens let you set up your own home theater at a much lower cost.
In this guide, you will learn how to design a screen that fits your room perfectly and shows clear, bright images. We will walk you through each step, from choosing the right materials to creating the ideal surface for your projector.
With a custom screen, you can enjoy a big-screen experience without breaking the bank.
Complete Step-by-Step DIY Projector Screen Build

Building your own projector screen lets you pick the size and style you need while saving big on costs. Commercial screens can cost over $1,000, but a DIY screen fits your room and your budget. This guide will walk you through each step.
-
Evaluate Location and Lighting
Decide if your screen will be used indoors or outdoors. Check the room lighting and seating distance. A good rule is to have the screen width be 1.5 to 2.5 times the distance between the screen and where you sit. For bright images, use a projector with at least 3,500 lumens. -
Measure and Calculate Screen Dimensions
Measure the wall or area where the screen will go. Work out the best size for your space, keeping a common 16:9 aspect ratio in mind. For example, if your screen is 100 inches wide, the projector should be placed between 150 and 250 inches away. -
Build or Adapt the Frame
Choose sturdy materials like PVC pipe, wood, or 3/4-inch EMT conduit (a strong metal tube). For a screen about 84 inches wide, around 5 pieces of EMT conduit usually work well. Cut each piece to the needed length, then join them with elbows, screws, or brackets. Make sure the frame is square so your screen lays flat. -
Attach the Projection Surface
Pick a fabric that suits your needs. You can use a high-thread-count white sheet for a classic look, blackout cloth to control light, or even a painted wall. Secure your fabric to the frame with clips, hooks, or staples. The goal is to keep the surface smooth and free of wrinkles. -
Mount and Tension the Screen
Hang the frame using wall or ceiling brackets. You might also try a retractable roller blind setup if you want versatility. Tension the fabric well so that it stays smooth and does not sag.
Quick Tip: After you finish, project an image onto the screen. Run your hand over the surface to check for wrinkles or sags. Adjust the tension and fasteners as needed to get a clear and sharp image.
Selecting Materials, Tools, and Budget for Your DIY Projector Screen
Materials:
- 3/4" EMT conduit (about 5 pieces for an 84-inch screen; costs around $20–$50 for the frame)
- PVC or timber (a sturdy alternative for the frame)
- Blackout cloth (helps you control light; price range: $30–$70)
- High-thread-count white sheet (creates a smooth, clean surface)
- Staples or grommets (to secure the fabric neatly)
Essential Tools:
- Tape measure (for accurate measurements)
- Level (to keep your screen straight)
- Power drill (to assemble the frame securely)
- Saw (to cut materials to the right size)
- Clamps (to hold pieces in place during assembly)
Budget Tips:
You can save money by repurposing old materials or buying fabric in bulk at discount prices. If you have extra wood or PVC from another project, consider reusing these supplies. Also, check clearance deals on fabric to help stretch your budget.
Safety Note:
Always wear safety glasses and gloves when working with power tools and cutting materials. Choose materials rated for indoor or outdoor use based on your setup so that your home theater remains safe, durable, and ready for movie nights.
Crafting the Support Frame: PVC, Timber, and Conduit Options
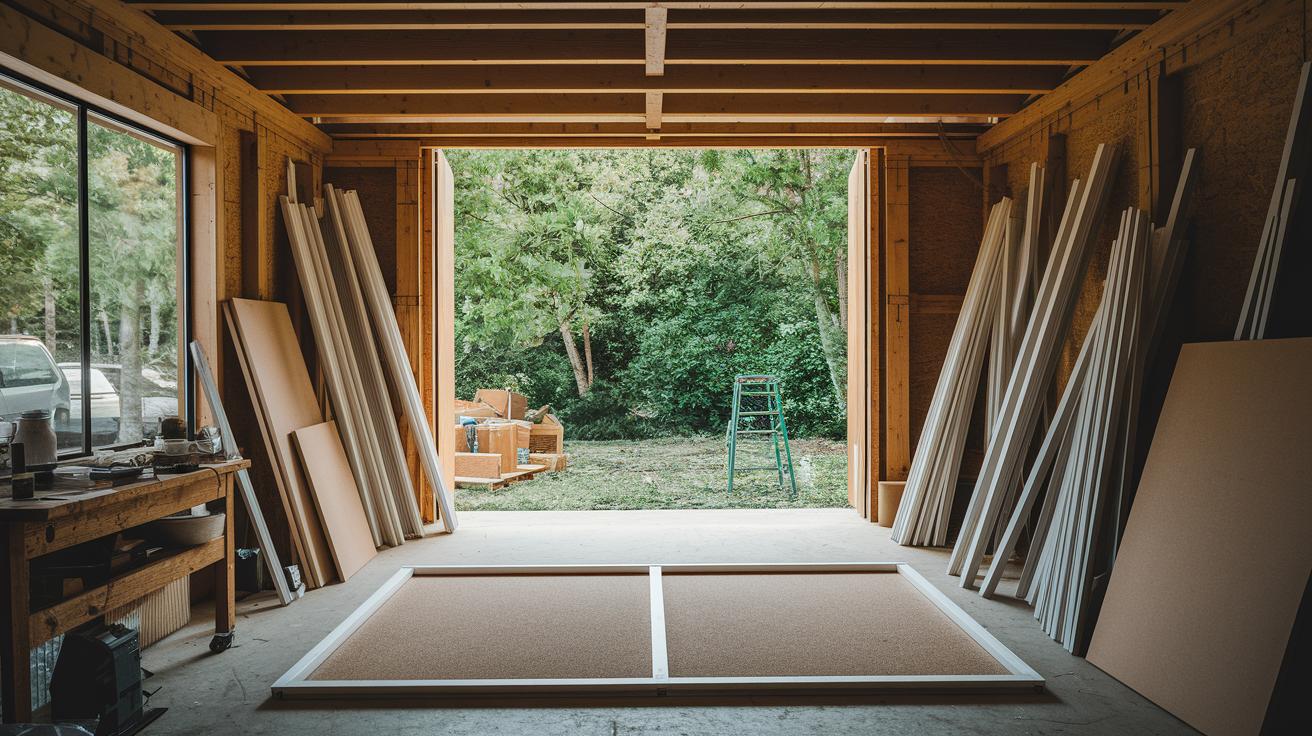
Here are the pros and cons for each option:
- PVC is light and stands up well to the weather, though you must pick connectors with care.
- Timber gives a strong, steady base with little warping, making it great for indoor screens, but it is heavier outdoors.
- EMT conduit is very sturdy for tougher jobs. For an 84-inch screen, you normally need about 5 pieces.
Follow these steps to build your frame:
-
Measure the screen diagonal. For an 84-inch screen, count on about 5 EMT pieces. If your screen is 100-inch or 120-inch, change the number and length of pieces to suit.
-
Mark and cut the frame pieces to the correct lengths using a saw.
-
Connect the frame pieces:
- For PVC or timber, use elbows or screws.
- For EMT, use threaded connectors or specific conduit elbows.
-
Assemble the frame by lining up the pieces carefully.
-
Square the frame by measuring the diagonals from one corner to the opposite corner. Both measurements should match. If they do not match, adjust the joints and tighten the connectors again until they are even. For example, with an 84-inch frame, check both diagonals and adjust until they are the same.
-
Check all joints carefully for any slack that might cause fabric sag. Use a level to make sure everything lines up perfectly both horizontally and vertically.
| Screen Size | Approx. EMT Pieces (if using EMT) |
|---|---|
| 84-inch | 5 pieces |
| 100-inch | Adjust length, pieces vary |
| 120-inch | Adjust length, pieces vary |
Choosing and Preparing the Screen Fabric for Optimal Image Quality
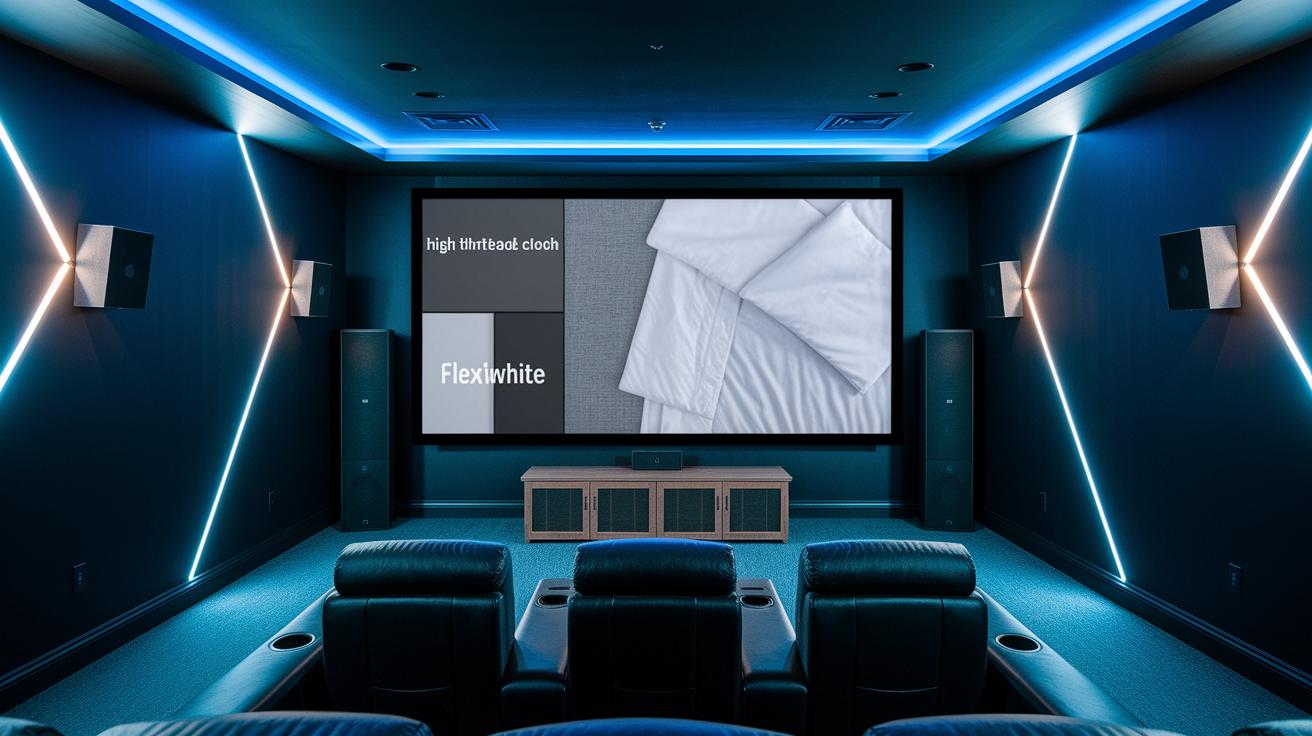
Picking the right fabric is a must. It affects how clear and sharp your image will be. A matte, non-reflective fabric like blackout cloth keeps harsh light away. This makes it perfect for home theaters. In dim rooms, high-gain fabric can boost brightness. A high-thread-count white sheet gives you a smooth surface for fine details. Some people choose FlexiWhite for a balanced look with bright projectors. Each type has a different cost, brightness boost, and best setting. Think about your room and budget before you decide.
| Fabric Type | Cost | Gain | Best Use |
|---|---|---|---|
| Blackout Cloth | $30–$70 | High | Maximized light control |
| FlexiWhite | $40–$80 | Medium | Bright projectors |
| High-Gain Fabric | $50–$90 | Enhanced | Dim room setups |
| Foam Board | $10–$30 | Neutral | Backing support |
| Shower Curtain | Budget | Moderate | Temporary setups |
Before you install the fabric, wash it to clear out any residues. Iron it to remove wrinkles. Then, add grommets or use staples along the edges to keep the fabric tight. This makes sure your projected image stays clear and even.
Mounting and Installation Techniques for Indoor and Outdoor Screens
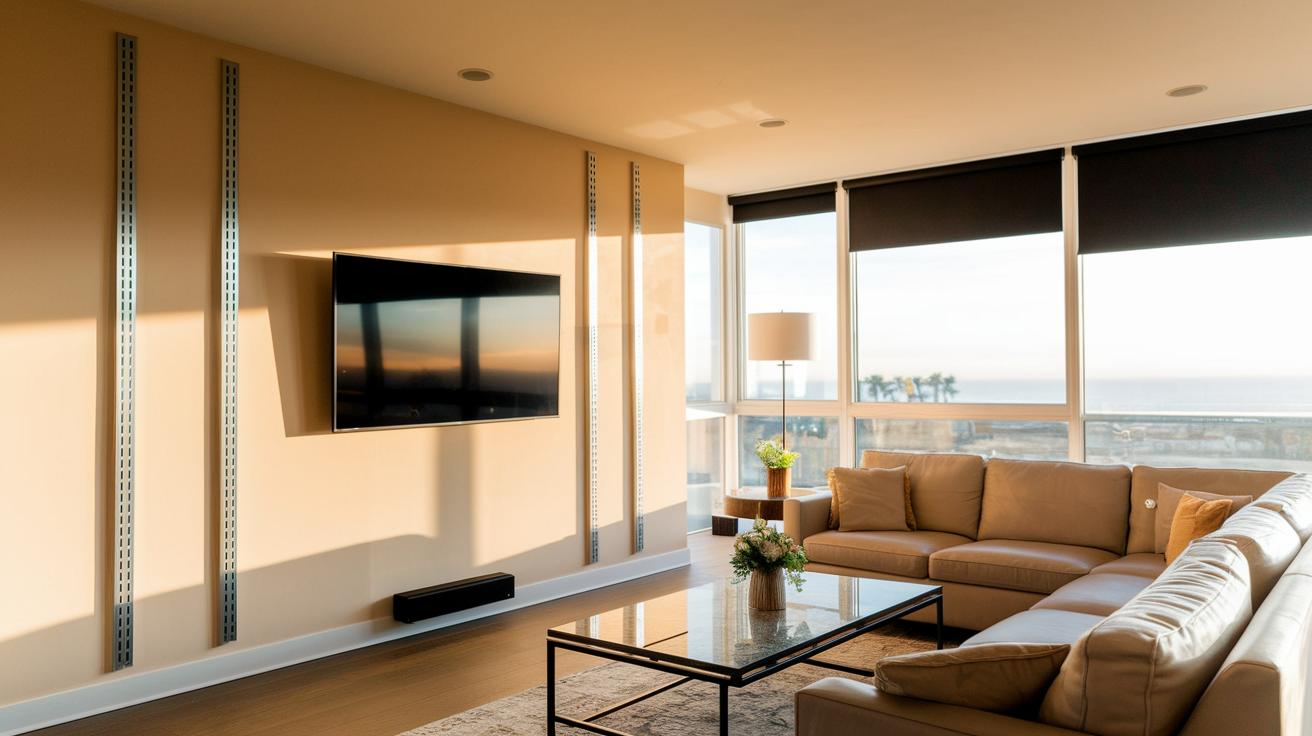
For indoor screens, you can use wall brackets, ceiling brackets, hooks, or tension rods. These tools keep your screen straight and flush with the wall. You can also turn a roller blind into a pull-down screen by adding blackout fabric. This is a smart way to save space in rooms that serve more than one purpose.
For outdoor screens, try using a freestanding frame. You can support it with stakes, sandbags, or a tripod stand. These supports hold the screen steady against wind and rain. Adding extra weight or adjusting the tension helps keep it from sagging on breezy nights.
Here are some tips to make sure your screen stays secure:
- Use strong brackets or hooks for indoor setups. Always attach them to studs or solid parts of the wall.
- When converting a roller blind, secure the fabric with reinforced clips to keep it smooth.
- For outdoor screens, fasten the base with four stakes or sandbags, one at each corner.
- Check and tighten your fasteners regularly to keep the screen stable.
These mounting methods give you a flexible way to set up your home theater or outdoor screen. Enjoy clear images and a reliable surface for your projections.
Sizing, Placement, and Projection Optimization
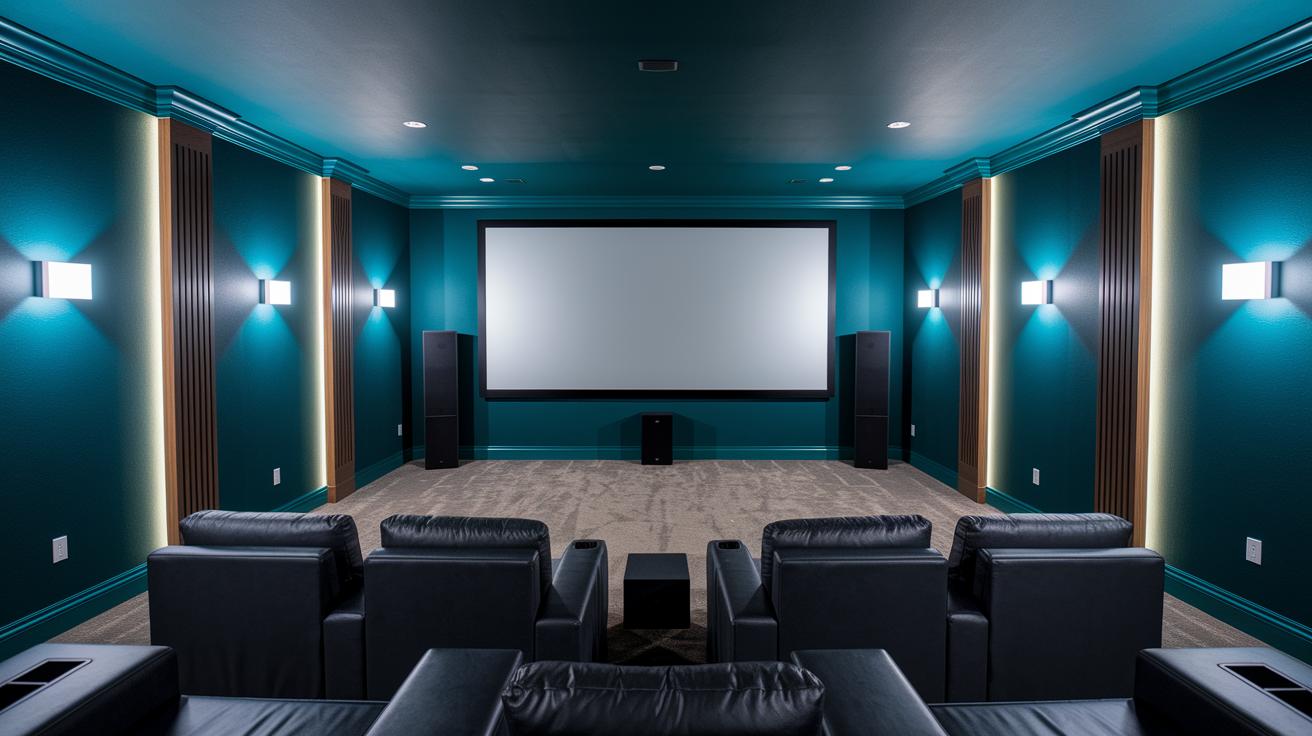
Start by choosing your screen's aspect ratio. Most home theater setups use 16:9 for widescreen films, while older TV shows look better in 4:3. Your choice changes the screen measurements and the viewing experience.
For example, measure your wall width. Say your wall is 120 inches wide. With a 16:9 ratio, the width helps set all the screen dimensions. Next, use the formula: distance = screen width × throw ratio. If your projector has a throw ratio of 1.5, set it about 180 inches away (120 inches × 1.5). Picture a simple drawing: a long horizontal line for your wall, a centered rectangle for your screen, and a dashed line from the projector lens to the screen center.
Remember, ambient light is key. Choose a spot with minimal stray light or use blackout curtains to manage brightness. Position the screen so its bottom is at eye level when you sit. This ensures comfort and clear viewing. With careful planning, your DIY projector screen will show a clear, balanced image that brings your home theater experience to life.
Budget Breakdown and Cost-Saving Tips for DIY Projector Screen
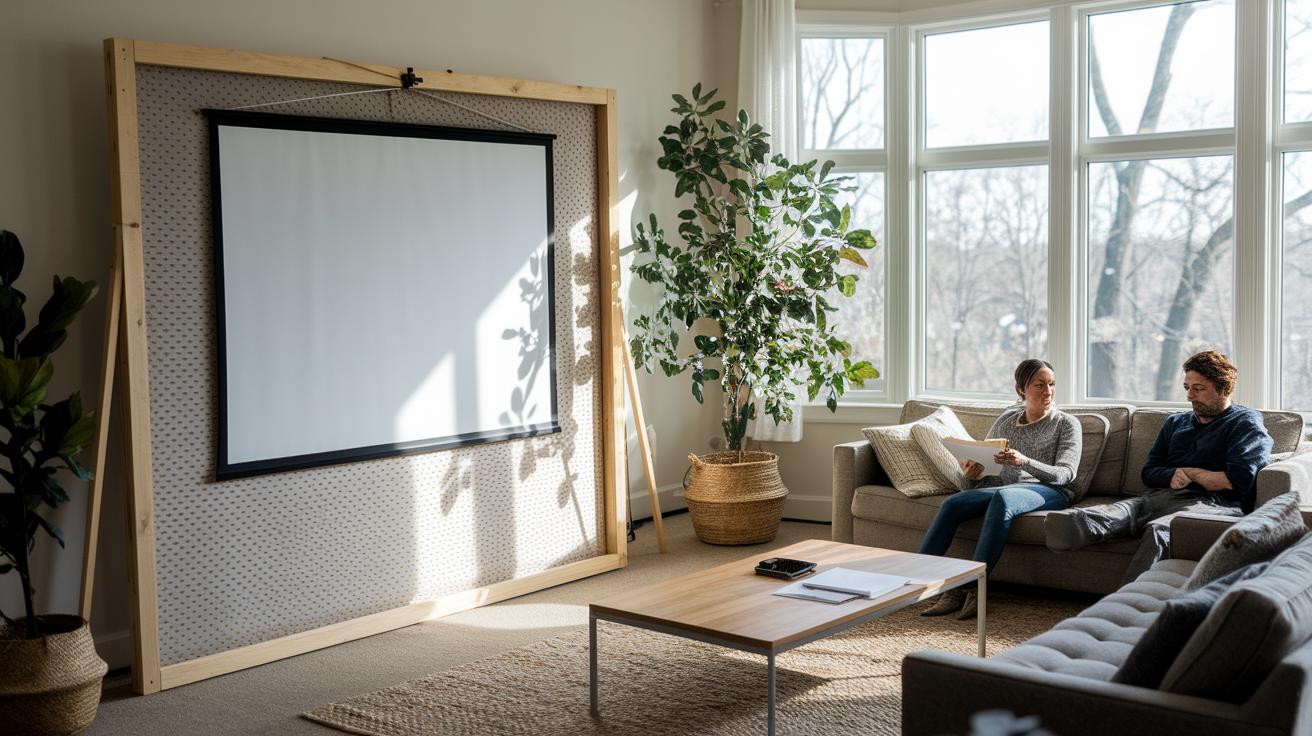
Building your own projector screen is a fun, budget-friendly project. You can expect to spend about $30 on a wood frame, $40 on fabric, and $20 on hardware. That brings your total to around $90. In contrast, buying a screen can set you back anywhere from $200 to over $1,000.
Here are some practical tips to keep your costs low:
- Use items you already have. Old or unused curtains can work well as screen fabric.
- Look for leftover fabric or offcuts at local stores to cut material expenses.
- Check community swap groups or secondhand shops for PVC offcuts or foam board, which sometimes cost under $20.
- Reuse any extra materials from past projects.
Keep a small contingency fund handy. Unexpected expenses like extra hardware or a short-term tool rental might raise your costs. With careful planning and these cost-saving ideas, you can create a high-quality home film display without overspending.
Troubleshooting, Maintenance, and Upgrade Ideas for Your DIY Screen
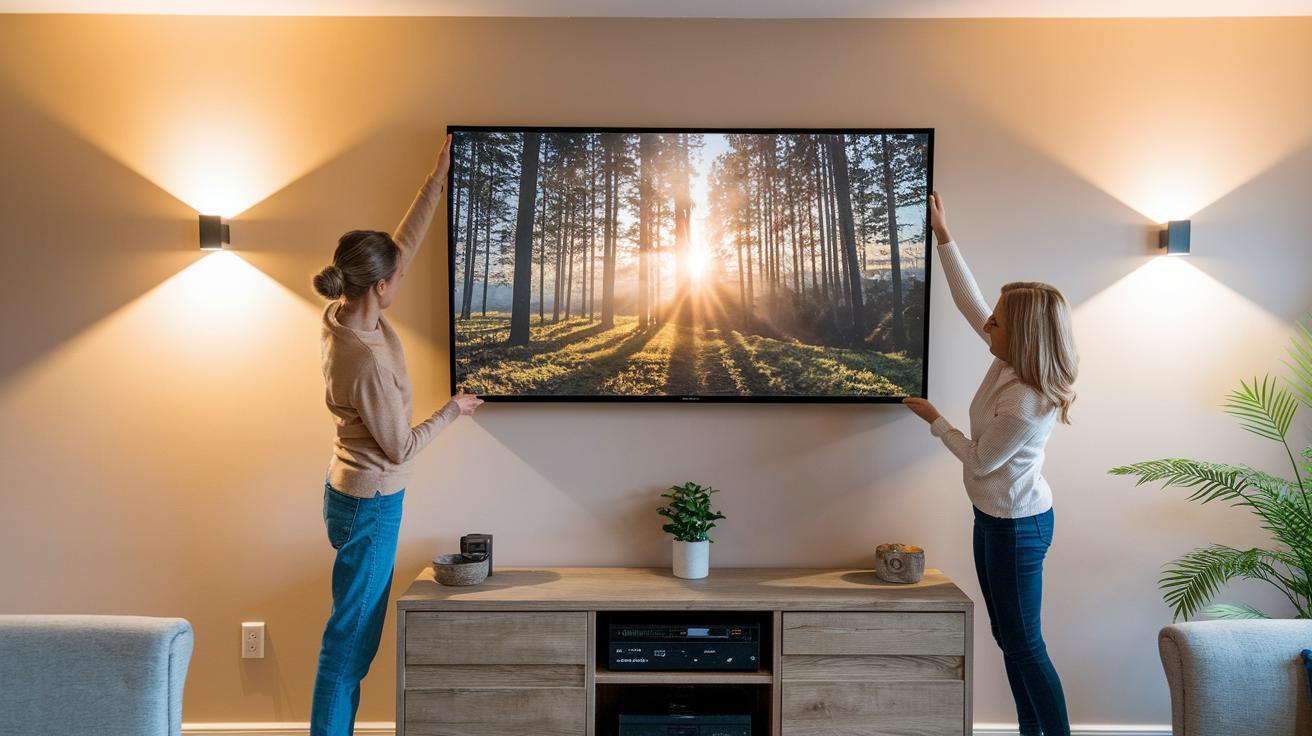
If your screen shows wrinkles or sags, try these steps. Re-tension the fabric and adjust the fasteners to smooth out any wrinkles. Tighten connection points and check the backing padding if the screen sags. If the frame is not straight, verify its squareness and replace any warped parts. To reduce light washout, apply a matte finish on the wall around the screen.
Maintenance Checklist:
- Check all fasteners regularly.
- Clean the fabric gently to remove dust and marks.
- Inspect mounting brackets and re-secure any loose parts.
Creative Upgrades:
- Add LED backlighting strips around the screen for a soft glow that enhances your viewing space. For example, attach a strip along the top edge to gently light up the area.
- Install DIY acoustic panels around the screen to boost sound quality and cut down on echo. Use foam or low-cost foam board to improve both image and audio performance.
Final Words
In the action, we covered everything from evaluating your space to troubleshooting common issues. You learned to select affordable materials, build a sturdy frame, choose the right fabric, and optimize projection settings. We broke down each step, explained precise measurements, and shared cost-saving tips to create a custom, reliable diy projector screen. Enjoy the process, take your time, and see how small adjustments can lead to a lasting display that brightens your home cinema experience. Keep building with confidence and a creative spirit.
FAQ
What is good material for a DIY projector screen, and what fabric is best for it?
The best DIY projector screen material is a high thread count white fabric or blackout cloth. These choices offer clear images and reduced hotspots, adapting well to different lighting conditions.
How do I build a DIY projector screen frame using PVC?
A DIY projector screen frame can be made by cutting PVC pipes to size, joining them with elbow fittings, and securing the structure. This method is light, affordable, and simple to build.
How can I create a DIY projector screen that rolls up?
A roll-up DIY projector screen uses a retractable mechanism with tensioned blackout fabric. This design lets you hide or reveal the screen easily, offering a flexible home cinema experience.
Can I make an outdoor DIY projector screen?
Yes, you can build an outdoor DIY projector screen using weather-resistant materials such as PVC or treated wood paired with blackout cloth, and secure it with stakes or weighted supports for stability.
How does a DIY projector screen work with a phone?
Using a DIY projector screen with a phone involves streaming or mirroring content from your mobile device through a projector. Simply connect your phone, and enjoy portable, on-the-go entertainment.
Are there YouTube guides that show how to build a DIY projector screen?
Yes, many YouTube tutorials provide step-by-step visual instructions on building DIY projector screens. These videos cover material choices, frame assembly, and installation tips for easy follow-along projects.
What can I use as a screen for a projector?
Common choices include a high-quality white bedsheet, blackout cloth, or a freshly painted wall. These options offer a smooth, bright surface when properly mounted and tensioned.
What is the cheapest way to make a projector screen?
The most budget-friendly method uses a high thread count white bedsheet or inexpensive blackout cloth on a simple wooden frame. This DIY option is much cheaper than commercial screens yet works well for home use.