

Ever wonder if a small DIY project could really make a difference? Building your own stair safety gate is a smart and caring way to protect your family. You can use simple wood to create a barrier that stops falls before they happen. In this easy guide, we share clear steps and handy tips to help you build a strong gate that fits perfectly above your stairs. Let’s combine good craftsmanship and care to make your home a safer place for everyone.
How to Build a DIY Safety Gate for Stairs: Complete Step-by-Step Guide
-
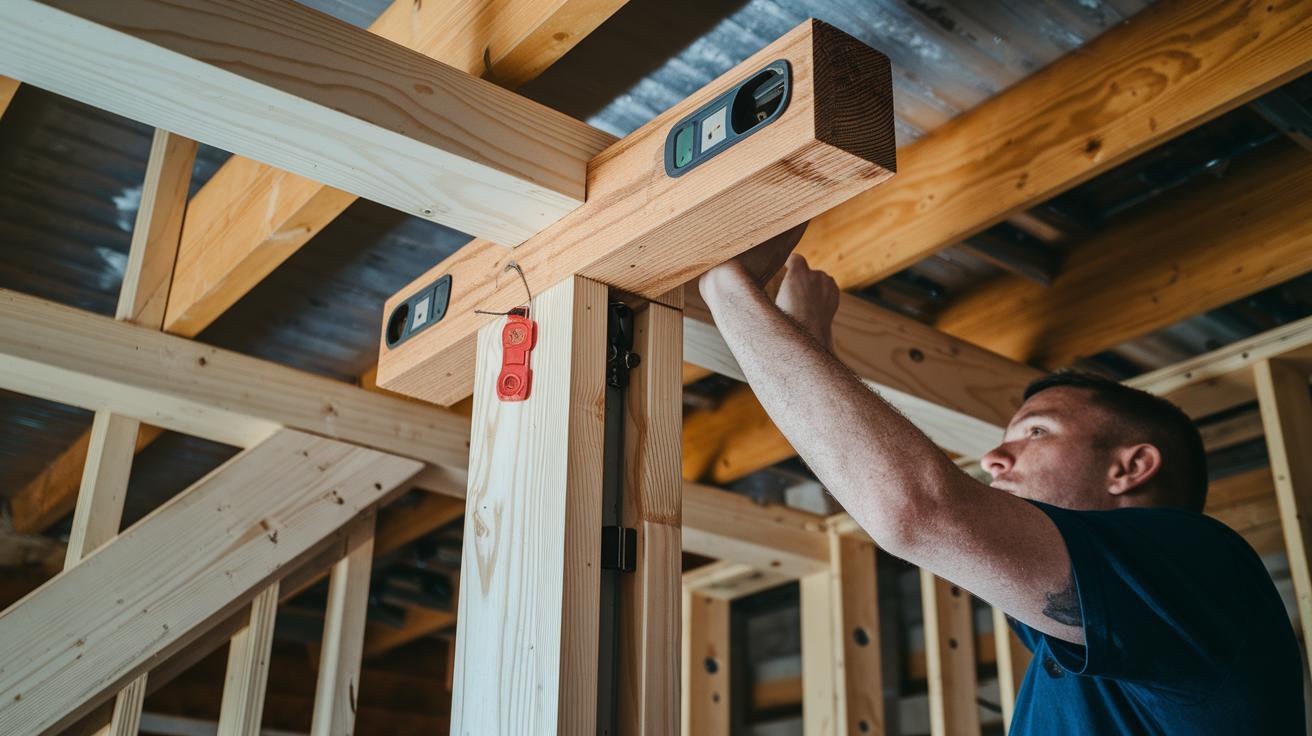
Start by making a mounting block with a Southern Yellow Pine 4×4 post and a Poplar 1×4 board. Cut the board into a square that fits neatly above your stairs. Use a level to check that the block hangs straight against the wall. Remember, measure twice and cut once, a solid block is key to a safe gate.
-
Firmly attach the mounting block by driving 2 to 3 heavy structural screws into the wall studs. If you choose to use only two screws, be sure they hit the solid frame. This step builds a strong foundation that can handle the gate's weight and movement.
-
Use a miter saw with a stop block to cut your Poplar 1×2 slats to the same length. This ensures every slat is uniform. Clamp the slats and uprights together, apply wood glue at each joint, and secure them with screws. Check each connection with a carpenter's square to keep everything perfectly straight.
-
To stop the hinge screws from pulling through, add scrap wood pieces behind any gaps in the slats where the hinges will be mounted. This extra filler gives more support to the hardware.
-
Mount outdoor-rated auto-close hinges on both the gate and the mounting block. Adjust the hinge position if the wall isn't perfectly even to ensure the gate hangs level. Then attach the latch block, latch, and gate stop on the opposite side to minimize gaps and create a tight closure.
-
Finally, sand all edges, slats, and corners with an orbital sander until they are smooth. Apply a protective coat of paint or stain. Test the auto-close feature and make sure the gate locks securely before calling the project done.
Essential Materials and Tools for a Homemade Stairs Barrier Project

Here is a list of the parts and tools you'll need to build your homemade stairs barrier. We also share a few tips to keep your work area safe and your project running smoothly.
Materials Overview:
- Southern Yellow Pine 4×4 post for a strong support.
- Poplar 1×4 board for the main structure.
- Poplar 1×2 slats to form the gate.
- Fasteners such as 3-4 structural screws per block, wood glue, and some filler scraps to secure joints.
- Hardware including auto-close hinges, a gate latch, and a gate stop to keep everything in place.
Tools Overview:
- A miter saw with a stop block to make neat, consistent cuts.
- A power drill with a driver bit to drive in screws quickly.
- An orbital sander to smooth the edges.
- A measuring tape, a level, and a pencil for checking and marking measurements.
- Optionally, a jointer and a planer for extra even boards.
Workspace and Safety Tips:
Keep your workspace clean, well-lit, and organized. Always wear safety glasses and use proper safety measures when working with power tools. Double-check your measurements before cutting. Mark your cut lines clearly to avoid mistakes.
| Category | Items |
|---|---|
| Materials | Southern Yellow Pine 4×4 post, Poplar 1×4 board, Poplar 1×2 slats, 3-4 screws per block, wood glue, filler scraps, auto-close hinges, gate latch, gate stop |
| Tools | Miter saw with stop block, power drill with driver bit, orbital sander, measuring tape, level, pencil, optional jointer and planer |
| Safety & Efficiency | Wear safety glasses, work in a secure area, verify measurements before cutting |
Accurate Measuring and Planning Your Stairs Childproofing Project

Project Snapshot: 1-2 hours • Basic DIY skills • Tools: measuring tape, level, pencil • Safety: Watch your step and secure your work
Start by measuring your stair opening carefully. Measure the width and height at several points. Use your tape measure and write down each number. Note any curves or odd angles that could change the gate fit.
Next, find the wall studs on each side where you want to mount the block. Mark these spots with a pencil. Then, use a level to make sure the block will be straight. A flat surface is very important for the gate to work well.
Sketch your gate layout on paper. Indicate which side will have the hinge and which side will have the latch. Also, note the 2-inch clearance needed for the door to open. For example, you might write, "Hinge on left; latch on right; allow 2 inches clearance."
Before cutting any material, check all your measurements again. Taking time now will save you trouble later. This careful planning ensures your custom step guard fits securely and keeps your stairs safe.
Constructing the Gate Frame: Crafted Step Guard Tutorial

When your material is uneven or joints are off, try these simple fixes to build a strong gate frame.
-
Troubleshooting misaligned joints
• If the frame is not square, remove the clamps and add another layer of wood glue. Check with a carpenter's square (a tool to measure right angles) and clamp again until it lines up correctly. -
Alternative joinery for material variations
• If small gaps appear in Poplar wood, use biscuit joiners (tools that cut slots for wooden biscuits) or dowels (small wooden sticks) to reinforce the joints. This goes along with your usual gluing and screwing.
• Drill small pilot holes before inserting screws, especially in softer wood, to keep the wood from splitting. -
Handling filler and hardware support
• Use filler pieces behind the slat spaces and make sure the filler is flush with the surface. Even a 1/4-inch block can help stop screws from pulling through.
• Check the hardware before fully tightening the screws. If a screw feels too tight, back it off a bit and then tighten slowly while checking with the carpenter's square.
| Tip | Example |
|---|---|
| Re-clamping for accuracy | If the joint is off, loosen and re-clamp until square. |
| Alternate reinforcement | Add a biscuit or dowel where wood gaps appear. |
Installing Mounting Blocks, Hinges, and Secure Latch Mechanism
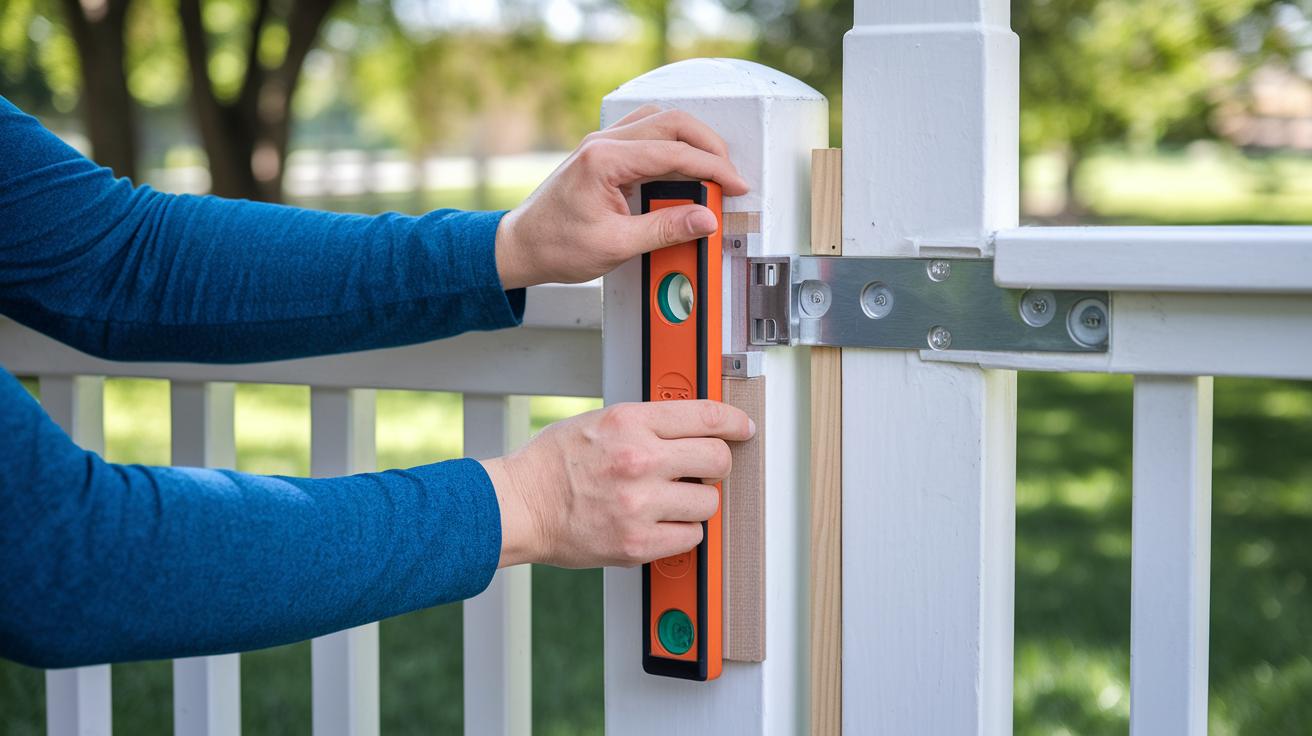
See the earlier sections for full steps on attaching the mounting block and installing the hinges and latch.
For small adjustments:
- If the wall is not straight, slide a shim behind the mounting block. Use a level (a tool that checks if something is perfectly vertical) to see when it is aligned.
- Open the gate slowly to test the auto-close hinges. If the gate hesitates or sticks, adjust the hinge position.
- Double-check that every screw is tight and the latch block sits flush against the wall. If the gate still does not line up correctly, try moving the mounting block just a bit.
- When working on uneven surfaces, you might need extra shims or a different screw pattern. After any change, always make sure all parts are level and secure.
Sanding, Finishing, and Final Safety Checks for Your Durable Wooden Child Guard
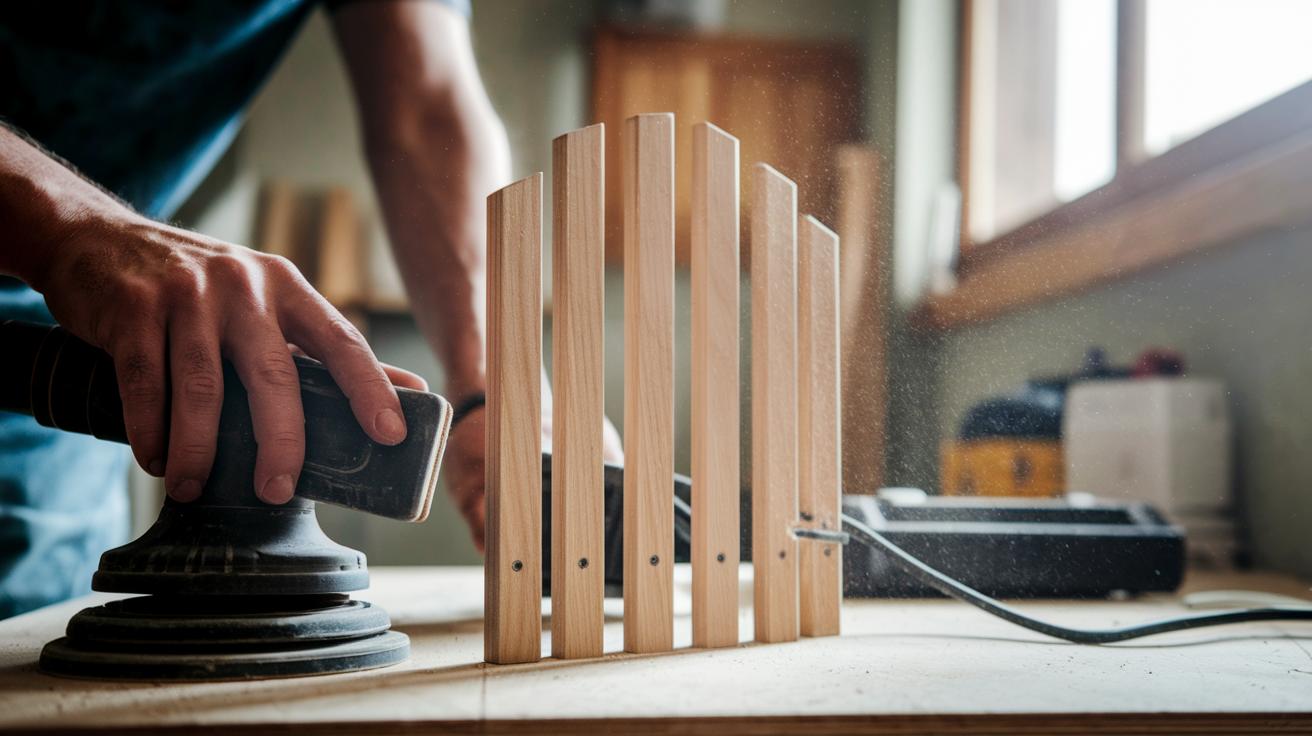
Begin by sanding all edges, slats, and corners with an orbital sander. Use fine-grit sandpaper and work slowly so that no rough spots remain. Sand each surface in even strokes until your hand feels only smoothness. When done, wipe down the entire gate to remove any dust.
Next, apply a child-safe primer or sealer. Then add a coat of paint or a water-based stain to protect the wood from moisture and make cleaning easier. Cover every surface evenly. Work in thin, consistent layers and let each coat dry completely for a strong, lasting finish.
Finally, do a thorough safety check. Look for any screws that stick out and make sure all screw heads sit flush with the wood. Open and close the gate to ensure it moves smoothly without snagging. Check that the latch fits securely without any gaps. If you notice a loose hinge or a misaligned latch, fix it right away. This careful process will give you a gate that not only looks great but also works safely every day.
Maintenance, Troubleshooting, and Reliable Stairs Defense Methods
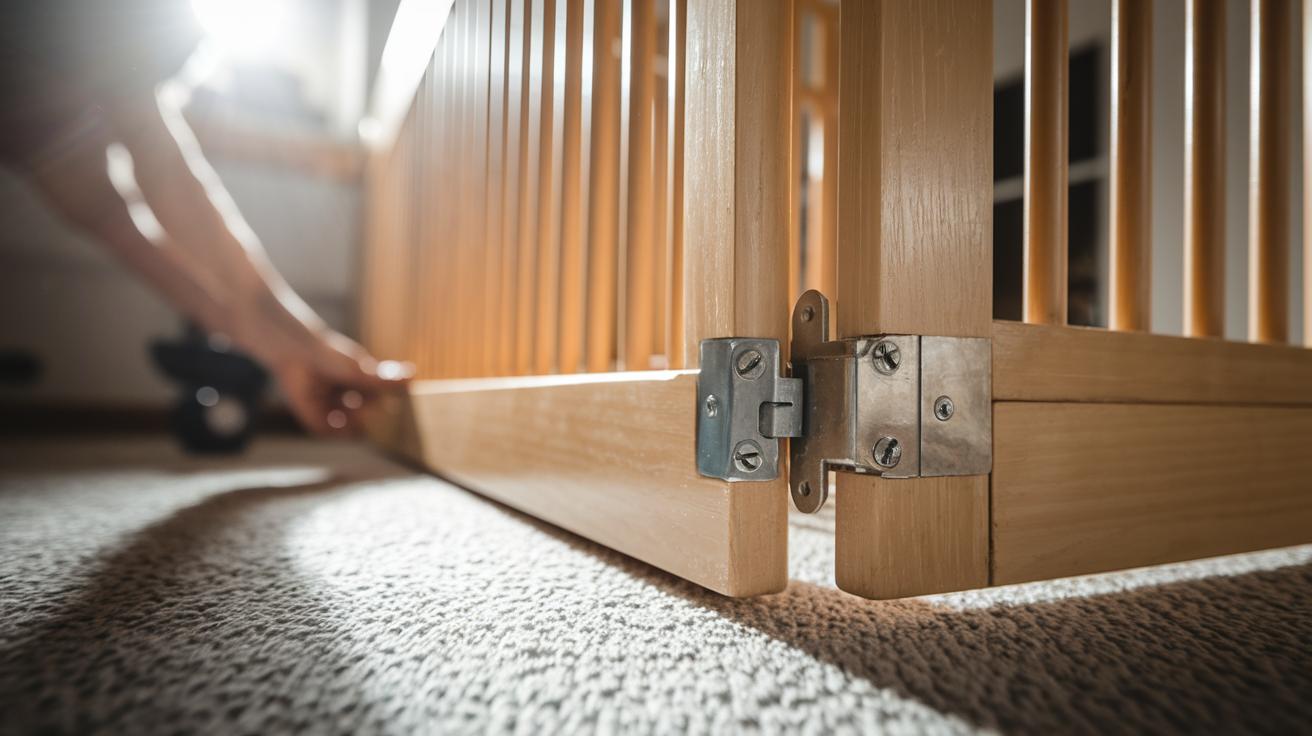
Keep your safety gate working well by checking it often. Tighten the screws on the mounting blocks and hinges after heavy use. Over time, normal wear can make the screws loose. Look at each screw and make sure it is tight.
Every year, add a few drops of oil to the hinges. If the gate squeaks or sticks when it closes, a little oil will help it move smoothly again.
Each season, check the latch to see if it fits correctly. If it doesn’t close properly or you notice gaps, adjust or replace the latch right away. Fixing small issues now can stop bigger problems later.
- Tighten screws after heavy use.
- Oil hinges once a year.
- Check and adjust the latch every season.
Regular checks keep your gate a strong barrier against falls and a reliable way to protect your stairs.
Final Words
In the action of building your project, every step counted. You measured, cut, and assembled each part with care. Mounting the block, installing hinges, and securing the latch ensured your gate is safe and true.
Following these clear steps made it simple to create a sturdy diy safety gate for stairs. A little sanding and finishing went a long way in boosting both durability and looks. Enjoy your safe and stylish upgrade, your home is in good hands.