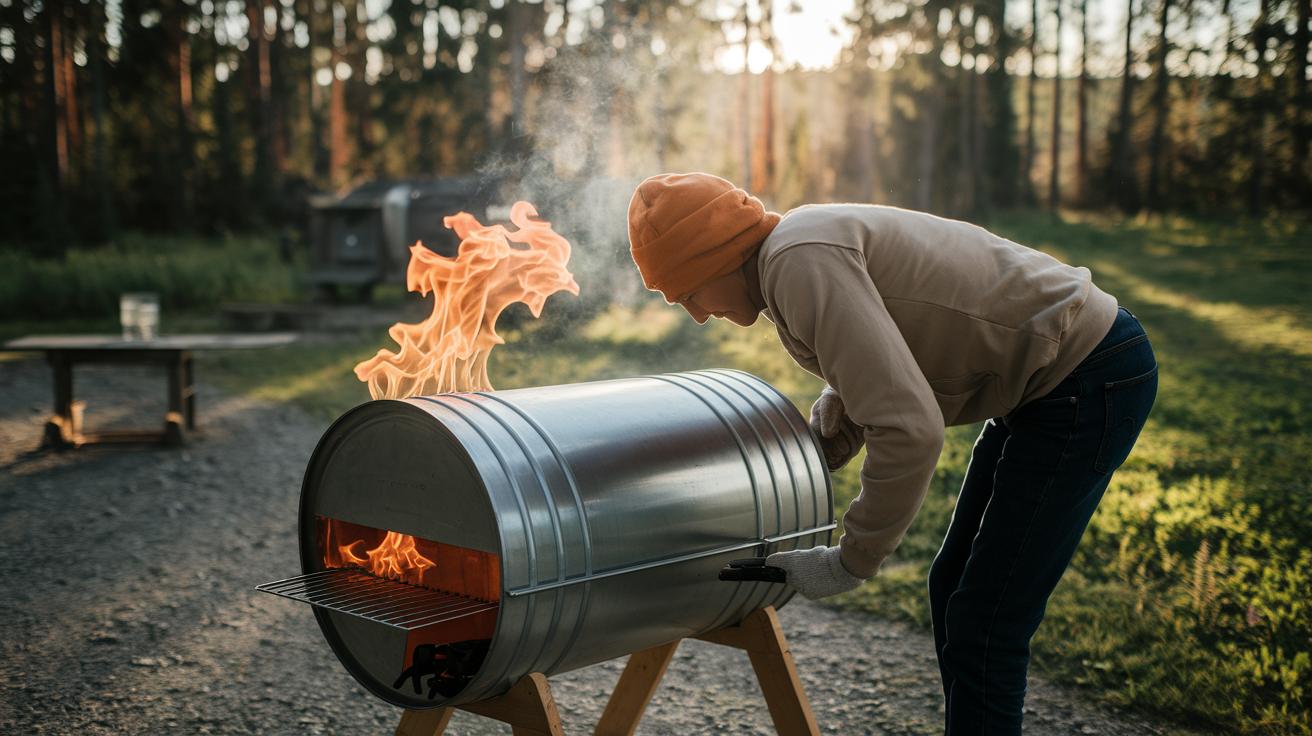

Have you ever thought about making your own backyard smoker? Building one can be a fun way to add a gourmet touch to your cookouts while saving some cash. With smart design choices like a custom door, chimney, and hot plate, you can turn simple wood and nails into a tool for tasty meals.
Today, we break down a step-by-step plan that shows you how to build a DIY smoker. This handy project invites you to enjoy outdoor cooking and create moments you won't forget with friends and family.
Blueprint for Your DIY Smoker Build
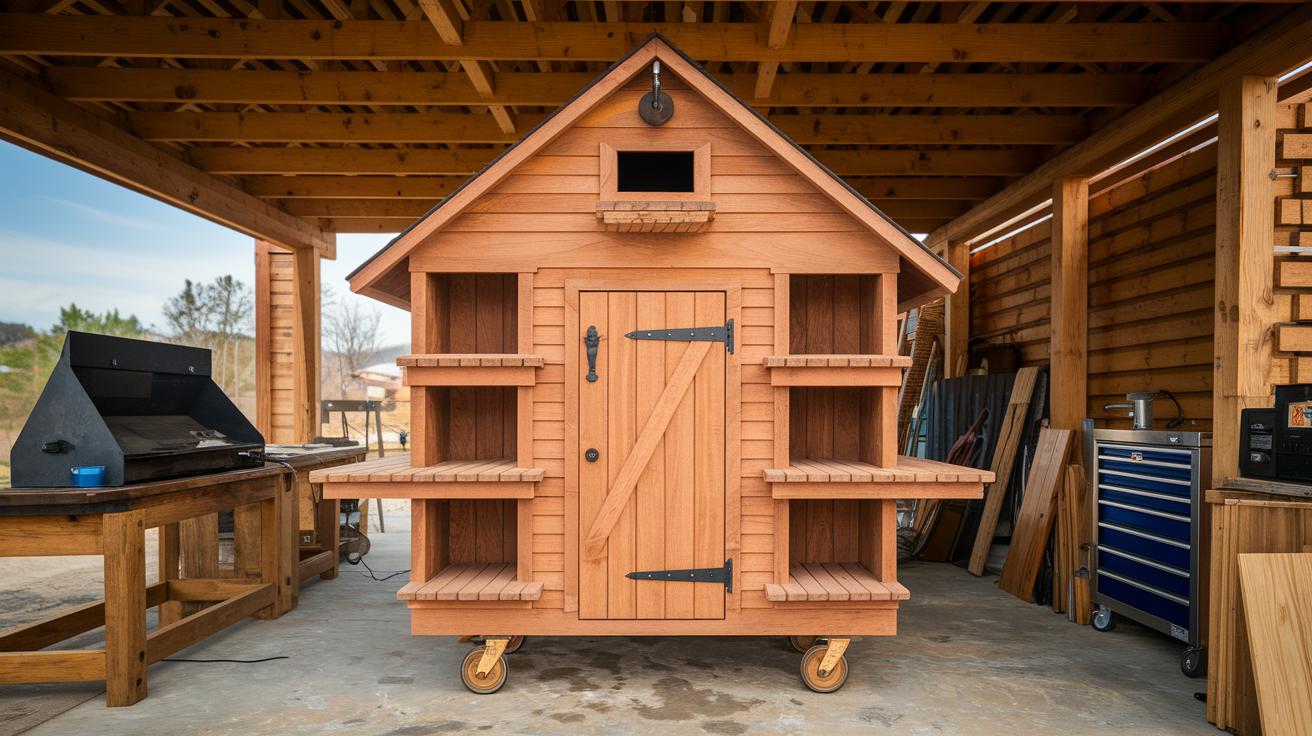
This project uses 80 ft of 1×6 tongue-and-groove pine paneling with 2×4 framing to create a strong, 60-inch-high box. Inside the box, the smoking chamber stands 42 inches tall and sits 18 inches off the ground. The side walls are built 20.5 inches apart and reinforced with tie pieces at the top and bottom. The roof has a 1-2 inch overhang to help keep out rain, and a custom door measuring about 39.5 by 20 inches finishes the design. Seven shelves line the interior, with the bottom shelf also acting as a drip pan. A hot plate is installed through a drilled cord hole, and the build includes both a chimney and a thermometer to help you monitor the process. Scrap 3/4-inch cedar boards reinforce key stress points for extra durability.
The build follows eight clear steps:
- Plan your project by sketching the design and listing all the materials you need.
- Cut the 1×6 panels and 2×4 studs to the correct sizes.
- Assemble the frame by setting the 2×4 studs 20.5 inches apart and adding top and bottom tie pieces.
- Attach the tongue-and-groove boards for a smooth, flush finish.
- Build the roof with its proper overhang and carefully construct the custom door.
- Install the seven interior shelving racks, making sure the bottom one doubles as a drip pan.
- Add components like the hot plate, chimney, and thermometer.
- Insulate the door jamb by stapling foam gasket material around it.
This blueprint blends cost savings with a custom design that fits perfectly with backyard smokehouse plans and DIY smoker guides.
Essential Materials and Tools for Your DIY Smoker
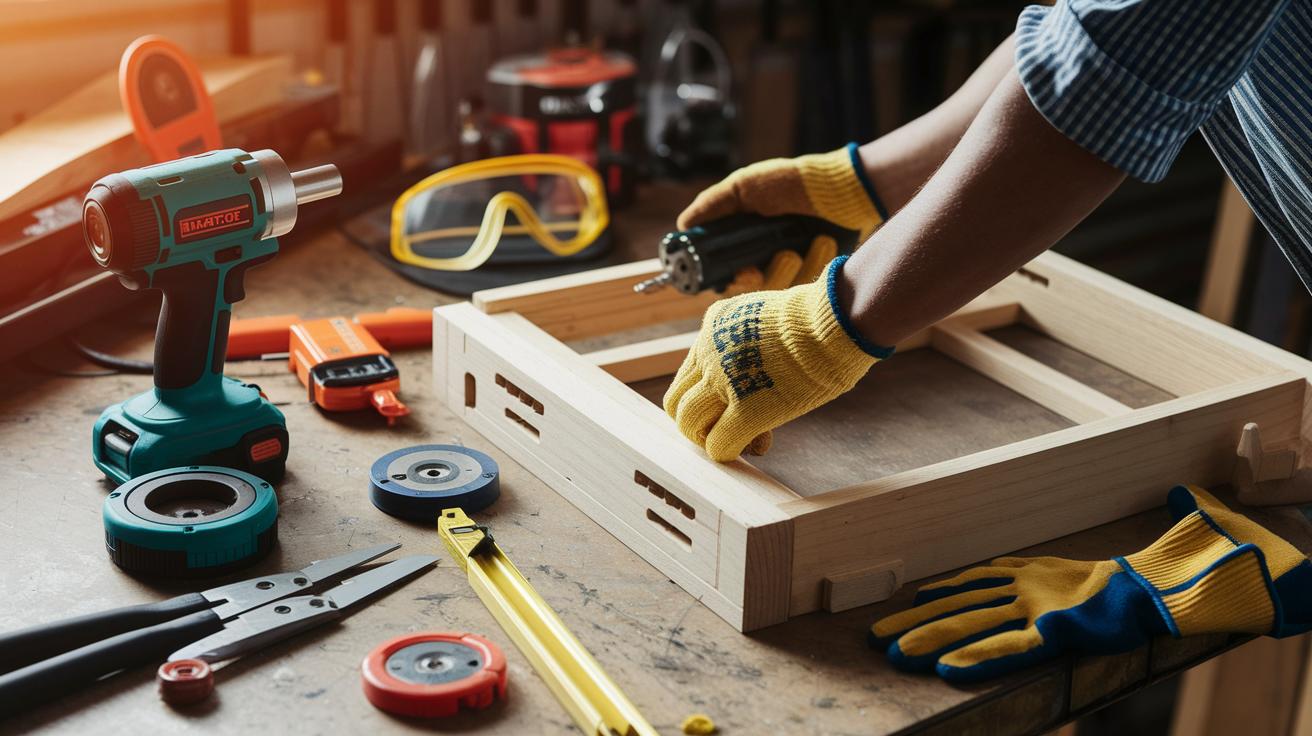
Quality tools and good materials make your smoker build smooth and safe. When you have the right supplies, you can work steadily and avoid delays. Each tool plays a role in keeping you on track.
You will need:
- Impact wrench for tightening heavy bolts.
- Brad nailer to attach tongue-and-groove boards fast.
- Circular saw for clear cuts on 1×6 pine and 2×4 studs.
- Tape measure to check every length.
- Level to make sure frames and panels are even.
- Staple gun for fastening foam gasket insulation.
- Gloves to keep your hands safe when working with wood and metal.
- Safety goggles to guard your eyes from flying debris.
- Chimney pipe to guide smoke and boost airflow.
- Hot plate for setting up the electric heat source.
Before you begin, check that all your tools work properly. Consider using reclaimed metals or off-cuts to save money and cut waste. Double-check your supplies so you are ready to fire up your outdoor DIY smoker with confidence.
Constructing the DIY Smoker Frame and Shell

We start by making a strong base. Use 2×4 studs spaced exactly 20.5 inches apart. Add top and bottom tie pieces inside the frame to keep it rigid. This way, the side, back, and bottom panels will fit flush with no extra overhang.
Frame Assembly
- Cut your 2×4 studs to the lengths you need.
- Lay them out as planned, spacing each stud 20.5 inches apart.
- Secure the studs with top and bottom tie pieces. These pieces help stop the frame from twisting or bowing.
- Check every joint to make sure it is tight and level. Use a level to keep the frame square.
Paneling and Box Construction
- Attach the 1×6 tongue-and-groove boards to form the sides, back, and bottom of the smoker.
- Place the boards flush together so they meet evenly without overlapping.
- Secure each board with a brad nailer. Move slowly to line up each board right.
Door and Roof Build
- Build the door to match the interior size, about 39.5 inches by 20 inches.
- Strengthen the door with extra cedar pieces for proper hinge mounting.
- Construct the roof with cedar boards and thin paneling. Leave a 1-2 inch overhang on all sides. This overhang directs rain away and protects your smoker while giving it a polished look.
Insulation and Sealing for Efficient DIY Smokers
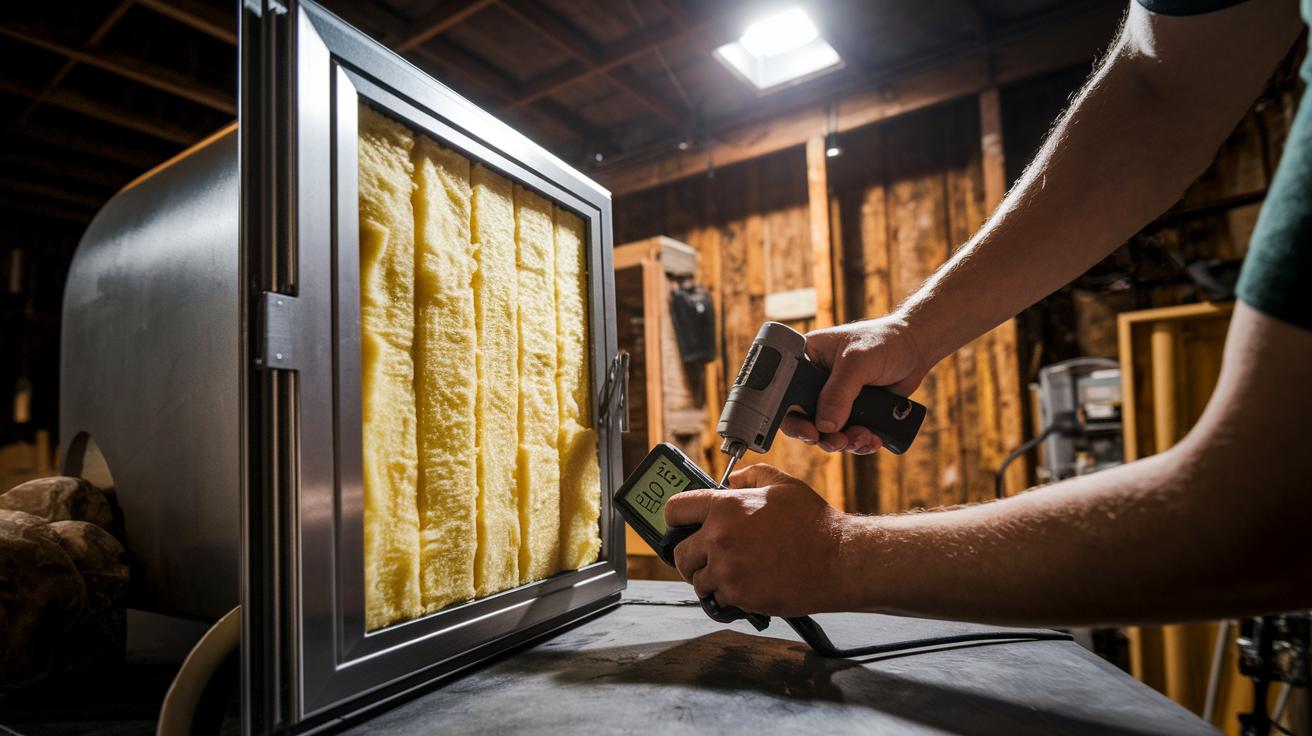
A well-insulated smoker holds its heat steady so you get even cooking and richer flavor. This is especially important when you use low heat for cold smoking. Good insulation stops heat and smoke from escaping and helps your build work efficiently.
For a tight seal, use foam gasket material on the door jamb. It fits snugly to reduce gaps. You can also add fiberglass or mineral wool to line the corners and joints. Secure the foam with a staple gun and check around seams and hard-to-reach spots to keep the insulation tight. A perfect fit helps your smoker hold its energy and control temperature.
Adjustable vents on the roof or sides let you control airflow. By fine-tuning these vents, you can manage the smoke and heat flow for both cold and hot smoking.
Integrating Firebox, Chimney, and Temperature Control in Your DIY Smoker
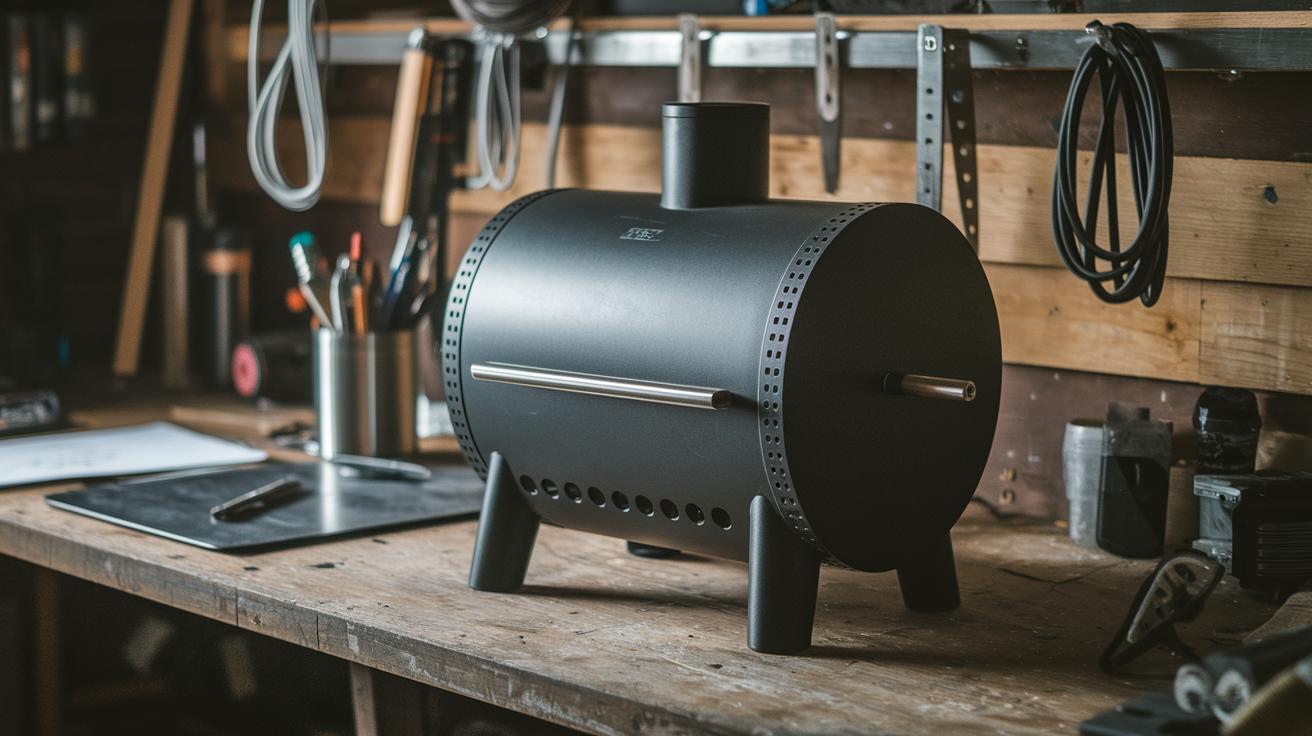
Step 7: Start by placing the firebox so that the hot plate sits securely on the smoker's floor. Drill a hole for the cord and position the firebox right underneath the hot plate for a stable fit and even heat spread. For example, fasten the hot plate with four evenly spaced bolts to keep it aligned.
| Component | Purpose |
|---|---|
| Hot Plate | Gives a steady heat source |
| Chimney Pipe | Vents smoke and keeps the draft steady |
| Thermometer Port | Shows the internal temperature |
Next, attach a 3- to 4-inch diameter steel chimney pipe on top of the roof. Secure it firmly and set it so that it creates a steady draft. For instance, let the pipe extend at least 1 inch above the roof edge to help vent the smoke. Then, install a BBQ-style thermometer port near the upper third of the chamber. Use the proper fittings to prevent leaks and get fast, accurate readings.
Finally, add an external handle to the door and fit an internal gasket to cut down on leaks. Placing each part correctly helps keep the airflow smooth, the smoke balanced, and the cooking temperature consistent.
Customizing Flavor and Racks in Your DIY Smoker
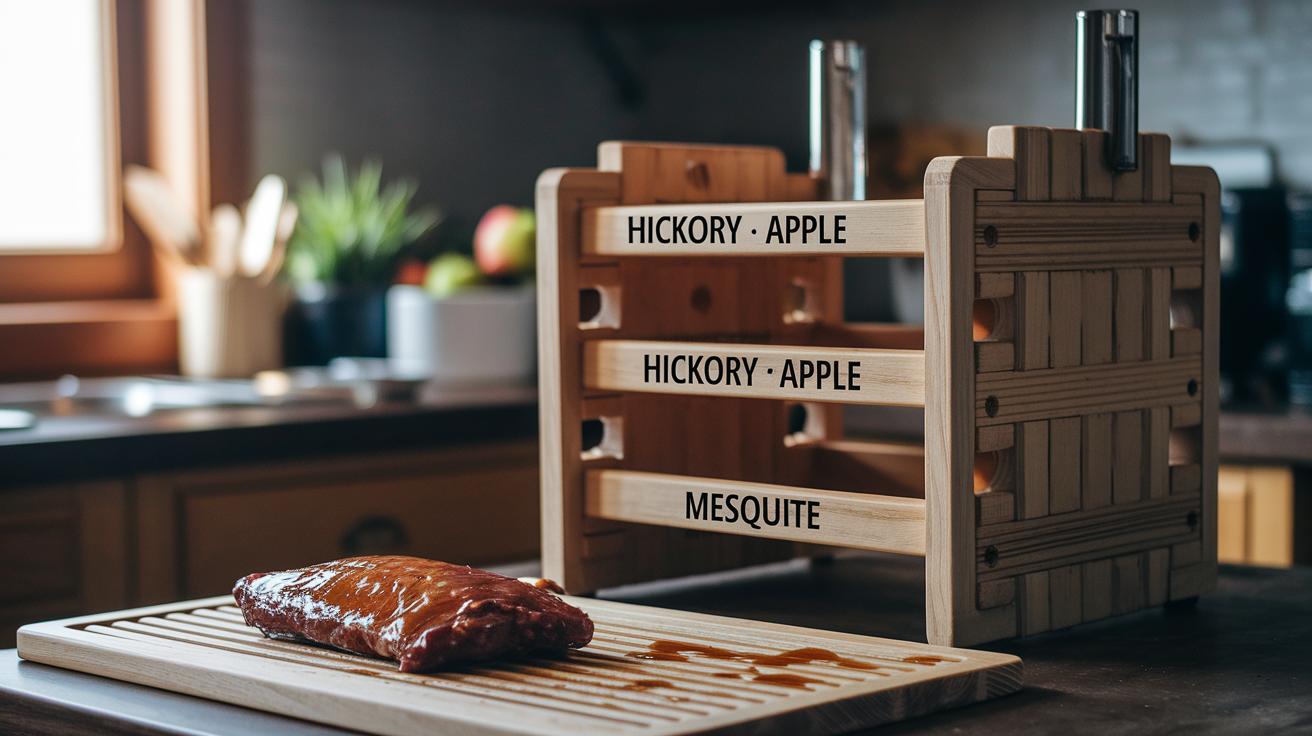
Choosing the right wood and placing it well is key to enhancing the flavor of your smoked foods. Each wood type, such as hickory, apple, or mesquite, brings its own unique taste. For example, apple wood gives a sweet, fruity flavor, while mesquite produces a bold, earthy aroma.
When setting up your smoker racks, leave 2–3 inches between shelves to let the smoke and heat work their magic. Start by cutting seven shelves from 1-inch tongue-and-groove strips. Use the bottom shelf as a drip pan to catch fats and juices. This helps keep the flavors strong and stops flare-ups. Use extra board pieces to create snug supports. If you want more options, add extra accessory racks for hanging sausages or fish.
For extra flavor, mix in wood chips that match the wood you chose. Add a small handful at a time on the hot plate so the smoke stays steady. If you prefer, an external smoke generator can give short bursts of flavored smoke during the last phase of cooking.
Budget-Friendly Strategies and Cost Breakdown for DIY Smokers
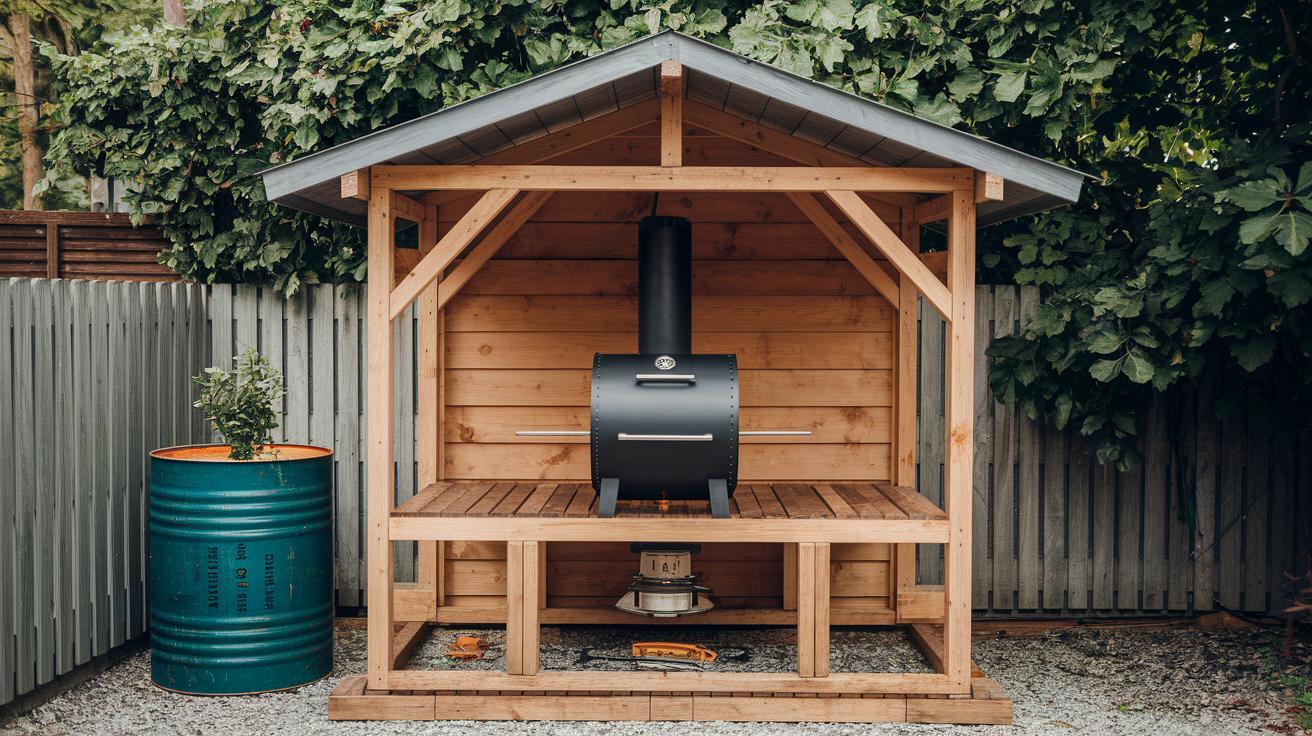
Building your own smoker can save you money. You can buy the basic materials like pine and 2x4s for about $150. Then add another $50 to $75 for insulation and hardware. This gives you a great start without spending too much.
One smart way to cut costs is to use reclaimed drums or barrels. These recycled pieces can drop your steel costs by as much as 80%. You can also use scrap cedar boards or leftover tongue-and-groove paneling from other projects. Check surplus stores or second-hand shops to save even more. Every off-cut helps your wallet and keeps the build eco-friendly.
Keep track of every expense using a simple spreadsheet or budgeting app. This helps you stick to your plan and spot places where you can save more. Smart planning makes all the difference.
Maintenance, Troubleshooting, and Longevity of Your DIY Smoker
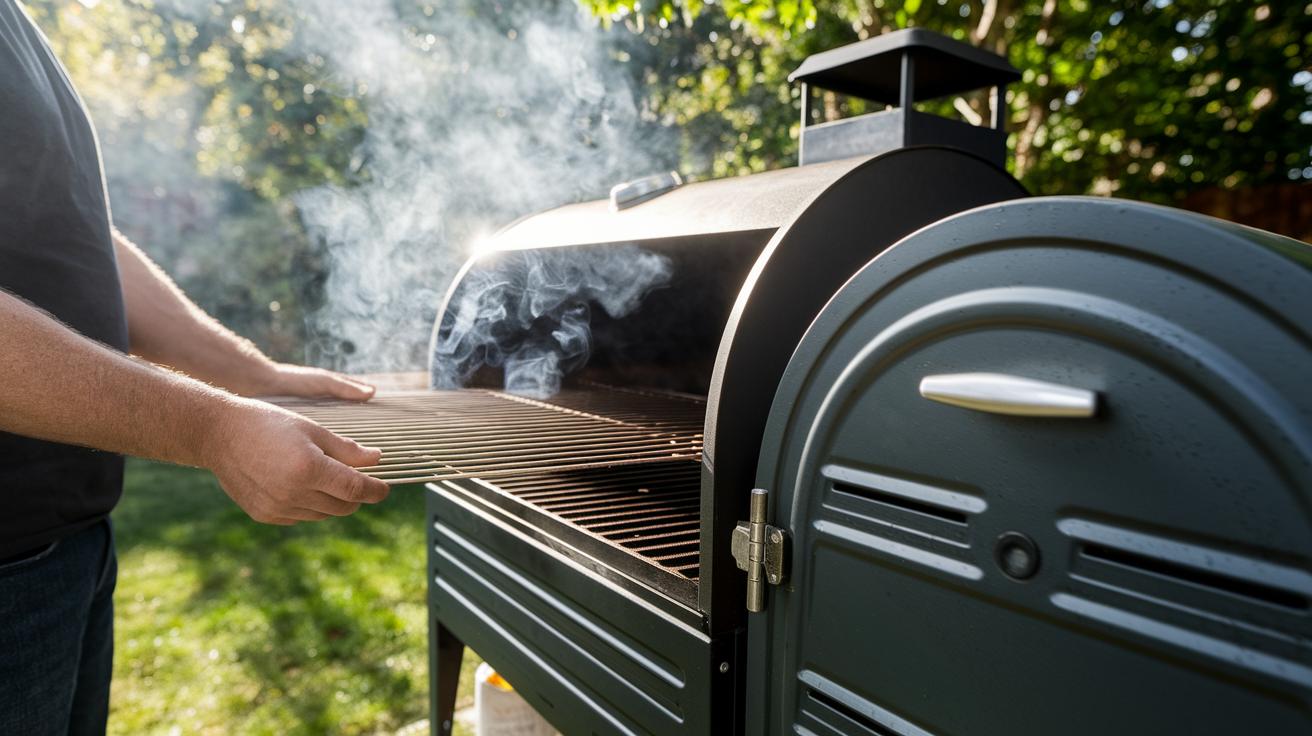
To keep your DIY smoker working well, a regular cleaning and check is a must. It keeps the food tasting great and stops problems like smoke leaks or uneven heating. After each use, take a few minutes to clean the racks and check the door seal. This small effort can save you from bigger issues down the road.
If you see changes in temperature, uneven smoke, or a door seal that no longer works right, these are signs of a draft problem. First, look at the door gasket closely. If you find any gaps or tears, replace the foam gasket right away. Adjust the vents to make sure airflow is correct. If the temperature still jumps, reapply insulation around the door jamb to keep the heat inside. Also, check the chimney for creosote buildup because any blockage here can hurt your draft and smoke flow. Keeping an eye on these parts will help you catch issues early.
Every season, give your smoker a deep clean with food-safe degreasers. Along with a careful look at the chimney and smoke paths, this thorough clean helps extend your smoker's life and keeps your outdoor cooking fun.
Final Words
In the action, you mapped out every key step from planning to finishing touches. We broke the build into clear phases: framing, paneling, roof and door assembly, rack installation, component integration, and insulation work. Each step blends practical safety tips with cost-saving hacks to help you build a solid cooking unit that meets your design goals. Every element works together for a custom, budget-friendly build. Enjoy the process and savor the results of your very own diy smoker.
FAQ
Q: DIY smoker kit
A DIY smoker kit offers essential materials and clear instructions to build your own smoker. It includes ready-to-use components that simplify the construction process and help you achieve delicious smoked flavors.
Q: DIY smoker plans
DIY smoker plans provide step-by-step guidance, detailed dimensions, and material lists. They help you design a custom smoker tailored to your needs, ensuring a smooth build and reliable performance.
Q: Quick and easy homemade smoker
A quick and easy homemade smoker design uses basic materials and simple steps. It streamlines the construction process so you can enjoy smoked food without an overly complex build.
Q: Pictures of homemade smokers
Pictures of homemade smokers provide visual examples of design details and construction methods. They help you understand layout, material choices, and craftsmanship, making it easier to plan your project.
Q: DIY smoker Plans PDF
DIY smoker plans PDF files offer a printable, detailed guide with clear diagrams and step-by-step instructions. They let you review plans offline and track progress easily while building your smoker.
Q: DIY smoker electric
A DIY smoker electric option integrates an electric heating element for controlled temperature. This method is ideal for those seeking precise heat management without the challenges of traditional wood fire setups.
Q: DIY smoker Plans free
DIY smoker plans free versions provide budget-friendly, accessible blueprints. They include essential instructions and measurements so you can create your own smoker without extra costs.
Q: How to build a wooden smoker
Building a wooden smoker involves constructing a sturdy box frame using pine paneling and 2×4 studs, then adding a firebox, chimney, and insulation. This method ensures durability and efficient, consistent heat control.
Q: What can be used in place of a smoker?
Alternatives to a traditional smoker include electric or repurposed barrel setups. These options deliver similar smoked flavors by combining controlled heating methods with wood or charcoal elements.
Q: How to make a homemade cold smoker?
Making a homemade cold smoker requires separating the heat source from the smoking chamber to keep temperatures low. This setup allows delicate foods to absorb rich smoke flavors safely.
Q: Is it safe to build your own smoker?
Building your own smoker is safe when you follow proper construction techniques, use quality materials, and include key safety features like proper insulation and ventilation to control heat and smoke flow.
Q: What is the best easy smoker for beginners?
The best easy smoker for beginners features a simple, step-by-step design with readily available materials, clear plans, and built-in safety measures. This makes the project approachable and rewarding for first-timers.