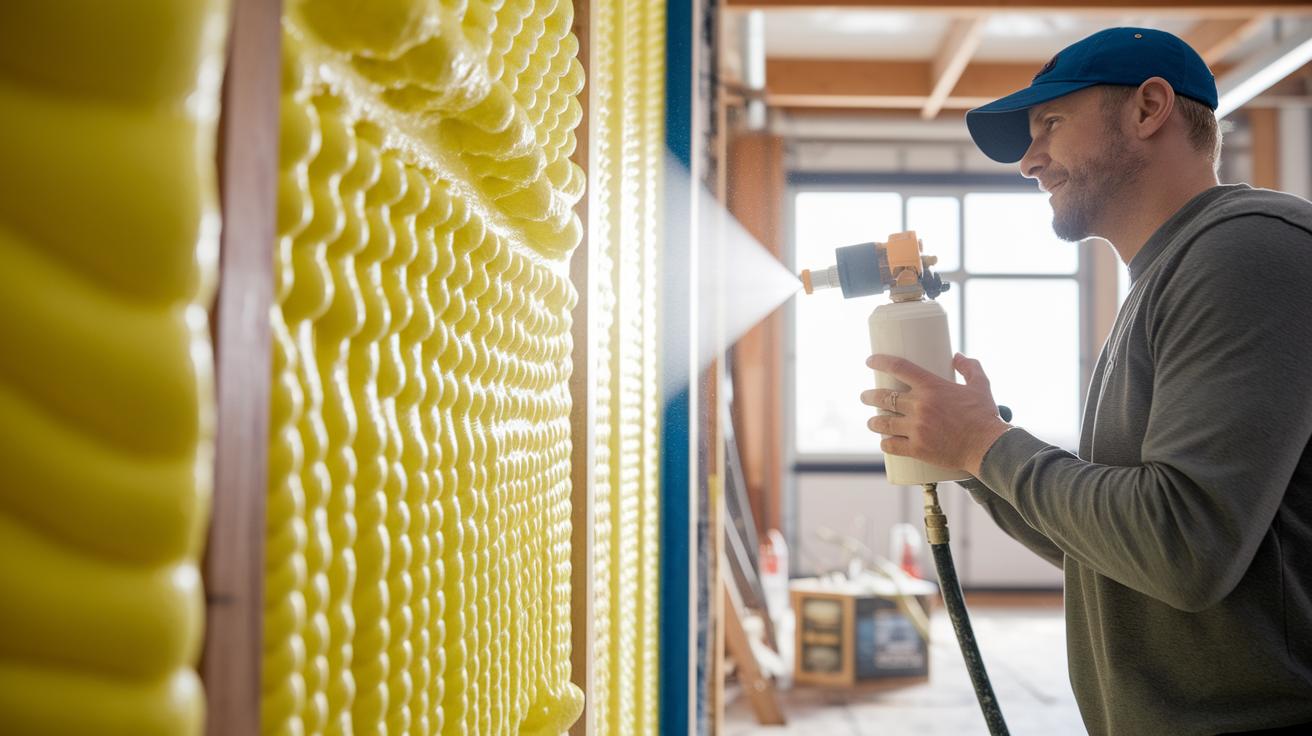

Ever wonder if you can lower your energy bills with a DIY trick? Spray foam insulation might be the key to making your home warmer and more energy efficient. This guide offers five easy tips that help you use the foam like a pro. You will learn how to suit up, set up your work area, and get your spray technique just right. Stick with us and see how a bit of know-how can change your space and save you money.
5 diy spray foam insulation tips for success
-
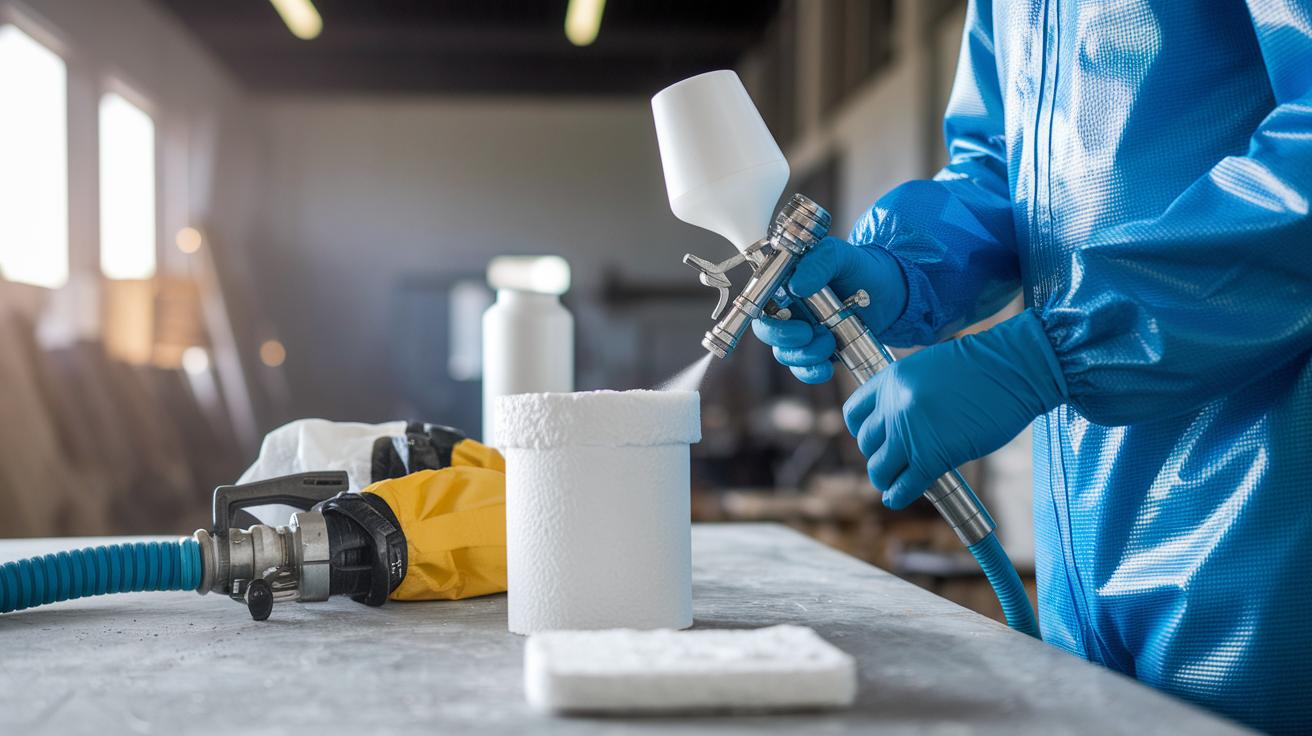
Gather your protective gear and materials.
Suit up with your Tyvek outfit, a respirator with P100 filters, gloves, safety goggles, and sturdy shoes. Get components A and B from the foam kit, a spray gun with a 12-18 inch hose, plastic sheeting (4-6 mil), painter's tape, a measuring tape, and a marker. Think of it like getting ready for a race; the right outfit and tools help you work well. -
Set up your work area.
Make sure the surface you are working on is dry and stable, with a room temperature between 65°F and 100°F. Keep humidity below 60% by opening windows or using fans. Cover floors, windows, and other areas with plastic sheeting and tape so only the target area gets foam. -
Warm up and mix your foam kit.
Warm both the A and B components to between 75°F and 90°F. Shake each drum for 1-2 minutes. This ensures the chemicals mix properly and the foam will expand as it should. -
Tape edges and spray the foam.
Begin by spraying a 1/2 inch line along the edges to help prevent drips. Hold the spray gun 12-18 inches from the surface and make passes in a perpendicular direction with a 50% overlap. Build the layer gradually, aiming for about 2 inches on walls (R-13) or 3 inches on roofs (R-20). -
Allow the foam to cure, then trim and clean up.
Let the foam skin over in about 60 seconds and allow it to fully cure in 24 hours. Trim off any excess with an oscillating knife. Look for voids, pinholes, or areas where the foam did not stick, and reapply if needed. Clean your tools immediately and dispose of chemical containers according to local regulations.
Essential Tools, Materials & Site Preparation
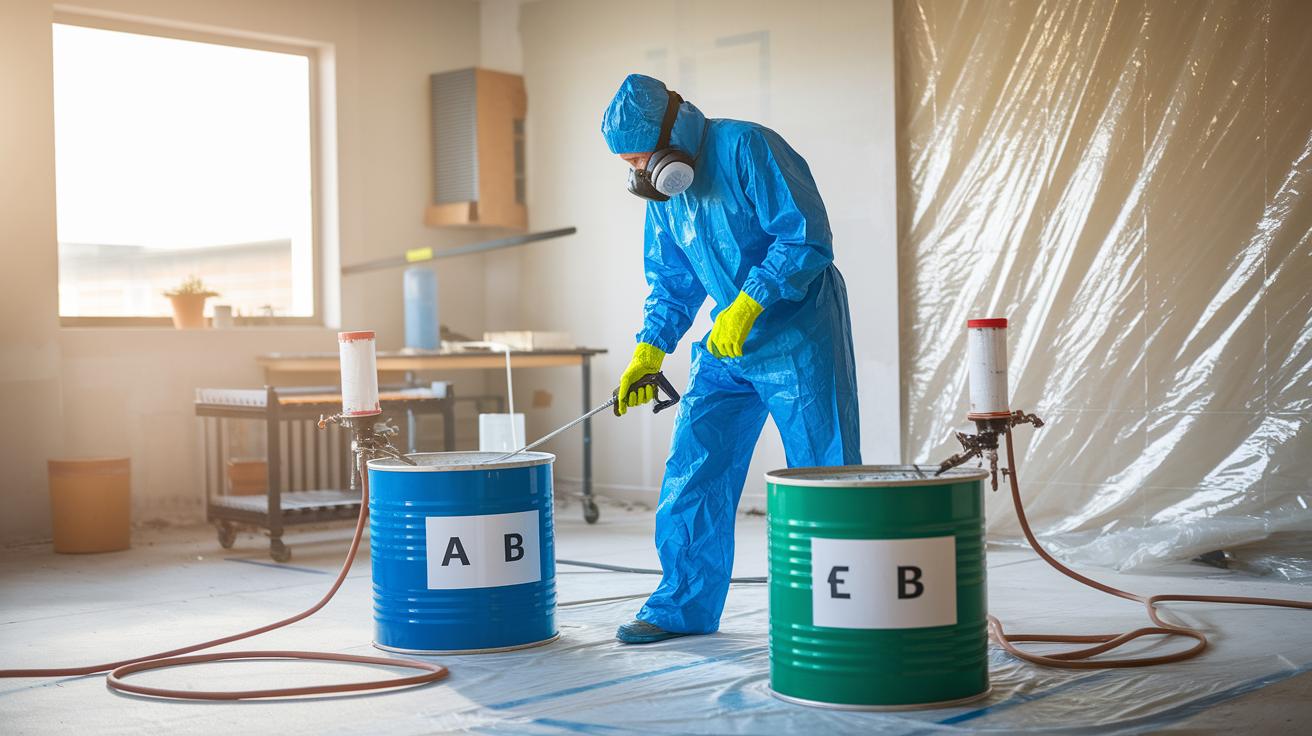
Before you start, gather all your gear and put on your protective clothing. Wear a Tyvek suit, a respirator with P100 filters, nitrile gloves, safety goggles, and sturdy shoes. Have your foam kit ready with two drums (A and B), a spray gun, and hoses between 12 and 18 inches long. Also grab plastic sheeting (4–6 mil thick), painter's tape, drop cloths, a measuring tape, and a marker. Check out this essential home improvement tools list for more details (https://theoriented.com?p=).
Set up your workspace with care. Make sure the surface is dry and stable so the foam sticks well. Keep the temperature between 75°F and 100°F and the humidity below 60%. These conditions help the foam expand properly and cure evenly. If you run into adhesion problems, take a look at your ventilation or humidity controls.
Protect your area by covering floors, windows, and fixtures with plastic sheeting and securing them with tape. Lay drop cloths where accidental overspray might occur.
Once you're done, rinse the spray gun, hoses, and mixing tools immediately using the solvent recommended by the manufacturer. If any foam begins to clog your equipment, soaking the parts can help clear it. Remember to dispose of spent chemical containers safely by following local guidelines.
Planning Your DIY Spray Foam Insulation Project

Before you begin, measure the square footage of the walls or ceilings you want to insulate. Multiply that area by your chosen foam thickness to work out the board feet needed. For example, if your wall is 150 sq ft and you want to add 2 inches of foam, do the math and then add an extra 10–15% to cover any overspray and waste. This small extra amount makes sure you don’t run short during the job.
Make a clear checklist before you start. Here are the main steps:
- Measure each wall or ceiling section carefully.
- Multiply the square footage by the foam thickness (in inches) to get the board feet.
- Add an extra 10–15% to your total.
- Check local permit rules and ensure your workspace has good ventilation.
- Plan the work when temperatures are above 65°F so the foam expands and cures properly.
- For a small attic job, set aside 1–2 days for both application and curing.
Using a planning template can help simplify your calculations. It also helps you set a clear timeline and a realistic budget for your insulation project.
Spray Foam Application Techniques & Best Practices
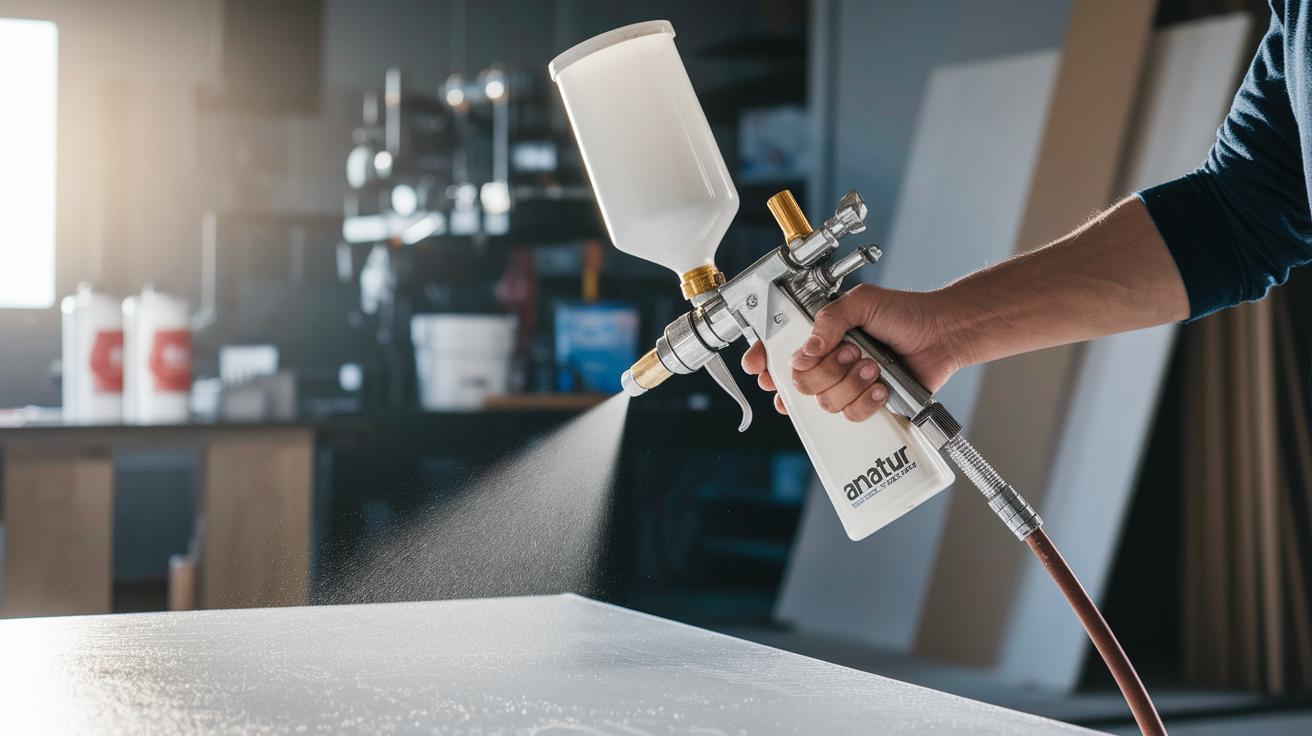
Tip 4: Proper Application and Layering
Keep your spray gun 12 to 18 inches from the surface. Begin by creating a 1/2-inch bead along the edge. Move the gun in perpendicular strokes with a 50% overlap. Pause for about 30 seconds between each pass so the foam layers can bond properly. Think of it like taking a quick breather during a game before your next move.
Before you start, warm both parts of your foam kit (A and B) to between 75°F and 100°F. Pre-heating ensures a smooth chemical reaction and even expansion, just like warming ingredients for a great cake mix.
For extra coverage, try the flash-and-batt method. First, apply a 1-inch layer of foam, then add fiberglass insulation to boost performance. This step adds extra armor to your insulation where it's needed most.
Key Points:
- Keep the spray gun 12 to 18 inches away.
- Start with a 1/2-inch edge bead along the borders.
- Spray in perpendicular passes with a 50% overlap and wait 30 seconds between each pass.
- Warm the foam kit components to 75°F–100°F.
- Optionally, apply flash-and-batt by spraying a 1-inch foam layer and then adding fiberglass insulation.
| Step | Action |
|---|---|
| 1 | Keep the spray gun 12 to 18 inches from the surface |
| 2 | Create a 1/2-inch edge bead along the borders |
| 3 | Spray in perpendicular strokes with 50% overlap and wait 30 seconds between passes |
| 4 | Warm both foam kit parts to 75°F–100°F |
| 5 | Optional: Apply a 1-inch foam layer and add fiberglass insulation using the flash-and-batt method |
Advanced Quality Control Procedures for DIY Spray Foam Insulation

Once you've finished the basic curing, trimming, and your initial check (see tip 5), try these extra steps to make sure your insulation works well.
-
Use a thermal imaging camera. For example, I once used one and found a hidden cold spot behind a utility panel that needed a quick fix.
-
Test the insulation with a handheld R-value meter. When I checked my work with this tool, it showed a lower reading along the wall edge, so I added more insulation there.
-
Write down any issues you find and plan the fixes needed.
| Tool | Purpose |
|---|---|
| Thermal Imaging Camera | Find cold spots that may show gaps in insulation |
| Handheld R-value Meter | Check how well the insulation works |
DIY Spray Foam Kit Selection & Cost Estimates for Your Project
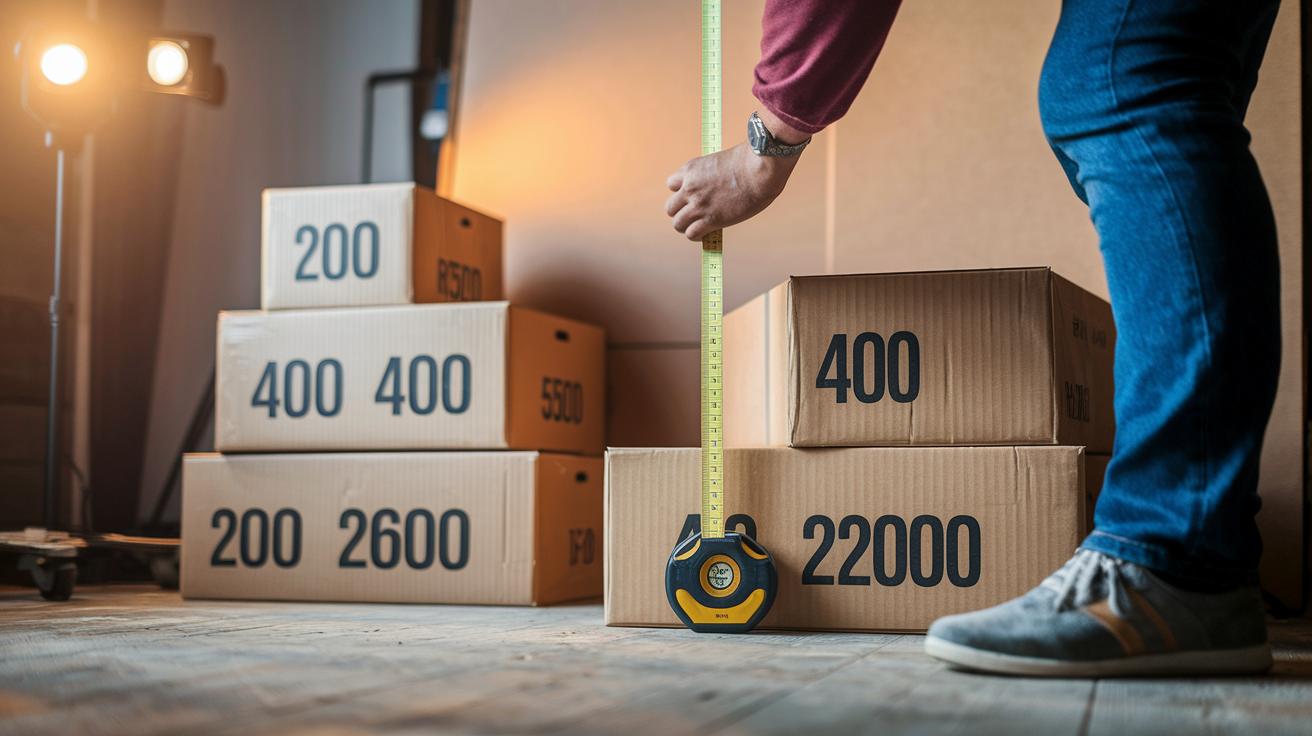
First, match your project area to the foam kit size. Foam kits come in options of 200, 400, 600, and 1200 board feet. Measure the space you want to insulate and multiply that area by the foam thickness you need. Then add 10% extra board feet to cover any waste or uneven spots. For example, if you calculate a need for 400 board feet, buy an extra 40 board feet.
Prices usually run from $1.20 to $1.80 per board foot. Multiply the number of board feet by the unit price to get a quick cost estimate. Remember that prices can change by region, so shop around for the best deal. Budget-friendly choices can be just as effective as higher-priced ones.
For a project that covers 400 square feet, consider products like the Vega Bond V600 and Vega Bond V200 kits. Both kits use closed-cell foam with an R-value of 6.89 per inch. This means they help keep your home warm or cool efficiently. Compare the features and prices of these kits to see which one fits your project best.
Before buying, check out details from different suppliers. Look at customer reviews and expert ratings. Make sure they offer strong support and easy-to-follow instructions. Doing this will help you pick a kit that is both cost-effective and reliable.
Comparing DIY vs Professional Spray Foam Insulation: Pros & Cons
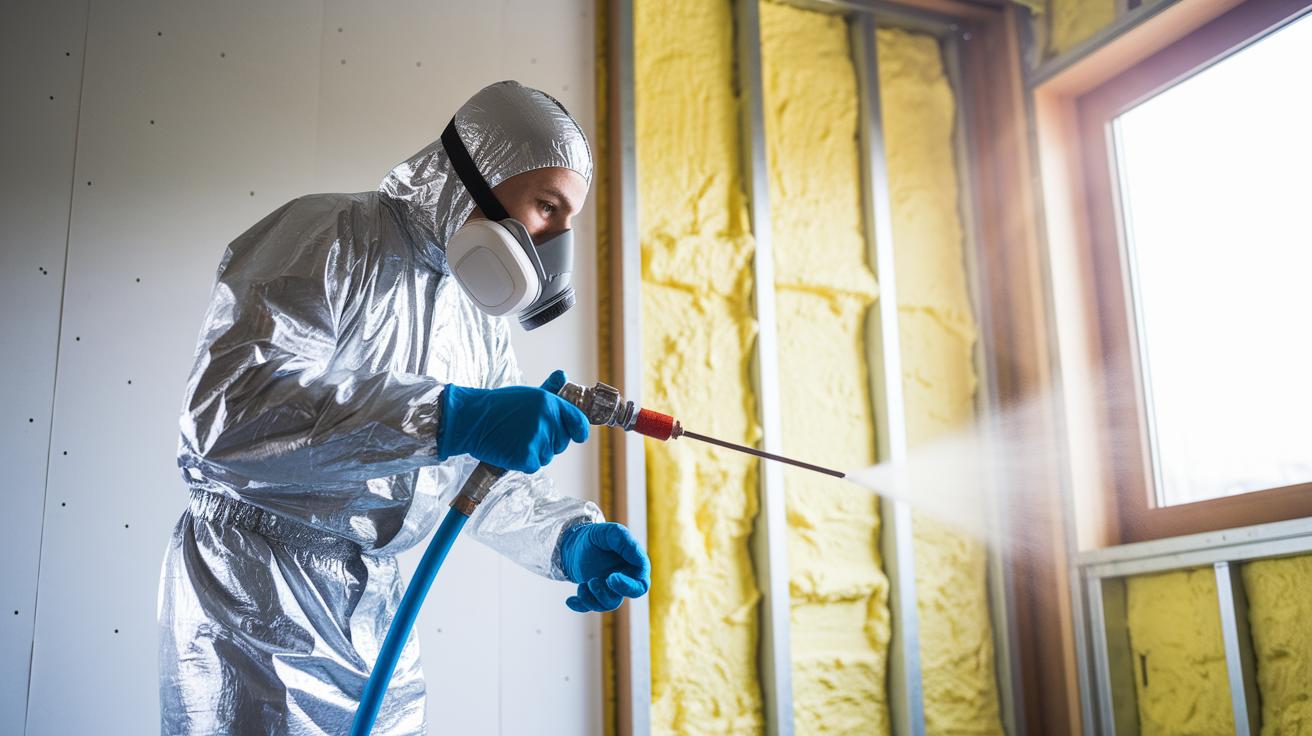
Getting a professional to install your spray foam insulation means you get a smooth, even finish and a warranty for peace of mind. Pros often cost about $10,000 for a 2,500 sq ft job. Their price covers travel, labor, and materials. Their experience helps avoid problems like gaps or uneven coverage.
On the other hand, DIY kits cost between $3,000 and $5,000, which can save you up to 60% of the total cost. If you go this route, you must invest in proper gear like Tyvek suits, respirators with P100 filters, gloves, goggles, and sturdy shoes. You also need to mix, apply, and clean up carefully to ensure an even coat and the best R-value. DIY is more budget-friendly, but it needs careful planning and a steady hand.
Key Points:
- Professional work gives even coverage and comes with a warranty.
- Pros charge around $10,000 for a full installation.
- DIY kits cost $3,000 to $5,000 but require extra safety gear and careful work.
- Lower cost might mean more effort and cleanup on your part.
Consider your budget, skills, and how complex your project is before deciding which option fits you best.
Final Words
In the action, we guided you through every step. From gathering materials and prepping your work space to mixing your kit and mastering spray techniques, we covered it all. We outlined safety tips, budget-friendly advice, and proper curing methods. This step-by-step guide arms you with the knowledge to tackle your project with care and precision.
Embrace your diy spray foam insulation project with confidence. Each tip and technique is a building block toward a secure and professional finish. Enjoy the process and the rewarding results!
FAQ
How can I do DIY spray foam insulation for a shed?
DIY spray foam insulation for a shed improves energy efficiency and blocks moisture. Start by cleaning the area, using proper PPE, and following kit instructions for smooth, even application.
Which spray foam insulation kits are suited for 1,000 sq ft?
Spray foam insulation kits for 1,000 sq ft are sized to cover moderate projects. They typically include the two-part foam, a hose, and a spray gun designed for consistent application.
What is included in a DIY spray foam insulation kit?
A DIY spray foam insulation kit includes two-part foam chemicals, a spray gun, a hose, and detailed instructions. These kits provide all essentials needed for safe and effective foam installation.
What R-value does DIY spray foam insulation provide?
DIY spray foam insulation R value measures its thermal resistance. Closed-cell variants usually offer an R value around 6.5 to 7 per inch, providing efficient insulation when applied correctly.
What spray foam insulation kit can cover 2,000 sq ft?
Spray foam insulation kits for 2,000 sq ft are built for large areas. They deliver sufficient materials and may include extra components for even application, ensuring complete coverage with proper planning.
How do I apply DIY spray foam insulation on existing walls?
DIY spray foam insulation for existing walls involves cleaning and prepping the area, masking adjacent surfaces, then spraying foam directly into the wall cavity to boost insulation without major alterations.
Which is the best DIY spray foam insulation kit?
The best DIY spray foam insulation kit combines high quality, ease of use, and safety features. Look for kits with positive reviews and complete components that meet your project’s insulation needs.
What do DIY spray foam insulation users on Reddit say?
DIY spray foam insulation discussions on Reddit share real-world tips and cautionary advice. Users emphasize safety, proper preparation, and careful adherence to kit directions for the best results.
Can I spray foam insulate myself?
Spray foam insulation is a DIY project if you follow safety measures. Using proper PPE, preparing your workspace, and closely following the kit instructions will help you insulate safely and effectively.
Is DIY spray foam insulation worth trying?
DIY spray foam insulation can save money on labor if you have the time and equipment. However, it requires careful preparation and correct application to ensure durability and energy efficiency.
How much does it cost to spray foam 1,500 square feet?
Spray foam for 1,500 sq ft typically costs between $1.20 and $1.80 per board foot. The final cost also depends on site conditions, kit size, and additional materials needed for prep and safety.
Why is spray foam insulation now considered a red flag?
Spray foam insulation is a red flag when issues like poor adhesion, voids, or uneven application occur. These signs can indicate improper installation, leading to ineffective insulation and potential safety issues.