

DIY Window Trim Refresh
Project Snapshot:
• Time: About 2–3 hours
• Cost: $50–$150 (materials only, prices vary by region)
• Skill Level: Beginner-friendly
• Tools: Pry bar, hammer, saw, measuring tape, gloves, and safety glasses
• Safety: Wear gloves and eye protection when handling tools
Have you ever looked at your window and thought it could look better? Your old trim might be hiding your home’s true charm. New trim can brighten up a room and boost curb appeal.
This guide takes you through each step to take out outdated trim and install a modern style. With a few simple tools and a bit of effort, you can turn your windows into a stylish focal point.
Get ready to follow clear, step-by-step tips that even beginners can use. Enjoy transforming your space with a fresh new look!
DIY Window Trim: Complete Step-by-Step Overview
-
Remove the old window trim. Use a pry tool or hammer to gently take it off. Clean the area so you can see the window frame clearly.
-
Seal any gaps between the window and the rough framing. Use straw foam to fill in these gaps. Allow the foam to dry completely. Once it is hard, cut it flush with the window frame. Remember: wait until the foam has fully set before you move on.
-
Build the window sill next. Cut a 1×6 board to match the window’s width plus an extra 10 inches. This extra 10 inches gives you a 5-inch overhang on each side, which acts as the base for your trim.
-
Now install the 1×4 boards for the sides, top, and bottom. First, measure the opening at the top and bottom of the window box and add 1/4 inch to each measurement for a slight reveal. For the side pieces, measure from the top board to the bottom board, then add 7 inches and an extra 1/4 inch for a good fit. Nail each piece in place with a brad nailer. If you notice any uneven spots, use wood shims to adjust and level the boards.
-
Attach 1×2 pieces to form the returns around the trim. You can also add an optional apron beneath the sill if you want a finished look.
-
To finish, fill any nail holes with wood filler. Sand the filled areas with 120-grit sandpaper until smooth. Caulk around the area where the wood meets the vinyl and drywall. Finally, apply a coat of primer and paint to seal out air leaks and protect against moisture.
Essential Tools & Materials for DIY Window Trim

Use this quick sidebar to help you know what supplies go where in your project. Check the step-by-step guide to see when you need each item.
- Lumber:
- 1×6 boards. Cut them to the window's width plus an extra 10 inches.
- 1×4 boards. Available in 8ft or 12ft lengths.
- 1×2 trim pieces. Use these for returns and finishing the edges.
- Tools:
- A miter saw for neat, angled cuts.
- A brad nailer (choose either 18 gauge or 16 gauge nails).
- Wood shims to lift or level up uneven surfaces.
- Finishing Supplies:
- Wood filler to cover nail holes.
- 120-grit sandpaper for smoothing rough edges.
- Caulk to seal any gaps.
- Primer and paint to give a polished look.
- Optional Decorative Extras:
- Crown molding or half-round pieces for a touch of charm.
For an extra tool checklist, take a look at the linked home improvement resource.
Precise Measuring & Cutting for DIY Window Trim
Project Snapshot: Simple window trim update • 30 minutes • Minimal cost • Beginner-friendly • Tools: tape measure, miter saw • Safety: wear eye protection.
Look closely at your wall. Some spots might be a bit thicker than others.
Adjust the trim's back-set (the hidden part that attaches to the wall) to match the wall thickness. If one area measures 1/8 inch thicker, shift the back-set by 1/8 inch. Hold the trim against the wall to make sure it touches evenly along its edge.
Cut the trim with a miter saw so you get clean and precise edges.
Installing the Window Sill & Apron in DIY Window Trim

-
Measure your window opening and cut a 1×6 board to the width plus 10 inches. This means a 5-inch extra length on each side. This board will serve as your sill and the base of your trim.
-
With the sill in place, add returns on both ends. Measure and cut a 1×2 board for each side. For example, I used a miter saw to cut the board and it fit perfectly with no gaps.
-
Attach a 1×4 apron underneath the sill. Hold the apron snugly against the sill and nail it in place. This will cover any rough edges and give your trim a neat look.
A simple diagram showing measurements and where each piece goes can help you visualize the process.
Fitting Side, Top & Bottom Trim in DIY Window Trim
Check out step 4 for full details on measuring, cutting, and installing your trim. In that step, you will:
- Cut your 1×4 boards for the top, bottom, and sides using a miter saw.
- Add extra space by allowing 1/4 inch on each side for a show-through effect and adding 7 inches plus an extra 1/4 inch for the side pieces.
- Insert wood shims behind each board to adjust for any uneven spots on the wall.
- Nail the boards firmly into place with a brad nailer to ensure a snug fit.
For example, when you measure the window opening, add an extra 1/4 inch on each side before cutting the trim. This will give you a neat, subtle reveal around the window.
Finishing DIY Window Trim: Caulking, Priming & Painting
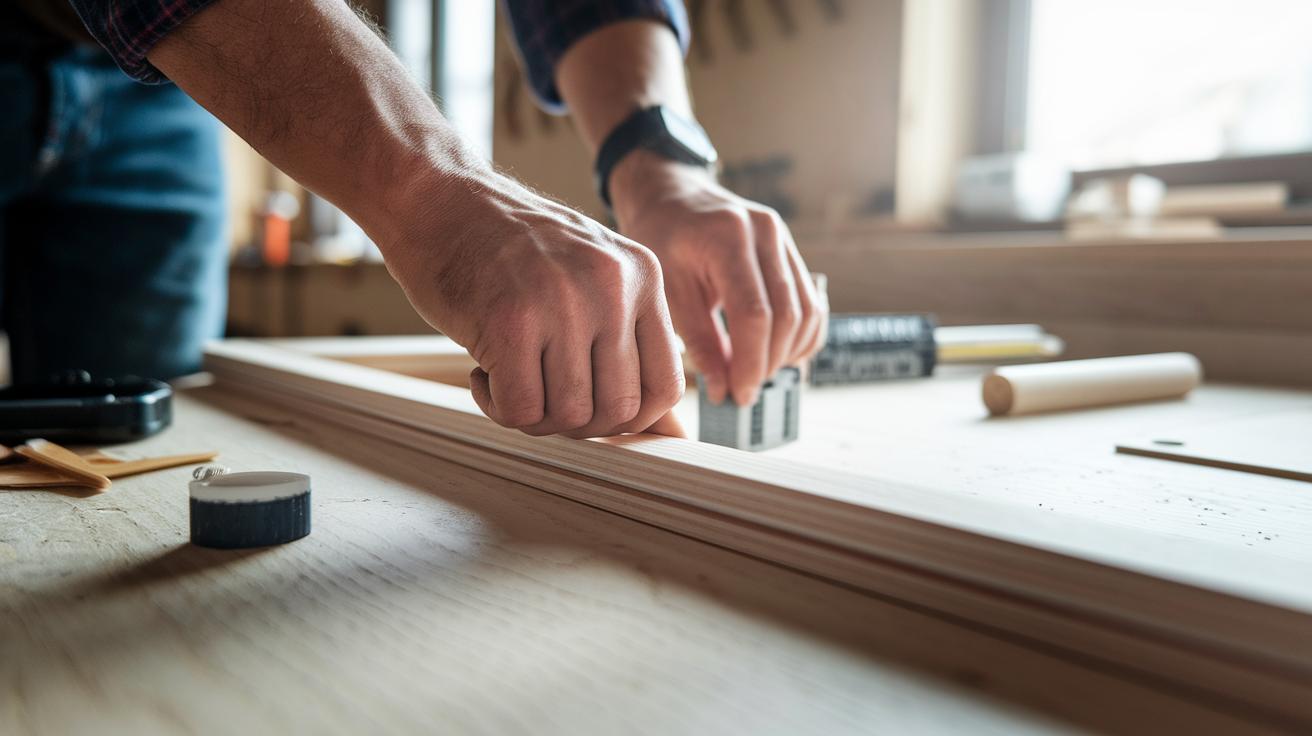
After you nail the trim, tap the nails until they sit flush with the wood. Fill the nail holes with wood filler and check with your finger to make sure the surface is smooth.
Lightly sand the filled spots with 120-grit sandpaper until everything feels even. If it still seems rough, give it another pass until it feels just right.
Run a steady bead of caulk along the edge where the trim touches vinyl or drywall. Use a damp finger to smooth the caulk immediately for a neat line. If the bead looks uneven, apply a little more caulk and smooth it again.
When the caulk has dried, brush on one coat of primer to hide any wood knots. For tight spots, grab a small brush to cover every corner. Take a moment to touch up any missed areas before you paint.
Finally, apply your chosen paint in thin, even layers. Let each coat dry and consider a light sanding between layers if needed so the finish looks smooth and uniform.
Creative Styling Options for DIY Window Trim
Give your window trim a fresh look by adding pre-cut crown molding or a half-round bead. These simple accents update plain trim without breaking your budget. For example, a half-round bead can give your window a cozy, farmhouse feel that lights up the room. Watch videos for clear, step-by-step guidance on making crown cuts without the need for special jigs.
Try mixing different wood types or paint colors to capture popular Craftsman or farmhouse styles. A contrasting trim color can create a striking detail against neutral walls. If you want to avoid tricky miter cuts, use pre-fabricated corner blocks for a clean, finished look.
Experiment with one or two of these decorative ideas to create a custom window accent. Even small changes can add personality and style while keeping your project practical and affordable.
Maintenance & Repair Tips for DIY Window Trim

Regular upkeep keeps your window trim looking fresh and secure. Check your caulk lines often for any gaps or cracks. If you see any issues, remove the old caulk and add a new bead of silicone or acrylic caulk. Doing this once a year helps stop moisture and air leaks.
Watch for small dents or cracks in the trim. Fill these spots with wood filler, let it dry completely, and then smooth it out with 120-grit sandpaper. This small repair not only tidies up the trim but also stops further damage.
Every 3–5 years, give the trim a fresh coat of paint to cover wear spots and protect the wood. In rooms with high moisture, try using PVC trim instead of wood because it better resists water damage. Regular care like this keeps your trim attractive and strong while adding to your home’s style.
Final Words
In the action, we covered every stage of a complete DIY window trim project. We broke down tasks from removing old trim to sealing gaps and installing sills, sides, and finishes. Each step, from measuring cuts to sanding and priming, was designed to help you achieve a neat, professional look on a budget.
This guide keeps things simple and practical, so you can enjoy the process and the results. With this diy window trim tutorial, small projects can transform your space.
FAQ
How does trimming a window DIY work?
Trimming a window DIY starts by measuring accurately, cutting trim pieces to fit, sealing gaps with foam and caulk, then nailing, priming, and painting to deliver a neat, durable finish.
What is the cheapest way to dress a window?
The cheapest method uses basic lumber and trim pieces rather than expensive kits. Measure carefully, install the trim, and finish with filler, caulk, primer, and paint to update the look on a budget.
What are window trim alternatives?
Window trim alternatives include PVC trim, pre-fabricated panels, or decorative molding. Each option offers ease of installation and weather-resistance while providing a style that suits your home design.
How do you fill a gap around a window?
Filling a gap involves cleaning the area first, then applying caulk or wood filler. Smooth the material, let it dry, and finish with sanding, priming, and painting for a clean, sealed look.
What DIY window trim options are available for interior and exterior projects?
DIY window trim projects offer choices such as wood, PVC, or pre-cut kits. Interior trim focuses on aesthetic details, while exterior trim requires weatherproof materials and sealants for protection.