
Ever thought a simple workbench could change your space into a creative zone? DIY bench plans show you how to build a strong bench that fits your style and budget.
This guide walks you through each step. You start by cutting wood with a circular saw and finishing by fitting every piece securely. Follow our simple, step-by-step instructions so you can customize your bench while keeping costs low.
Get ready to transform plain wood into a sturdy workbench that boosts your efficiency and sparks your creativity.
Comprehensive Step-by-Step DIY Workbench Plans for Beginners
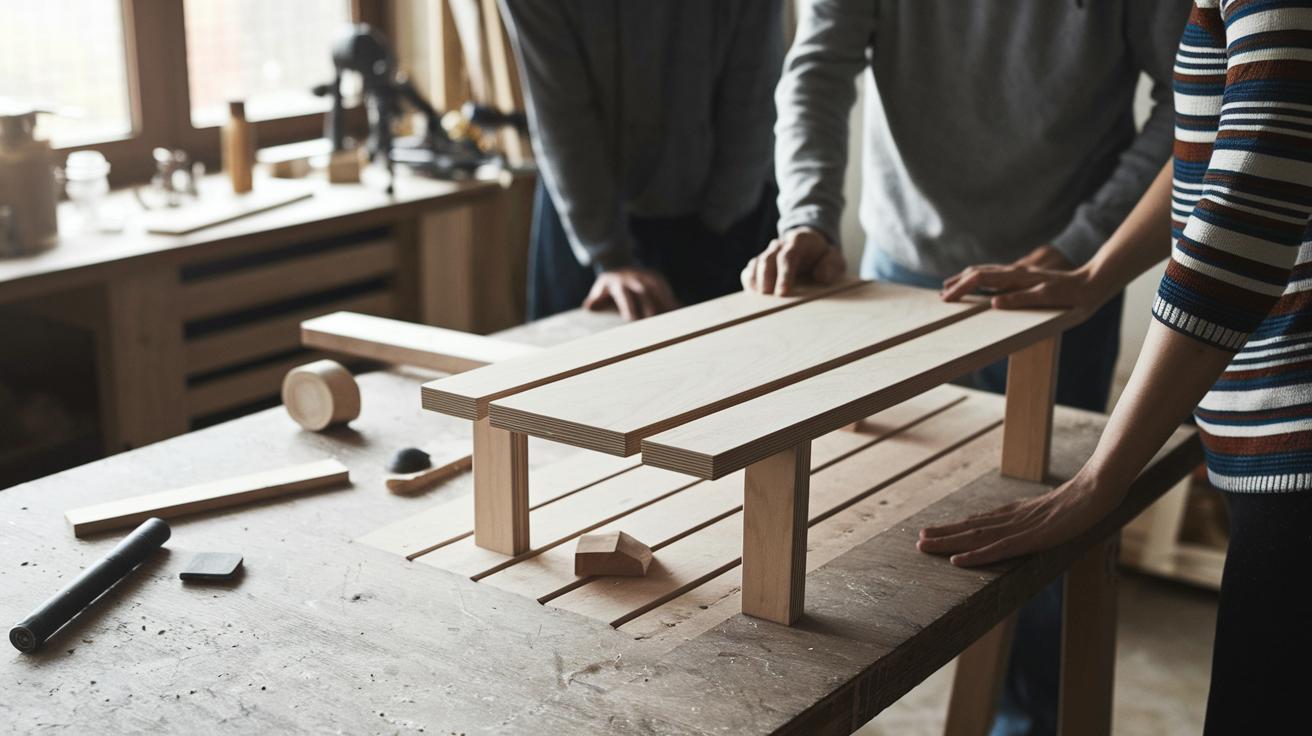
Start your project by checking out the free download that walks you through every step. The plans show you how to mark and cut the wood with a circular saw, miter saw, or table saw. First, cut the legs, stretchers, and plywood pieces. Then, give all your boards a light sanding until they feel smooth.
Next, build your bench in two main parts. First, construct the top. Lay out the stretcher supports evenly (about 18 inches apart) and secure them with pre-drilled 2 1/2-inch wood screws. Then, work on the bottom section by fitting one board into the legs. This smart design strengthens the frame while keeping your workspace clean. The plans estimate a material cost of around $175, which can drop by about $35 if you opt for a 24-inch plywood top made from one sheet instead of two.
Detailed cutting dimensions and diagrams are part of the guide. You might want to use a simple DIY project planning template to sketch your ideas before you start. This friendly, step-by-step guide is ideal for beginners looking to create a sturdy and reliable workbench.
Happy building and remember to work safely!
Essential Materials and Tools for DIY Workbench Plans
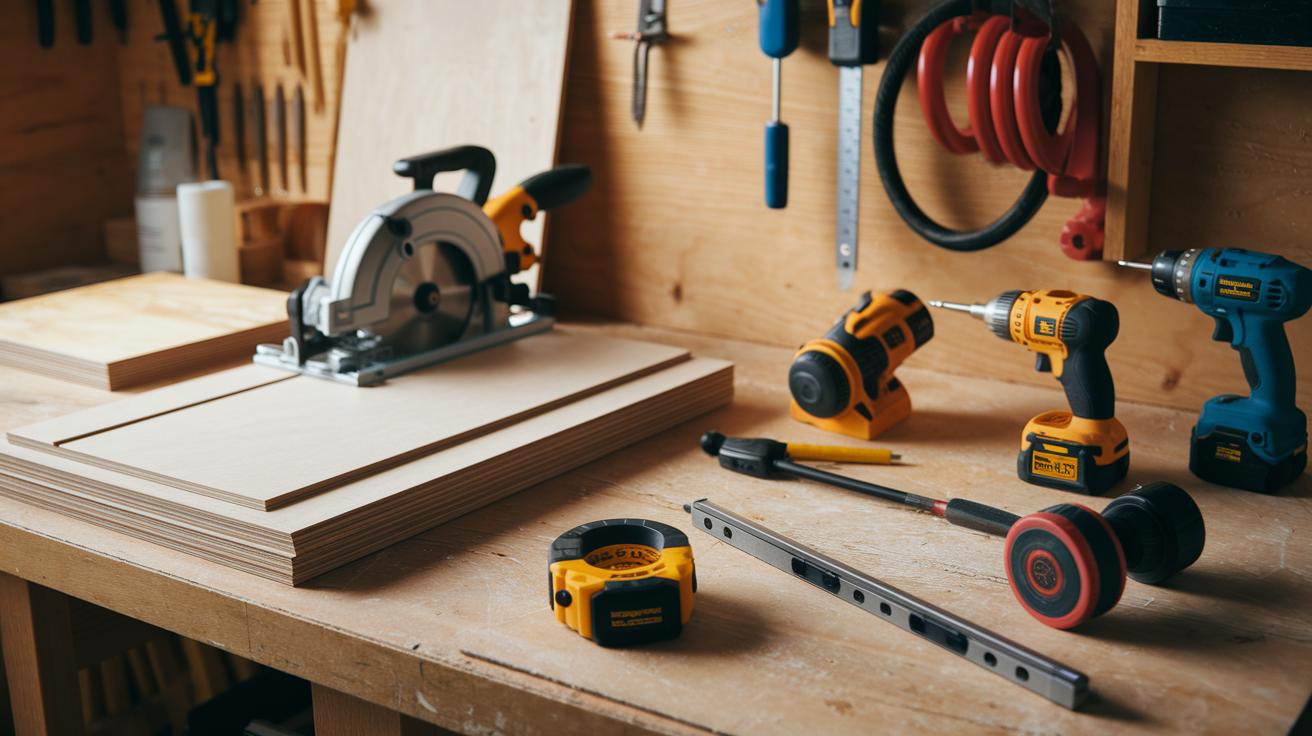
Before you get started, make sure you have all the tools and supplies you need. You will need cutting tools like a circular saw or miter saw, a table saw, a drill, and a sander to shape your wood with ease. For accurate measurements, a tape measure and speed square are essential.
It can help to use a checklist, like the essential home improvement tools list, when shopping for equipment.
For building your bench, pick up 2×4 lumber for the legs and supports, and plywood sheets for the tabletop and shelf. Use 2½-inch wood screws for larger pieces and 1¼-inch screws for lighter parts. To make your bench mobile and stable, add four 4-inch caster wheels with washers. Finish your work with Minwax Gunstock Stain and clear polyurethane. Test the stain on a scrap board first to avoid any surprises later.
Detailed Measurements and Cut List for Your DIY Workbench Plans
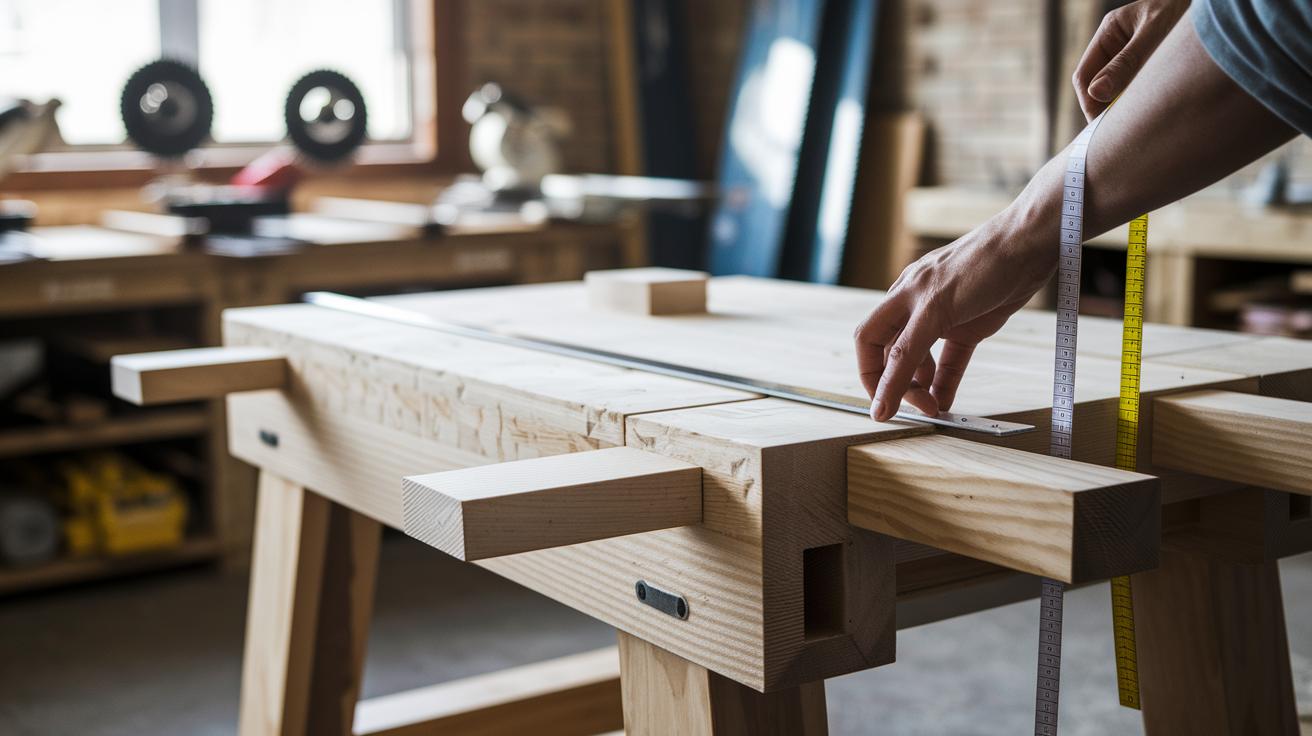
A solid workbench starts with accurate measurements. The free woodworking table blueprints give you clear sizes for every part. Use a circular saw, miter saw, or table saw to mark and cut each piece exactly. Measure and check twice before cutting to avoid mistakes and wasted material.
This blueprint download has all the dimensions you need for a smooth build. The cut list below covers everything from the legs to the plywood parts, all chosen for strength and a snug fit. Taking the time to double-check your measurements now will save you time later and keep your workbench strong for everyday use.
| Piece | Dimensions | Quantity |
|---|---|---|
| Legs | 34½”x3½”x3½” | 4 pcs |
| Top Stretchers | 36″x3½”x1½” | 2 pcs |
| Bottom Frame Boards | 30″x3½”x1½” | 2 pcs |
| Plywood Top | 48″x24″x¾” | 1 pc |
| Plywood Shelf | 48″x12″x¾” | 1 pc |
| Back Side Board | 30″x3½”x¾” | 1 pc |
| Extra Material | Varies | Allowance as needed |
Follow this guide closely. Measure twice, then cut.
Frame Assembly and Structural Reinforcement in DIY Workbench Plans
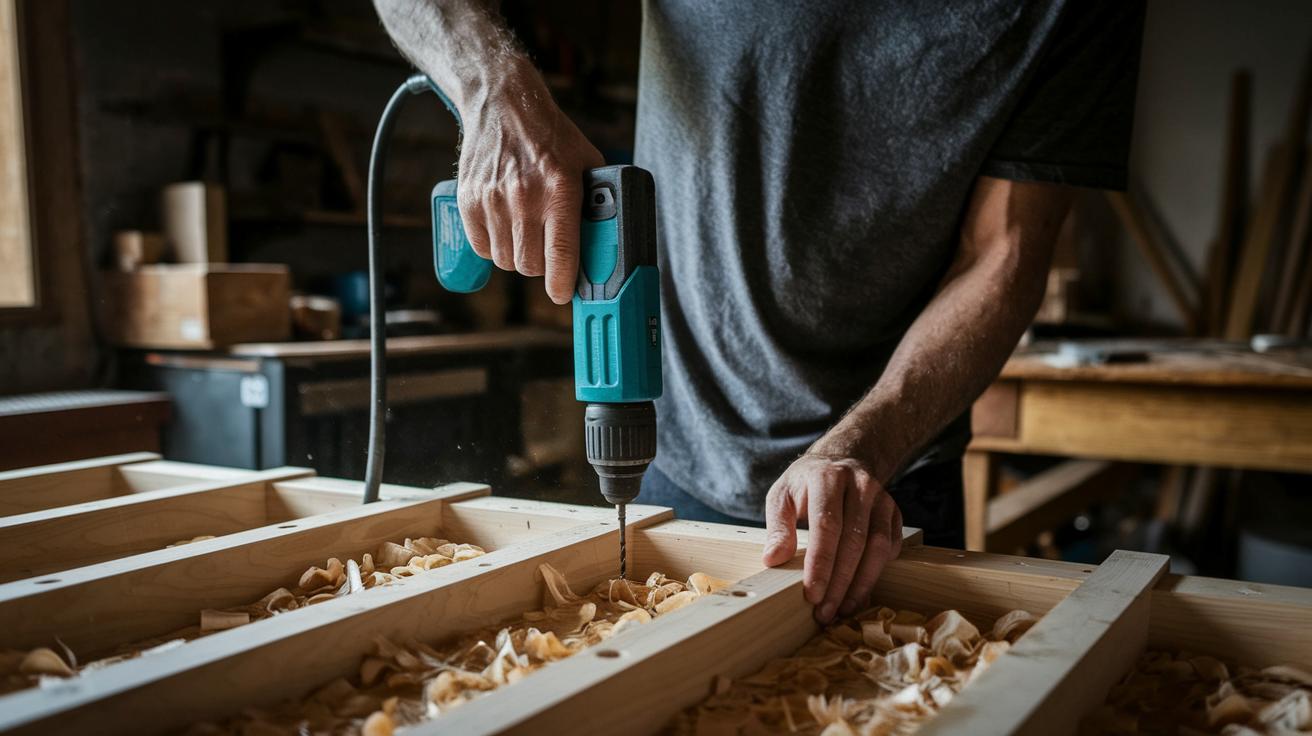
Start by drilling 2½-inch pocket holes in your top stretchers. This step stops the wood from splitting and helps the pieces join together. Think of it like marking a puzzle piece before it fits.
Next, attach the top stretchers to the legs using 2½-inch wood screws. Keep the spacing at an even 18 inches. This spacing makes the frame strong and balanced.
Now work on the bottom frame. Slide the back side board lengthwise inside the legs to give you more room to work. Drill pilot holes and fasten the board with 2½-inch wood screws. Before you screw it in, put wood glue on the corners for extra strength. This extra step helps the joints hold together much like a sealed envelope keeps its letter safe.
Follow these steps in order:
- Drill pocket holes on the top stretchers.
- Attach the top stretchers to the legs with screws.
- Insert the back side board into the leg space.
- Apply wood glue on all corners.
- Secure every joint using pilot holes and screws.
Take your time to check every connection. A well-built frame will stand up to heavy use without wobbling. Test the stability as you go to ensure a solid base for all your future projects. Enjoy the process and remember that careful construction pays off in long-term durability.
Attaching Shelves, Casters, and Tabletop in DIY Workbench Plans
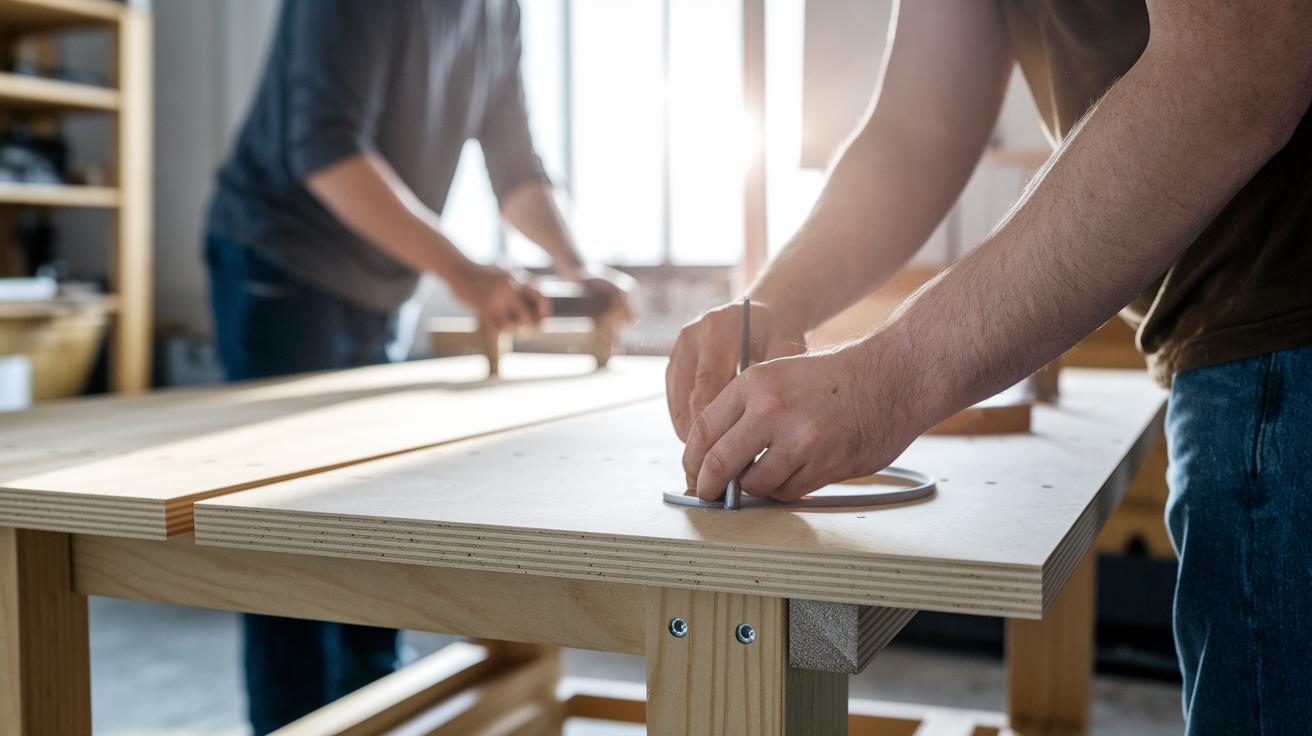
Your frame is ready, so let's finish your workbench. First, add the shelf. Place the bottom shelf 6 in from the base of the legs. Use 1.25-in screws to secure it tightly. Check that it is level and sits straight across the bench.
Next, work on the tabletop. Center your plywood top on the upper frame. Let it hang over by 0.5 in on every side. This extra edge not only looks neat but also gives you more room for your tools. Before you screw it down, pre-drill 0.25-in pilot holes every 6 in along the edges. This small step stops the wood from splitting and makes a strong bond.
Now, flip the workbench carefully. At each leg base, install a 4-in caster wheel using washers. Attaching these wheels gives your bench both stability and the freedom to move it across your workshop.
Key Installation Steps:
Staining, Finishing, and Durability Enhancements for DIY Workbench Plans
-
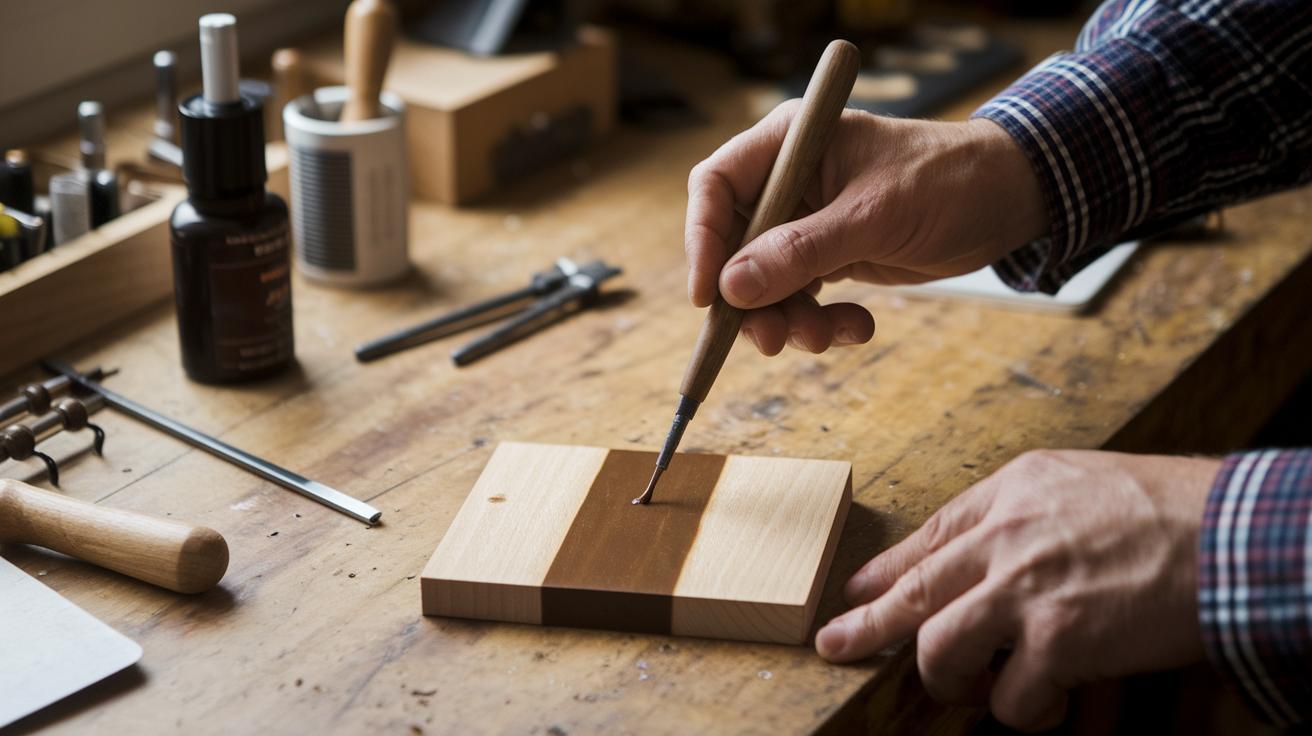
Test the stain on a small scrap piece to check if you like the color. When you are ready, use a lint-free rag to rub on two thin, even coats of Minwax Gunstock Stain. Wait 5 minutes, then wipe off any extra so the color soaks in evenly.
-
Let your workbench dry for 24 hours. Once dry, lightly sand the surface with 220-grit sandpaper. This smooths the wood and helps the finish stick. Then, brush away any dust from sanding.
-
Now apply two coats of clear polyurethane or lacquer. You can use a fine brush or another clean rag. Keep each coat thin and even to build a hard, protective layer. Allow each coat to dry for 2–4 hours before you add the next one.
These steps give your workbench a neat, durable finish and a professional look that lasts.
diy workbench plans: Build Your Dream Bench
Project Snapshot: 2-4 hours • $50–$150 (materials only, prices vary by region) • Intermediate • Tools: basic hand tools, saw, drill • Safety: wear eye protection and gloves
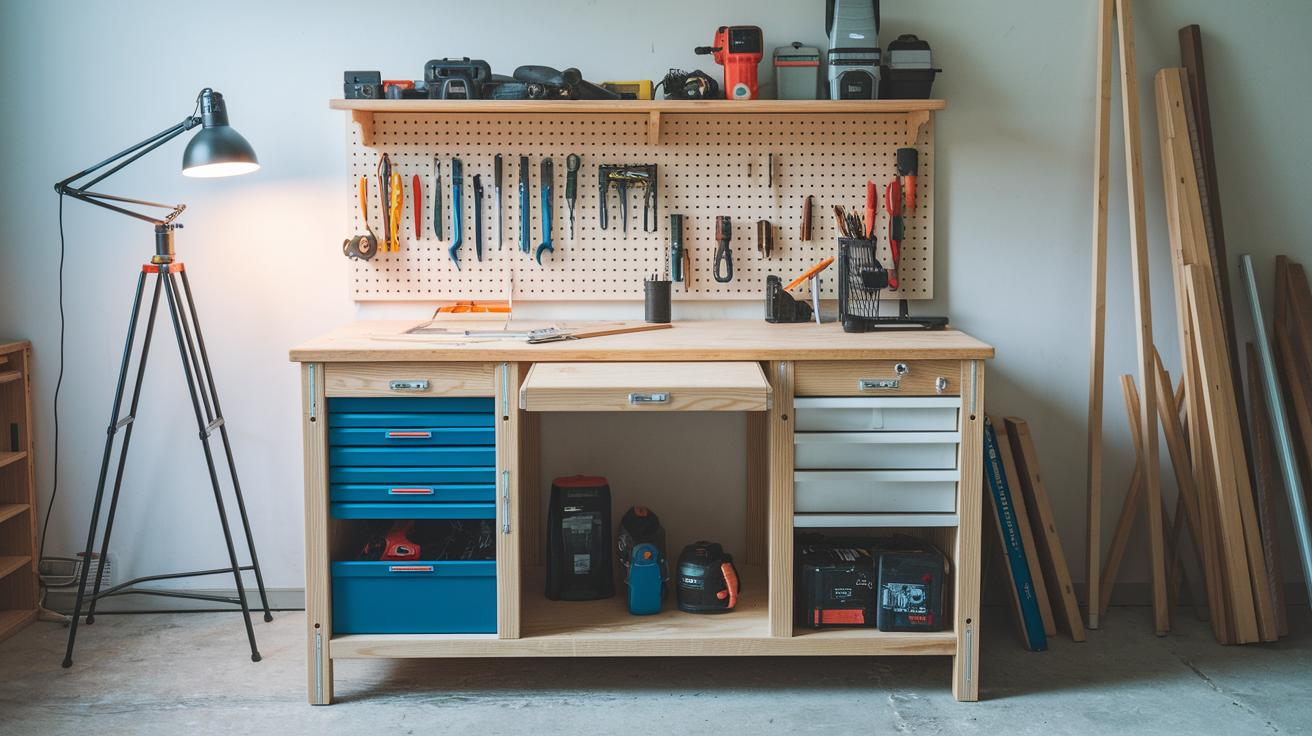
Upgrade your basic workbench with clever add-ons and space-saving designs. You can add tool racks on the sides to keep your hand tools close at hand. Under-shelf drawers give you extra storage while keeping your workspace neat.
A fold-down tabletop extension quickly turns a small bench into a larger surface for bigger projects. Flip-top storage compartments hide clutter so you have a clear area when precision work is needed.
If you work in a tight garage or an indoor workshop, small changes can transform your setup. Try modular add-ons that let you rearrange your bench. Consider eco-friendly board alternatives that offer both durability and sustainability. Quick-release hinge kits make it easy to collapse surfaces when you do not need them.
Experiment with these ideas to build a workbench that is both practical and personal. Every modification adds flexibility so your work area can adapt to different projects and space needs.
Final Words
In the action, the blog post guides you through building a workbench step by step. We covered preparing essential tools and materials, following precise measurements, and reinforcing the frame for strength. You learned how to attach shelves, add caster wheels, and finish with careful staining and sealing. Practical customization tips show you how to make your bench unique and space-saving. These diy workbench plans offer a clear, budget-friendly roadmap that gets you building with confidence and care. Enjoy your project and the sturdy results!