

Ever imagine your dorm room could feel like your personal haven? A few budget-friendly tweaks can change your cramped space into a cozy hideaway that lifts your mood and livens up campus life. Start by switching out your textiles, adjusting your lighting, and adding smart storage and decor. Even the smallest room can feel airy and inviting with these simple changes. Let’s explore ideas that not only refresh your look but also make your daily routine easier and more enjoyable.
Essential Steps for a Budget-Friendly Dorm Room Makeover
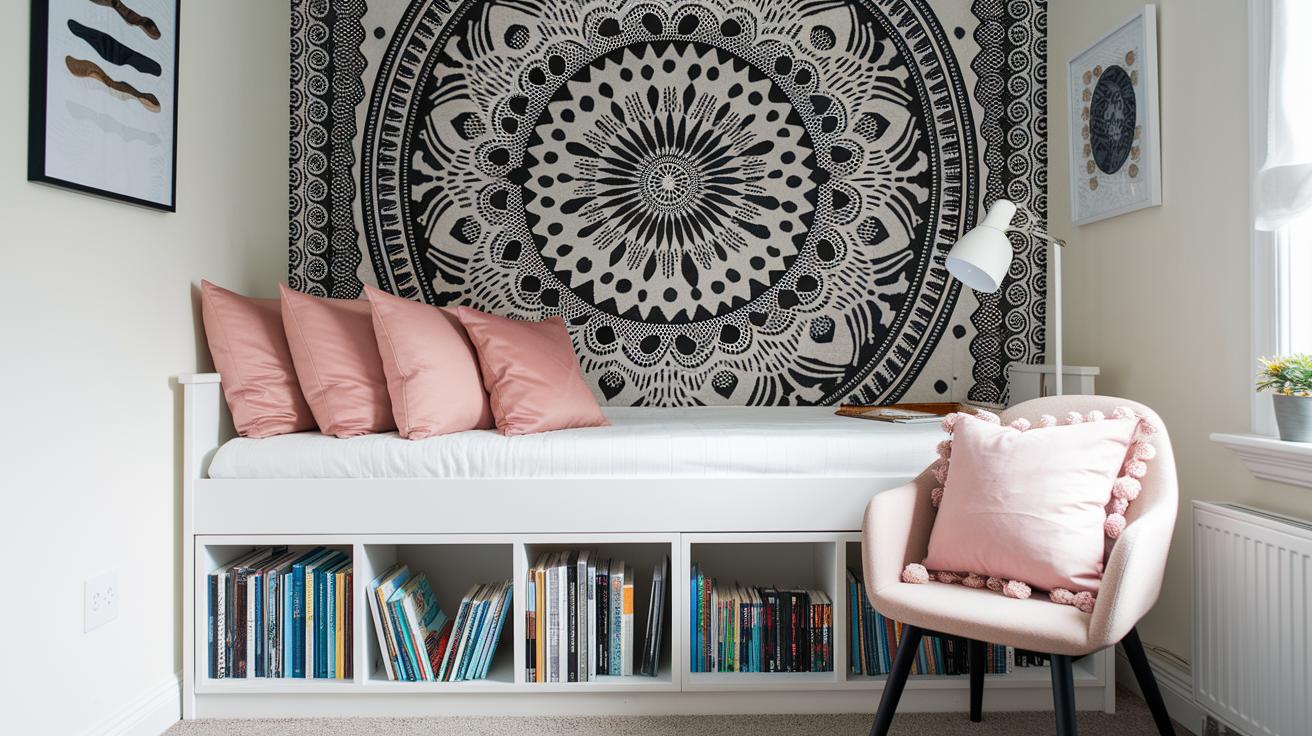
Start your makeover by focusing on four essentials: textiles, lighting, storage, and decor. Textiles set the mood. A simple black-and-white tapestry can transform a blank wall in under 10 minutes. Add cozy 24–26-inch Euro pillows in a soft blush tone to create a snug spot for reading or homework.
Lighting is very important. Use clip-on task lights and USB lamps. They save space and protect your walls. These lights provide focused brightness for your study areas and give your room a modern look without any heavy installation.
Storage is a must when space is tight. Try under-bed three-tier cubbies to store textbooks and supplies neatly. A hanging organizer or one that fits at the foot of the bed can hold extra gadgets and notebooks. A storage stool works double duty as seating and a spot to hide extra linens.
Decor brings everything together. Hang a large pinboard to protect your wall while you display photos, notes, and reminders. One set of roommates refreshed their dorm in just a few hours one summer, showing that great style can come at a low cost.
For more ideas, search for DIY room makeover tips online. With these simple steps, you can create a stylish, practical, and budget-friendly dorm room.
Maximizing Storage in a Dorm Room Makeover
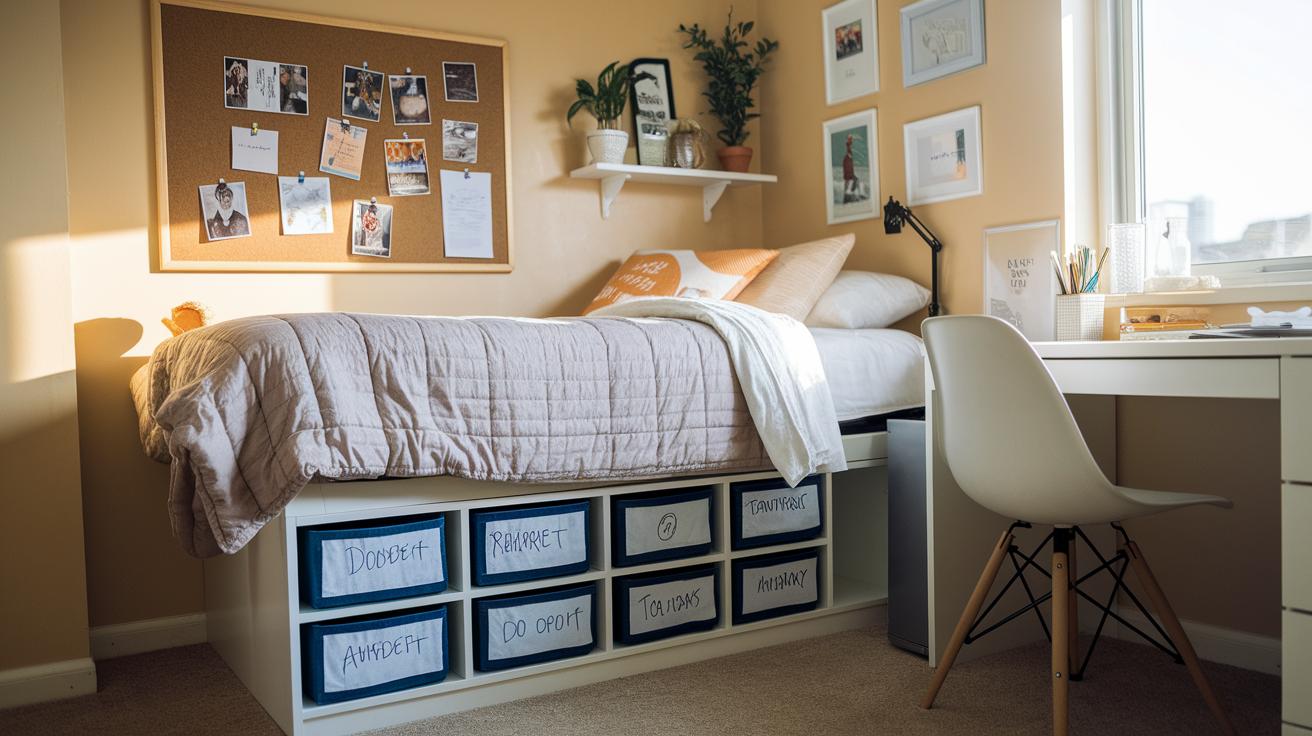
In a small dorm room, every bit of space matters. Under-bed three-tier cubbies work great for storing textbooks, small boxes, and extra bedding. Label each cubby with a note so you know exactly what’s inside, like writing "extra chargers" on one of them.
A hanging bedside organizer with several pockets is another smart idea. It keeps gadgets, notebooks, and even snacks close by while leaving your desk clear. Try putting your phone charger in one pocket and a small notebook in another for easy access.
Mount a large pinboard above your desk to display photos, notes, and reminders. Use adhesive hooks instead of nails to protect your walls. It becomes a visual checklist where each pin has its own place.
Finally, use cable clips to secure chargers and cords. Clip them along the edge of your desk or wall to stop tangling and save space. This simple trick helps keep everything neat and easy to reach.
Furniture and Layout Strategies for a Dorm Room Makeover
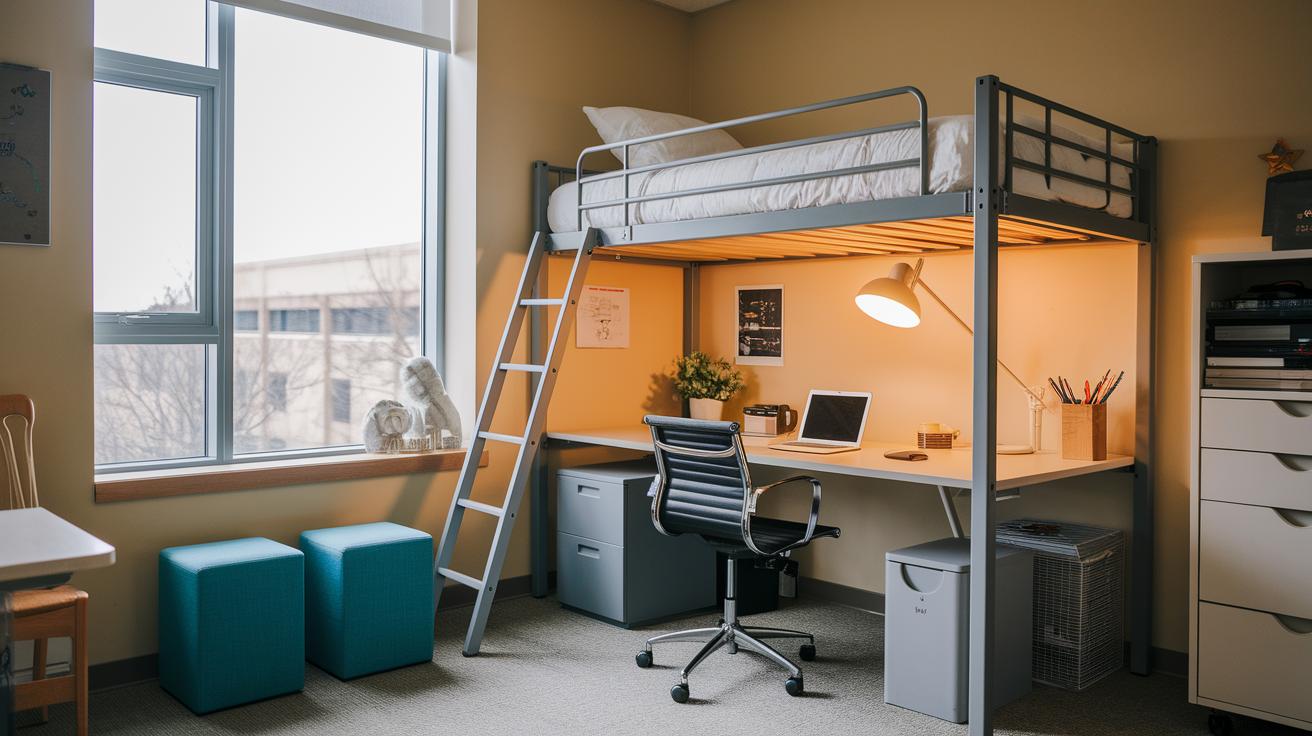
A loft bed can completely change your dorm room. It raises your sleeping area by several square feet, which frees up room below. Tuck your desk under the bed to improve traffic flow and create a cozy study spot. This design makes your room look larger and more useful.
Storage stools add extra benefits. They work as chairs for a short break and hide extra linens or clothes. This dual-purpose piece helps you keep clutter to a minimum and uses space smartly.
A simple clip-on light attached to the bed rail saves desk space. It gives focused light for studying without taking up room. This modern solution replaces a bulky floor lamp and keeps your work area clear.
Try these steps to plan your layout:
- Pick a loft bed built for small spaces.
- Place your desk directly under the loft bed to use floor space well.
- Choose a storage stool that also hides extra items.
- Attach a clip-on light to brighten your study area without crowding your desk.
These strategies transform a cramped dorm into a stylish and practical space that meets your modern campus needs.
Style Elements to Personalize Your Dorm Room Makeover
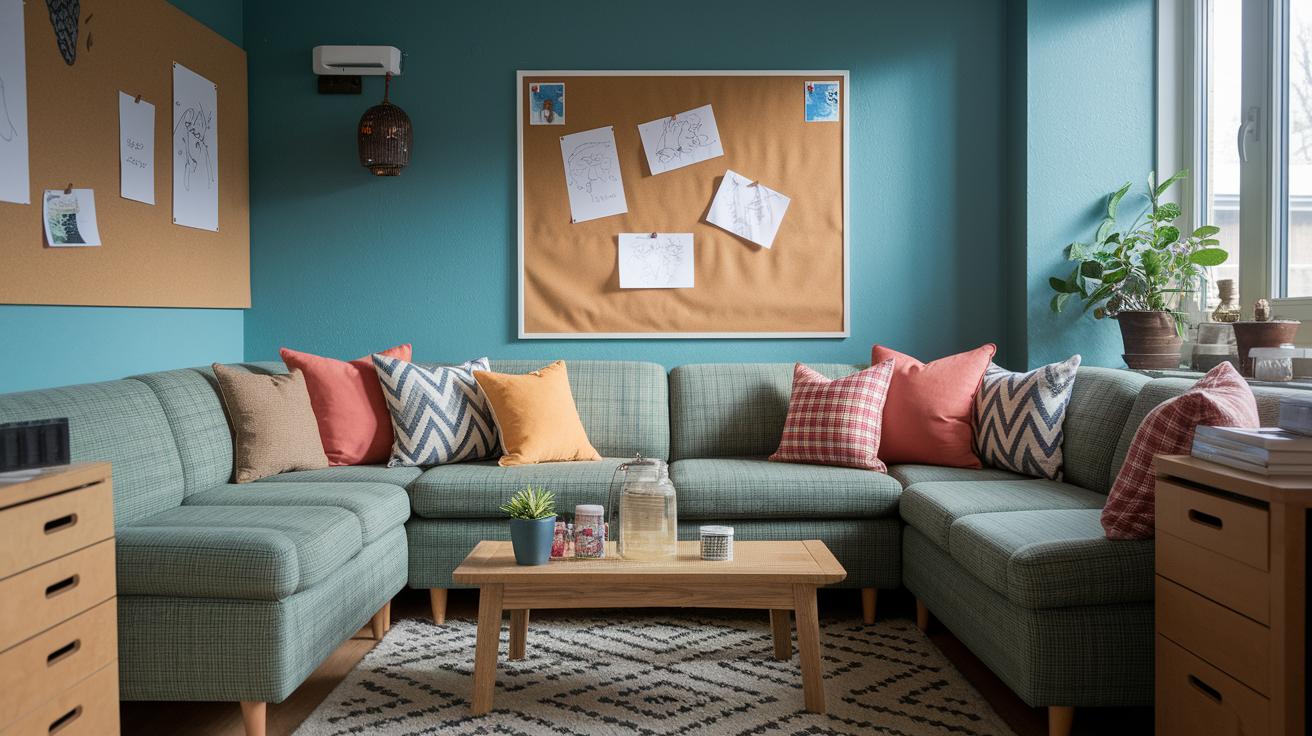
Give your dorm a fresh look by rethinking everyday decor with a creative twist. Instead of hanging a plain tapestry, try placing a thin, light fabric behind a bold one to create more depth.
Mix different fabrics and textures for a cozy feel. Combine soft pillows in different materials and sizes to create an attractive, layered look.
Play with lighting to set different moods. Place a cool white desk lamp for studying and add warm lights in your chill-out area. You can also use dimmers to adjust the brightness as needed.
Make your bulletin board unique by adding personal touches like sketches, ticket stubs, and handwritten notes. Change the items on your board from time to time to refresh your style.
| Unique Idea | Example Tip |
|---|---|
| Innovative Textile Layering | “Overlay a sheer fabric behind a bold tapestry.” |
| Mixed Material Pillows | “Pair different fabric weights to create texture contrast.” |
| Blended Lighting Temperatures | “Combine cool white desk lamps with warm ambient bulbs.” |
| DIY Custom Bulletin Boards | “Arrange personal mementos on a cork board and update seasonally.” |
DIY Projects for a Dorm Room Makeover
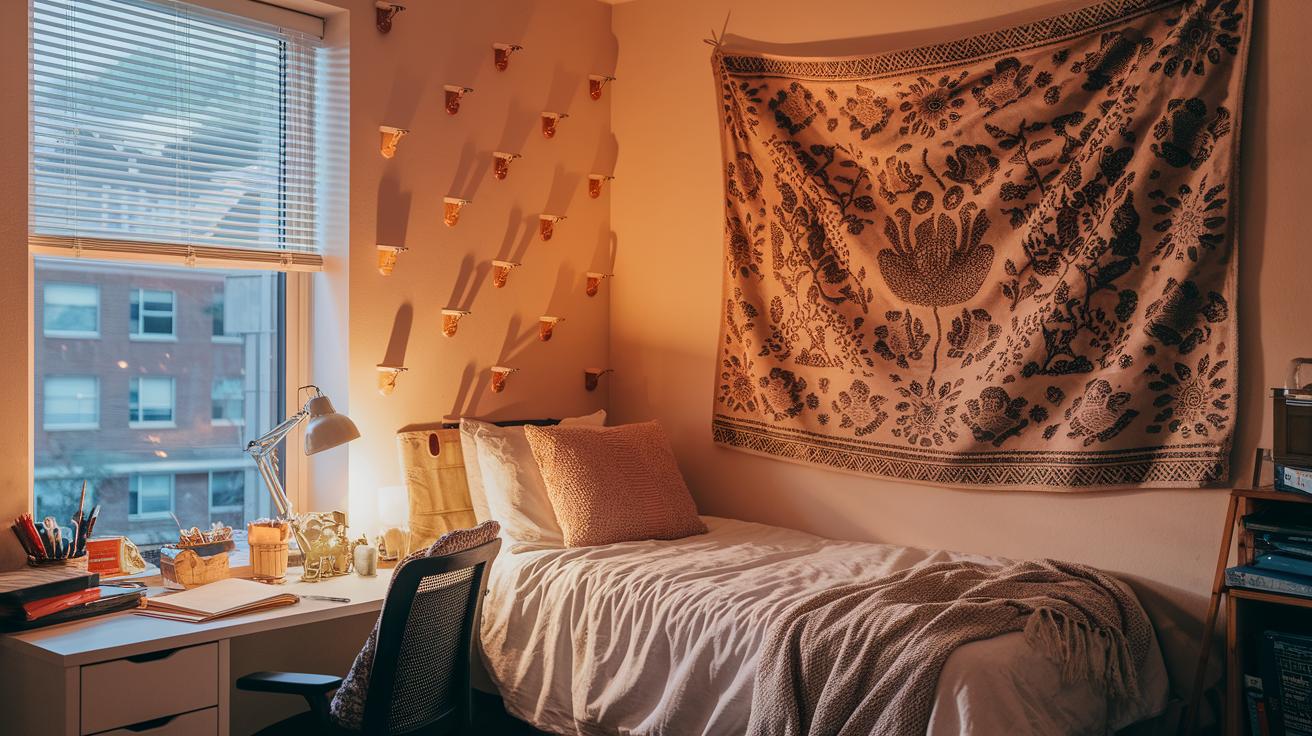
Start with a few crafty dorm improvements that add style and solve common issues.
-
Tapestry Hanging
Use removable Command hooks in a staggered layout for more support.
Steps: -
Clean your wall and mark where you want the hooks.
-
Place the hooks in a staggered pattern to spread out the weight.
-
Hang the tapestry and smooth it out.
Tip: If one side droops, adjust the hook positions until it hangs evenly.
Example: Place hooks diagonally to help counter the fabric's natural droop. -
Mounting a Clip-On Task Light
Upgrade your clip-on light to offer an adjustable angle and softer glow.
Steps: -
Measure along the rail to find the best spot for light.
-
Clamp the light securely and test its beam.
-
Stick a simple diffuser (like wax paper taped behind the cover) to soften the brightness.
Tip: If the light is too bright at night, change the angle or add a makeshift filter to cut the glare.
Example: Slide a thin piece of frosted plastic behind the light for a gentler glow. -
Pinboard Setup with Adhesive Strips
Make sure your pinboard stays secure with a firm setup.
Steps: -
Level the pinboard before applying adhesive strips.
-
Press each area for about 10 seconds to set the strips.
-
If it wobbles, add a bit of museum putty on the corners for extra hold.
Tip: For heavier boards or more items, reinforce the bottom edge with extra strips.
Example: Apply a double layer of strips at the bottom if the board sags. -
Looping a Bedside Organizer
Enhance your organizer with labels and pocket tweaks for better sorting.
Steps: -
Pick an organizer that has multiple pockets.
-
Loop it over the rail, making sure every pocket hangs free.
-
Use chalkboard labels on each pocket for quick identification.
Tip: If the pockets are uneven, rearrange items so that heavier tools go in larger pockets.
Example: Label the pockets with erasable chalk to create a custom setup. -
USB Lamp Placement
Solve dimming issues by optimizing your USB lamp's spot.
Steps: -
Find a nearby power source close to your desk.
-
Position the lamp so it fully lights your workspace.
-
If the lamp dims with many devices on it, attach a powered USB hub nearby.
Tip: Bundle charging cables with a clip to reduce clutter and keep the lamp stable.
Example: Group all cables together to maintain a tidy desk.
Before-and-After Inspiration for Your Dorm Room Makeover
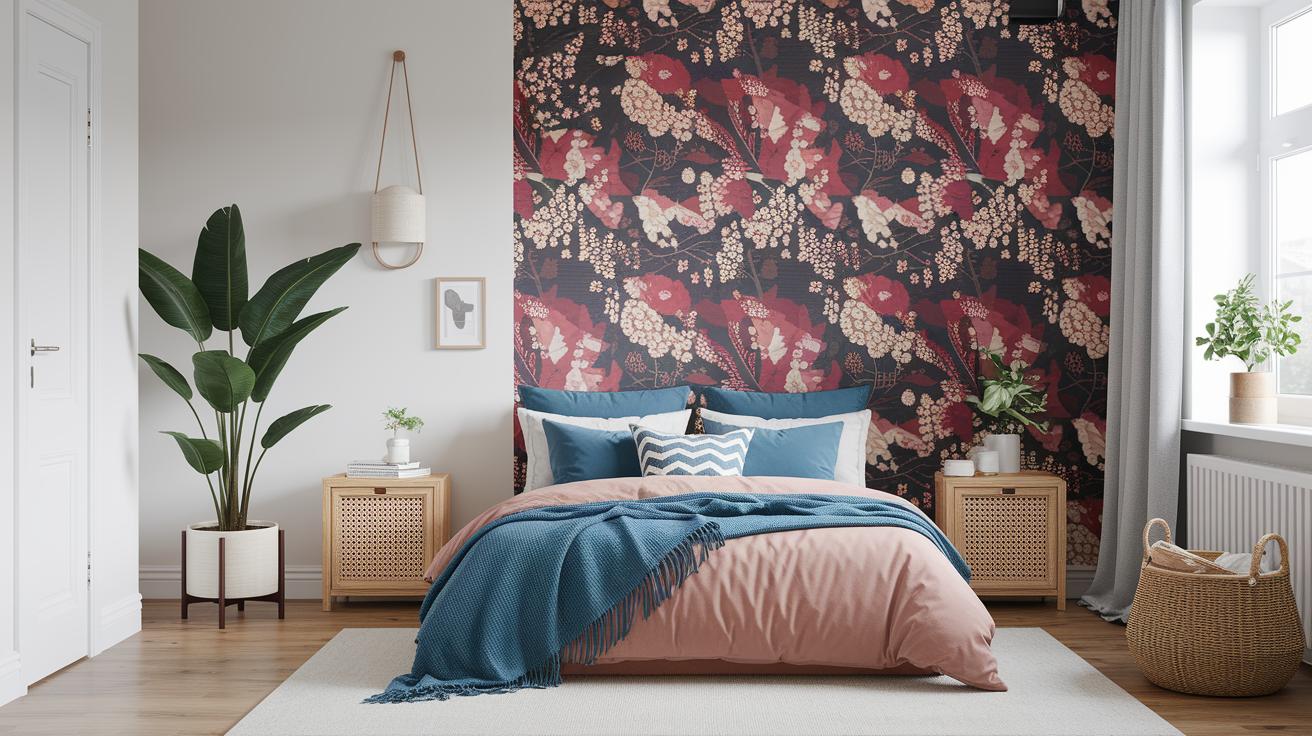
Check out this quick guide that highlights some tips from our step-by-step makeover guide. Use the chart below to see how simple changes can boost both style and function.
| Component | Before | After |
|---|---|---|
| Wall Decor | Plain white walls | Statement tapestry |
| Bedding | Bare bedding | Layered pillows and throw blankets |
| Floor Space | Cluttered floor | Under-bed storage cubbies |
| Lighting | Standard desk lamp | Clip-on task light and USB lamp |
These snapshots show you neat ways to refresh your room without diving into every detail. Enjoy the ideas as you plan your own dorm room makeover!
Planning Your Dorm Room Makeover Within Budget and Time

You can give your dorm a fresh look in about 3 hours without spending a fortune. We tested a plan that uses eight key items for roughly $175. Start with a tapestry for $25, add Euro pillows for $30, and include a clip-on task light for $15. Pick up three-tier cubbies for $20 each, a storage stool for $40, a bedside organizer for $10, a large pinboard for $15, and a USB lamp for $20. Every dollar works hard for you when you update your space.
Here are four simple ways to save time and money:
- Shop clearance racks. You may find quality items at a lower cost.
- Use student discounts at many stores. They help cut costs on even pricier items.
- Reuse decor you already have. A bulletin board or small accessories can give your room a fresh touch.
- Block your time. Spend one hour moving furniture like a loft bed or storage stool. Use the next hour to set up your lighting and hang fabrics. Reserve the final hour for finishing touches like placing the bedside organizer and pinboard.
By following these steps, you can create a modern dorm look with a tight budget and busy schedule. Enjoy the process and make your space uniquely yours!
Final Words
In the action of planning your dorm room makeover, you gathered solid ideas on textiles, lighting, storage solutions, and clever DIY projects. You learned how to maximize space with smart furniture and budget tips that keep costs in check. Each step builds toward a personal, stylish space that feels uniquely yours. Every project move brings measurable improvements and a boost of creativity. Keep testing new ideas and enjoy the journey, your dorm room makeover is just the start of a creatively refreshed life.
FAQ
Dorm room makeover cost
Dorm room makeover ideas
College dorm room ideas for girls and dorm room ideas for girls on Pinterest
Dorm room decorating ideas for guys
Dorm room makeover before and after
Dorm room ideas aesthetic