

Ever wondered if one tool can change your whole DIY experience at home? The Dremel tool is more than a gadget. It is a strong helper that cuts, sands, carves, and engraves. Whether you are fixing up old furniture or making custom decor, this tool gives you the precision and flexibility you need. In this post, we share creative ideas on how a Dremel can be your secret tool for turning everyday tasks into fun projects.
Dremel tool uses for home DIY: Bright Ideas
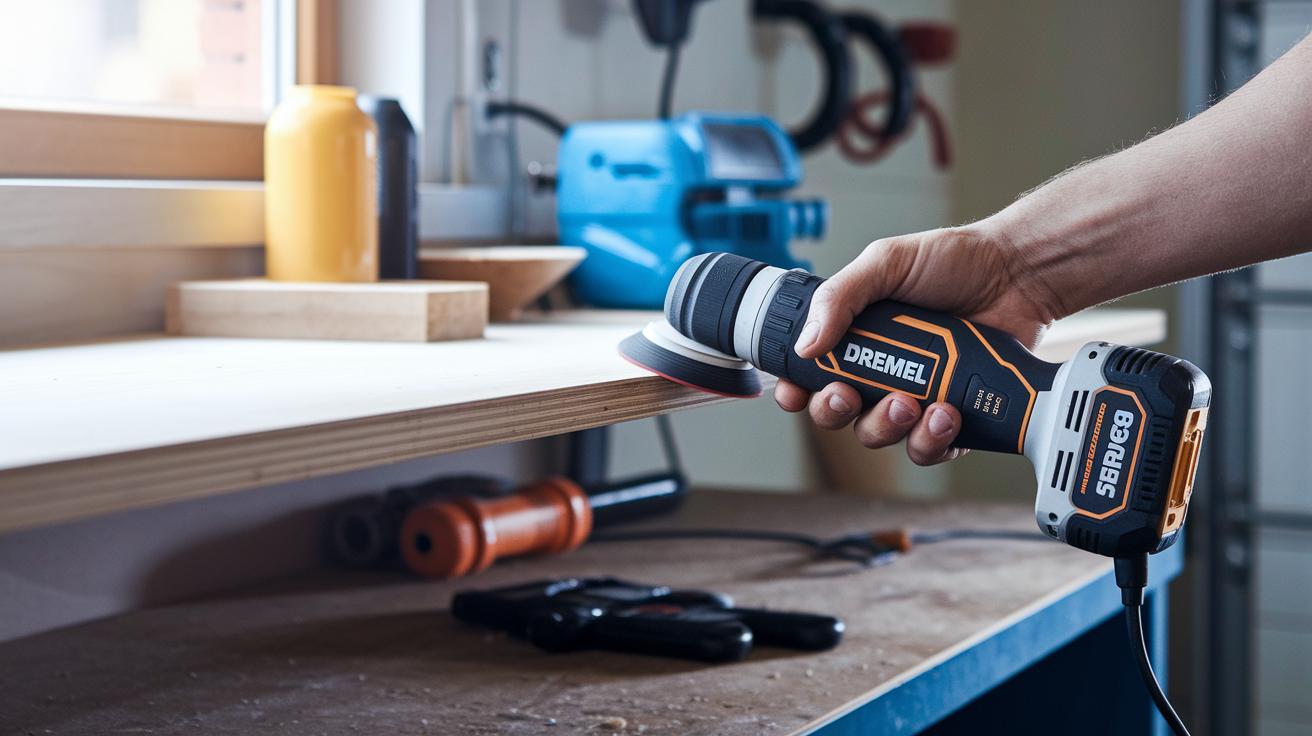
The Dremel tool is a handy helper for many home and garage projects. You can use it for cutting, sanding, polishing, carving, and engraving. It works great when you add fine details to a wooden shelf or smooth out rough edges on furniture. Choose a cordless model if you are far from an outlet, or go with a corded option for projects that need steady power.
Dremel tools come in many models to suit different tasks. Heavy-duty tools run at higher RPMs (revolutions per minute) and give extra power for tougher jobs. Some models have extended batteries, meaning you can work longer without needing to recharge. You might also find tools with a fixed speed or variable speed. With variable speed, you can slow things down to carefully carve custom designs in hardwood. The right speed makes a big difference in texture and control.
These tools work well for beginners and experienced DIYers alike. They are great for quick repairs, creative projects, or even everyday tasks like filling pocket holes. Their compact size lets you do everything from precise carving to fast sanding. For more ideas on how a Dremel can boost your toolkit, check out the Essential Home Improvement Tools List.
Precision Carving Techniques with Your Dremel

When you want to add fine details to your carving projects, start with high-speed cutter bits. Choose diamond wheel points or tungsten carbide cutters for sharp, intricate grooves and neat edges. The proper bit and a steady feed rate make all the difference.
Wood Carving Applications
For wood projects like spoons or decorative trims, pick a standard carving bit made for hardwood boards. Draw out your design with a paper template and keep a steady pace when you follow the lines. For example, you might trace a gentle curve on your board and slowly guide your Dremel along it. Tilt the bit as needed to carve unique grooves that bring out the natural look of the wood. Try different pressures until the bit cuts smoothly without chipping the surface.
Stone and Masonry Detailing
For rock carving, use a silicon carbide grinding stone when working with softer rock. When you move to harder materials like sandstone, switch to a diamond bit. A rod-saw attachment works well to shape sandstone candle holders with cool textures. Make sure your workpiece is secure and apply steady, controlled pressure. Hold the Dremel at a slight angle and work with small strokes to gradually reveal your design. Also, keep dust in check by working in a well-ventilated area or using a dust extractor.
Dremel Engraving Ideas for Home DIY

You can engrave glass in less than one minute with the Stylo+ Craft Tool and diamond-coated ball bits. These bits let you carve clean monograms and geometric patterns. Even a small glass panel can become a piece of art with the right tool.
When working on candles, use fine-point engraving bits at low speeds. This helps stop the wax from melting. Work slow and steady. Picture carefully carving a design into a candle so the wax holds every detail.
Leather projects, such as bracelets, work best with sanding bands and engraving tips. This combo gives you good control over patterns and letters. Try tracing a smooth curve along a leather band to create a design that stands out.
For etched wooden signs, combine carving tips with sandpaper and a finish for a refined look. A great beginner project is making coin rings. You use different bits to cut, shape, and polish the coin edges. It takes time, but the reward is worth it. Experiment with your speed and pressure to get clear, precise results.
Comprehensive Sanding and Polishing with a Dremel

A Dremel tool makes polishing and sanding projects easy. It helps you reach tight corners on cabinets and furniture with the right attachments. When you use sanding drums, you can smooth rough spots with steady power. A sanding tip can give faux beam mantel restorations a weathered look, much like aged barnwood. Buffers and polishing wheels can turn metal hardware into shiny, mirror-like pieces.
Choosing the right attachment is important. Think about the piece you are working on and select the right accessory. For example, sanding bits help remove extra filler around pocket-hole plugs so you get a flat surface. If you are working with metal, a buffer attachment can remove rust spots or leftover paint in minutes. To show off the natural grain of wood, gently scuff the surface with a sanding drum. Work slowly and use a light touch to get a smooth finish without damaging the material.
Here is a list of tasks you can tackle:
- Smoothing tight inside corners
- Refining wood filler and pocket-hole plugs
- Polishing brass knobs and metal fixtures
- Removing paint or rust from metal surfaces
- Creating decorative distressing on furniture
Adjust the speed setting for each material. Try different speeds until you get the best result. Enjoy watching your project come together with practical care and precision.
Restoration and Repair Solutions Using a Dremel
Wood and Furniture Restoration
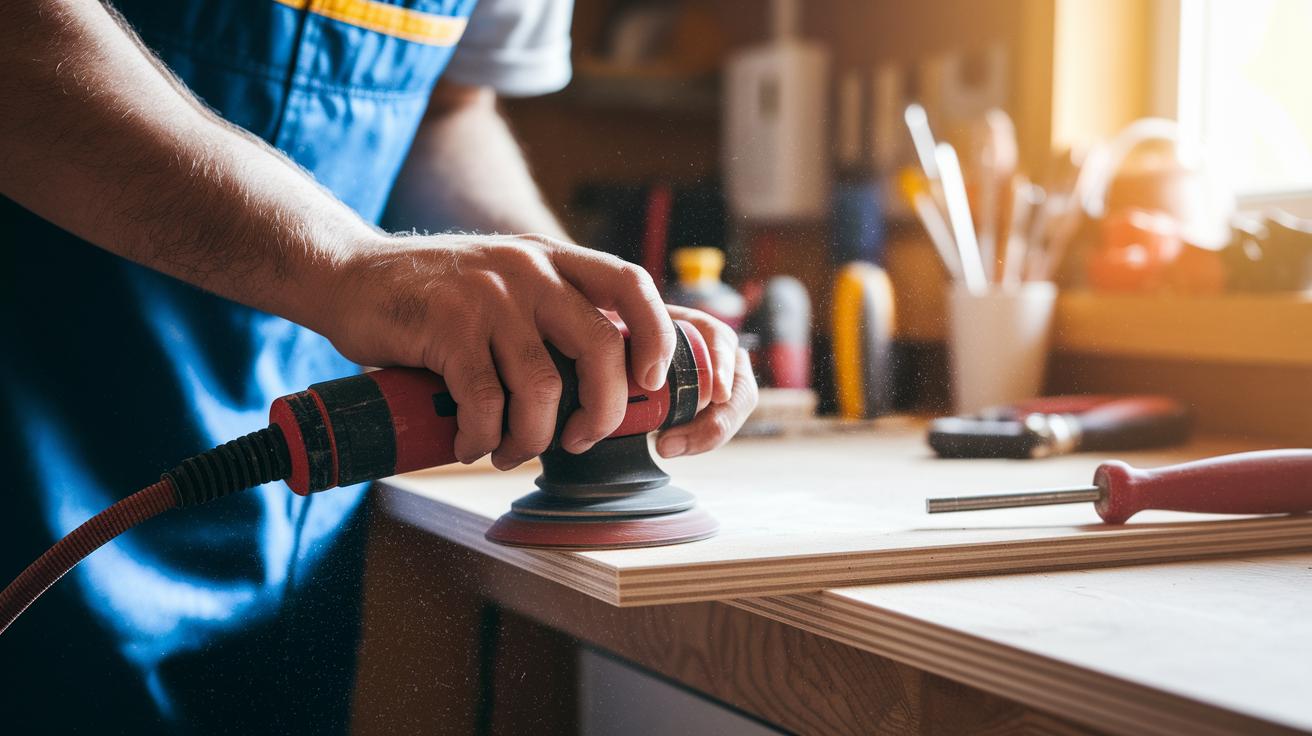
To bring new life to wooden pieces, use your Dremel with a grinding stone and sanding bits. First, strip away old finishes from items like cabinets by gently grinding off outdated varnish. Then, smooth out small wood pockets by filling them until the surface feels even and ready for stain or paint. The tool’s steady vibration gives a uniform texture without needing heavy sanding. For softer, rounded edges on trim, run a sanding bit slowly along the lines. Work carefully and adjust your pressure to avoid gouging the wood. Always remove dust thoroughly before you add any new finish.
Home and Automotive Repair
For quick fixes around the home, the Dremel can serve as a powered screwdriver with hex-shank adapters, so you save time without switching tools. When repairing small metal parts on vehicles, attach a grinding stone to carefully remove rust spots or corrosion. If you need to take out old grout from tiled surfaces, a rotary wheel bit can clear away the material efficiently. The Dremel Pet Nail Grooming rotary is also a handy tool for safely trimming your pet’s nails at home. Use slow, controlled movements and choose the right speed setting for each material to avoid damage.
Dremel Accessory Overview and Efficient Bit Selection
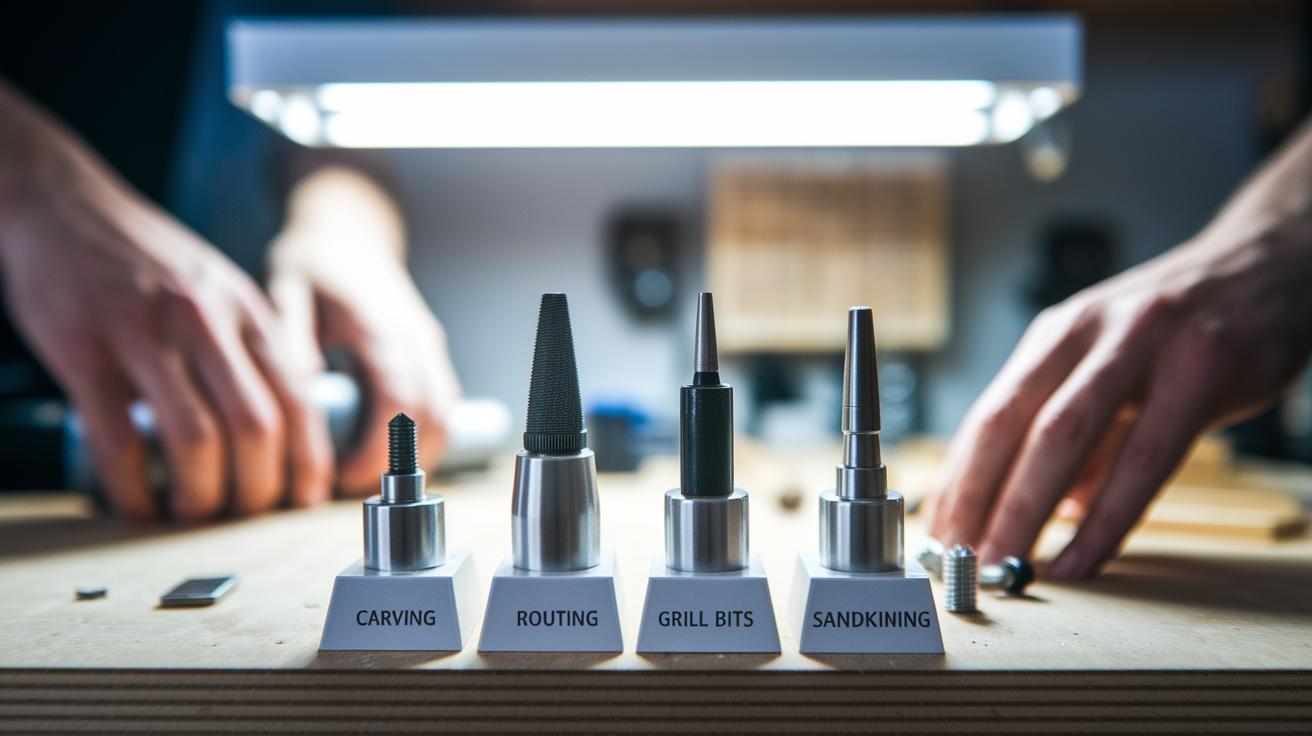
Dremel offers several attachments to help you complete projects with professional results. There are four main accessory types, and each serves a specific purpose. For detailed work like carving or engraving, choose a carving bit. These bits work well on wood, glass, or metal.
Routing attachments help you cut grooves, keyholes, and trim edges. They deliver clean, precise cuts for your projects.
Drill bits come in different sizes and let you drill into materials such as masonry, wood, and plastic.
Grinding and sanding accessories include stones, drums, buffers, and cutting discs. They quickly remove rust and smooth surfaces while giving your project a polished look.
For example, if you are carving a custom date into a wooden frame, a carving bit will provide the detail you need. If you need to clean up an uneven edge, a grinding accessory can fix it fast. Try different bits until you find the perfect match for your project.
Some users say, "When routing a precise groove, my Dremel made it easy to get a flawless edge."
| Attachment Type | Primary Use |
|---|---|
| Carving/Engraving Bits | Detail work in wood, glass, metal |
| Routing Attachments | Grooves, keyholes, edge trimming |
| Drill Bits | Masonry, wood, plastic drilling |
| Grinding/Sanding Accessories | Rust removal, surface smoothing, polishing |
Dremel Safety Guidelines and Maintenance Tips
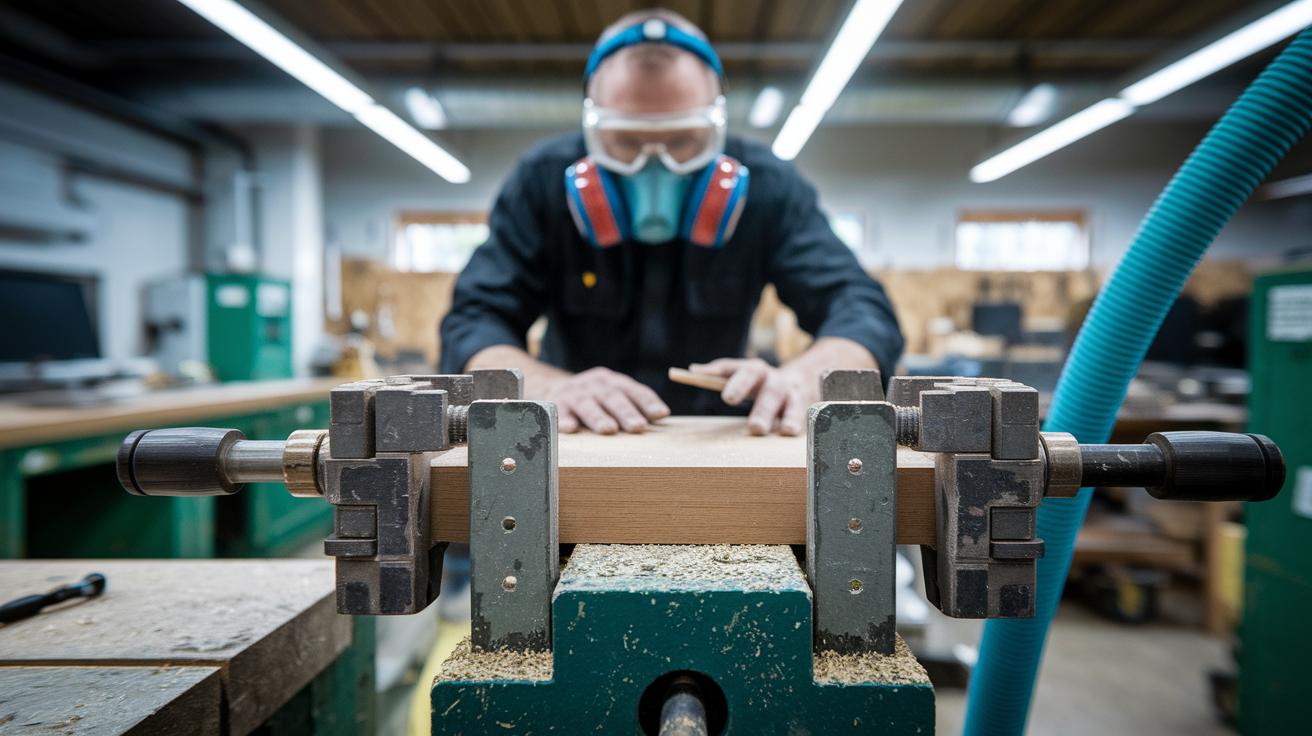
Start by putting on ANSI-rated eye protection and a dust mask. These keep your eyes and lungs safe from flying debris and dust. Clamp your workpiece with a vise or secure it with clamps. This stops movement and helps prevent kickback, so you get a neat finish.
Choose the right speed for each type of material. If your tool runs too fast, bits can wear out quickly and overheat. If it runs too slow, cutting becomes inefficient. Use a dust-extraction attachment or work in a well-ventilated area. This keeps harmful dust from building up in your workspace.
Keep your bits clean and sharp by using a proper sharpening tool. For cordless models, follow the battery care instructions to help extend battery life and keep performance steady.
- Wear ANSI-rated eye protection and a dust mask.
- Clamp workpieces securely with a vise or clamps.
- Choose the proper speed for each material.
- Use dust-extraction attachments or work in a ventilated space.
- Keep bits clean and follow battery care instructions.
Final Words
In the action, we explored practical Dremel tool uses for home DIY from precision carving and engraving to sanding, polishing, and quick repairs. We broke down model options and accessory selections, plus key safety tips to keep your projects running smoothly. Each section offers clear steps so you feel confident to tackle cutting, restoring, and detailing tasks at home. Enjoy your next creative venture and remember, every project is a step toward building skills and adding value to your space. Happy DIYing!