
Have you ever thought a few hours on a weekend could transform your home? Instead of scrolling on your phone, picture painting an accent wall or building a simple storage shelf. Even small projects add style and useful benefits. With clear instructions and a few basic supplies, you can boost your creativity and give your home a fresh look. This blog shows you how fun, budget-friendly DIY projects can change your space in just a weekend.
Quick Overview of Easy Weekend DIY Projects
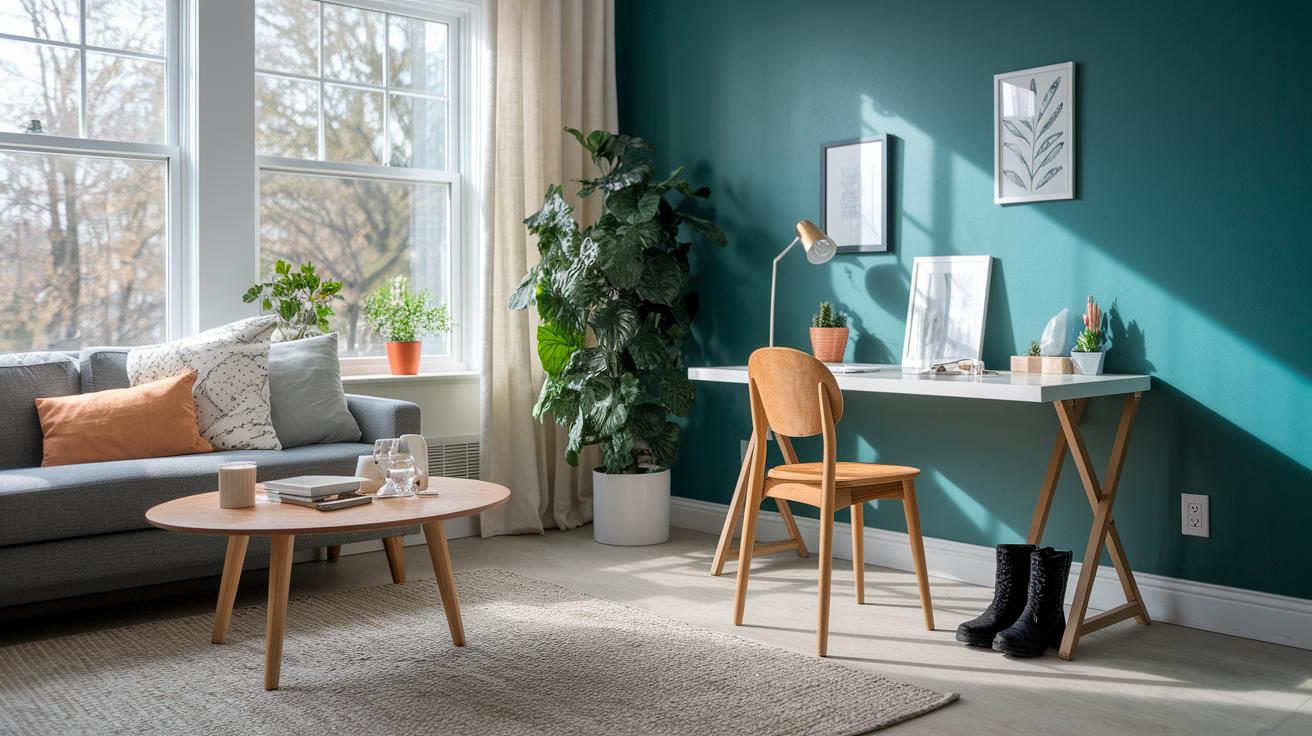
Weekend DIY projects make it easy to give your home a fresh look in just a few hours. You can update an accent wall or build a simple storage piece, and even small improvements can transform your space. Each project comes with personal tips and real-life advice to show you that a little effort goes a long way. For example, a painted check wall or a new boot tray can boost both style and function.
These projects work for beginners and DIY fans alike. You'll likely need just a few basic supplies like paint, painter’s tape, or some wood pieces. The instructions break down every step so you can follow along easily even if your skills are just starting out. Many folks have discovered that a mix of trial and error leads to really rewarding upgrades.
Each project brings noticeable changes to your home, adding both decorative appeal and practical benefits. Whether you are tackling small fixes or reinventing a whole room, these ideas mix creativity with a budget-friendly approach. Enjoy the process and take pride in your weekend transformation.
Essential Materials and Planning for Easy Weekend DIY Projects

Good planning is the heart of a simple weekend project. It stops surprises and helps you stay on time and within your budget. When you know your materials and the time needed, you can create a clear roadmap that lets your creativity shine while you make your space your own.
Here are the basics you need:
- Paint (pick a finish that fits your room)
- Paintbrushes and rollers (for smooth, even coats)
- Painter's tape (to mark clean lines and protect surfaces)
- Drop cloths or plastic sheeting (to cover floors and catch spills)
- Basic power tools (like a drill and a saw, which are handy for many tasks)
- Hammer and nails (for quick, secure fixes)
- Screwdrivers (to tighten or attach hardware)
- Measuring tape and level (to double-check your work)
Keep your budget in mind as you pick out materials. Most weekend projects take between 4 and 8 hours and cost less than $100. You can use a cost estimation tool, like a DIY project planning template, to stay on track. Allow a little extra time and money for any surprises or small changes. With a clear plan, you reduce stress and create a project that fills your home with joy.
Buffalo Check Accent Wall: An Easy Weekend DIY Project

Project Snapshot:
- Duration: 6 hours
- Cost: $50 (materials only, prices may vary)
- Skill Level: Beginner
- Tools: measuring tape, level, painter’s tape, brushes, drop cloth
- Safety: Work in a well-ventilated area and follow tool safety rules
-
Prepare the Wall
Clear the area of furniture and dust the wall well. Fix any dents or holes so the wall is smooth. Cover the floor with a drop cloth to protect it. A clean wall is the perfect start for your project. -
Measure and Mark Grid Lines
Use a measuring tape and a level to mark even lines with a pencil. These light marks help you create uniform squares. Good measurements make all the difference. -
Tape and Paint Alternating Squares
Apply painter’s tape along the marked grid lines for neat edges. Paint every other square in your chosen color. Let the paint dry completely before adding a second coat if needed. Step back and notice how each square comes alive next to its neighbor. -
Finish with Sealant
After the paint dries, peel off the tape slowly. Apply a clear sealant over the painted squares to lock in the color and protect it from wear. This final touch gives your wall a lasting, polished look.
Enjoy your new accent wall and take pride in the bold, playful update to your room!
Double Sliding Barn Doors: A Fast Easy Weekend DIY Project
Project Snapshot:
- Duration: 6 hours
- Cost: About $150 (materials only, prices vary by region)
- Skill Level: Beginner to Intermediate
- Tools: saw, measuring tape, drill, level, hammer
- Safety: Wear protective gear and work in a clear, well-lit space
-
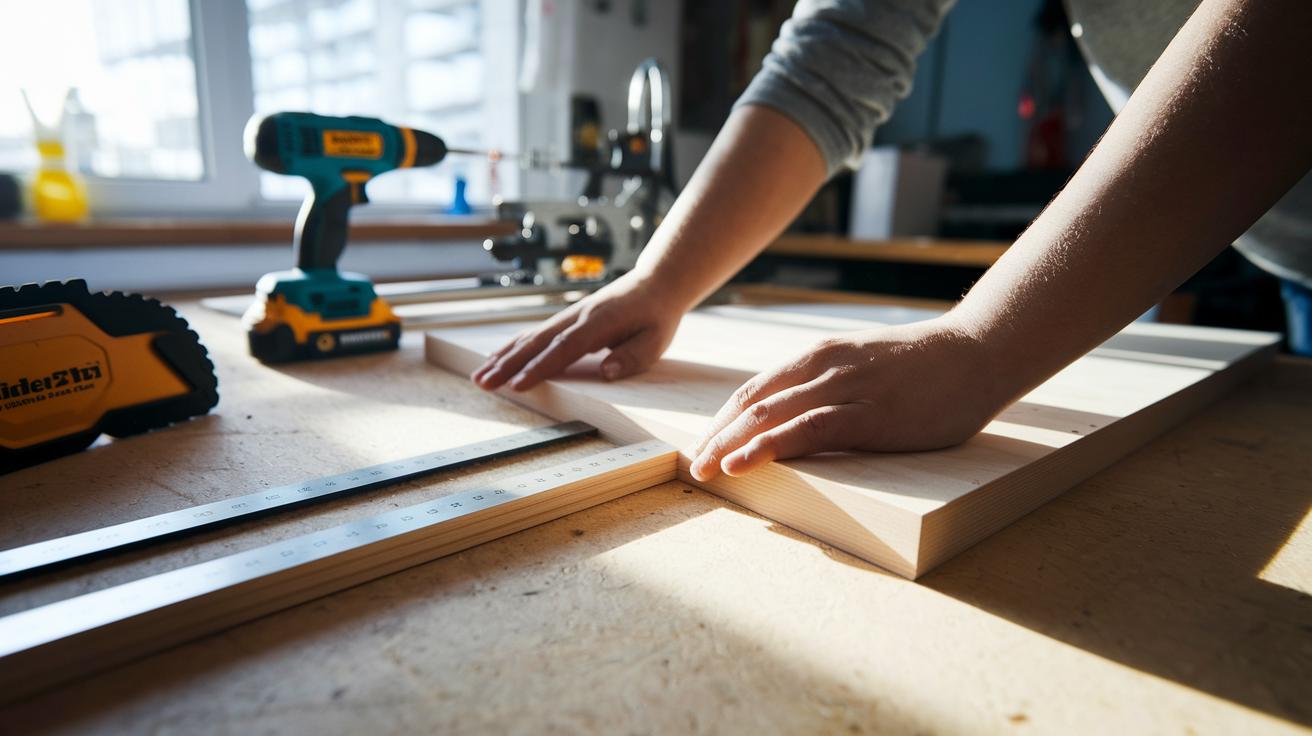
Select and Cut Boards
Start by choosing basic lumber that suits your space. Measure your doorway carefully and mark the boards. Use a saw to cut them evenly. This step keeps each door panel balanced. -
Assemble Door Panels
Lay the cut boards out and arrange them into a door panel. Apply wood glue and nail the boards together. Make sure the boards line up well to keep gaps to a minimum. -
Attach Hardware Kits
Use a barn door hardware kit that includes rollers and hangers. Follow the kit instructions and fasten all parts firmly. This ensures your doors will hang securely and work correctly. -
Mount the Track
Install the sliding track above your doorway. Use a level to check that the track is perfectly horizontal. A level track is key to smooth door movement, so double-check your measurements. -
Hang Doors
Lift the door panels and slide them onto the track. Adjust them until they glide smoothly and close evenly. This final step gives your room a fresh, new look without breaking the bank.
5-Minute Boot Tray Fix: Instant Easy Weekend DIY Project
Project Snapshot:
Weekend project • Under 10 minutes • $15–$20 (materials only) • Beginner • Tools: tray, rocks • Safety: Be careful when handling heavy rocks.
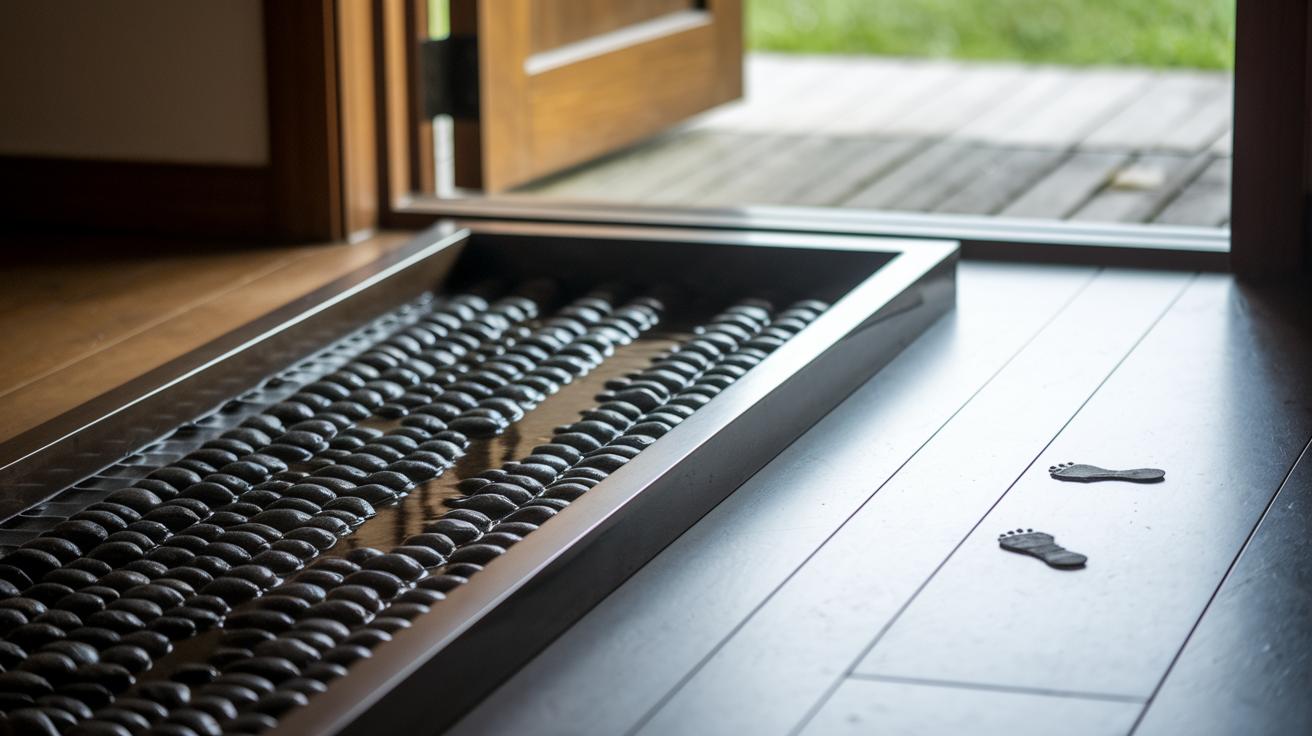
Are salt stains marring your entry every winter? Try this simple fix that keeps water away from your floor and stops salt buildup. You'll use a sturdy tray and a few evenly sized rocks to create channels for draining moisture.
- Place your tray just inside the door where you drop your boots.
- Carefully line the tray with rocks, spacing them so water can flow freely.
- Watch as the rocks form natural channels that divert water away from your entry.
This quick project protects your floors and adds a bit of rustic charm. Enjoy a cleaner doorway and a fast, fuss-free upgrade.
Tufted Leather Headboard: An Easy Weekend DIY Room Makeover Project

Project Snapshot: Weekend project • 2–4 hours • Budget-friendly • Tools: ruler, marker, staple gun, needle, protective gloves • Safety: Use gloves and go slowly to avoid cuts.
-
Prepare the Foam and Plywood Backing
Cut a piece of high-density foam to match your headboard size. Then, cut a piece of plywood with the same measurements. Use a ruler and marker to mark your cuts. Make sure both the foam and plywood are smooth and free of rough edges. This creates the strong base for your headboard. -
Staple the Leather
Lay a full sheet of leather over the foam and plywood. Start stapling from the center of one side and work your way out to avoid wrinkles. Use a heavy-duty staple gun with staples designed for leather. Press steadily so the leather bonds well with the backing. Wearing protective gloves is a good idea to prevent cuts. -
Mark and Create Tufts
Plan your tuft pattern by marking evenly spaced spots with a fabric marker. At each mark, push a needle through the leather and backing. Tie a decorative knot or secure a button at the back to form a tuft. This step can be a bit tough, so work slowly to avoid discomfort in your fingertips. -
Install Nailhead Trim
Place a nailhead trim around the edges of the headboard for a neat finish. Use a level to ensure the trim is straight, then nail it in place securely. This not only adds style but also reinforces the headboard. -
Mount on the Wall
Attach your finished headboard to the wall with the proper fixtures. Always use a stud finder and a level to make sure the headboard is safely and evenly mounted. For more design tips, check out DIY room makeover ideas at TheOriented.com.
Budget, Time, and Customization Tips for Easy Weekend DIY Projects

Weekend projects need careful planning and room for creativity. Most projects take 4 to 8 hours and cost between $20 and $150. You can choose new paint colors, try different hardware finishes, or mix fabrics to make the project your own. Using pre-cut materials and grouping similar tasks can save you up to 30% of your work time. Whether you are refreshing a wall or updating a piece of furniture, these tips help you take control.
Below is a table that shows key details for five popular weekend projects:
| Project Type | Estimated Time | Estimated Cost | Customization Ideas |
|---|---|---|---|
| Buffalo Check Accent Wall | 6 hours | $50 | Paint color variations, grid patterns |
| Barn Doors | 6 hours | $150 | Hardware finishes, wood stains |
| Boot Tray Fix | 10 minutes | $20 | Tray style, rock arrangements |
| Leather Headboard | 2 to 4 hours | $80 | Fabric hues, tufting patterns |
| Upcycled Woven Stool | 4 hours | $30 | Paint finishes, fabric accents |
Follow these tips to manage your time and budget well. Play with finishes and details to match your style. Enjoy turning simple ideas into creative upgrades that brighten your space!
Final Words
In the action, the article tackled a range of simple projects you can finish on a weekend. We looked at planning basics, essential materials, and step-by-step guides for accent walls, barn doors, quick fixes, and a stylish headboard. Each project shows that small improvements make a big difference. With effective budgeting and customization ideas, you can achieve great results without heavy skills or spending too much time. Enjoy these easy weekend DIY projects and feel confident to make your home uniquely yours.