
Ever wonder if your home could become unsafe during a renovation? Balancing creativity and safety can be a challenge, but a simple checklist can really help.
This guide shows you easy steps to secure your space before you start knocking down walls or moving heavy furniture. We will help you set a schedule, mark hazard areas, and track your safety gear.
Think of it as a map that leads you safely through new work. Ready to turn renovation risks into a safe, well-planned project?
Essential Checklist for Safe DIY Renovations at Home
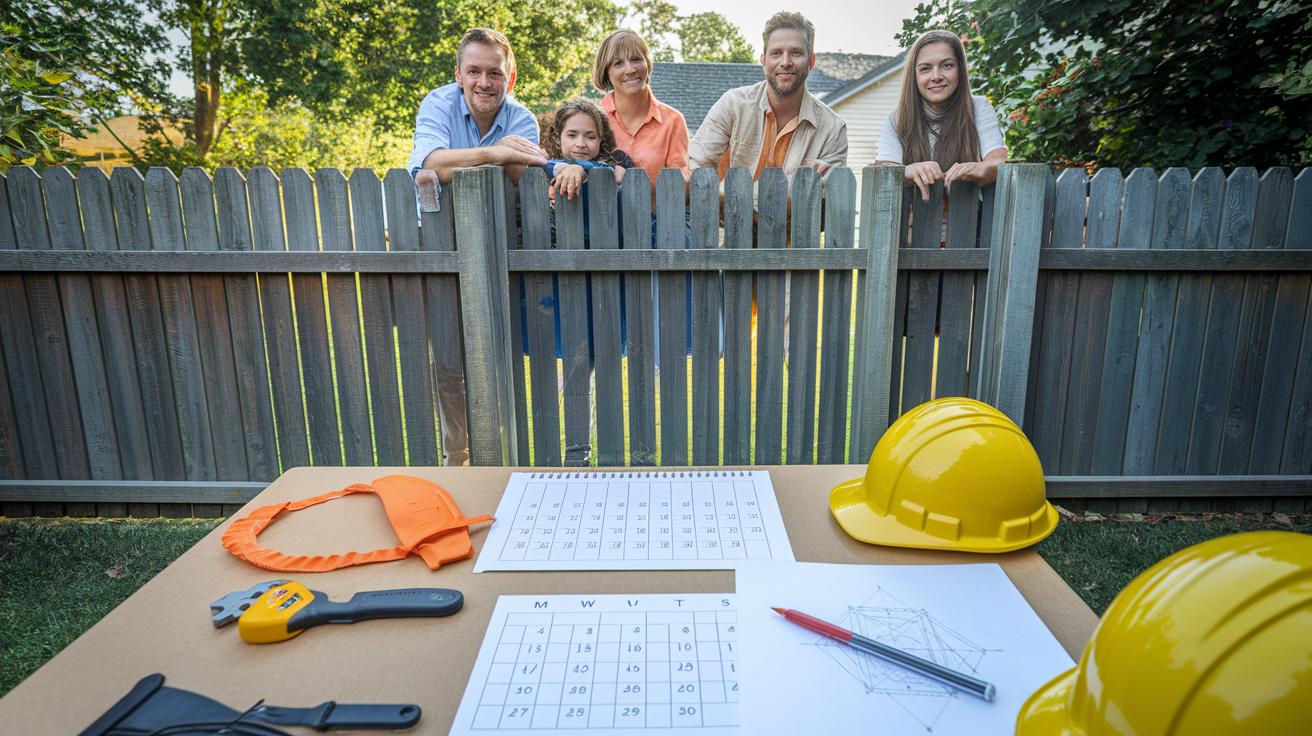
Before you start any renovation, planning is crucial to keep everyone safe and happy. Let your family and neighbors know the schedule so there are no surprises. Make clear plans with sketches and exact measurements. These plans help you set up the work area and budget from the start.
Before you begin, clear your workspace and gather all the supplies. A checklist is a great way to track your tools, materials, and safety gear. Taking the time to plan lowers risks and makes the process run smoothly.
- Let your family and neighbors know when the work will happen.
- Draw clear plans with sketches and measure carefully.
- Make a checklist that covers supplies like primer, paint, and brushes.
- Mark and secure areas where work will happen to keep safety in check.
- Wrap and label fragile items as "fragile" and move them away.
- Take photos and list your valuables so you know their condition and location.
- Test your tools first to be sure they work well and check for any damage.
- Talk with your contractors about work hours and be clear about the schedule.
Following these steps will help you manage risks and keep your renovation running smoothly and safely.
Planning and Hazard Identification in DIY Home Renovations
Informing Family and Neighbors
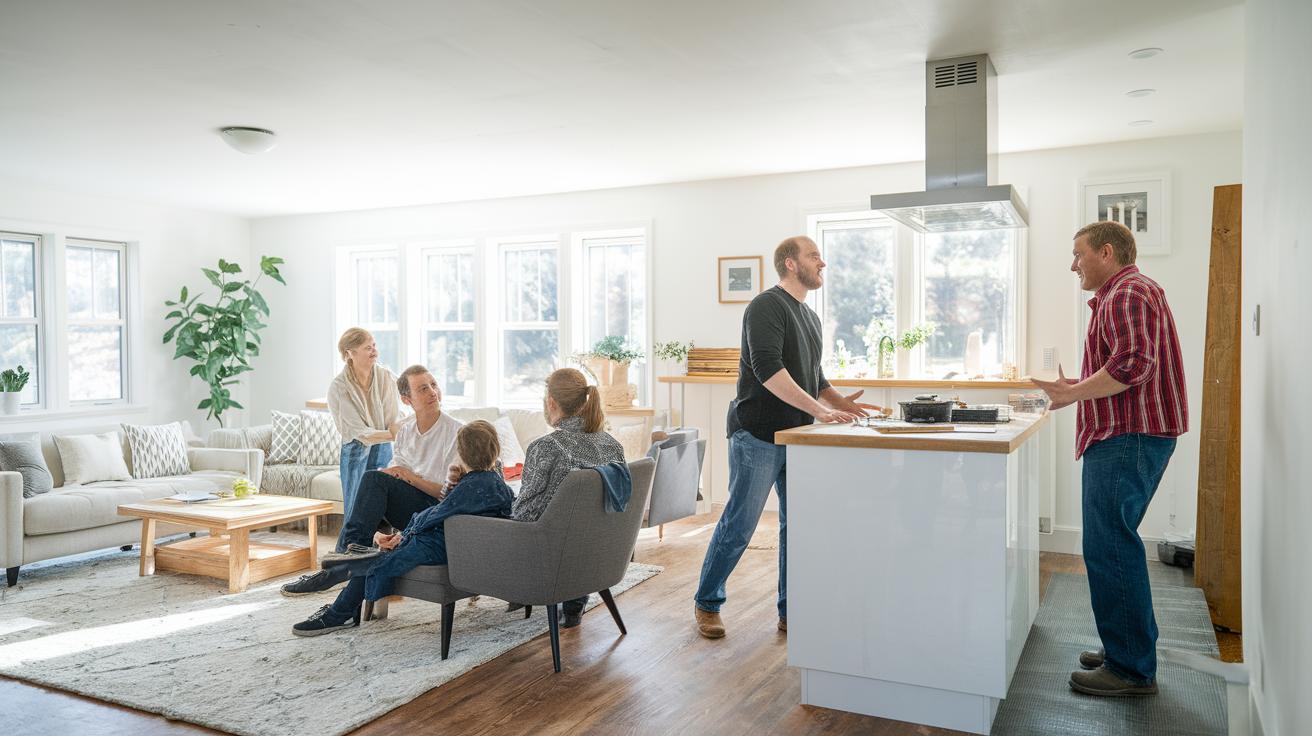
Before you start any home renovation, let your family and neighbors know about it. Tell them the work schedule and any changes to regular access. This way, kids, pets, or guests will stay safe and avoid getting too close to the work area. For example, you can say, "Just a heads up, renovations kick off next Monday. There will be extra noise and some areas blocked off until Friday." This simple notice helps everyone plan ahead and reduces the chance of accidental injuries.
Spotting and Assessing Hazards
Take a walk around your workspace to spot any dangers before you begin. Look for trouble makers like asbestos, lead paint, mold, or toxic chemicals. Check places where you might slip or trip and use plastic sheeting to block off areas where debris might fall. For instance, if you see peeling paint or mold, it might hide a bigger problem that needs a pro's help. By finding these hazards early, you set up a safer job site for everyone and help protect your home during the renovation.
Securing Your Home and Fire Protection Measures During DIY Renovations
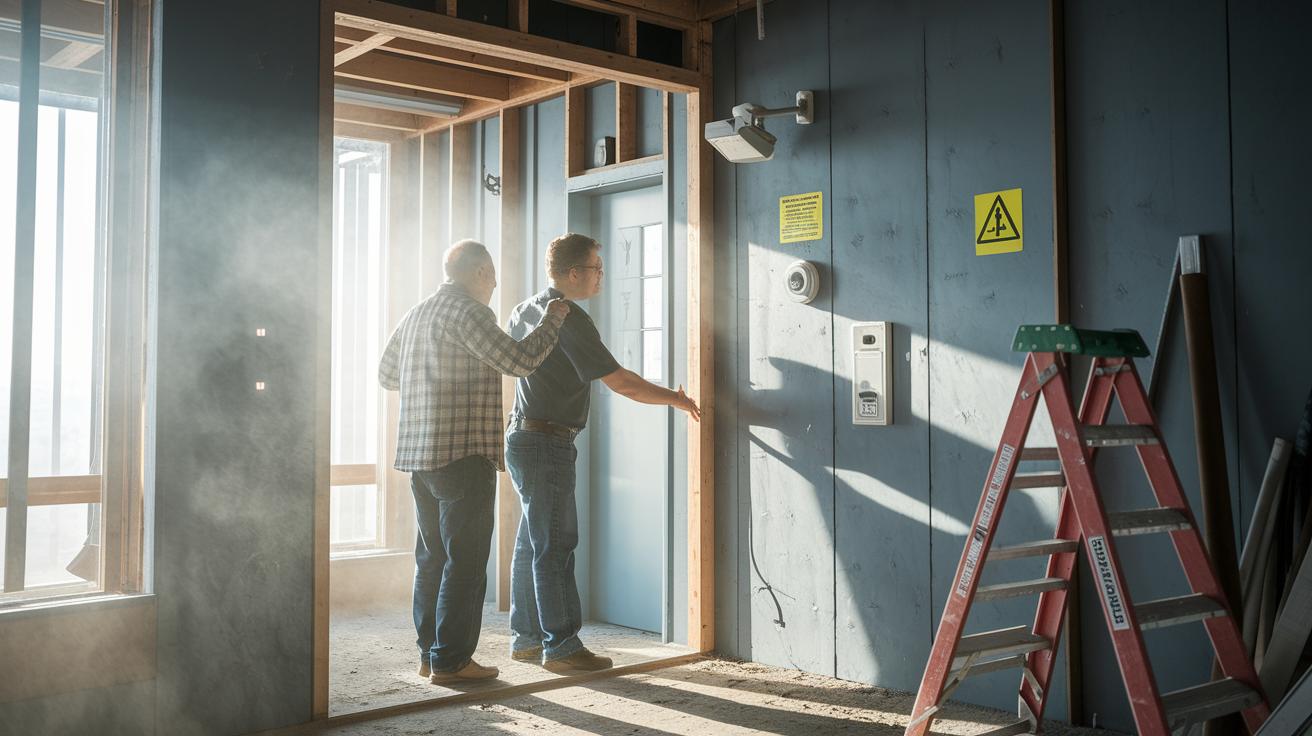
Renovations can make your home more open to theft and hazards. While you work, check your security systems or add new ones. Make sure all doors and windows lock well and that alarms and cameras work properly. For example, test your motion sensors to confirm they pick up movement.
Fire safety is just as important. Before you start your project, test your fire alarms and carbon monoxide detectors, especially if dust and fumes are around. Keep fire extinguishers near areas with electrical equipment or flammable items like paints and solvents. For instance, have one ready near a storage area with power tools and chemicals.
Plan a simple emergency response. Mark clear exit paths so everyone knows the quickest way out. Prepare a basic fire safety kit with a flashlight, extra batteries, and a first aid kit. This preparation can really help during an emergency.
By checking your security systems and taking fire protection steps, you protect your home and loved ones as you renovate. These measures discourage intruders and create a safer space, reducing risks and keeping your project on track.
Setting Up a Safe Work Zone: Lighting, Containment, and Ventilation for Home Renovations
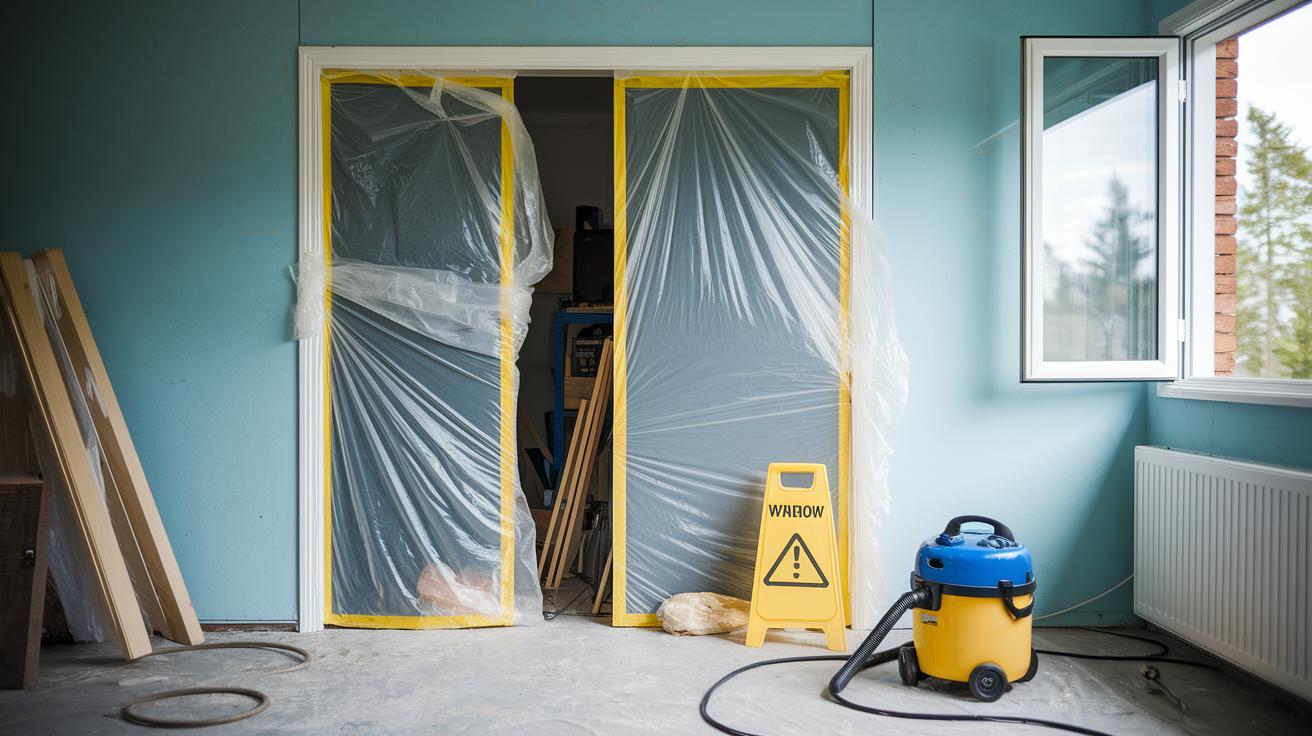
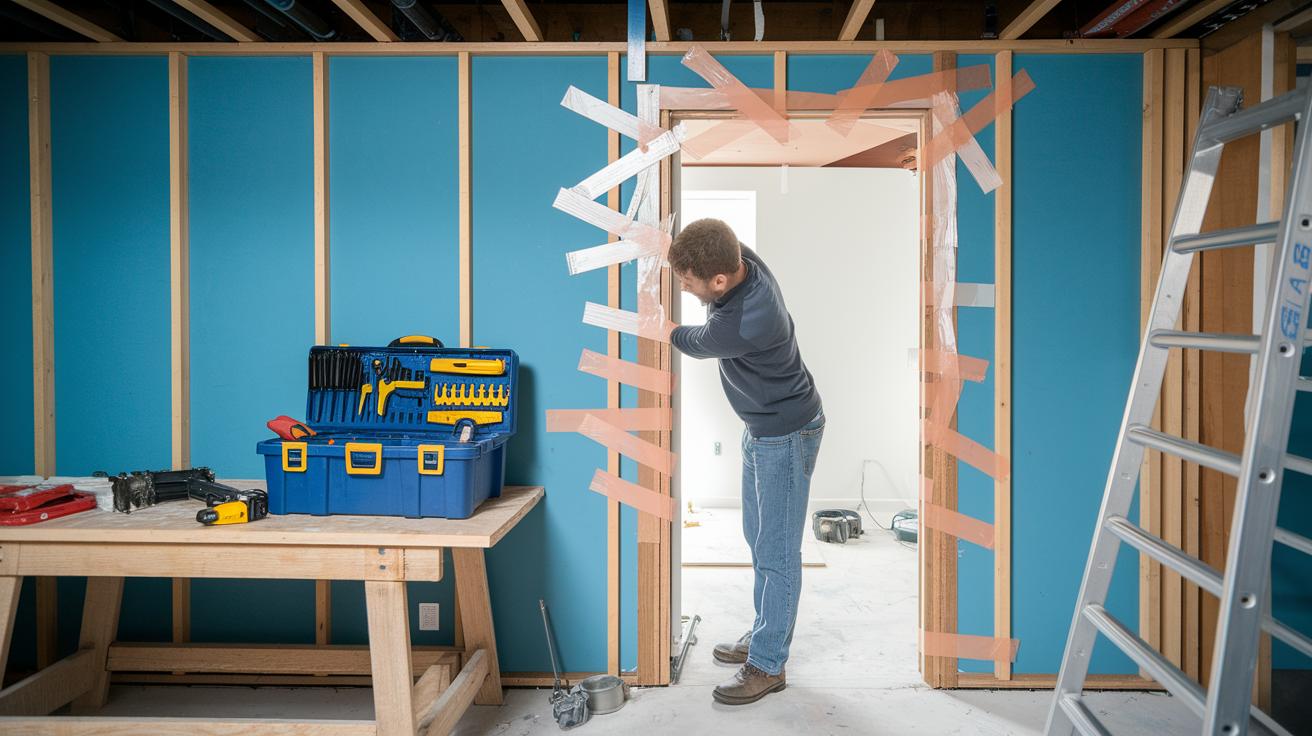
Start by creating a safe work area. Use plastic sheeting and tape to cover doorways, vents, and windows so dust and fumes stay inside your work zone. Put up clear signs like "work in progress" to warn family and neighbors about the area.
Clean as you work. Wipe surfaces with a damp cloth and use a vacuum with a HEPA filter (a special filter that traps tiny particles). When it’s time to take down the plastic, spray a little water on it first to keep dust from flying around. These steps help you breathe easier and keep the space cleaner.
Keep the area well lit and ventilated. Open windows or run portable fans to bring in fresh air and push out fumes. Set up task or portable lights in dark spots so you can see clearly. This not only helps prevent mistakes but also makes the job less tiring.
Selecting, Inspecting, and Maintaining Tools for DIY Renovations
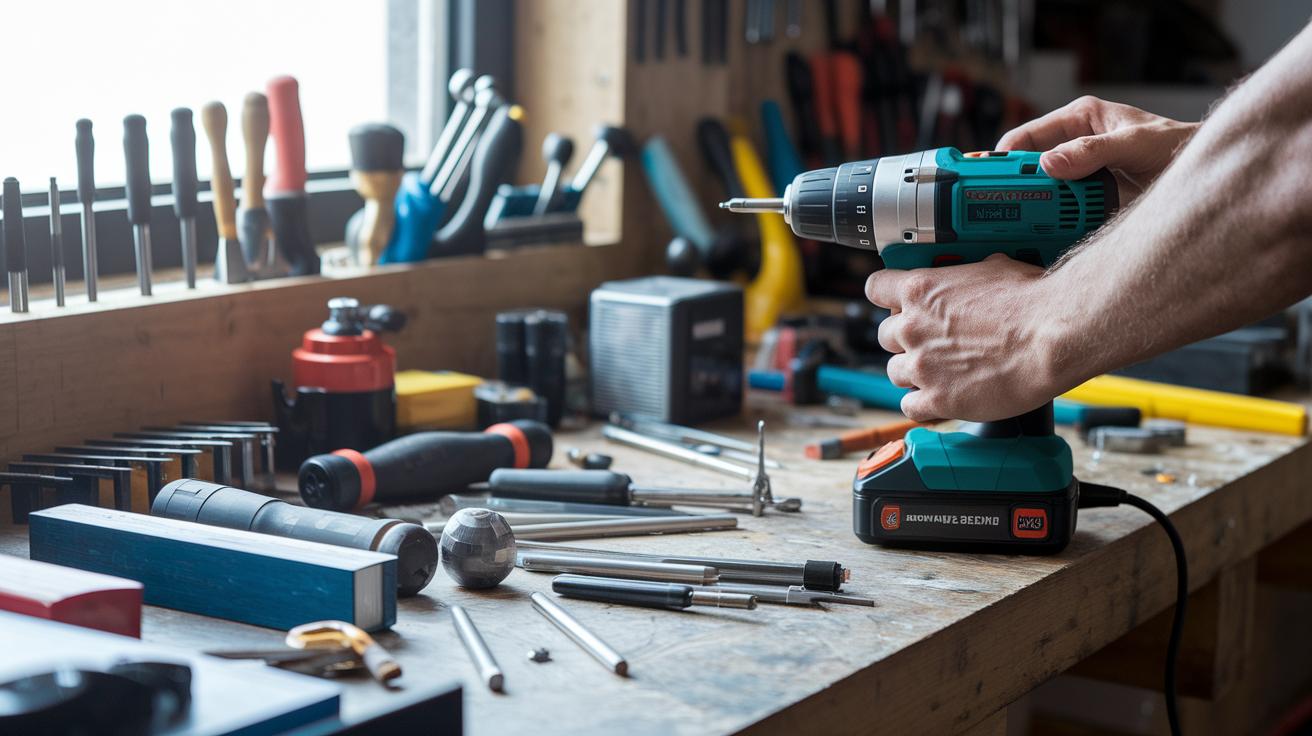
Before you start a project, make sure your tools are in top shape. Checking your hand tools, power tools, and cords keeps you safe and makes work go quickly. Blunt blades, rust, or broken parts can lead to accidents. Use the right tool for each task and follow clear guidelines to lower risks.
Check your tools often to avoid surprises during work. Test power tools to be sure they run correctly. Look over cords for any wear or damage. Never try to use the wrong tool for a job. Regular care extends your tools' life and keeps your project safe and efficient.
| Tool Category | Inspection Frequency | Key Safety Checkpoints |
|---|---|---|
| Hand Tools | Before each use | No rust, secure grips |
| Power Tools | Weekly or per project | Blade sharpness, proper function |
| Electrical Cords | Monthly | No frays, intact insulation |
| Safety Equipment | Before each project | Certified condition, no wear |
Taking proper care of your tools builds your confidence on the job while saving time and money. Enjoy a safer, smoother DIY renovation every time you work.
Personal Protective Equipment and Ergonomic Practices for DIY Renovations

Wear the proper gear to keep yourself safe from dust, debris, and cuts. Always use safety goggles to guard your eyes, and wear gloves to prevent scrapes when you use sharp tools. Steel-toed boots and knee pads offer extra protection if heavy tools or materials fall, while long sleeves and tough clothing protect your skin from splinters and sparks. For instance, if you’re about to tackle a heavy painting job, put on your mask and gloves. Using your protective gear every time helps lower your chance of getting hurt and lets you work with more confidence.
Practice ergonomic techniques to avoid fatigue and injury. Keep your workspace tidy and try to stand or sit with your back straight. You might need a stand or support if you often bend in awkward positions. Take a short break every 30 to 45 minutes to stretch and give your body a quick reset. These simple steps help reduce strain and prevent repetitive injuries. Remember, regular pauses can refresh your focus and keep your body in line.
Post-Renovation Cleanup, Inspections, and Ongoing Safety Audits for DIY Home Renovations
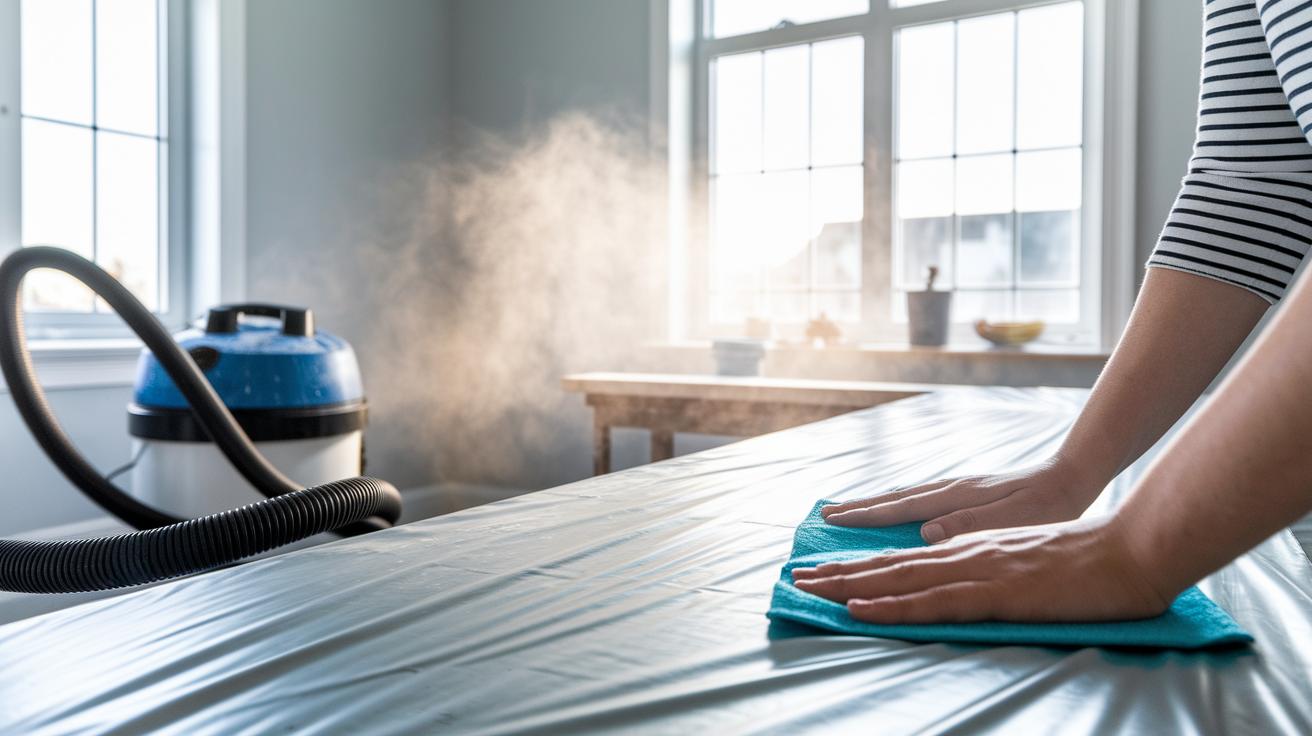
When your renovation is done, start by cleaning your work area thoroughly. Wipe surfaces with a damp cloth to remove dust and debris. Use a vacuum with a HEPA filter (a filter that traps tiny particles) to clear out any lingering dust. Lightly mist plastic sheeting with water before removing it to keep dust from rising again. These clear steps help make your space healthy and cut down on airborne hazards.
Next, document your space in detail. Snap clear photos of each room and note the condition of walls, floors, and fixtures. Write down an inventory of valuable items with short descriptions and their room locations. This record can help with insurance issues later and serves as a handy reference if anything happens after the renovation.
Finally, complete a full safety audit. Walk through every room and check for any hazards like exposed wiring or loose materials. Look for any spots that may need extra repairs or touch-ups. Doing a safety audit ensures that you have addressed all risks and that your home is safe for everyday use.
Final Words
In the action of tackling your project, you explored each essential step, from planning and hazard checks to creating a safe work zone and testing your tools. You also learned the importance of using proper protective gear and performing post-renovation cleanup and inspections.
By following our home safety checklist for DIY renovations, you can keep risks low and your project on track. These practical tips will help you achieve a secure and polished renovation that you can be proud of.
FAQ
Q: What is the 30% rule for renovations?
A: The 30% rule for renovations means spending more than 30% of your home’s value on upgrades might not be cost-effective, guiding you to budget within a range that avoids diminishing returns.
Q: What should a home safety checklist include?
A: A home safety checklist for DIY renovations includes items like planning and hazard reviews, notifying family and neighbors, setting safe work zones, testing tools, using personal protective gear, and ensuring fire safety measures.
Q: Is $50,000 enough to renovate a home?
A: The question about $50,000 being enough to renovate a home depends on project scope, quality of materials, and local costs; smaller projects may succeed on that budget while major renovations might need more funds.
Q: What is the correct order to renovate a house?
A: The correct order to renovate a house starts with thorough planning and hazard identification, then securing work zones and tools, followed by executing renovation tasks, and ends with cleanup and safety inspections.