

Have you thought about using your DIY project to spark creativity online? Sharing your work is more than just posting a photo. It lets you show your passion to the world.
In this guide, we share a step-by-step plan to help you get started. You will learn how to set clear goals and pick the best platforms to reach your audience.
With a simple plan in hand, you can inspire others and grow your DIY community.
Planning Your DIY Project Sharing Strategy

When you plan how to share your DIY projects, start by setting clear goals and knowing who you want to reach. Research shows that people often need about 11 views before they take action. Keep this in mind as you set up a steady posting schedule.
Use a content calendar to plan your posts ahead of time. For example, try updating your project once every week to keep up the energy and build momentum.
Break down your sharing process into simple steps. First, list your goals. Next, choose themes that will capture your viewers' interest. Finally, pick a format that best shows off your work. A clear, step-by-step guide can help you move from quick tips to detailed project insights.
Don’t limit yourself to one social network. Post your DIY projects on Instagram, Pinterest, and YouTube to reach different groups. Make sure your posts include clear photos, engaging captions, and a call-to-action that encourages viewers to check out more.
You can also use tools like the DIY project planning template to streamline your work. Plan your content in advance, keep track of what grabs your audience, and adjust your strategy as needed.
Choosing the Right Platforms for DIY Sharing
When you share DIY projects, don’t stick to just one website. Instagram is great for sharing bright photos and quick videos. It lets you tag trending hashtags that help others find your work.
Pinterest is another winning choice. It lets you build attractive boards and pins that draw in DIY fans. Your projects get noticed when they look appealing.
YouTube is perfect for longer tutorials. You can offer step-by-step guides and show behind-the-scenes looks at your process. TikTok is fun and fast-paced. It works well for quick tips or before-and-after shots.
It makes sense to use more than one platform. For example, use Instagram for eye-catching images and Pinterest to reach people planning new projects. YouTube gives you the space to share detailed instructions and a bit of personality. For more ideas, check out the top online DIY communities at https://theoriented.com?p=295.
Here are some quick tips:
- Post regular updates to keep your audience engaged.
- Use popular hashtags to boost your project’s visibility.
- Match your content style to what works best on each platform.
By weighing the unique features and audiences of each site, you can pick the best spots to show off your DIY work. This approach helps you reach a wider group and keeps your projects buzzing with activity.
Capturing and Showcasing High-Quality DIY Visuals
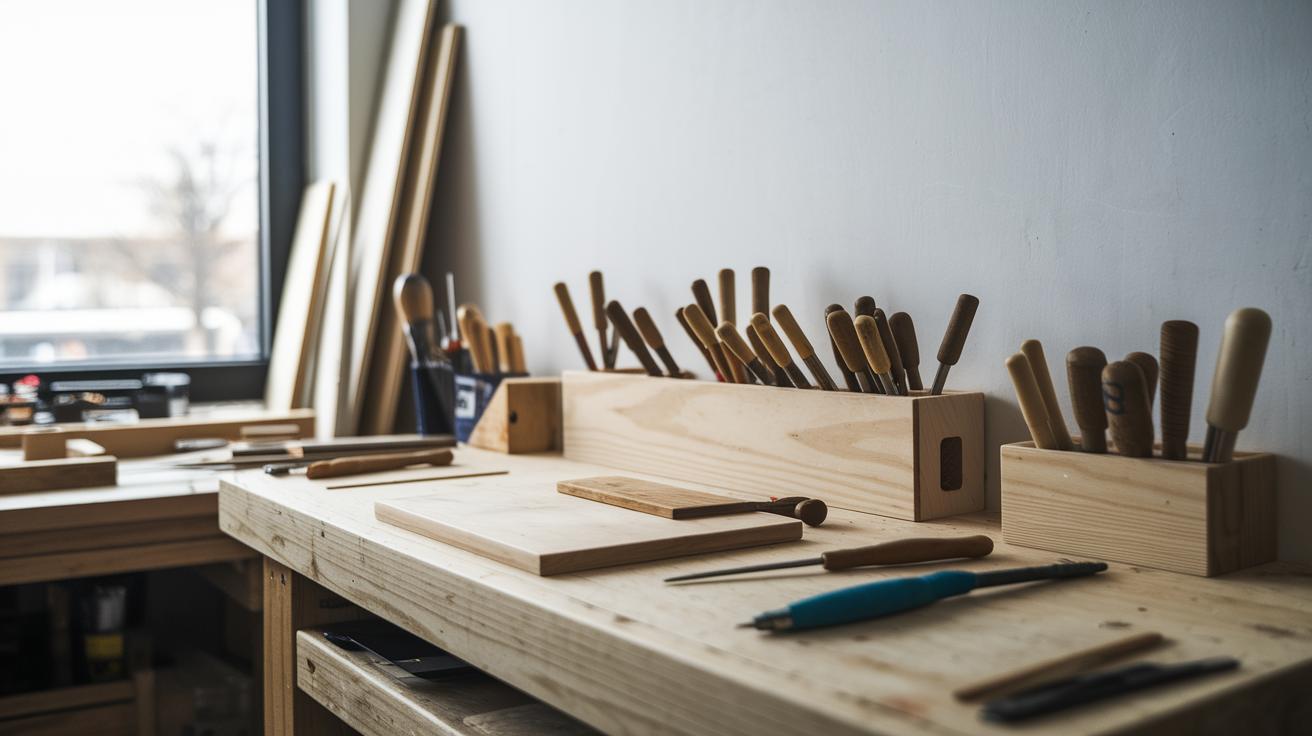
Make sure your DIY visuals look great. Use different camera angles to show every detail. Record the overall process with a wide shot, then zoom in on the small, intricate parts. This way you give your viewers a clear view of your work from several sides.
Choose your lighting with care. Natural light works best during the day. Indoors, use soft lights like a softbox to keep shadows gentle. A clean, simple background helps focus attention on your project. For instance, filming a woodworking tutorial against a plain wall lets every detail shine.
Set your camera on a stable surface or tripod to keep things smooth and professional. When you are painting furniture, position your camera so it captures both the full movement and close-ups of the brush strokes.
After you finish filming, use low-cost editing tools or free software to fine-tune your clips. Trim away any unwanted parts and adjust the brightness or color. Simple edits like cropping and color correction can really make your visuals pop.
When you record your DIY tutorials, try to keep the camera rolling to avoid choppy cuts. Clear, well-lit shots of each key step will help your viewers follow along and feel confident trying the project themselves.
Writing Engaging Descriptions and Storytelling for DIY Projects

Treat your project description like a story that pulls your reader in. Start by giving a quick overview of your project challenge. Then, break your process into clear, easy-to-follow steps that anyone can understand.
Here are some ideas to get you started:
- Begin with a short summary of what you are tackling.
- Describe each step of your process with clear details and personal stories. For example, you might title a section "Episode 3: How To Share Your Products Online" to build excitement and show a clear series.
- Invite your readers to join the conversation with a prompt like, "Tell us which step surprised you the most!" This encourages comments and helps build a community around your work.
Remember to give credit where it is due. Tag any friends or collaborators who helped you. This not only shows your appreciation but also widens your reach.
Write as if you are sharing a fun conversation over a cup of coffee. Let your passion shine through with creative language that makes each detail relatable and memorable.
Optimizing Your DIY Content with SEO Best Practices
Make your titles clear and keyword-rich. For example, use a title like "DIY Wooden Bench with Hidden Storage" so readers and search engines know what to expect.
Write detailed descriptions that smoothly include your search terms. Say something like "step-by-step diy wooden bench tutorial" to help both people and search engines find your content.
Don't forget your images. Rename your photo files with helpful words, like "diy_bench_build.jpg," and add alt text such as "DIY wooden bench with hidden storage." This makes your project easier to find in image searches.
For videos, use the same tips. Pick titles filled with keywords like "DIY Bench Tutorial" and include a detailed description. Use extra tags like "woodworking" or "home project" and add closed captions to help everyone enjoy your video.
Here are a few quick tips:
- Use specific hashtags when posting on social media.
- Update your titles and metadata as trends change.
- Check your search analytics to improve your strategy.
Keep testing your approach and making adjustments for the best results.
Building Community and Growing Your DIY Audience Online

Reply to every comment and message as if you were chatting with a neighbor. When someone writes, "I loved how you painted that shelf!" answer with something like, "Thanks! I tried a new technique. Stay tuned for more tips." This makes everyone feel important and builds trust.
Try hosting a live Q&A or doing a behind-the-scenes stream once a month. Show your process as you work on a project and answer questions in real time. This gives your audience a closer look at your work and helps them learn more.
Collaborate with other DIY fans by joining podcasts or teaming up on projects. Invite a fellow DIY enthusiast to share their ideas with you. This not only brings new content but also introduces your style to a fresh group of followers.
Encourage your fans to share their own versions of your projects. Ask them to use a special hashtag for their photos. Their posts show others that your projects really work and help create a lively community.
If you want to learn more about building a strong DIY community, check out this guide: what is a DIY community.
Measuring Performance and Iterating Your DIY Sharing Approach

Keep an eye on the numbers to see what connects with your audience. Start by checking your YouTube stats. Look at views, reach, watch time, and how your subscriber count grows. For instance, if your watch time improves when you use natural light, that shows your viewers love that style.
Next, review your Instagram posts. Check likes, comments, and saves to see what draws attention. Pinterest also gives you clues with its save counts. By comparing how different images perform, you will know which visuals catch eyes.
Follow these steps to improve your schedule:
- Collect data from all your active platforms.
- Compare which tutorial styles gain the most clicks.
- Write down the times when your posts get the best engagement.
- Adjust your content plan based on these trends.
Regularly check these stats. Test small changes until you find the mix that works best for your DIY sharing success.
Final Words
In the action, you learned how to share your DIY projects online with a clear planning strategy and the right mix of social platforms. We covered smart tips on capturing crisp visuals, crafting engaging stories, and using SEO techniques to boost visibility.
You now have actionable steps to build community and track your progress. Keep testing your ideas, keep improving, and enjoy watching your online presence grow.