

Project Snapshot • Varies by project • Beginner to intermediate • Tools: Oscillating tool, safety gear • Safety: Always wear protective glasses and follow instructions
Have you ever thought that using an oscillating tool might be as easy as riding a bike? This tool may seem a bit scary at first, but you can learn it with a few simple steps.
In this guide, we show you how to set up a safe work area, put your tool together, and choose the right settings for smooth cutting and sanding. Whether you are just starting or looking to improve your skills, these tips will help you work with confidence and ease.
A little preparation can make a big difference. Dive in and see how a bit of planning can turn your next DIY project into an effortless success!
Oscillating Tool Operation: Step-by-Step Guide for Beginners

Before you start, set up your work area on a steady, flat surface. Clamp your workpiece securely in a vice and clear the space of any debris. Wear ANSI-rated safety glasses, a dust mask, and gloves to protect yourself. Tuck away loose clothing and long hair so nothing gets caught.
Step 1: Tool Assembly & Safety Setup
Make sure your area is stable. Secure your workpiece in a vice. Remove any clutter. Put on your safety glasses, dust mask, and gloves. This is like fastening your seatbelt before you drive.
Step 2: Blade Installation & Attachment Changes
Many oscillating tools let you change blades without extra tools. They use systems like Starlock to lock the blade in place quickly. Snap the blade in firmly before you turn the tool on. Also, check that the blade fits the material you will cut. For example, a bimetal blade works best on metal.
Step 3: Speed & Oscillation Settings
Adjust the tool to match your job. Use a lower speed for delicate work like cutting plastic or veneer. Choose a higher speed for tougher materials such as metal, hardwood, or grout. The blade moves in a small arc at around 20,000 motions per minute. Start slowly then increase the speed as you get used to the tool.
Step 4: Cutting & Sanding Techniques
Hold the tool steady as you follow your marked lines. For straight cuts, use a straightedge as a guide. When you need to switch from cutting to sanding, change attachments quickly. Think of it like shifting gears on a bike; the switch should feel smooth and natural.
Step 5: Cleanup & Storage Procedures
When you finish, unplug the tool and wait until it stops moving completely. Brush off dust and debris from the vents and blade mount. Store your tool in a dry case and remove the blade to prevent corrosion.
Oscillating Tool Blades & Attachments: Selection Tips for Optimal Performance
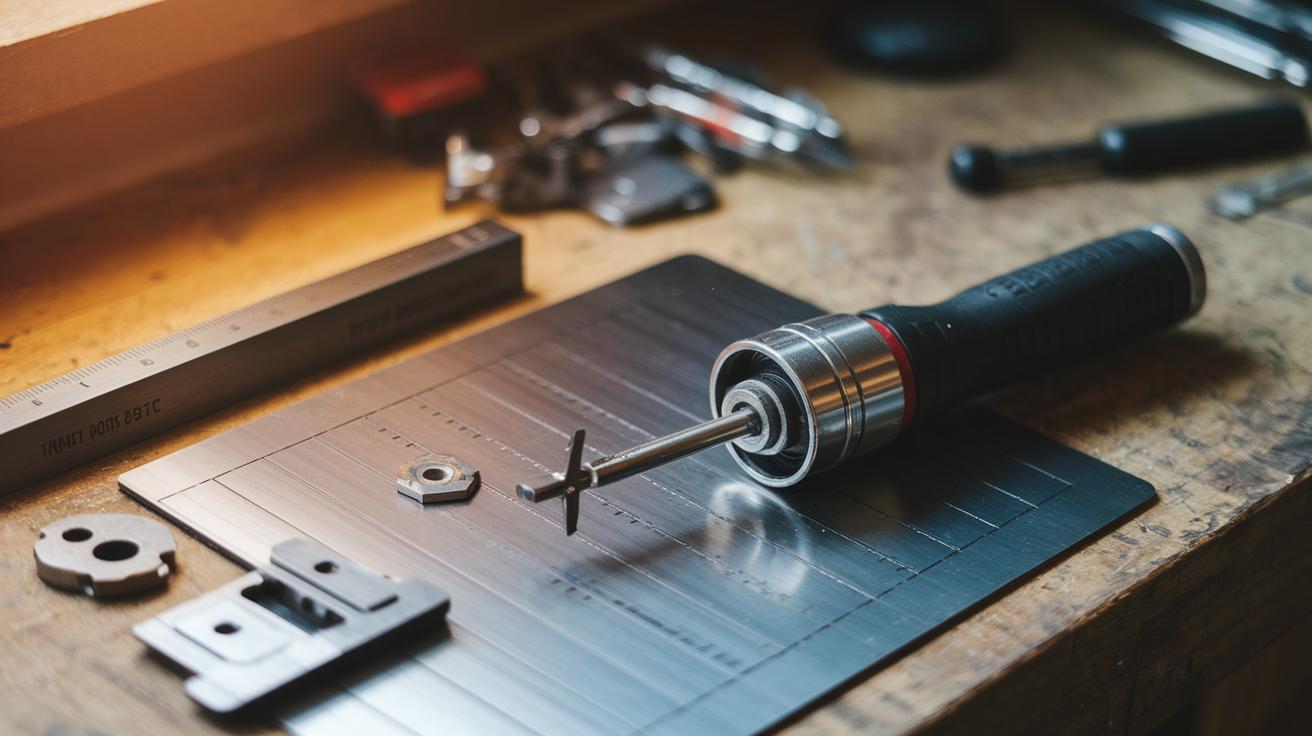
Choose the right blade and attachment to make clean, precise cuts. Common accessories include cutting blades, scraper blades, and sanding pads. Each one is designed for a specific task. For example, straight and semi-circle cutting blades work well for plunge and flush cuts. Scraper blades are great for removing caulk and adhesives.
High-quality blades create cleaner edges and help your tool last longer. Always pick blades based on the material you are cutting, not the quantity of blades. For metal work, you need bimetal blades because regular carbon steel blades may dull fast when cutting nails or sheet metal. If you are removing grout, use carbide grit blades. One reader mentioned that switching to a carbide blade made a big difference. Diamond grit blades come in sizes like 1/16-inch and 1/8-inch. They are ideal for trimming tiles and last longer, although they cost a bit more (around $40+).
Blade attachment systems like Starlock and OIS let you swap blades without tools. This saves you time and effort. Check your adapter to make sure it fits correctly because adapters differ by brand. A secure fit is important for both safety and performance.
- Use straight blades for plunge cuts.
- Choose scraper blades for stubborn caulk.
- Opt for sanding pads for small, detailed work.
Always use high-quality, compatible attachments. The right accessory not only gives you better cuts; it also makes your tool more efficient and long-lasting.
Oscillating Tool Safety: Essential Precautions & Gear

Before you begin, check the Oscillating Tool Operation section for helpful advice on safety gear, setting up your work area, and securing your workpiece. One extra tip: let the tool come to a full stop before you change any attachments.
Keep these reminders in mind:
- Wear ANSI-rated eye protection, a dust mask, and gloves.
- Secure loose clothing and tie back long hair.
- Clamp your workpiece on a firm, clear surface.
- Hold your hands away from the blade’s swing.
- Always wait until the tool has completely stopped before switching attachments.
For extra safety tips with corded tools, refer to the DIY electrical safety checklist.
Oscillating Tool Maintenance & Troubleshooting: Keeping Your Tool in Top Shape

After every use, clear off any dust and debris from the vents, the housing, and where you mount the accessories. This simple step keeps the motor cool and helps the tool run reliably. Use a soft brush or a can of compressed air to lift away small particles that might clog the inside.
Store your tool in a dry case and remove the blades before putting it away. Taking the blades off prevents corrosion and stops any accidental damage. This extra care makes sure your tool lasts longer and works well when you need it.
Watch out for a few common issues. If the blade wobbles, it might not be mounted correctly. The motor can stall if it gets overloaded or if debris builds up. Overheating is another sign of a problem during long use. If you see these issues, tighten any loose adapters and make sure the blade fits securely. Replace worn parts right away, and if you suspect a deeper problem with the motor or wiring, follow the manufacturer’s service guidelines.
- Clear dust from vents and mounting areas after each use
- Store the tool in a dry case with the blades removed
- Tighten loose adapters and secure the blade seating
Oscillating Tool Techniques: Cutting Wood, Metal, Tile, Drywall & Grout

Woodcutting Techniques
Start by attaching a plain, straight blade (one without holes) to your tool. Hold a straightedge firmly along your marked line. Whether you are making a plunge or flush cut, line up your tool carefully. Work slowly and let the blade do the cutting.
Tile Slicing Strategies
Fit your tool with a semi-circle diamond grit blade. Begin by lightly scoring the tile along the cut line, much like drawing a faint pencil mark. This step helps stop the tile from chipping. Then, follow the curved line gently to create a neat edge.
Drywall Trimming Methods
Swap in a scraper or a carbide-tipped cutter for cutting drywall. Make a shallow plunge cut along your marks around windows or outlets. Move the blade steadily, and if you work in small cuts, you will avoid chipping or rough edges.
Grout Removal Procedures
For removing old grout, equip your tool with a carbide or diamond blade. Start at one end of the grout line and cut slowly along it. The rapid, controlled movement helps keep most dust in one place while the blade removes the grout without harming nearby surfaces.
Metal Cutting Applications
Use a bimetal blade when cutting metal. This blade is strong enough to notch sheet metal and even cut through screws and nails. Keep a metal scraper handy to protect nearby surfaces. If you need a precise cut, use a guide to help notch correctly.
Concrete Slicing Tips
For light concrete, choose a strong multi-angle blade. Make several steady, controlled passes along the cut line. Apply slow, consistent pressure so that the blade cuts evenly without straining the motor.
Oscillating Tool Power Options: Corded vs. Cordless Comparisons

Corded oscillating tools give you steady power without interruption. They are perfect for long projects when you don't want to worry about your battery dying. These tools usually have strong horsepower and consistent speeds, so they work at their best. Many corded models also come with handy features like built-in dust ports or LED lights to help you see your work clearly.
Cordless oscillating tools run on lithium-ion batteries, which lets you move around more easily. They are a great choice if you need flexibility. Their brushless motors often offer longer run times and more torque while needing less upkeep. But you need to pay attention to battery life. To get the most from a cordless tool, pick the right speed for your task, avoid overloading the motor, and think about carrying extra batteries for longer projects.
When you compare these tools, keep these points in mind:
- Steady power versus easy mobility
- Horsepower and oscillation speed
- Battery life and the need for extra packs
- Maintenance needs and extra features
Check numbers like oscillations per minute (OPM), amplitude, and torque to pick the right tool for your project. Choose the one that meets your needs for power, efficiency, and portability.
Oscillating Tool Pro Tips: Advanced Techniques & Best Practices
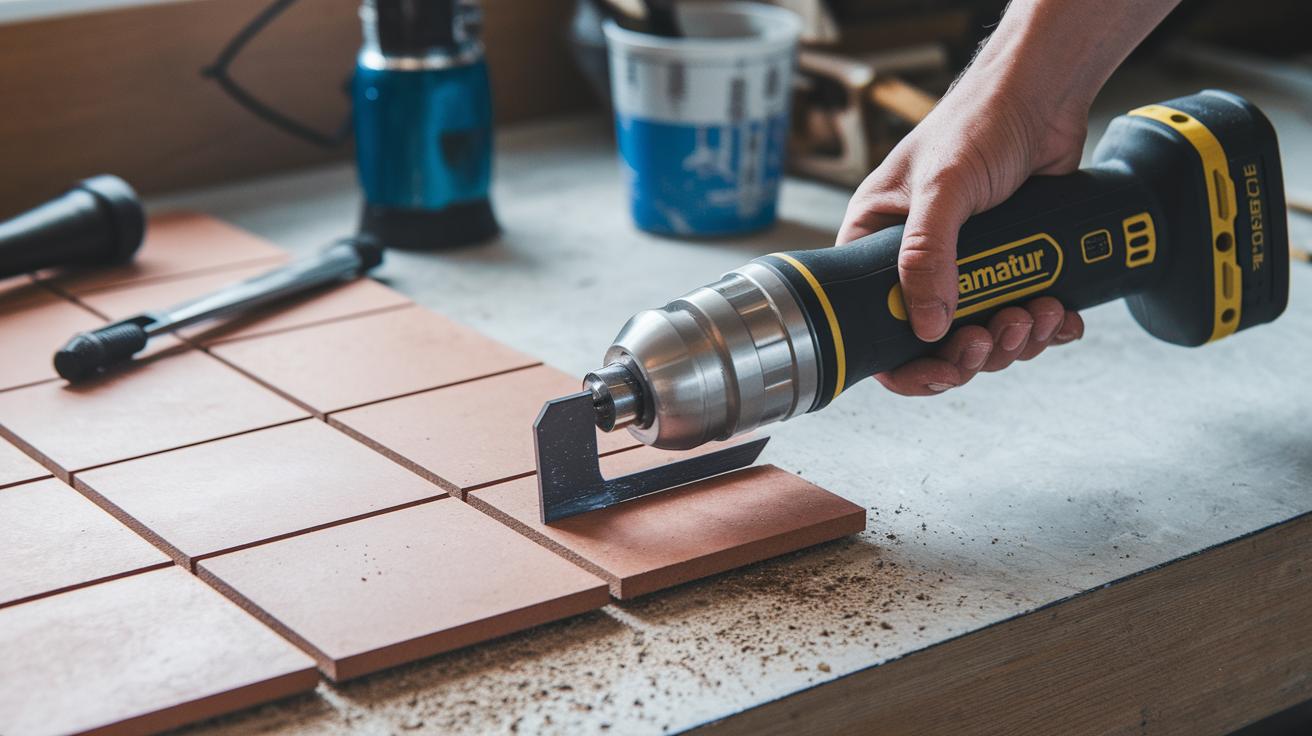
If you have experience with your oscillating tool and want to take your skills further, try using carbide or diamond grit blades. These work well for removing grout and trimming tile. They make less dust and give you a clean cut. For example, a diamond grit blade will trim tile edges nicely.
For detailed work, use extra-narrow blades and a plunge-cut method. When you need to make tight curves or notches, start with a shallow cut and slowly go deeper. This technique is like shaping a sculpture, and it helps keep your cuts accurate.
You can also use the tool like a carving chisel when working with wood. Tilt the blade and gently rock it into the wood to remove layers. Think of it as using a small precision knife for carving fine details.
For jigsaw-like cuts, slowly follow your pre-marked curves. Be sure to secure your workpiece so your cuts stay smooth and even. To finish a clean edge, use a high-quality fine-tooth blade and keep a steady hand.
- Use carbide or diamond grit blades for less dust.
- Try extra-narrow blades and shallow plunge cuts for tight curves.
- Tilt the blade for chisel-style carving in wood.
- Secure your workpiece for smooth, jigsaw-like cuts.
Final Words
In the action of using an oscillating tool, you covered safe setup, tool assembly, and proper blade changes.
We stepped through speed adjustments, precise cutting and sanding, and quick cleanup tips.
You learned the best practices for selecting attachments and securing your workpiece, all while prioritizing safety and efficiency.
By putting these steps into practice, you'll feel more confident and ready to tackle projects. Embrace the process and remember to enjoy how to use an oscillating tool to create professional-looking results.