

Ever wonder if one tool could fix almost every home problem? The oscillating multi-tool might be just what you need. It uses a fast, steady blade to cut through tight spaces and work on different materials. This guide will show you how to use your tool safely and with confidence. We break down the basics and give you clear tips so you can see how useful and precise this tool is for simple repairs. Get ready to boost your DIY projects with a tool that truly does it all.
Oscillating Tool Fundamentals and Quick Start

The oscillating multi-tool is a useful power tool that moves its blade side to side up to 20,000 times per minute in a small arc. Its fast, steady motion makes it great for home fixes. You can use it in tight spaces, from cutting outlet openings to trimming door shims. Many DIYers are surprised to learn one tool can work so precisely in small areas.
Getting started is easy. First, gather your oscillating tool and all its accessories. Next, pick your power source. Most models come with either a corded or battery option. Choose the one that suits your project best. Finally, put on your safety gear. Wear safety glasses, a dust mask, and secure your clothing.
Quick-Start Checklist:
| Item | Description |
|---|---|
| Tool | Oscillating multi-tool with a quick-change blade system |
| Power Source | Corded outlet or charged battery |
| Safety Gear | Safety glasses, dust mask, and secure clothing |
Follow the instructions in your user manual. This will help you start your project confidently and use the tool to its fullest.
Oscillating Tool Blade and Accessory Selection
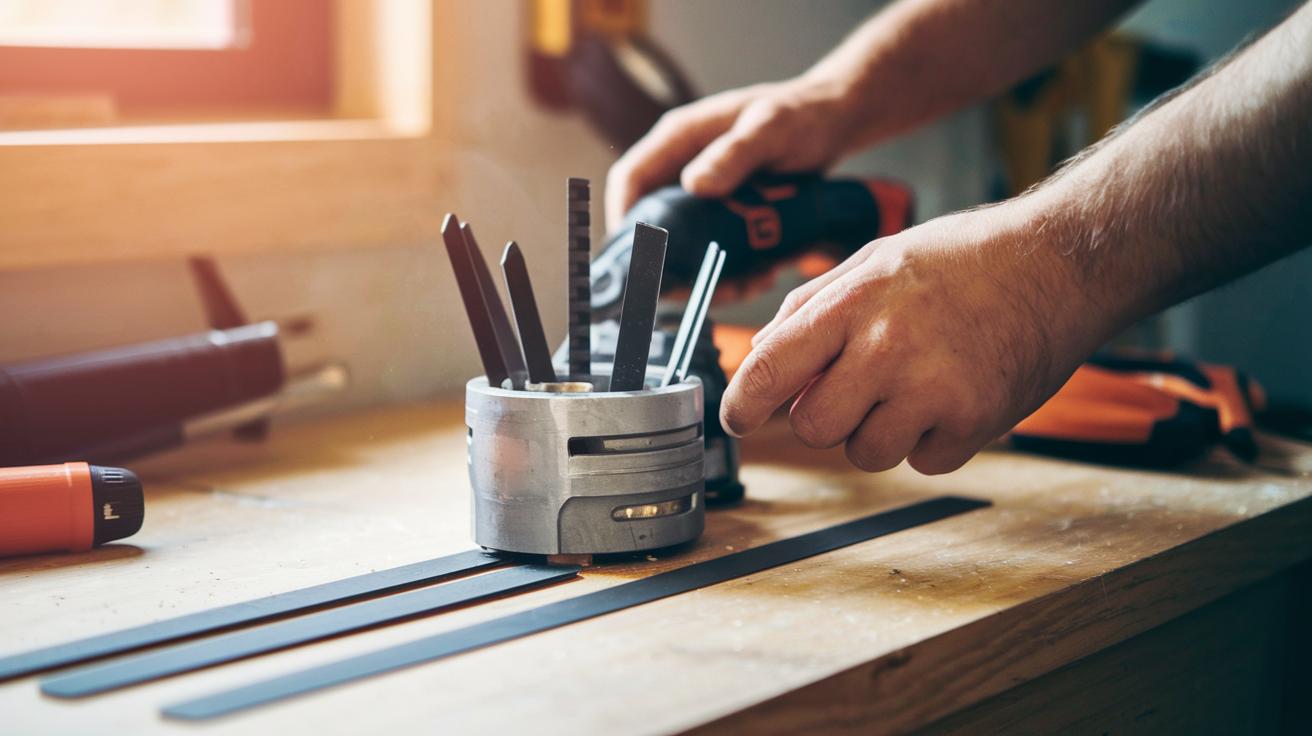
Oscillating tools work with many attachments to help you tackle different tasks. Use the right blade for each job. For plunge cuts, choose a straight blade to start a cut right in the middle of a piece. Use a round blade for flush cuts along surfaces. When scraping or removing adhesives, pick a scraper blade. You can use either stiff or flexible options to suit your needs.
Match the blade to the material and type of cut you are doing. For grout removal, use a carbide or diamond blade made for that task. These blades come in widths of 1/16 in. or 1/8 in. to handle various grout sizes. Each blade is made for a specific material, so choose one that fits your project for clean, precise cuts.
Most oscillating tools let you change blades without extra tools. They use a simple twist, click, or lock system. This makes it easy and quick to swap blades. Always check that the adapter fits your tool to avoid any issues with mismatched attachments.
Tip: Think of your tool like a Swiss Army knife. Each blade adds a new function ready to use.
Operating Your Oscillating Tool: Step-by-Step Guide

-
First, put on your safety gear. Wear goggles, a dust mask, and tie back long hair. This keeps you safe when bits fly around.
-
Next, insert the blade with the tool’s quick-change system. Make sure you hear a click that tells you the blade is locked in place.
-
Hold the tool with both hands. Start at a low speed to get a feel for its movement before you speed it up.
-
Let the blade do the work. Apply light pressure and let the fast oscillations make the cut. Do not force the tool.
-
Follow your marked lines with steady pressure. Use a pencil or chalk to mark your guide. This helps keep your cut straight and precise.
-
For plunge cuts, position the blade tip on the material before turning on the tool. Start slow and let the blade ease into the cut.
-
For flush cuts, attach a round blade and use a guide such as a straightedge. This keeps your cut even and results in a clean finish.
Follow these steps to build your confidence and achieve precise results with your oscillating tool.
Advanced Oscillating Tool Cutting Techniques
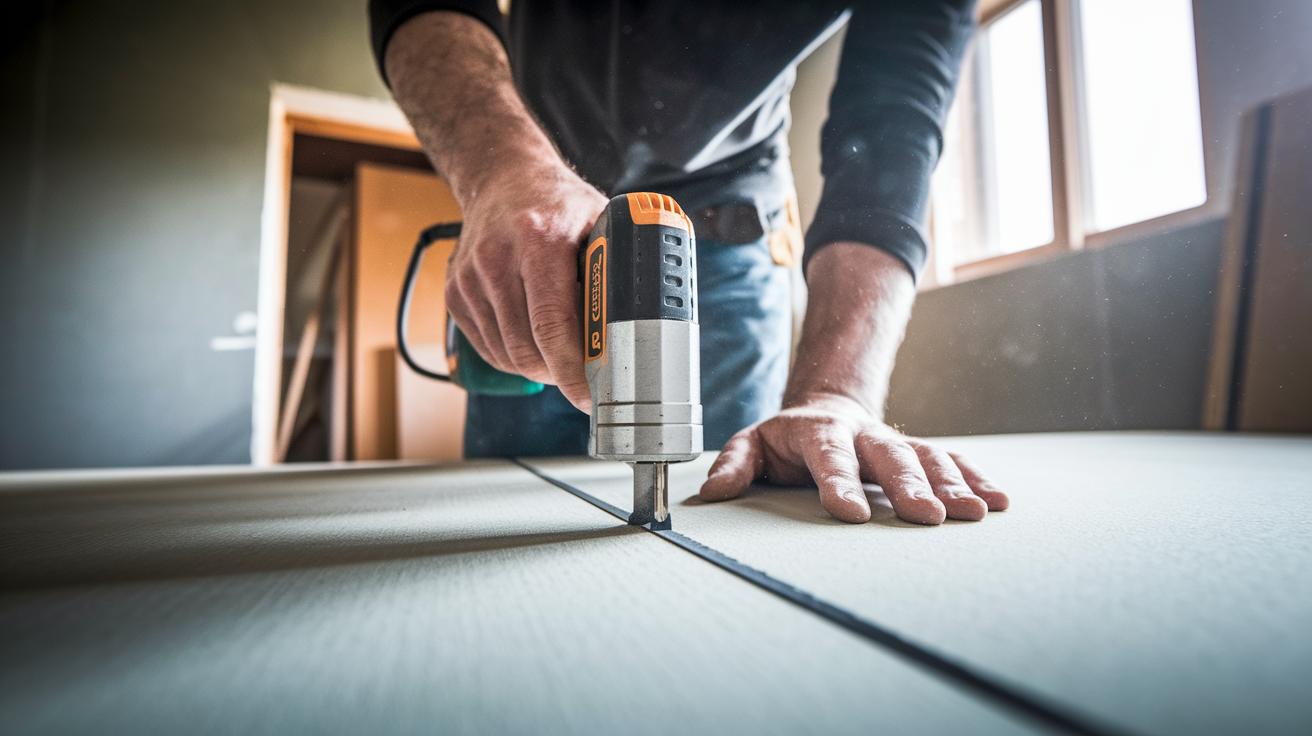
Drywall Cutting with an Oscillating Tool
Start by marking your drywall with a pencil or chalk. Use a ruler or template to draw a straight line. Next, attach a fine-tooth blade made for drywall. Set your tool to a low speed and let its motion guide you. Hold the tool steady as you follow your line for a neat cut.
Wood and Baseboard Trimming
For wood or baseboard work, use a flush-cut blade. Keep a scrap piece nearby to use as a guide so the edge stays even. This method makes sure your trim fits nicely against the wall. Move the tool steadily and use light, controlled pressure for a crisp cut.
Grout Removal and Tile Work
Choose a carbide blade for light grout removal or a diamond blade for tougher tile jobs. Set the tool to an oscillation setting that reduces dust while protecting your tiles. Work at a moderate speed to gently clear the grout and keep the tile surface safe.
Metal Cutting and Tight-Space Applications
When cutting metal, select a bimetal blade for extra durability. For tight spaces, try using an extra-wide blade (2½-inch). Work at slower speeds to have full control in small areas. Carefully adjust your angle to get an accurate cut without overloading the tool.
| Technique | Recommended Blade |
|---|---|
| Drywall Cutting | Fine-tooth/Drywall Blade |
| Wood Trimming | Flush-cut Blade |
| Grout Removal | Carbide or Diamond Blade |
| Metal/Tight Cuts | Bimetal/Extra-wide Blade |
Oscillating Tool Maintenance, Troubleshooting, and Safety

After each use, turn off your tool and clean its attachments and housing to remove dust and debris. Wipe the blade gently and check for chips or dull spots. Replace the blade if you see any wear.
For cordless models like M18 or M12 series, follow the battery care instructions in your guide. This helps keep the battery working well for longer projects. Remember, a clean tool is a safe tool.
Before servicing, always disconnect power. Wear safety glasses and gloves while cleaning or troubleshooting. Store your oscillating tool in a dry area to prevent rust and damage.
If the blade starts to wobble, retighten or replace the adapter immediately. This step reduces the risk of injury and prevents further damage to your tool.
If the motor stalls mid-job, pause and check for any debris jams. Also, make sure the battery is fully charged. Clear out the blockage and test the tool at a low speed.
Regular checks are key. Inspect all moving parts and replace any damaged attachments. For battery-operated tools, charge them according to the manufacturer's guidelines.
Final Words
In the action, we covered oscillating tool fundamentals, from setting up safety gear to selecting the right blade for various tasks. We detailed each step, whether cutting drywall or trimming baseboards, with clear instructions and tips. We also touched on advanced techniques and essential maintenance to keep your tool in top shape. This guide shows you how to use an oscillating tool confidently, helping you achieve professional results while staying safe. Enjoy your project and have fun creating improvements around your home!