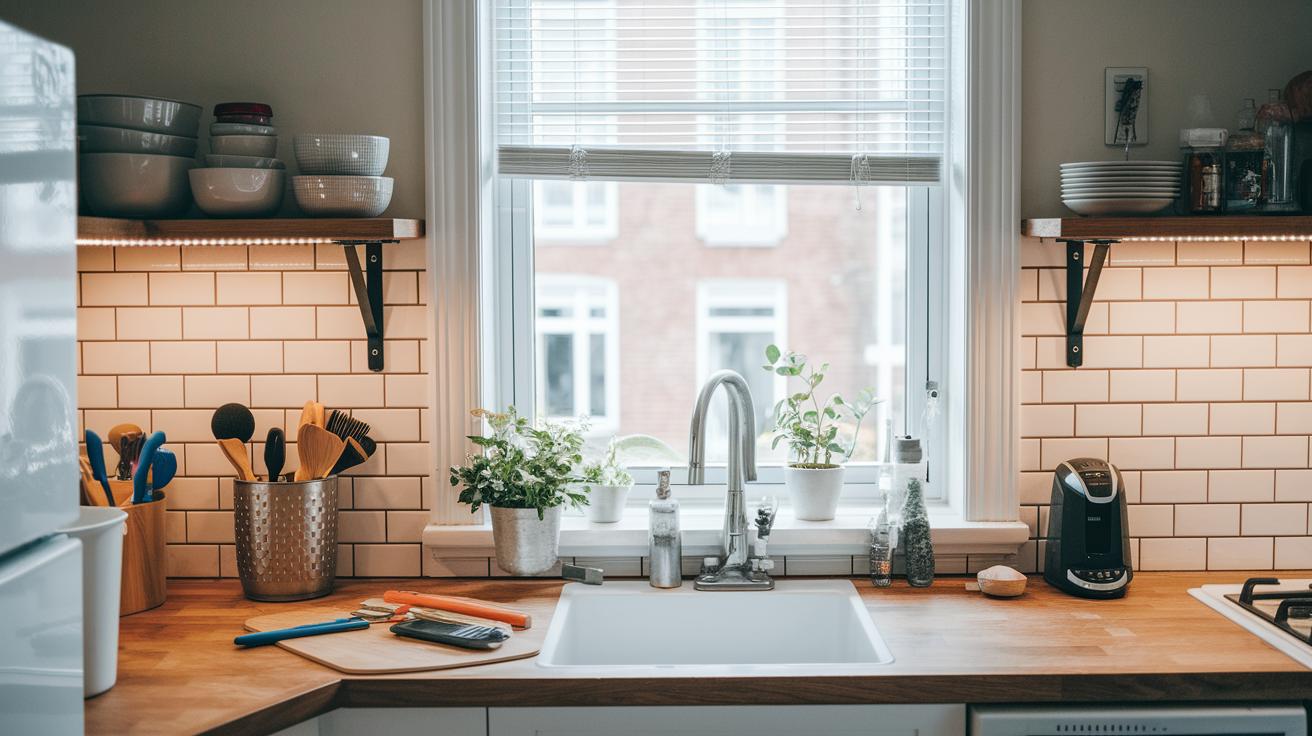

Have you ever wondered if a small budget can breathe new life into your kitchen? This guide lays out a practical five-step plan to refresh your space without overspending. Focus on key enhancements, such as installing a new backsplash or updating your cabinets, to create a bright and inviting environment. Imagine your kitchen evolving into a warm retreat built on smart planning and creative design. Explore these hands-on ideas that blend style and function while keeping costs manageable.
Planning Your Low Budget DIY Kitchen Makeover: A 5-Step Blueprint

Begin by outlining distinct objectives for your kitchen upgrade. Determine which areas would brighten your space the most, whether it is updating the backsplash, revamping the cabinets, or refining the lighting. Let your personal taste lead the way; imagine how a vivid backsplash could transform an ordinary wall into a stunning accent.
Next, develop a straightforward budget plan that lists every project task along with its estimated cost. Detail the materials you need such as peel-and-stick tiles, paintable beadboard wallpaper, or discounted butcher block countertops from Hevea species, and remember to set aside extra funds for any unexpected expenses. This careful planning will help you make the most of a limited budget.
After budgeting, set up a realistic timeline to keep your project on track. Aim to complete the makeover within three to seven days; one case study even achieved a full update in three days for under $1,300. Divide the work into daily tasks to maintain steady progress and motivation.
Then, choose the most impactful projects from your extensive list of ideas. With several DIY tasks available, focus first on improvements that offer the greatest visual benefit. For example, consider transforming worn-out cabinets by applying a fresh coat of paint and new hardware.
Finally, assemble a detailed checklist of tasks and essential supplies to monitor your progress. You can also take advantage of the downloadable DIY project planning template available at https://theoriented.com?p=98 to schedule your work efficiently.
| Step | Action |
|---|---|
| 1 | Set Clear Objectives |
| 2 | Create a Budget Plan |
| 3 | Establish a Timeline |
| 4 | Select High-Impact Projects |
| 5 | Develop a Checklist & Plan |
Essential Tools & Materials for a Low Budget DIY Kitchen Makeover
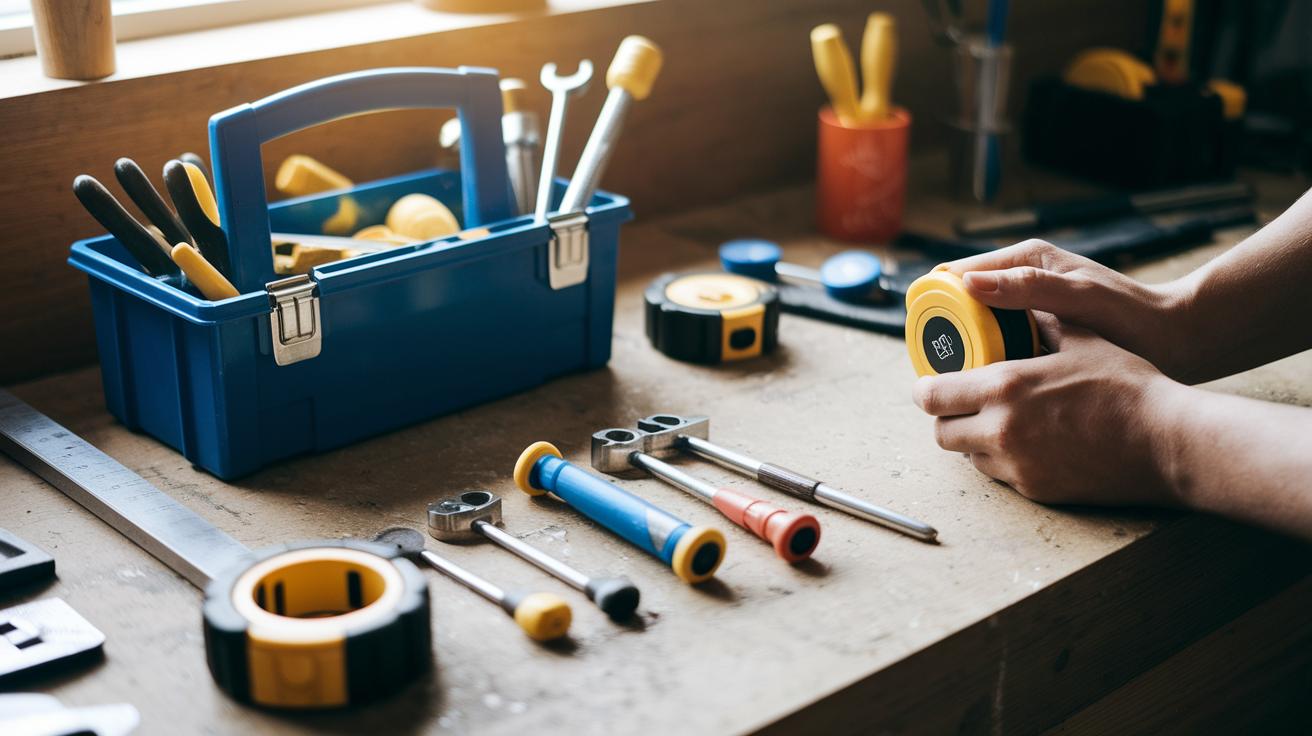
Begin by gathering a set of basic tools that support every stage of your kitchen renovation. Essential hand tools include screwdrivers, hammers, pliers, adjustable wrenches, tape measures, utility knives, spirit levels, and rubber gloves. For more details, refer to the essential home improvement tools list. Each tool plays a significant role when you are either taking out old fittings or measuring spaces for new installations.
Next, seek out affordable materials that deliver high impact without overspending. For instance, peel-and-stick floor tiles at $1.29 per square foot provide a budget-friendly solution and simplify the installation process. A paintable beadboard wallpaper creates an attractive backsplash alternative that is both economical and easy to maintain. For countertops, budget options like butcher block slabs made from Hevea species offer lasting durability when properly sealed. Additionally, refreshing your kitchen cabinets with new hardware, typically around $70, can instantly update the entire space without stretching your budget.
This careful selection of tools and materials ensures that you can tackle every DIY task confidently, resulting in a kitchen that remains both functional and appealing throughout the makeover process.
DIY Cabinet Makeover on a Budget: Paint, Hardware & Refacing

Start by detaching the cabinet doors along with all associated hardware. Removing these components not only makes sanding easier by fully exposing the surfaces but also helps to prevent unintentional damage. For instance, use a screwdriver to carefully remove each door and keep the screws in a safe place for later use.
Next, sand every surface thoroughly to eliminate previous finishes and create a smooth base for your new paint. Work with medium-grit sandpaper to ensure an even texture, making sure the surfaces feel uniformly rough and ready for primer. Once sanding is complete, wipe away any dust with a damp cloth before proceeding.
Apply a quality primer to seal in any stains and ensure the paint adheres evenly. Follow the manufacturer’s instructions for drying times. When the primer is completely dry, add two layers of durable paint, making sure each coat dries fully before applying the next. This method results in a sleek and modern appearance.
Finally, update the look by replacing the old hardware with new handles and knobs, typically costing about $70 for a full set. Installing contemporary pieces not only revitalizes the cabinets but also adds a touch of modern style. For an innovative twist on a tight budget, consider partial refacing with peel-and-stick veneer or beadboard inserts on select sections.
Key steps:
- Carefully detach cabinet doors and hardware.
- Sand all surfaces evenly to prepare a receptive base.
- Apply primer followed by two coats of durable paint.
- Replace hardware to achieve a refreshed, cohesive look.
- Experiment with peel-and-stick veneer for additional texture and visual interest.
Following these steps will dramatically transform your cabinets, proving that an impressive update can be achieved without overspending.
Low Cost Backsplash, Countertop & Flooring Ideas for Your Kitchen Makeover

Upgrade your installations with a few clever methods that turn basic materials into standout features. For example, when working with paintable beadboard wallpaper for your backsplash, begin by applying a dedicated primer to create a uniform surface. Then, mark clear guide lines using chalk to ensure perfect alignment. One suggestion to try is to chalk a series of horizontal lines before hanging your wallpaper for a consistently neat finish.
Refresh your countertops by implementing a layered sealing process. Instead of using only one coat on materials like butcher block, alternate between layers of food-safe epoxy and natural oil. This approach not only improves durability but also reveals a subtle marbled effect in the wood grain. A useful hint is to seal with food-safe epoxy to maintain the natural beauty of the wood while protecting against stains and moisture.
When it comes to peel-and-stick floor tiles, achieve an immaculate pattern by employing a leveling tool after placing the first row. This helps maintain an even checkerboard layout and reduces the risk of misalignment. Start by testing a small section with the tool for precise adjustments. An effective strategy is to run a level along the initial row of tiles to confirm each piece is perfectly aligned before continuing.
| Upgrade Component | Advanced Technique | Example Approach |
|---|---|---|
| Backsplash | Apply primer and use chalk guides | “Chalk guidelines before installing for a neat finish.” |
| Countertops | Alternate layers of food-safe epoxy and natural oil | “Layer epoxy and oil to enhance durability and natural grain.” |
| Flooring | Utilize a leveling tool with peel-and-stick tiles | “Level the first row of tiles to ensure a consistent pattern.” |
Key strategies to follow:
- Prepare surfaces well with priming and clear guide markings for backsplash installation.
- Use a multi-layer sealing technique on countertops to boost both durability and visual depth.
- Incorporate a leveling tool when installing floor tiles for enhanced accuracy and alignment.
Creative DIY Kitchen Makeover Lighting, Storage & Hardware Hacks

Transform your kitchen with practical and budget-friendly lighting upgrades that create a welcoming atmosphere. Consider installing LED strips beneath your cabinets or updating your pot lights with energy-efficient alternatives. Begin by testing a short LED strip under your countertop to see how it brightens the space, and let this small experiment guide you before making any full-scale changes. A single LED addition can turn an overlooked corner into a vibrant work area.
Revitalize storage by embracing simple and economical changes. Remove upper cabinet doors or add floating shelves to reveal extra display space and keep frequently used items within arm’s reach. A minor change like opening a single cabinet door can create a stylish area to feature your favorite dishware.
Boost your kitchen’s functionality with clever remodeling ideas. For example, install decorative peg rails along the walls to hang utensils, or design a custom fridge surround that seamlessly blends with your overall decor.
- Fit targeted under-cabinet LED strips to enhance specific areas.
- Reclaim unused cabinet space by creating open shelving.
- Mount decorative peg rails to keep everyday tools easily accessible.
- Construct a DIY spice drawer organizer from leftover MDF for organized storage.
Experiment with these inventive solutions for a kitchen makeover that brings joy and efficiency without straining your budget.
Finishing Touches: Frugal Décor & Styling for Your Kitchen Makeover
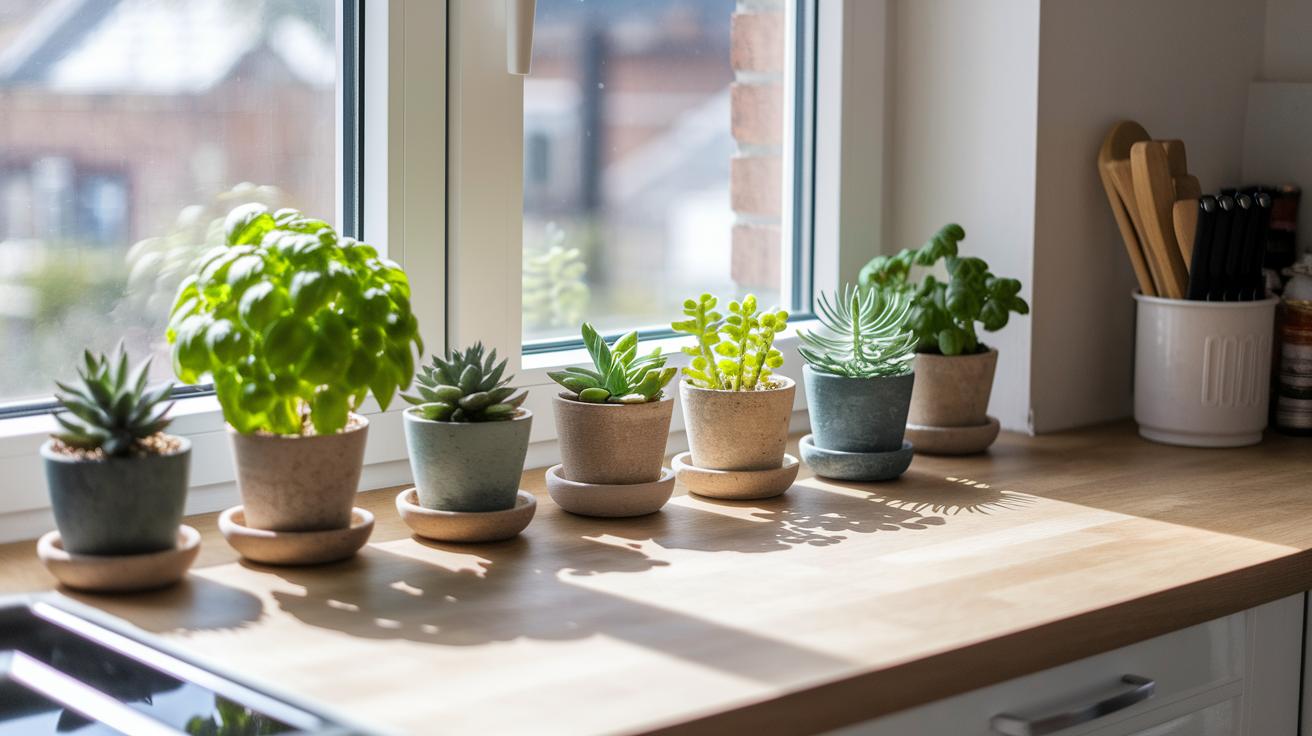
Revitalize your kitchen with budget-friendly decorative accents that bring real delight. Try introducing low-maintenance plants such as basil, mint, or succulents on your countertop. For example, place a few small pots on your windowsill; add a dash of green with potted succulents for a refreshing burst of color.
Brighten dim floors by laying down an area rug or runner. This affordable update not only softens the space but also adds a welcome layer of comfort underfoot.
Breathe new life into your existing furniture by reupholstering bar stools and repainting chairs. This refreshed approach creates a cohesive look that radiates personality and charm.
Additional ideas include:
- Installing striped Roman shades to gracefully frame your windows.
- Painting an accent wall in light tones, such as Behr’s Blank Canvas, to introduce visual depth and interest.
These cost-effective decor upgrades provide a DIY kitchen transformation that truly brings joy.
Final Words
In the action of transforming your kitchen, our guide provided a clear, step-by-step approach. We explored simple planning, assembling affordable tools, and refreshing cabinets with minimal expense. Quick fixes for backsplash and flooring, along with creative lighting and storage hacks, ensure every corner is updated. Finish with inspired décor to add personal charm. Embrace your low budget diy kitchen makeover journey and let these tips drive your practical, stylish transformation with confidence and a smile.