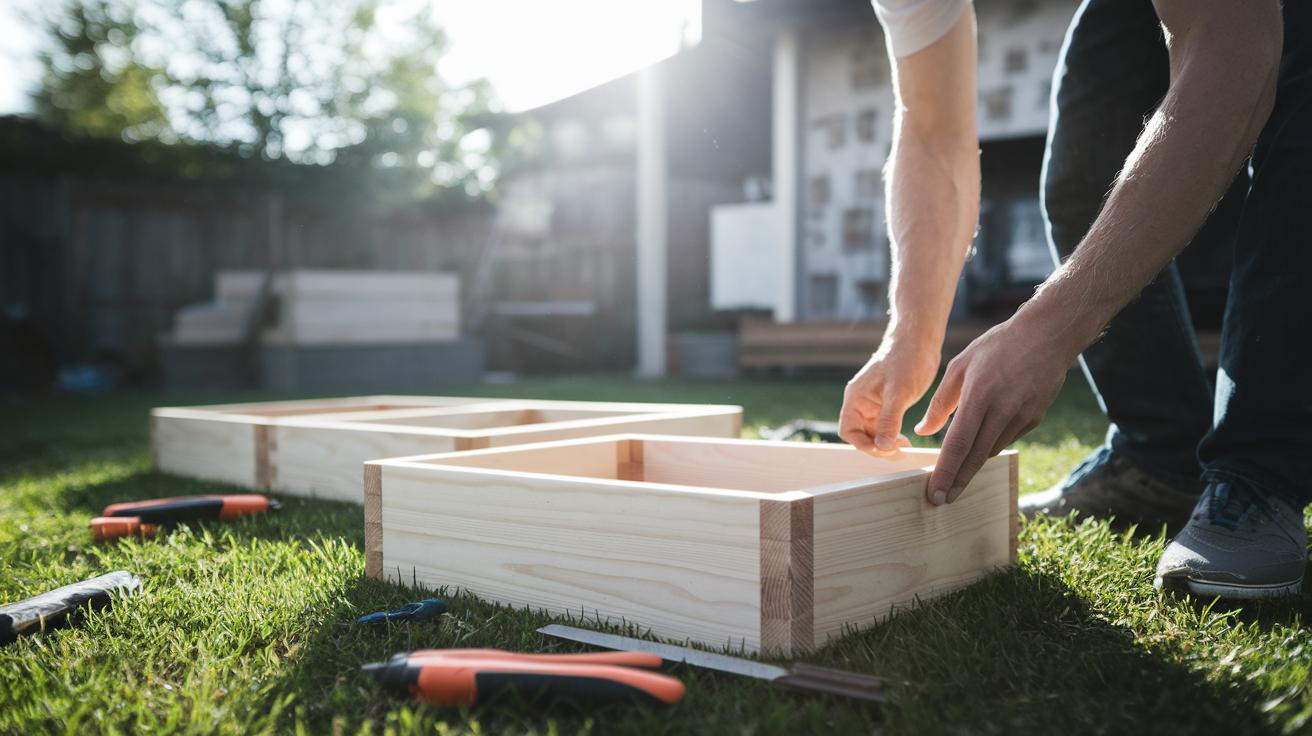

Project Snapshot: Weekend project • 3–4 hours • $50–$150 (materials only) • Beginner • Tools: drill, saw, measuring tape • Safety: Wear gloves and eye protection.
Have you ever looked at your outdoor space and thought it could use a little extra shine? Many people never take the chance to turn their backyard into a bright retreat in just one weekend. With simple, budget-friendly DIY ideas like reusing old furniture or building your own planter box, you can totally change the look of your space. Our guide breaks down the tools you need, handy tips, and clear steps so you can bring your vision to life. Ready to give your outdoor area a fresh new look?
Plan Your Outdoor Weekend DIY Projects Like a Pro

Start by choosing a project that fits your space and skill level. You might brighten your home with upcycled furniture, fix up a garden bench, or build a planter using reclaimed containers. Each idea is a step toward a successful weekend project.
Next, make a simple budget. Write down all your expected costs and include a little extra for surprises. For instance, if you are using driftwood, you may find it for free but need to buy some finishing supplies. Use a basic budgeting worksheet and check local stores for affordable materials.
Then, create a materials list that covers everything from paint and sealants to lumber and hardware. Here is an example:
| Item | Estimated Cost |
|---|---|
| Paint/Sealant | $25–$50 |
| Lumber/Driftwood | $0–$75 |
| Hardware | $15–$30 |
Plan your timeline by setting aside a full weekend (Saturday and Sunday) for selection, prep, assembly, and finishing touches. If you need a guide, try our DIY project planning template for step-by-step help.
Custom Deck Construction for Weekend Outdoor DIY Projects
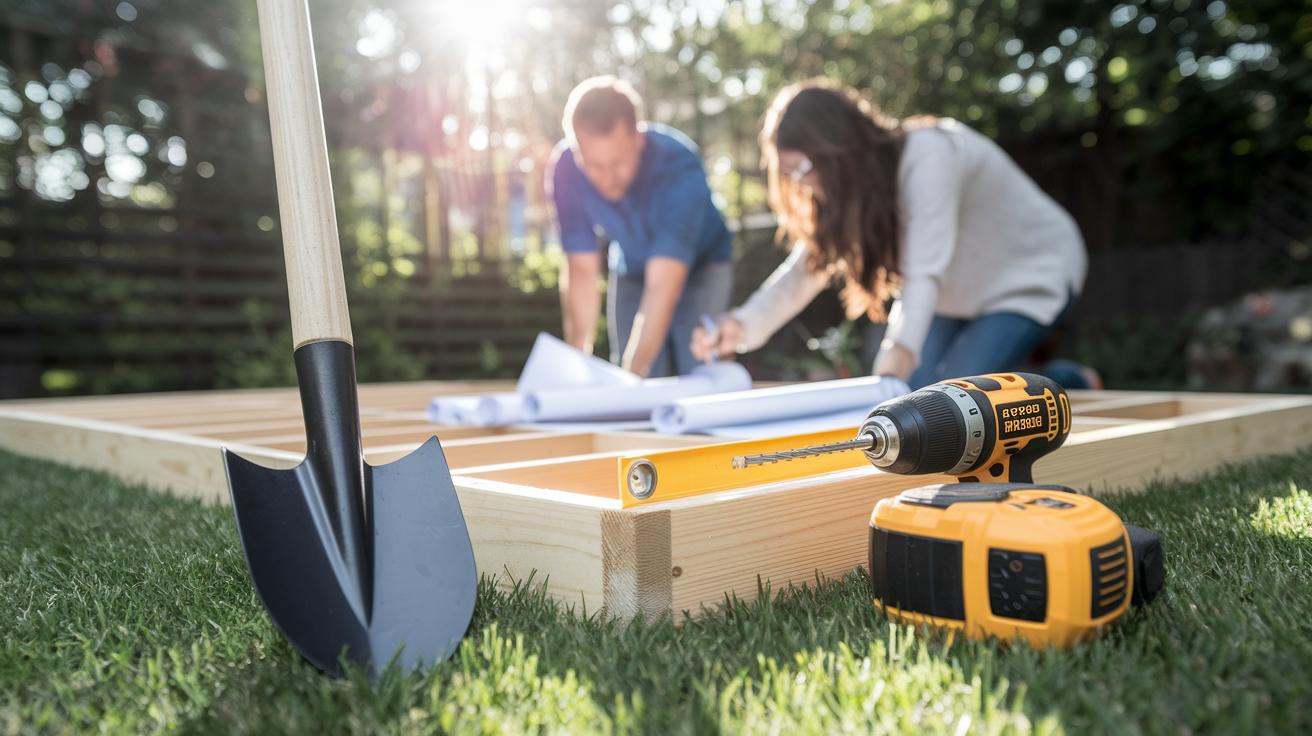
Project Snapshot: Weekend project • 2 days • Budget: Varies • Intermediate DIY • Tools: shovel, drill, level, tape measure • Safety: wear gloves and eye protection.
Start by gathering your tools and making a clear plan. Measure your space and mark the area for your deck. For example, you might decide on a 12 x 16 ft deck. Write down these dimensions and note any obstacles.
-
Prepare the foundation. Dig post holes about 2 ft deep and fill them with concrete footings. Use a level and tape measure to ensure each post is straight and spaced evenly. This basic rail-and-post framing is perfect for a weekend project.
-
Install the decking boards. First, build a frame using beams and joists. Then, lay the decking boards with even gaps to let water drain away. Secure each board with corrosion-resistant screws so they hold up over time.
-
Seal the deck. Once the boards are set, clean off any dust. Apply a high-quality, clear sealant to protect the wood from moisture and UV rays. Let it dry for 24 hours before applying a second coat.
Consider adding reclaimed wood accents along the deck borders. Using reclaimed pieces from old pallets or fences can add a unique, weathered charm while keeping costs low.
| Step | Focus |
|---|---|
| 1 | Foundation Setup |
| 2 | Deck Board Placement |
| 3 | Deck Sealing |
Follow these simple steps to build a custom deck that is both attractive and built to last.
Creative Backyard Builds to Tackle on a Weekend
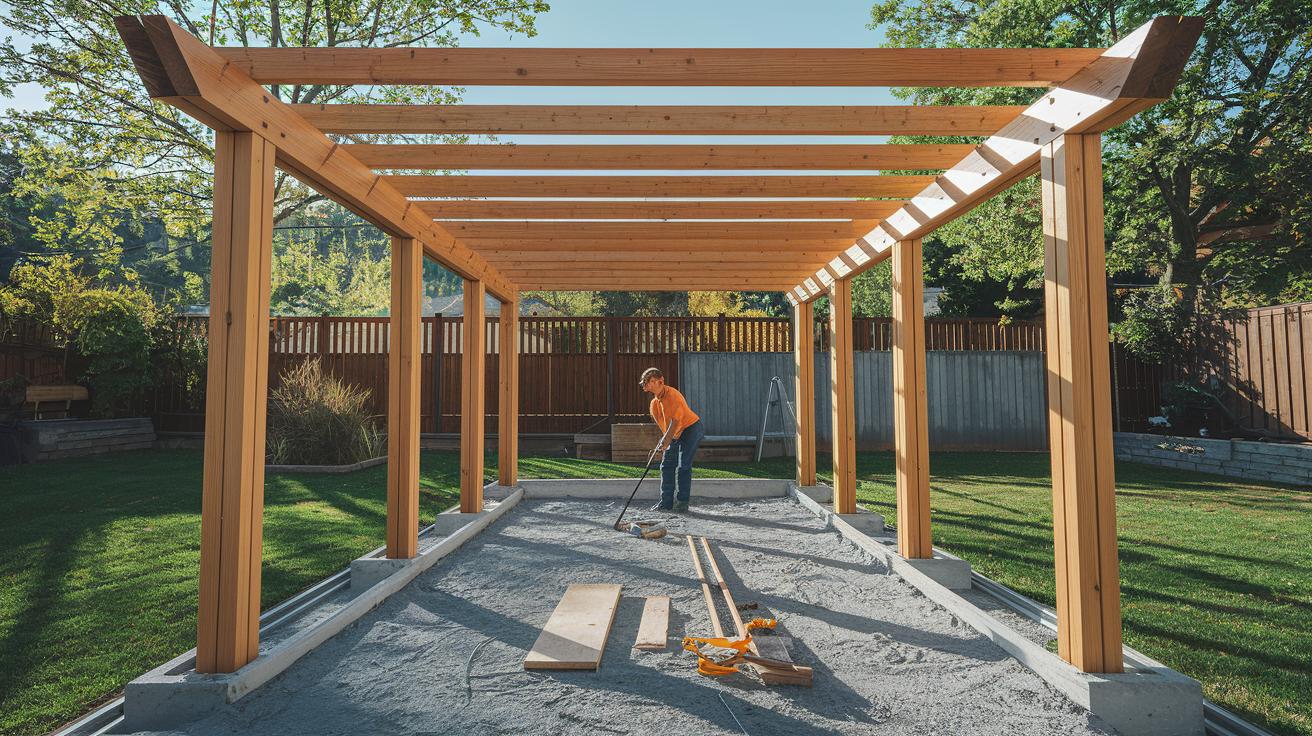
DIY Friendly Pergola
Weekend project • 8–12 hours • Budget: $150–$300 (materials only) • Beginner • Tools: saw, drill, level • Safety: wear safety glasses and use proper lifting techniques
Start with a simple rail and post design that works great for beginners. Measure and cut your lumber to the sizes you need. For example, use 4×4 posts (actual size 3.5×3.5 inches) and space them 6–8 ft apart. Set the posts into the ground with concrete so they stay steady. Next, attach horizontal beams with lag bolts. First, line up the rails and secure them with screws. Then add cross bracing to boost support. Begin your project with a rough sketch. If you plan a 10×10 ft pergola, write down your measurements and list the lumber required.
Quick Fire Pit Installation
Weekend project • 4–6 hours • Budget: $100–$200 (materials only) • Beginner • Tools: shovel, level, trowel • Safety: keep flammable materials away from heat
Create a backyard fire pit using a ring of paver stones to form a safe area. Draw a circle about 3 ft in diameter in your yard. Dig a shallow trench and add a 2-inch layer of gravel for a sturdy base. Arrange the paver stones evenly around the circle, making sure each stone is level and can move slightly if needed. Fill any gaps with sand and backfill the trench. Always keep at least 3 ft of clear space around the pit for safety. Think of it like assembling a puzzle: fit each stone neatly and press down firmly.
Handmade Picnic Table Plan
Weekend project • 6–8 hours • Budget: $75–$150 (materials only) • Beginner • Tools: saw, drill, measuring tape • Safety: use clamps and work carefully when cutting
Make a sturdy, charming picnic table using eight 2×4 boards. Cut four boards for the table top and use the remaining boards for the supports. Mark where the bolts will go along each joint. Drill pilot holes and then fasten the boards with washers and bolts to make a firm connection. For a finished look, sand the table and apply outdoor paint or sealant to guard against weather. This plan takes under eight hours, leaving you plenty of time to enjoy your new table.
Eco-Friendly Outdoor Weekend DIY Garden Renovations
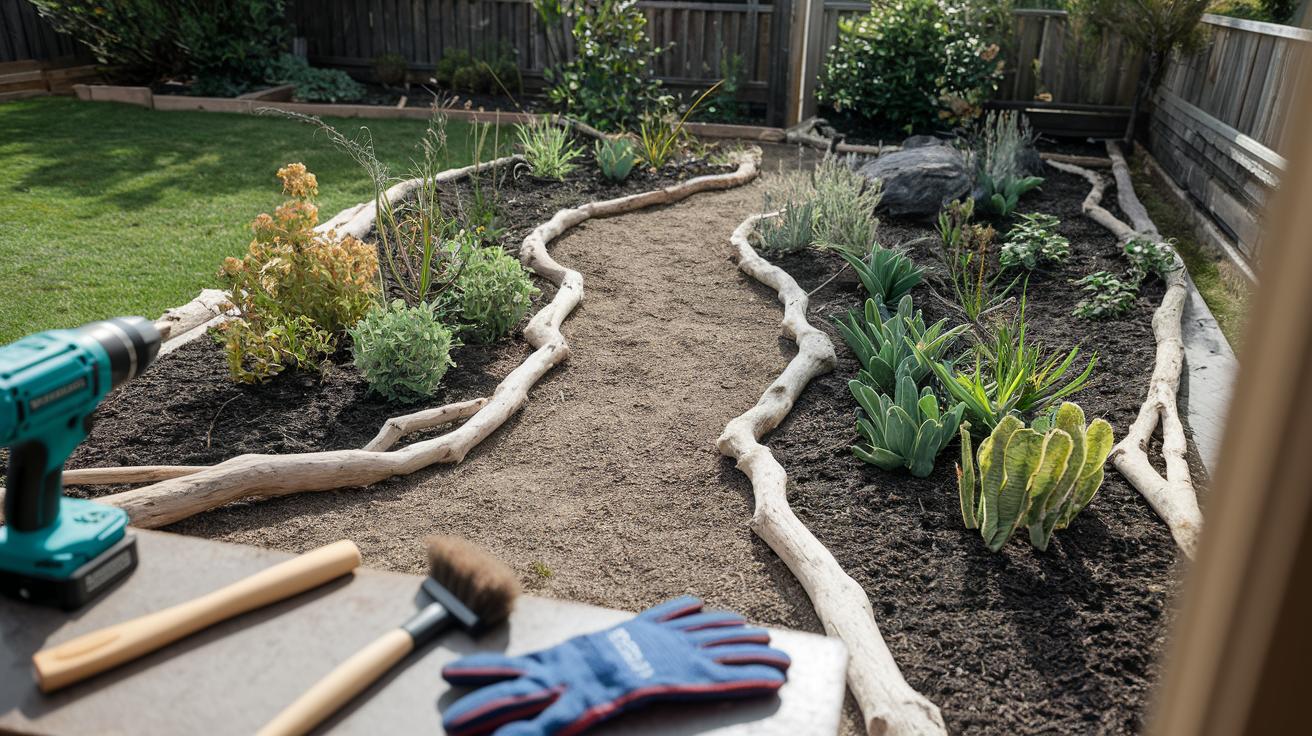
Project Snapshot • Weekend project • 4–6 hours • $50–$150 (materials only, prices vary) • Beginner • Tools: drill, hammer, cleaning brush, screwdriver • Safety: Always wear gloves and eye protection.
Give your garden a green makeover by using repurposed materials and simple tools. Start by gathering storm-salvaged driftwood to form natural borders around a rock garden. First, collect a few driftwood pieces. Clean them well and lay them out to follow the natural shape of your garden. For instance, line a winding path with these pieces to create a rustic border that draws attention to your favorite garden spots.
Next, repurpose an old washing-machine drum into a sturdy planter. Clean the drum and drill drainage holes so water can escape. Then, fill it with rich compost and add your chosen plants. This planters gives your garden an urban touch while reusing discarded items.
For raised garden beds, choose strong bamboo poles. Set the poles upright at each corner of your bed and connect them using extra lumber or recycled wood pieces. Bamboo is cheap and almost free, making it a great option for a low-cost raised bed that also helps keep pests and moisture away.
You can also build a compost bin from pallets in under four hours. Stack two to three used pallets and secure them with affordable screws. The open design lets you easily turn garden waste into nutrient-rich compost with little effort.
| Material | Purpose |
|---|---|
| Driftwood | Rock garden borders |
| Washing-machine drum | Industrial-style planter |
| Bamboo poles | Raised beds |
| Pallets | Compost bin |
Follow each step carefully and use common tools. We recommend taking your time with each part to ensure safety and a quality finish. Enjoy turning old items into a beautiful, eco-friendly garden retreat!
Budget-Friendly Patio Ideas for Weekend Outdoor DIY Projects
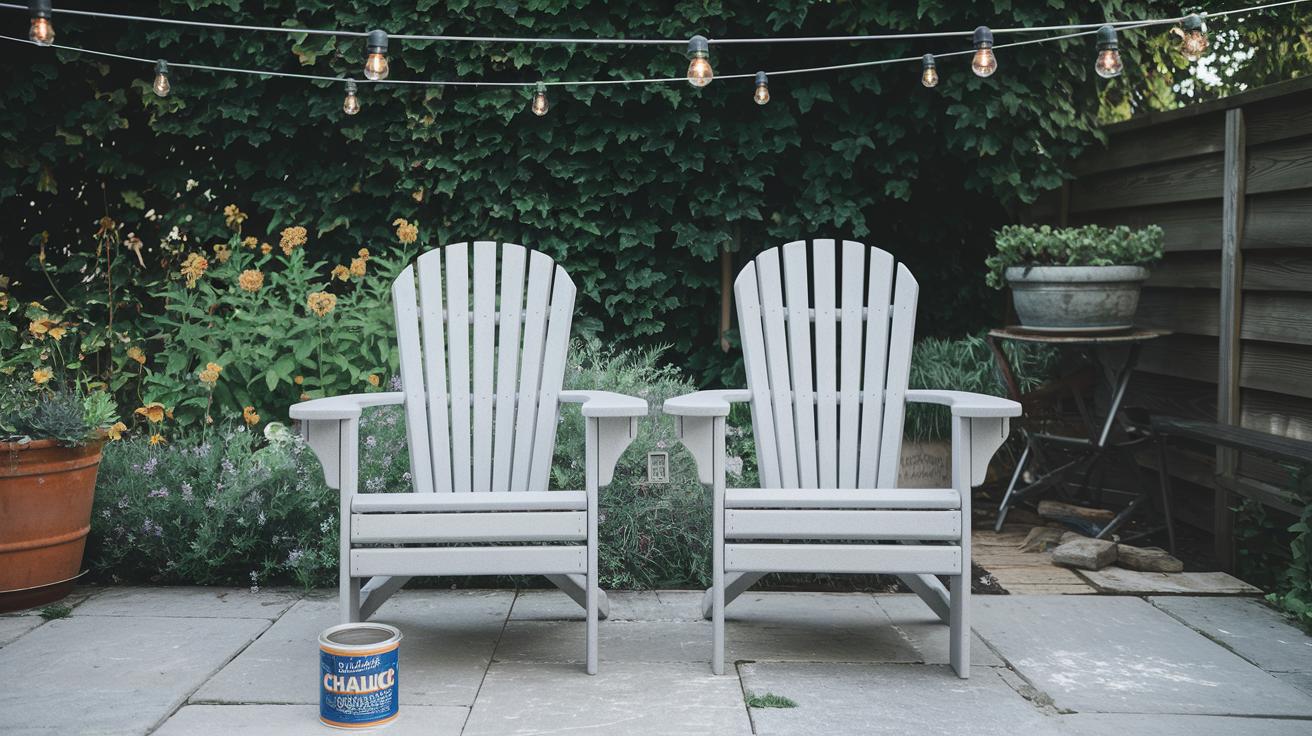
Project Snapshot: Weekend project • 1-2 days • Budget friendly • Beginner • Tools: sandpaper, paintbrush, chalk paint or Valspar Ember, string lights, shovel • Safety: Use gloves and work in a well-ventilated area.
Give your patio a simple update by refreshing old furniture. Start by cleaning the pieces and lightly sanding them. Then, apply a thin, even coat of chalk paint or Valspar Ember. Let each coat dry completely before you add another one. One neighbor once said, "I transformed an old metal chair into a bright, fun seat with just one coat of Ember paint. Now it is the star of my patio!"
Add a cozy vibe by hanging string or barn-style lights. Run a line of weather-resistant lights above your seating area or around the edges of your patio to warm up the space. Make sure the lights are tied down securely and that every connection is safe for outdoor use.
Freshen up your patio look by repurposing old rugs and planters. An old rug can give your space texture, and handmade planters (made from recycled wood or metal) add a personal touch with pops of color.
For a project that makes a big impact, try creating a stone patio with flagstone. First, clear the area and spread a 2-inch layer of gravel to help with drainage. Then, arrange your flagstone pieces in a pattern that pleases you. Fill in the gaps with sand. Think of it like a puzzle: plan your layout, and then lay each stone carefully.
| Step | Action |
|---|---|
| 1 | Refresh furniture: Clean, sand, and paint with chalk paint or Valspar Ember. |
| 2 | Install lights: Hang weather-resistant string or barn-style lights securely. |
| 3 | Repurpose items: Use old rugs and recycled planters for added style. |
| 4 | Create a stone patio: Lay flagstone on a 2-inch gravel base and fill gaps with sand. |
Follow these simple steps to give your outdoor space a fresh, budget-friendly makeover. Enjoy your new patio and the time spent outdoors!
Essential Tools and Safety Guidelines for Outdoor Weekend DIY Projects

Before you start any project, gather a solid toolkit. Make sure you have a circular saw, a cordless drill, a level, a tape measure, and proper PPE (personal protective equipment). PPE means gloves and eye protection to protect you during cutting, drilling, and similar tasks. For more details on must-have home tools, check our link to the essential home improvement tools list.
Safety should be your first thought when planning DIY work. Always set your ladder on a flat surface and secure it if you can. Use a ladder safety checklist to keep three points of contact when climbing. For more tips on safe ladder use, visit our ladder safety advice page.
Before you begin, check the weather. Wet or windy days can make work dangerous, especially when using power tools or climbing. Keep your work area neat to avoid tripping, and take breaks if your hands get tired. Using the right tools along with these safe practices will help keep your weekend project fun and free of hazards.
Safety comes first, then creativity.
Final Words
In the action, you learned how to plan outdoor weekend DIY projects step by step. The guide covered budgeting, material sourcing, and clear timelines for creating decks, fire pits, pergolas, and eco-friendly garden updates. Each section broke down tasks into easy steps and shared vital safety tips with essential tools in view. Now you have the blueprint to tackle DIY projects confidently while keeping projects safe and on budget. Enjoy your project, and remember that every small step brings you closer to a beautiful, functional outdoor space!
FAQ
Frequently Asked Questions
What are some simple outdoor weekend DIY projects?
Simple outdoor weekend DIY projects involve building custom decks, picnic tables, and garden accents using basic materials and repurposed wood. These hands-on projects are designed to be completed over a full weekend.
How can engineers approach weekend DIY projects?
The weekend projects for engineers focus on blending technical know-how with practical design. They include custom deck construction, innovative garden builds, and creative hardscape installations that challenge skills and reward with functional outdoor pieces.
What does a DIY hardscape aquarium involve?
A DIY hardscape aquarium combines stone or paver work with waterproof containers to create a natural water feature. It involves building a sturdy base and sealing the design to merge an aquarium into your outdoor environment.
How can I use 2×4 wood for outdoor living projects?
Utilizing 2×4 wood outdoors means crafting benches, planters, and deck accents. These projects repurpose standard lumber to create functional, budget-friendly pieces that add a personal touch to your outdoor space.
What are some ideas for DIY 1×4 wood projects outdoors?
DIY 1×4 wood projects include making garden shelves, decorative trim, or small signs. These projects are lightweight and simple, ideal for adding charming details to your outdoor area without heavy construction.
How can leftover wood be repurposed for outdoor DIY projects?
Leftover wood can be repurposed into garden bed edging, vertical planters, or outdoor wall art. Using scrap materials is a cost-effective way to add unique, eco-friendly accents to your outdoor design.
What projects work well with scrap 2×6 and leftover 2×4 wood?
Scrap 2×6 and leftover 2×4 wood work well in building small benches, industrial-style planters, or accent pieces for decks and pergolas. These ideas help reduce waste while enhancing your outdoor living space.