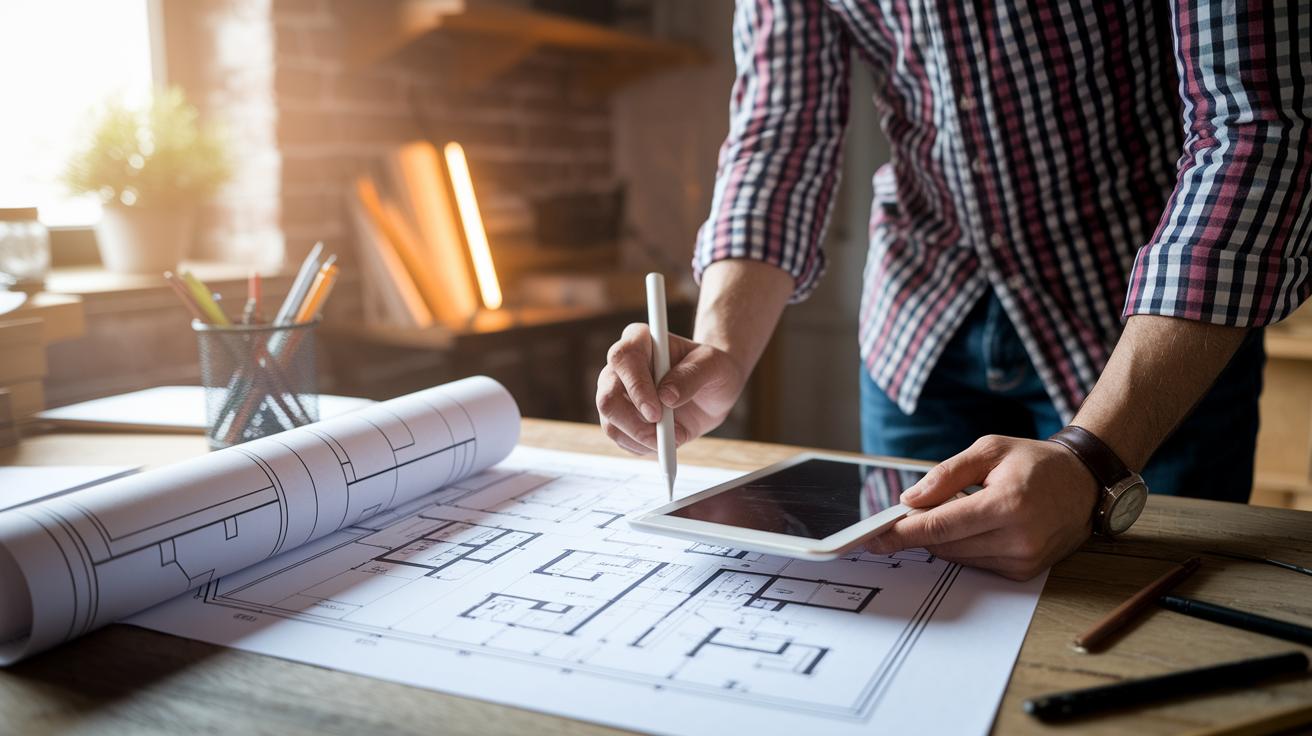

Ever started a home project and watched it grow out of control? A clear plan can made a big difference. In this post, we cover key planning steps that help you set clear goals, keep costs in check, and build an easy timeline. With simple steps and budgeting advice, you can map out your ideas and steer your project in the right direction. Get ready to take control of your home project and plan with confidence from start to finish.
Core Project Planning Techniques to Launch Your Home Improvement

Every good home project starts with a clear plan. First, decide your main goal. Ask yourself why you are remodeling. Is it to improve how your home works or to boost its look? For example, you might want to create a cozy reading nook that fits your daily routine.
Next, break your project into clear phases with a timeline. Use a simple sketch or an online visual tool to draw your layout. This way, you know where each piece will go long before you start construction.
Budgeting is a key part of planning. Write down all expected expenses, including labor, materials, permits, and any fees for professionals. Experts recommend adding 5-15% in extra funds to cover any surprises. Here is a quick checklist:
| Step | Action |
|---|---|
| 1 | Set clear money goals |
| 2 | List all expected costs |
| 3 | Add a contingency fund (5-15%) |
Then, spend time researching contractors. Check that they are licensed and insured, and look at reviews of their past work. Getting at least three quotes can help you find a balance between quality and cost.
Finally, get your home ready. Clear the work areas, secure any valuables, and keep your family's safety in mind. Following these simple steps will help keep your renovation on track from start to finish.
Defining Goals & Scope in Home Improvement Project Planning

Start your project by figuring out which changes are a must and which ones are extra. Make a list of essential fixes like repairing a leaky roof or updating old wiring. Then note bonus upgrades like installing a new backsplash. For example, if you want a dining room ready for the holiday, that clear goal will guide your schedule and design choices.
Before you jump into design, check your home's condition. Look for any structural issues or safety code problems that need attention. Use a simple checklist to guide you:
- Check walls, floors, and ceilings for wear.
- Look for old installations that might not meet current safety codes.
- Note any repair needs that could affect your plans.
For projects with several rooms, break the work into phases. This keeps tasks manageable and progress steady. Write your goals and schedule in a master plan and review it often. This approach helps you stay focused and make smart choices, step by step, toward a safe and beautiful home.
Budgeting Strategies and Scheduling Methods for Home Improvement

Match your budget with a clear schedule. List every cost like labor, supplies, permits, and fees. Check at least three contractor estimates. Then, plan with the season in mind. In winter, fewer contractors may be available, which can slow things down. In summer, you might find more flexibility.
Use a home renovation schedule template to plan realistic timelines and add a few extra days for unexpected delays. One homeowner planned a kitchen remodel in the fall to dodge winter slowdowns and had extra time for surprises.
Also, add a backup fund of 5-15% for most projects. In older homes, consider up to 20% to cover any extra costs from overtime or rush shipping.
Here’s a quick checklist:
- List every cost.
- Get at least 3 contractor estimates.
- Save 5-15% of your budget for extras.
- Plan your schedule around seasonal changes.
Resource Allocation and Contractor Coordination for Home Projects

Start by making a simple list of tasks. Decide what you can do yourself and what needs a pro. You might handle tasks like painting or light demolition on your own. Save jobs like plumbing, electrical work, or big structural changes for licensed experts.
Here are some steps to follow:
- List tasks that are safe for you to do.
- Mark jobs that need a skilled professional.
- Note any work that might affect building codes or your insurance.
Next, check your chosen contractors closely. Make sure each one has a valid license, proper insurance, and a warranty for their work. Look up online reviews to see how past clients felt about their work. It is best to collect at least three bids. Compare them based on work details, cost, and timeline. For example, one contractor may work fast at a higher price, while another offers a detailed plan with a steady pace.
If your project involves complex design or structural changes, consider hiring an architect or designer. They can help refine your ideas and work with your contractors.
Clear communication and well-defined roles at each step will keep your project on track and ensure the right professional handles every job.
Risk Assessment and Contingency Planning in Home Improvement

Begin by spotting any risks that could affect your project. Common issues include hidden damage in the structure, delays with permits, or unexpected weather. Knowing these risks ahead of time lets you plan a backup and avoid costly surprises. For instance, imagine starting a roof repair only to find rotten beams. This is why checking for risks matters.
Now, map out clear strategies to reduce these problems. You might plan for inspections in phases to catch issues early. For example, do a quick check after demolition to see if any structural problems show up. Keeping your schedule flexible makes it easier to adjust when delays come up. Remember, bad weather can hold things up, so plan a few extra days between big steps.
Finally, set aside an emergency fund by adding 10-20% extra to your base budget. This extra money can help cover any surprises. Use a simple checklist to track your progress:
- Spot risks early
- Plan phased inspections
- Keep a flexible schedule
- Reserve 10-20% extra funds
Milestone Tracking & Progress Evaluation in Home Improvement Planning

Divide your project into clear stages like demolition, rough-in, and finishing. At the end of each stage, set a checkpoint. For example, after demolition, check that all old fixtures are removed and the area is safe.
Draw a simple progress chart or use a Gantt-style timeline (a schedule that shows start and finish dates) to mark each phase. This helps you see if you are on track or if you need to make changes. One homeowner said, "I marked each phase on a whiteboard and celebrated small wins with my crew."
Review your master plan at every checkpoint to ensure your work matches your goals and budget. Take a moment to check that you are following your original plan. Here’s a simple checklist:
Regular milestone tracking keeps your project organized and lets you make real-time adjustments.
Essential Tools, Templates, and Tech for Home Improvement Planning

Downloadable planning templates save you time and keep your project on track. You can use simple budget sheets, schedule planners, and checklists that cover every step. For example, try the DIY Project Planning Template to track costs, dates, and tasks. It works like planning a camping trip where you list gear and meals.
Give spreadsheet-based Gantt charts or free web apps a try to manage your timeline. These tools show you clear start and finish dates for each phase. One homeowner said, "When my schedule was split into clear chunks, I felt more in control of my remodel."
Here are some tips to boost your planning:
- Use templates that you can print or edit.
- Set up a Gantt chart to mark each renovation stage.
- Check out community blogs or YouTube channels for fresh ideas.
- Attend local events where DIY enthusiasts share their favorite digital tools.
Using these tools can turn a messy project into a clear, manageable plan. For a full planning worksheet, try the DIY Project Planning Template at https://theoriented.com?p=98.
Final Words
In the action of starting your home improvement journey, we broke down key steps like defining goals, setting budgets with a safety buffer, and coordinating with trusted contractors. We also explored tracking milestones with simple charts and essential tools to keep you on track. These project planning techniques for home improvement help you manage risks and plan every phase with clarity. Take a deep breath, embrace each step, and soon you’ll see your efforts turn into a rewarding, professional-looking transformation.
FAQ
What are simple, free, and best project planning techniques for home improvement?
The simple, free, and best project planning techniques for home improvement start with clear goal setting, outlining scope and timeline, budgeting (including a contingency fund), researching contractors, and using free visual templates to map your plans.
What is the 30% rule for renovations?
The 30% rule for renovations suggests that your renovation costs should not exceed 30% of your home’s market value. This guideline helps keep improvements affordable while protecting overall equity.
What are the 5 steps in planning a renovation project?
The five steps in planning a renovation include setting clear goals, defining the project scope and timeline, establishing a detailed budget with a contingency, researching contractors, and preparing the home for work.
What are the 7 stages of project planning?
The seven stages of project planning often include ideation, design, planning, scheduling, execution, evaluation, and finishing touches. Each stage reinforces the previous one to keep your project on track and within budget.