
Have you ever felt that home repairs can be overwhelming? In just one weekend, you can give your space a fresh new look with easy, simple fixes. We share three projects that boost your home’s style and comfort using tools you likely already have. For example, you can brighten your walls or update old cabinet handles to create a modern touch. These ideas offer a refreshed look without a costly renovation. Stick with us to see how these quick repair projects can instantly brighten your home and bring it to life.
5 Rapid Repair Ideas: Top Weekend Repair Projects
A weekend project can boost your home's style and comfort. You don't need fancy tools for these quick fixes. Most tasks use basic gear you already have.
-
Refresh interior walls: Clean the wall and tape the edges. Use a roller and brush to apply a fresh coat of neutral paint like soft gray, warm white, or earthy beige. The change is like swapping old socks for a new pair, you instantly feel the difference.
-
Upgrade cabinet hardware: Use a screwdriver or drill to remove old handles. Replace them with modern pulls. In about an hour, your kitchen or bathroom cabinets look completely refreshed.
-
Install new light fixtures: Always turn off the power at the breaker first. Check with a voltage tester and then replace the old fixture with an energy-saving model. This step makes your room brighter and more inviting.
-
Enhance curb appeal: Give your front door a facelift by painting it with an exterior primer and paint. Update your house numbers and add some seasonal planters. These changes warm up your welcome for guests.
-
Apply a peel-and-stick backsplash: Start by cleaning and drying the wall. Measure and cut the panels before sticking them on. Trim the edges to finish. This simple step gives your kitchen a sleek, modern look without a full renovation.
Essential Tools and Materials for Quick Weekend Repairs
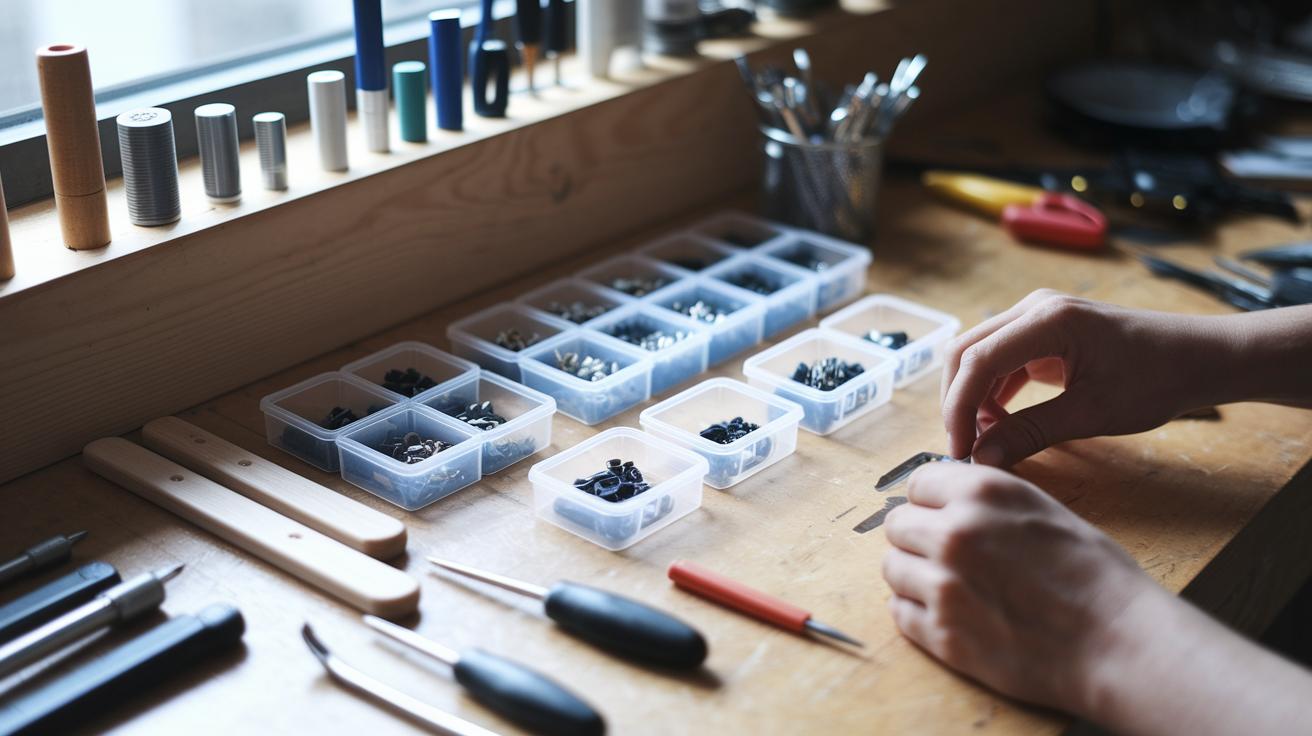
Before you start your project, take a moment to gather every tool and supply you will need. This helps your work go smoothly. Clear off a workspace where you can sort your tools, and use small containers to keep fasteners and other small parts organized. After each use, wipe down your equipment to make sure it stays in good shape. You can often find affordable supplies and discounts at local hardware stores.
Below is a table that shows key tasks along with the tools and materials needed:
| Task | Tools | Materials |
|---|---|---|
| Refresh Interior Walls | Paint roller, brush, tape, sandpaper | Neutral paint (soft grays, warm whites, earthy beiges), primer |
| Upgrade Cabinet Hardware | Screwdriver or drill | New cabinet pulls/handles, screws |
| Install New Light Fixtures | Voltage tester, screwdriver or drill | Energy-saving light fixture, wire connectors |
| Enhance Curb Appeal | Paintbrush or roller | Primer-and-paint kit, updated house numbers, seasonal planters |
| Install Peel-and-Stick Backsplash | Straight-edge, measuring tape, utility knife | Adhesive peel-and-stick panels, cleaning solution |
Here are a few extra tips:
- Use a toolbox or pegboard to keep your tools in order.
- Always clean your tools after each use.
- Check local hardware stores or discount outlets for budget-friendly options.
Simple Interior Fixes for Your Weekend Project
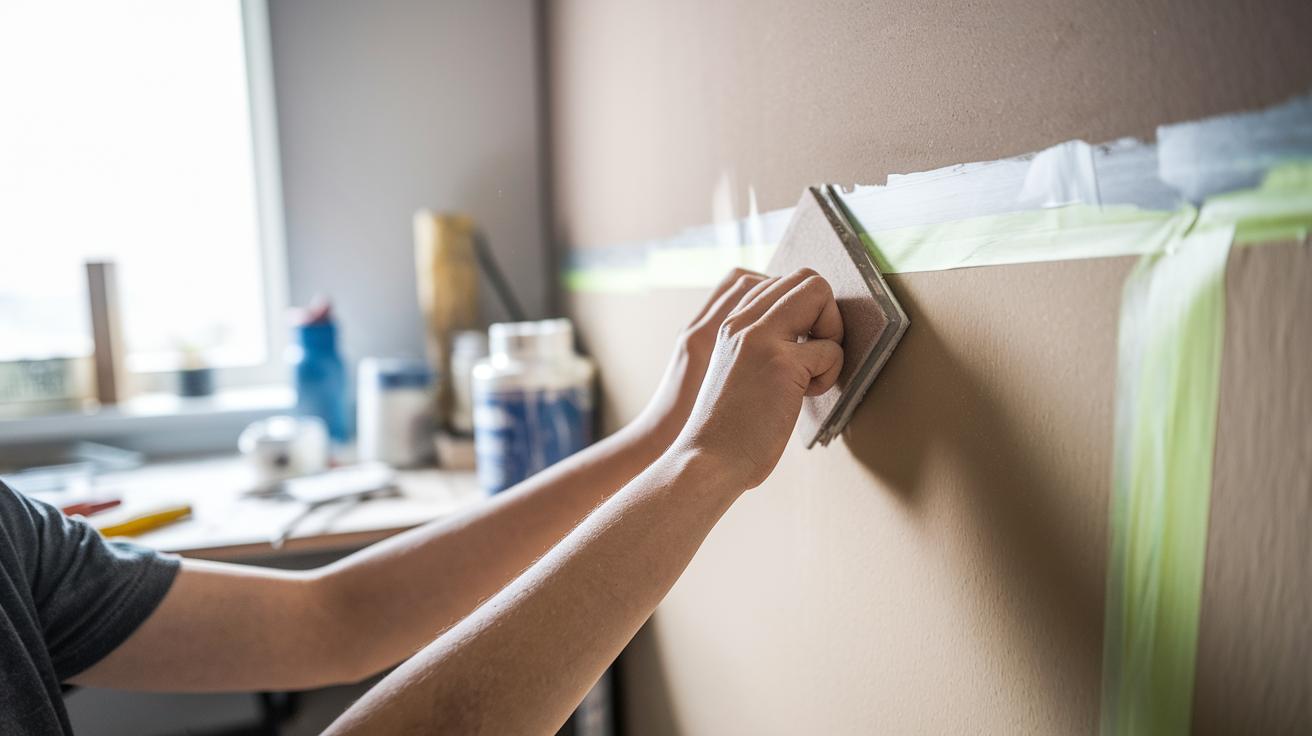
Start by giving your walls a fresh look with a neutral paint. Begin the project by cleaning the wall to remove dust and dirt. Next, sand any rough spots so that the wall is smooth. Tape off the edges and corners to keep them neat. Then, apply a primer to help the paint cover well and reduce extra coats. Choose a roller with the right nap length for your wall type and finish with a brush on tight spots. A quick trick: test a small spot before you go all in to catch any issues early. This wall refresh in a small room usually takes about 4 hours. A gallon of good-quality paint costs around $30–$50. If you see uneven strokes or brush marks after the paint dries, lightly sand those areas and touch them up.
Next, improve your cabinet look by updating the hardware. Remove the old pulls with a Phillips screwdriver or drill. Clean the mounting area well before installing the new handles, which are usually 3″–5″ wide. Make sure you check that they line up with the pre-drilled holes. Use a level to keep everything straight and tighten the screws firmly so the handles do not wobble. A helpful tip: once you install them, gently pull on each handle to check if it feels secure. If it feels loose, adjust the screws before moving on. This upgrade takes about 60 minutes and gives your cabinets both a fresh look and better function without a high cost.
Quick Lighting and Electrical Repairs in a Weekend
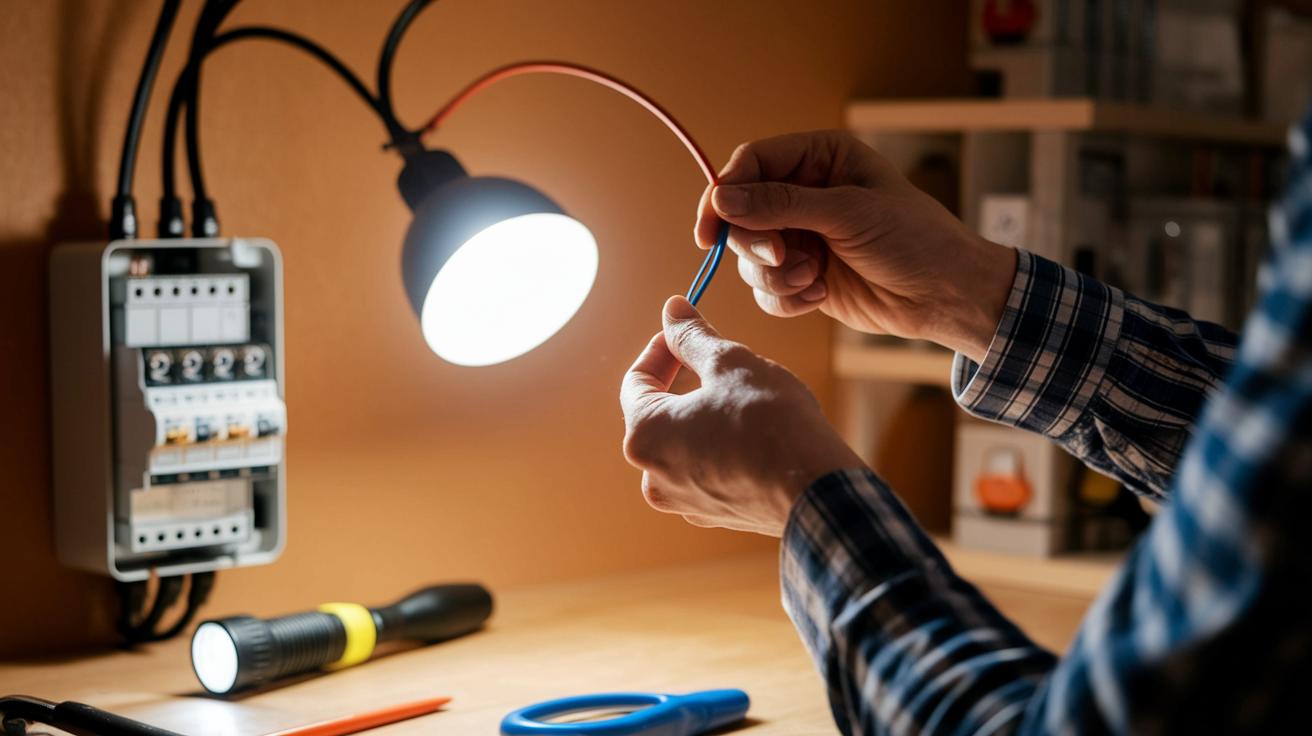
Before you start, turn off the power at the breaker and use a voltage tester to be sure.
- Take out the old fixture. Unscrew its mounting bracket and put all screws and small parts in a safe container.
- Check the wiring. Match black wires to black, white to white, and green (ground) wires to ground. Look for any worn insulation or loose wires.
- Fit in the new fixture. Follow the color codes from the instructions. Pick a cost-friendly option in the $50–$150 range that works for your room.
- Fix any issues:
- If the light flickers, make sure you are using the right type of bulb and that all connections are tight.
- If you find wiring problems, check for damaged insulation or wires that don’t match. Use proper electrical tape to secure loose bits.
- Turn the power back on and test your new light to confirm it works properly.
If the wiring still seems off or the light doesn’t work right, review every connection again before calling a professional.
Speedy Exterior Updates for Weekend Curb Appeal
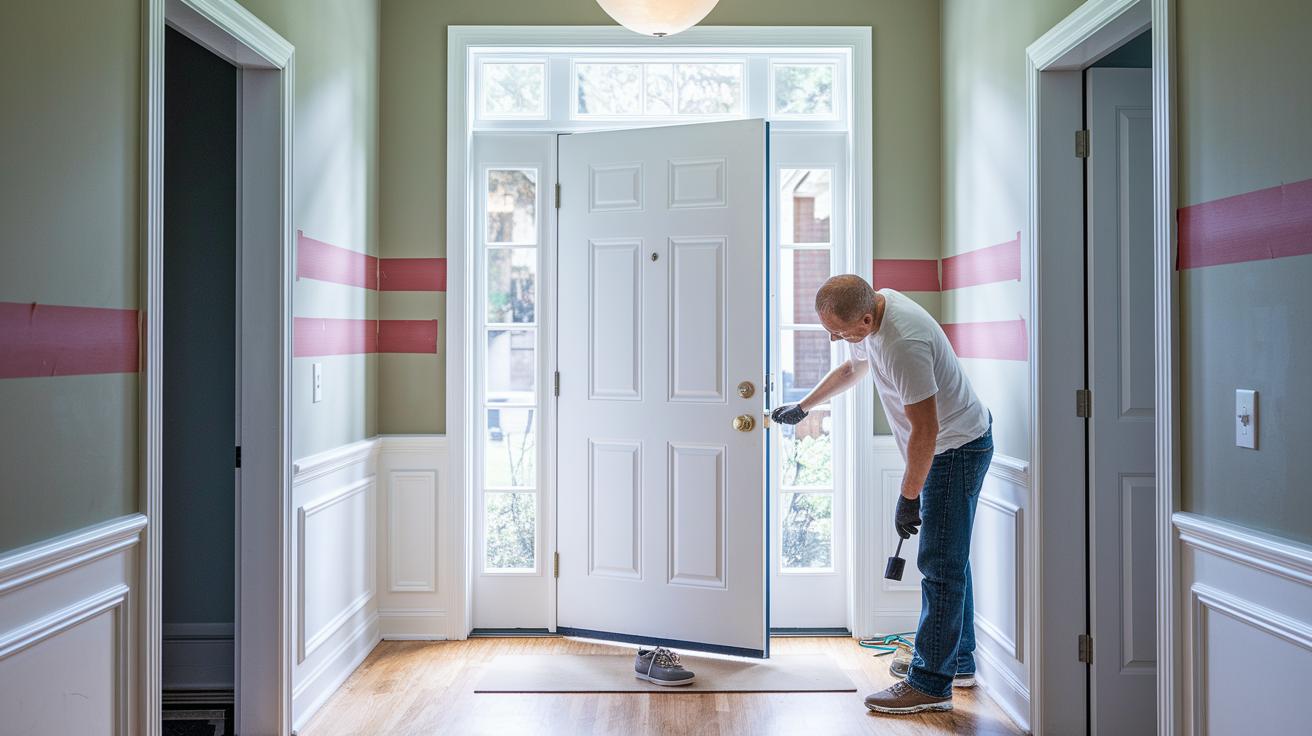
Here's a quick project to refresh your front door and boost curb appeal over a weekend.
Project Snapshot:
• Time: 4–5 hours total
• Cost: Budget-friendly
• Skill level: Beginner
• Tools: Cleaning supplies, sandpaper, paintbrush/roller
• Safety: Wear gloves and goggles; ensure good ventilation
-
Prep the Door (about 1 hour):
• Give the door a good wash.
• Mask off the walls nearby.
• Sand any rough spots lightly.
Think of it like smoothing a wooden surface before a stain. -
Apply Primer:
Spread a coat of primer to cover the old finish. This step helps the new paint stick. -
Paint the Door:
Choose an exterior paint in your favorite color. Set aside around 2 hours for painting, then allow time for drying. A fresh coat of enamel can really brighten up your entry. -
Update House Numbers and Add Planters (about 1 hour):
• Swap out the old numbers for modern ones sized 4″–6″.
• Place seasonal planters by the entry to add a splash of color.
New numbers give the door a modern look while planters create a vibrant welcome.
| Step | Time Estimate |
|---|---|
| Door Preparation | 1 hour |
| Priming and Painting | 2+ hours (plus drying) |
| Number Replacement & Planters | 1 hour |
Easy Kitchen Backsplash Installations in a Single Weekend

Project Snapshot • 3–4 hours • $40–$50 (kit cost, prices vary by region) • Beginner • Tools: cleaning cloth, pencil, utility knife or scissors • Safety: Make sure the wall is clean and completely dry before starting
Peel-and-stick panels are a quick alternative to the old mortar-and-tile method. Start by washing the wall well and let it dry fully. It is a good idea to test a small area first to see if the adhesive sticks as expected , much like checking if a new sticker will hold on your laptop.
Next, measure the area where you want the backsplash and mark the edges lightly with a pencil. This keeps your panels straight and well aligned. You may need a utility knife or scissors to trim panels around outlets or corners.
Before you stick the panel, hold it up against the wall to check the fit and pattern. If everything looks good, peel off the backing and press the panel into place. Begin from the center and press outwards to push out any air bubbles.
Once the panel is secure, use a straight edge to trim any uneven parts. In general, a 10-square-foot kit costs around $40, and you can finish this project in about 3–4 hours, leaving you with a fresh, professional look by Sunday evening.
Budget and Timeline Blueprint for Weekend Home Repairs

You have five home repair projects that all fit into a 2- to 12-hour weekend. You can paint (4 hours, about $50), swap out cabinet hardware (1 hour, about $30), install a light fixture (2 hours, about $50 to $150), update curb appeal (4 hours, about $25), or add a peel-and-stick backsplash (4 hours, about $40). Pick the project that fits your time and budget first. For example, try the cabinet hardware swap to get started. If delays come up, rearrange your projects based on how long they take and what they cost.
Use this checklist to keep your weekend repairs on track:
- Check your budget and available time.
- Start with quick projects.
- Account for drying or waiting times.
- Get your supplies ready so you can switch tasks easily.
- Set aside extra time for any surprises.
Safety Tips and Best Practices for Quick Weekend Repairs

Project Snapshot: Quick repair project • a few hours • low cost • beginner • Tools: safety goggles, gloves, dust mask, basic hand tools • Safety: protect your eyes, hands, and lungs.
When you tackle weekend repairs, safety is your top goal. Put on your safety goggles, gloves, and dust mask when sanding, painting, or cutting. This protects your eyes, hands, and lungs from harm.
Before you begin any wiring work, check your local electrical codes. Turn off the power at the breaker panel and secure it with a lockout/tagout (a method to keep the power off) to avoid shock. Work in a well-ventilated area to steer clear of harmful fumes and dust.
Keep a first-aid kit nearby and read all equipment manuals for proper usage and safety tips. Make sure your work space is tidy and well-lit to prevent trips and falls.
Always check that each tool is in good condition before you use it. Following these clear steps keeps you safe and helps make your weekend repairs smooth and worry-free.
Plan carefully and work smart to complete a repair that is both effective and safe.
Final Words
In the action, we covered five rapid repair ideas that refresh both interior and exterior spaces. We broke down tasks like a fresh coat of paint, light fixture updates, and peel-and-stick backsplash installations into simple, manageable weekend projects. Tools, materials, and safety steps were clearly outlined too. These quick home repair projects for weekends empower you to boost home appeal without breaking the bank. Enjoy the satisfaction of seeing your home transform with minimal fuss and maximum style.
FAQ
Frequently Asked Questions
What are some home improvement ideas on a budget?
The concept of home improvement on a budget means using cost-effective methods like neutral paint, cabinet hardware upgrades, and new light fixtures to boost a home’s style and value without overspending.
What are popular DIY home projects for beginners and adults?
Popular DIY home projects for beginners and adults include simple tasks like painting, updating cabinet hardware, and installing peel-and-stick backsplashes, which offer noticeable improvements without requiring advanced skills.
What are some quick weekend project ideas that make a big impact?
Quick weekend project ideas focus on rapid repairs that boost comfort and style, such as light fixture updates, exterior door refinishing, and curb appeal touches that transform key areas in just a few hours.
Is $50,000 enough to renovate a home?
The idea behind a $50,000 renovation budget is that it can cover many modest updates, though major renovations may require more funds; careful planning and prioritizing key improvements is essential.
What is the 30% rule for renovations?
The 30% rule for renovations means you should spend no more than 30% of your home’s value on updates, helping you balance renovation costs with future financial stability and overall investment.
What are some fun, simple project ideas?
Fun, simple project ideas include cabinet hardware swaps, peel-and-stick backsplash installations, and fresh interior painting, all of which add personality and a fresh look without a lot of hassle.