

Project Snapshot:
• Weekend project • 4–6 hours
• $100–$250 (materials only)
• Beginner
• Tools: caulk remover, cleaning supplies, sandpaper, reglazing kit
• Safety: Work in a well-ventilated area and wear a mask
Ever thought about giving your tub a new look without breaking the bank? You can update your old bathtub into a bright centerpiece with a few simple supplies and easy steps. This project not only saves money, it gives your bathroom a fresh and modern style.
We will guide you through removing the old caulk, cleaning the surface, sanding it down, and applying a brilliant finish. Get ready to dive in and enjoy a project that is both practical and budget-friendly!
Reglazing Tub DIY: Complete Step-by-Step Process

-
Start by removing the old caulk from around the tub. Use a putty knife and work slowly to scrape off the sealed edges without harming the tub. This clears the surface for your new finish.
-
Clean the tub thoroughly with a scrubby cleaner to get rid of soap scum, grime, and other residues. Rinse the tub well with water and let it dry completely. A clean surface is key to a smooth new finish.
-
Once the tub is dry, lightly sand it using 180- to 220-grit sandpaper. Sanding smooths out imperfections and helps the primer stick properly. Remove any dust with a vacuum or a damp cloth.
-
Apply a thin, even coat of primer from your reglazing kit. A foam applicator or HVLP sprayer works great for a smooth layer. Follow the kit instructions for drying time, which is usually about 10-15 minutes.
-
Finally, spread the topcoat in thin, overlapping strokes. Work quickly and carefully to avoid drips. Allow the tub to cure as recommended before using it. This project can be done in one or two days and is easier and cheaper than replacing the tub.
Reglazing Tub DIY: Tools & Materials Checklist
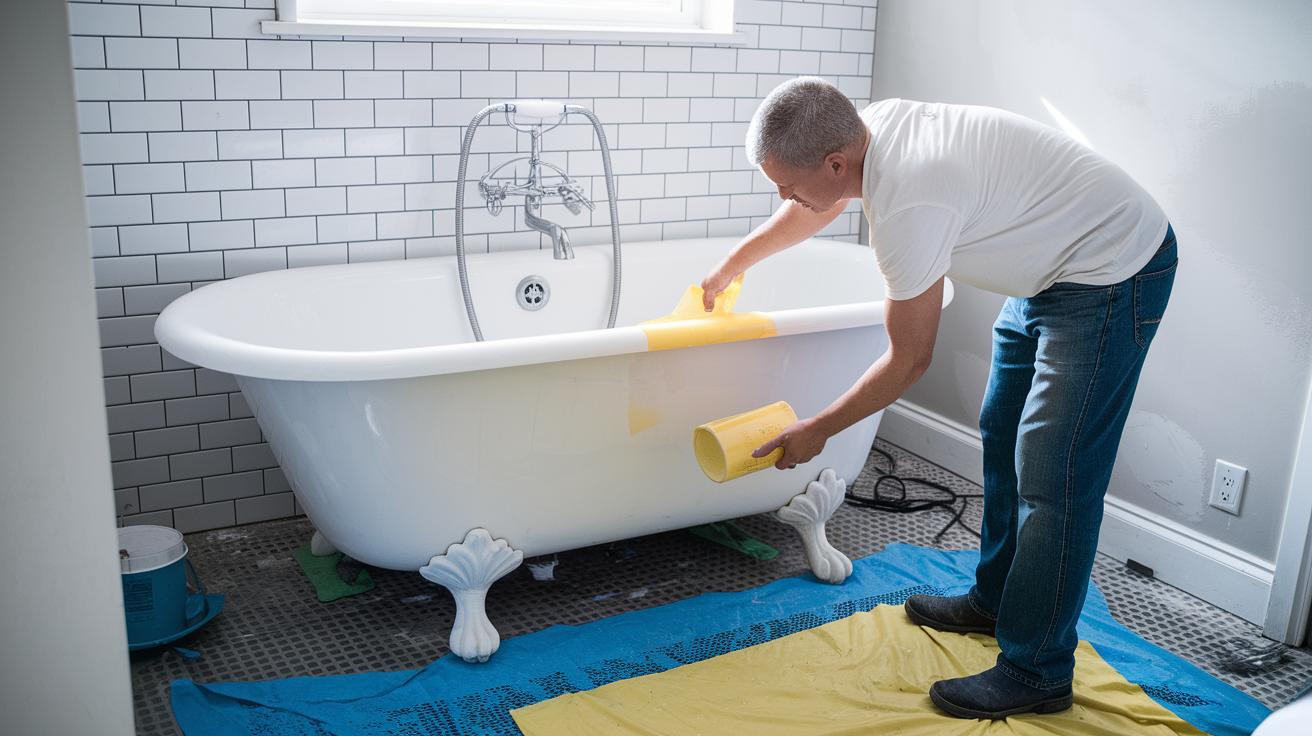
If you want your tub makeover to be easy and affordable, start with a bathtub reglazing kit that has both primer and topcoat. This kit helps you achieve a smooth, shiny finish without spending too much.
Next, grab an abrasive cleaner and etching powder. The abrasive cleaner works like a gentle scrub and lifts away soap scum and grime, leaving a clear surface.
You'll also need sanding sponges or sandpaper along with a fine-grit sanding block to smooth out any rough patches. Use repair and patching materials to fix chips or tiny cracks before you add new coats.
Cover nearby surfaces with painter’s tape and drop cloths. This keeps your work area neat and protects the rest of the room. And don't forget safety gear: wear a NIOSH-approved respirator mask, chemical-resistant gloves, and safety goggles.
This budget-friendly checklist makes every step, from cleaning to the final coat, clear and straightforward. For more detailed reviews and purchase options, check the
essential home improvement tools list.
Reglazing Tub DIY: Surface Preparation Techniques

-
Begin by taking out the old caulk. Use a putty knife or a caulk remover to gently scrape along the edge where the tub meets the wall. This makes sure the primer will stick well.
-
Clean the tub in two steps. First, scrub the tub using an abrasive cleaner or etching powder (a cleaning agent that breaks down soap scum and grime). Rinse thoroughly with warm water. Next, apply a degreaser with a sponge or cloth to clear away any oily residue and rinse again. This double-clean method leaves a spotless surface.
-
Lightly sand the entire tub with 180–220 grit sandpaper. Use even, gentle strokes to roughen the surface a bit so the primer bonds better.
-
Remove all dust and bits left over by vacuuming or wiping with a damp cloth.
-
Finally, cover the tub edges and nearby surfaces with painter’s tape to protect them from overspray.
Reglazing Tub DIY: Primer & Coating Application

First, prepare your tub and mix the etching primer from your reglazing kit. Follow the manufacturer's directions by using a ratio of 1 part catalyst to 3 parts primer. Use a high-density foam applicator or an HVLP sprayer to spread the mix evenly.
Next, allow the primer to flash for 10 to 15 minutes. Flashing means letting it set until it feels tacky. This short wait improves the topcoat's bond without leaving a wet, uneven surface.
Then, apply the topcoat in thin, overlapping strokes. Start at one end of the tub and work steadily across its surface. If any spots seem off, add another light layer to smooth them out.
Many kits now include water-based formulas that are non-toxic, low in volatile chemicals, and eco-friendly. Imagine a water-based topcoat that gives a shiny finish while keeping your indoor air clean.
Reglazing Tub DIY: Safety & Ventilation Best Practices
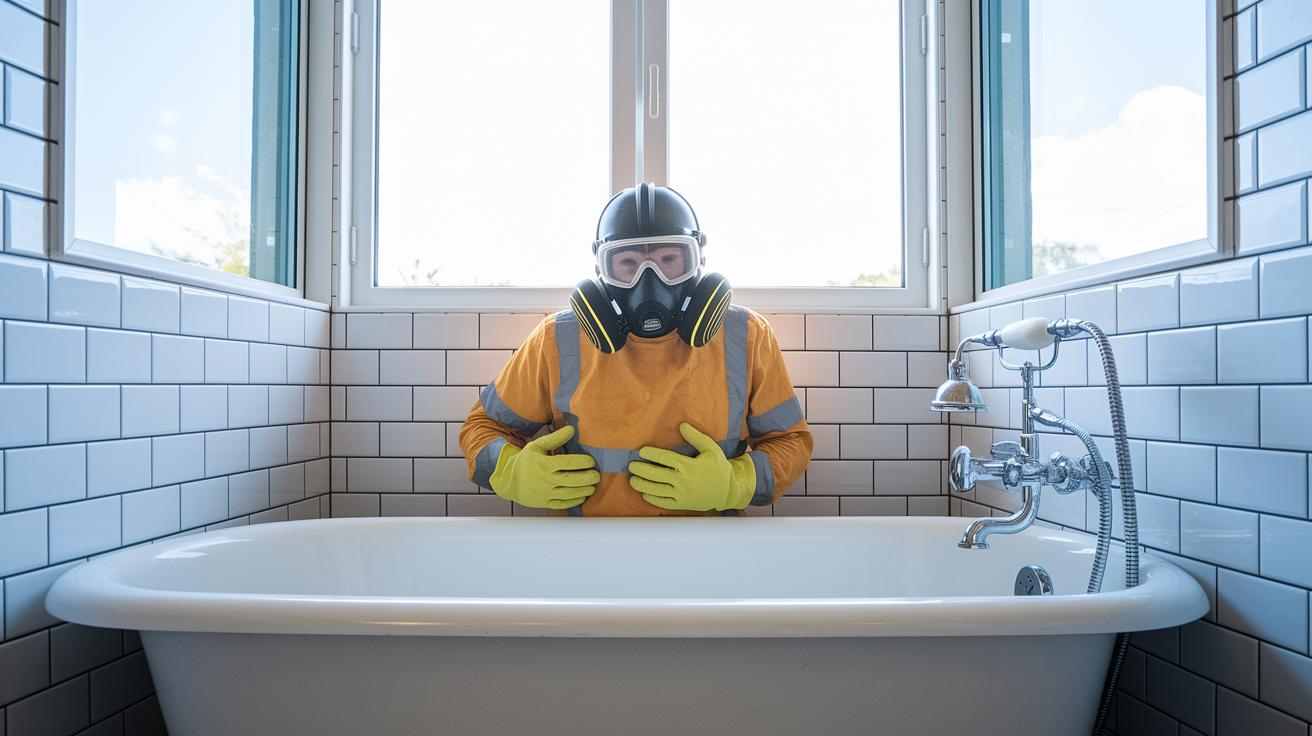
When you reglaze a tub, strong fumes are released that can be harmful. This is a project where safety comes first. Before you start, make sure you have the right gear. Wear a NIOSH-approved respirator mask that filters out chemical vapors. Use chemical-resistant gloves and safety goggles to protect your skin and eyes from splatters. Check that all your gear fits well and is in good condition.
Proper ventilation is just as important as personal safety. Open nearby windows and run an exhaust fan to create a steady airflow. You can also place a portable fan near your work area to push the fumes outside. This helps keep your workspace clear and reduces the risk of exposure.
Follow a home safety checklist to ensure you have all precautions in place. Stay focused on using good safety gear and proper ventilation. Your careful attention makes all the difference while you refresh your tub.
Reglazing Tub DIY: Curing, Finishing & Cleanup
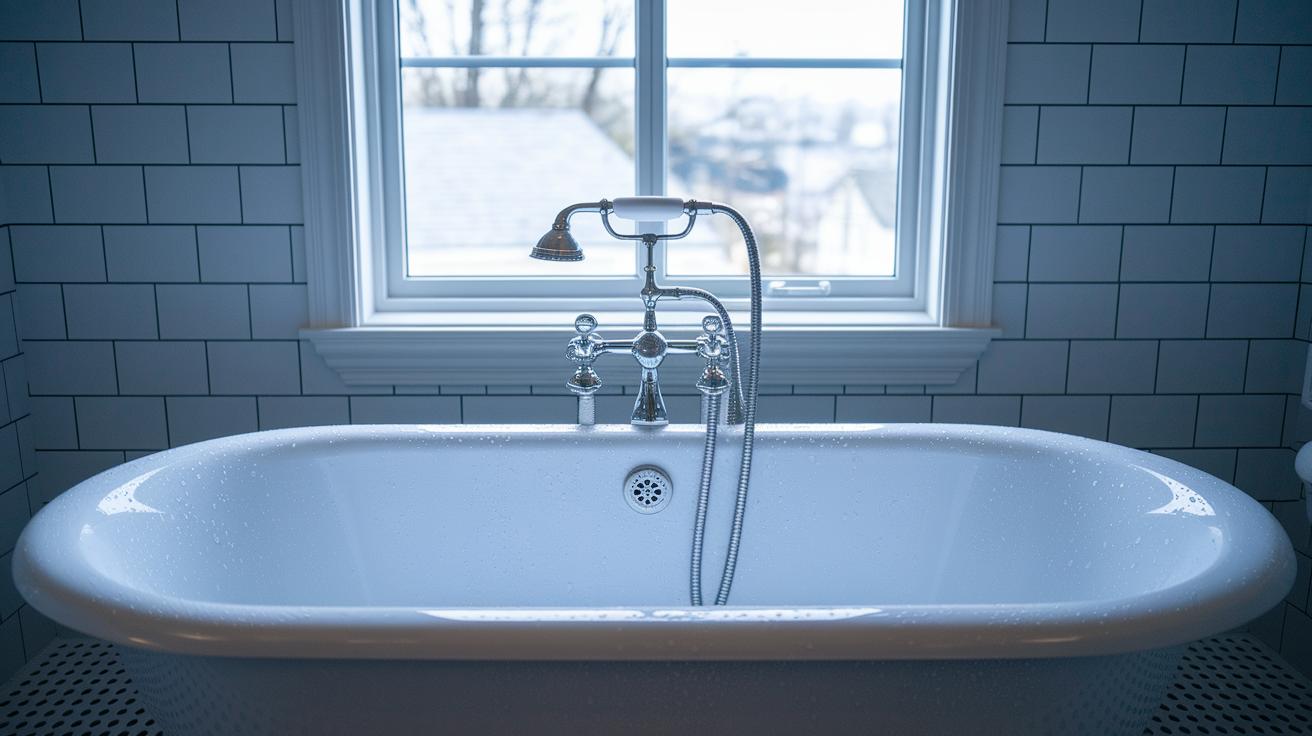
After you apply the topcoat, let the tub cure for 24 hours. This waiting time lets the finish harden to full strength. When the cure is complete, gently wet sand the surface with a fine-grit sanding sponge to smooth out any imperfections and remove small drips or uneven spots.
Once sanding is done, buff and polish the tub using a soft cloth or a buffing pad. Experts say the tub may be usable within 5–6 hours after buffing, but full durability comes only after the complete cure time. Take your time to ensure the finish looks even and bright.
Next, carefully peel off any painter’s tape or masking materials from the edges. Clean your tools right away as directed by your reglazing kit instructions, using solvent or water as recommended. Dispose of all waste properly. Keeping your workspace clean not only protects your newly glazed tub but also helps maintain its smooth, budget-friendly shine.
Reglazing Tub DIY: Cost Estimates & Budget Planning

If you're planning to reglaze your tub, it's smart to know your costs ahead of time. A professional job usually costs a bit under $500 and comes with a 5-year warranty. But if you choose to do it yourself, you can spend much less. Most DIY reglazing kits range from $50 to $150.
You'll need a few extra supplies too. A NIOSH-approved respirator (one that protects you from harmful dust) costs about $20 to $40. A pack of sandpaper typically costs between $10 and $20, and tape with drop cloths usually runs $15 to $30. Altogether, you can expect to spend around $100 to $250 if you tackle it by yourself, compared to $300 to $600 for a pro.
Here are some budgeting tips:
- List every item you need and compare prices at your local store.
- Invest in quality supplies that will hold up well.
- Consider borrowing or reusing tools to cut costs.
By setting aside a little extra for a good respirator, you stay safe while giving your tub a fresh look. Enjoy a great bath update without overspending!
Reglazing Tub DIY: Troubleshooting Common Issues

When you reglaze a tub yourself, problems often start with poor prep work or high humidity. If you see runs in the paint, bubbles, peeling, or a dull finish, first check your work. Dirt or dust left on the surface can stop the coating from sticking well. Work in a dry, clean space. For example, if bubbles show up, make sure you allowed enough time between applying the primer and the topcoat.
A common mistake is putting on the coating too thickly. Instead, use thin, overlapping layers to avoid runs and keep the finish smooth. Follow the reglazing kit instructions for the proper wait time between layers. If drips or bumps appear, use 400-grit sandpaper to lightly sand the area. Then clean the spot well and add another thin layer of primer or finish.
Also, pay close attention to humidity. High moisture can lead to peeling. Try to plan your project during a dry spell. A well-prepped surface and careful application go a long way in saving time and effort later.
Reglazing Tub DIY: Aftercare & Maintenance Tips

After your tub finish has fully cured, proper care is essential to keep it looking its best. For the first week, avoid harsh cleaners or scrubbing pads that can scratch the surface. Instead, mix a mild detergent with water and gently wipe with a soft cloth. Think of it as gently caressing the surface with a soft sponge to keep its smooth look.
Set aside time each month to inspect your tub. Use this time to spot any small chips or scratches. If you notice a tiny imperfection, use a touch-up kit immediately. These small repairs help stop damage from spreading and keep your tub fresh and shiny.
Here are some simple care tips:
- Clean only with gentle, non-abrasive products.
- Check for small chips on a monthly basis.
- Use the touch-up kit to fix any spots as soon as you see them.
Following these care steps can extend your reglazed tub's life to 5–7 years. Regular cleaning and prompt repairs ensure your updated tub remains attractive and functional for years to come.
Final Words
In the action, you learned how to transform your tub through careful cleaning, proper sanding, and even primer and finish application. Each step, from prepping with the right tools to ensuring safety with good ventilation, helps you achieve a smooth, durable finish.
You now have a clear, practical guide for reglazing tub diy. With organized cost estimates, troubleshooting tips, and maintenance advice, you’re ready to take on this budget-friendly project and enjoy a refreshed bathroom in days.
FAQ
What is a reglazing tub DIY kit?
A reglazing tub DIY kit provides the primer, topcoat, and supplies needed to refinish your bathtub yourself. This kit helps you restore a smooth, glossy finish without professional help.
What is included in a bathtub refinishing kit?
A bathtub refinishing kit contains cleaning agents, etching powder, primer, and a finish coat—often available in spray form. It offers all essentials for a DIY project to renew your tub’s surface.
How does a reglazing tub DIY kit work for showers?
A reglazing tub DIY kit for showers works the same as for tubs. It includes materials to clean, etch, prime, and apply a finish, renewing the shower surface with a refreshed, water-resistant coating.
How can I find bathtub reglazing services near me?
Tub reglazing services near you are offered by local professionals. A quick search or referral can connect you with companies that specialize in bringing new life to your bathtub with expert refinishing.
What are the pros and cons of reglazing a bathtub?
Reglazing a bathtub offers the benefit of cost savings and a refreshed look, while cons may include potential for chips or peeling if not properly prepped. It’s a quick fix compared to full replacement.
Can I use a fiberglass bathtub refinishing kit?
A fiberglass bathtub refinishing kit is designed specifically for fiberglass surfaces. It provides tailored primers and finishes to adhere properly, restoring the look without damaging the delicate material.
Does DIY bathtub refinishing work effectively?
DIY bathtub refinishing works effectively when the surface is properly prepped and the kit instructions are followed carefully. With attention to detail, you can achieve a durable and visually appealing finish.
What do professionals use to reglaze a tub?
Professionals use high-quality etching primers and topcoat finishes applied with specialized equipment like HVLP sprayers. They follow strict prep and curing procedures to ensure a long-lasting, smooth finish.
Is it worth it to reglaze a bathtub?
Reglazing a bathtub is worth it if you want a cost-effective update. It can restore your tub’s appearance and extend its life, though proper prep and careful application are key for lasting results.
What is the difference between bathtub refinishing and reglazing?
Bathtub refinishing and reglazing both renew a tub’s surface. Refinishing often involves patching and multiple coatings, while reglazing focuses on applying a smooth, glass-like finish to restore shine and durability.