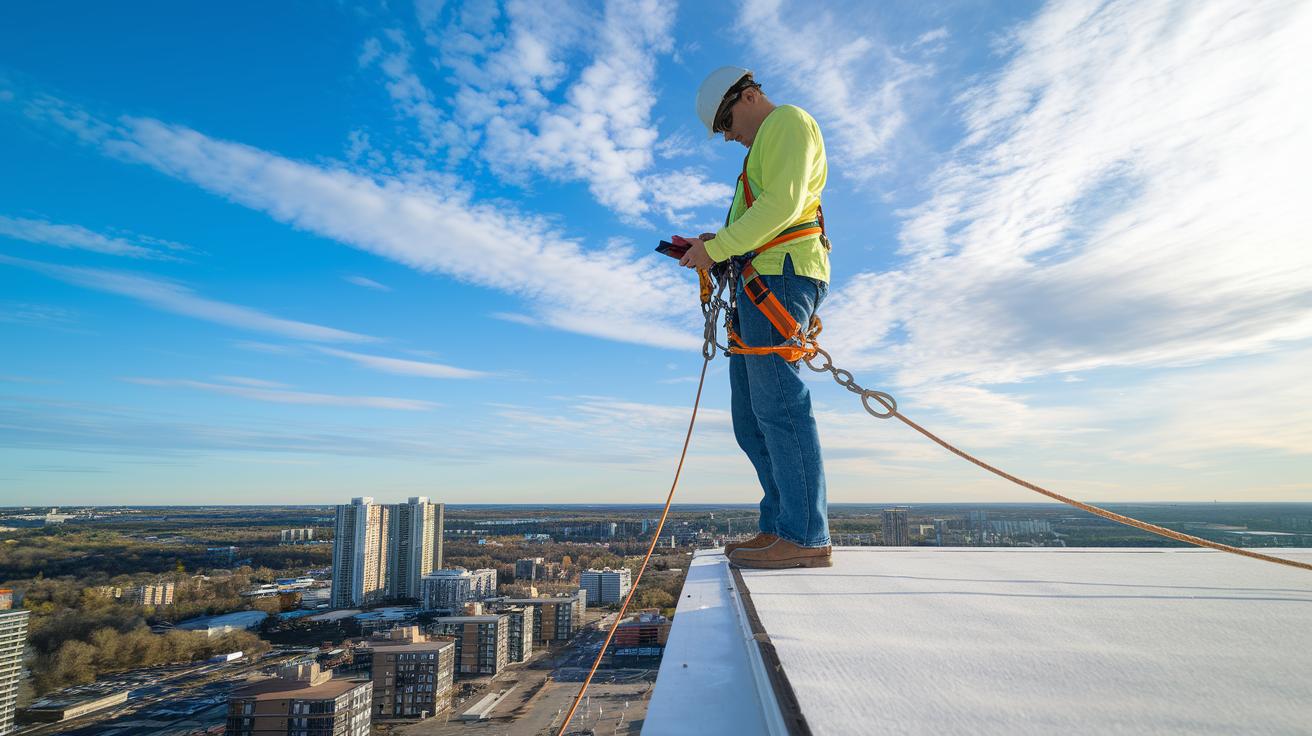

Ever notice how some roof workers seem calm at high heights while others hesitate? Working on a roof takes skill and the right gear. A safety harness system can be the difference between staying safe and getting hurt. Every year, many workers risk falls because they do not have proper protection. In this guide, we cover the basics of roof work harnesses, explain why each piece is important, and share tips to help you stay secure when working up high.
Safety harness basics for roof work: Stay Secure!
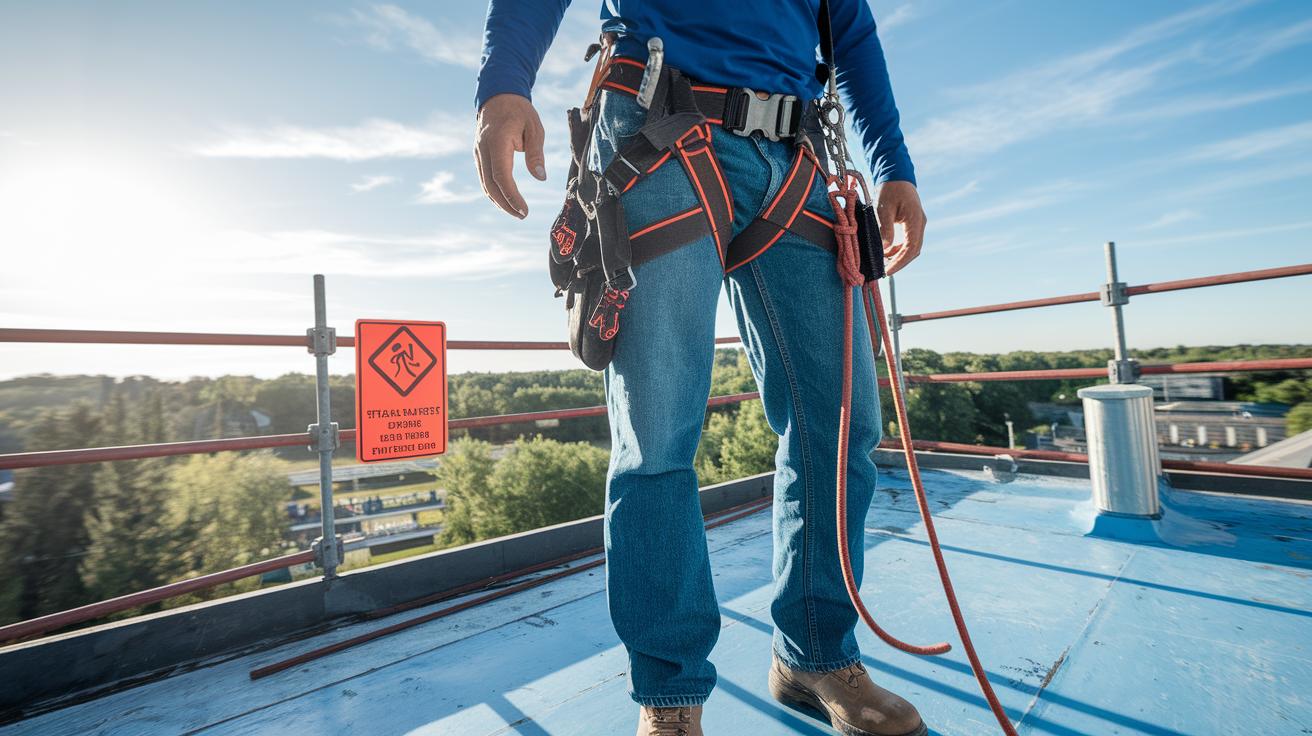
When you work on a roof, a safety harness system helps protect you from falls. Each year, too many construction workers lose their lives from falling, which is why gear like a Personal Fall Arrest System (PFAS) is so important. If you work above 6 feet, OSHA requires that you use fall protection and a PFAS if the risk is above 4 feet.
Your roof safety harness system has three main parts that work together. First, the anchor secures the system to a strong, stable surface. Next, the lanyard with a deceleration device slows your fall if you slip. Finally, the full-body harness spreads the impact forces across your body to reduce injury.
For extra safety, use slide guards on low-slope roofs and wear non-slip footwear. Following these precautions and using a certified system can make your roof work safer, even in high-risk conditions.
Selecting and Certifying Your Roof Work Harness
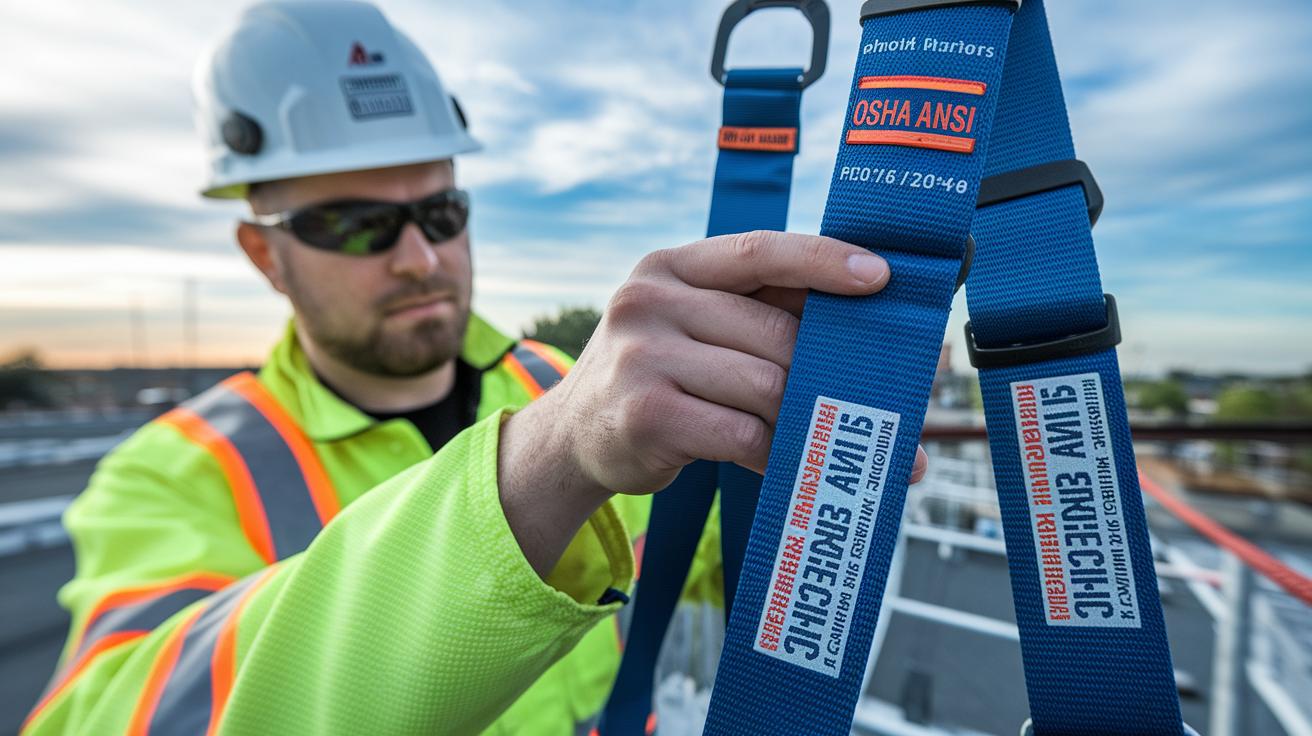
When you choose a roof work harness, you must stick to strict safety guidelines. Use only harnesses that carry OSHA and ANSI certification. This means your gear has been tested and meets high safety standards.
Look for labels on the harness that show the manufacturer, model, serial number, and the date it was made. These details help you confirm the harness is genuine and up to date.
Before you buy, check the product description. It should clearly say that the harness complies with these safety standards. A certified harness is built to support both you and any tools or equipment you bring along. Overloading your harness can lead to failure if you fall.
Your anchorage system is just as important. Make sure its anchorage points are rated to support at least 5,000 lbs per person or that they have been engineered by a qualified professional. A properly rated anchorage reduces risk and gives you peace of mind when working at heights.
Here are some quick tips to help you choose correctly:
- Verify that the labels on both the harness and the anchorage list the manufacturer, model, serial number, and manufacturing date.
- Confirm that all parts meet OSHA and ANSI standards.
- Check that the anchorage points are designed to hold at least 5,000 lbs per person.
Following these steps ensures your roof work harness sets a strong foundation for safe work and helps reduce the risk of accidents.
Proper Harness Fitting and Adjustment Techniques for Roof Work
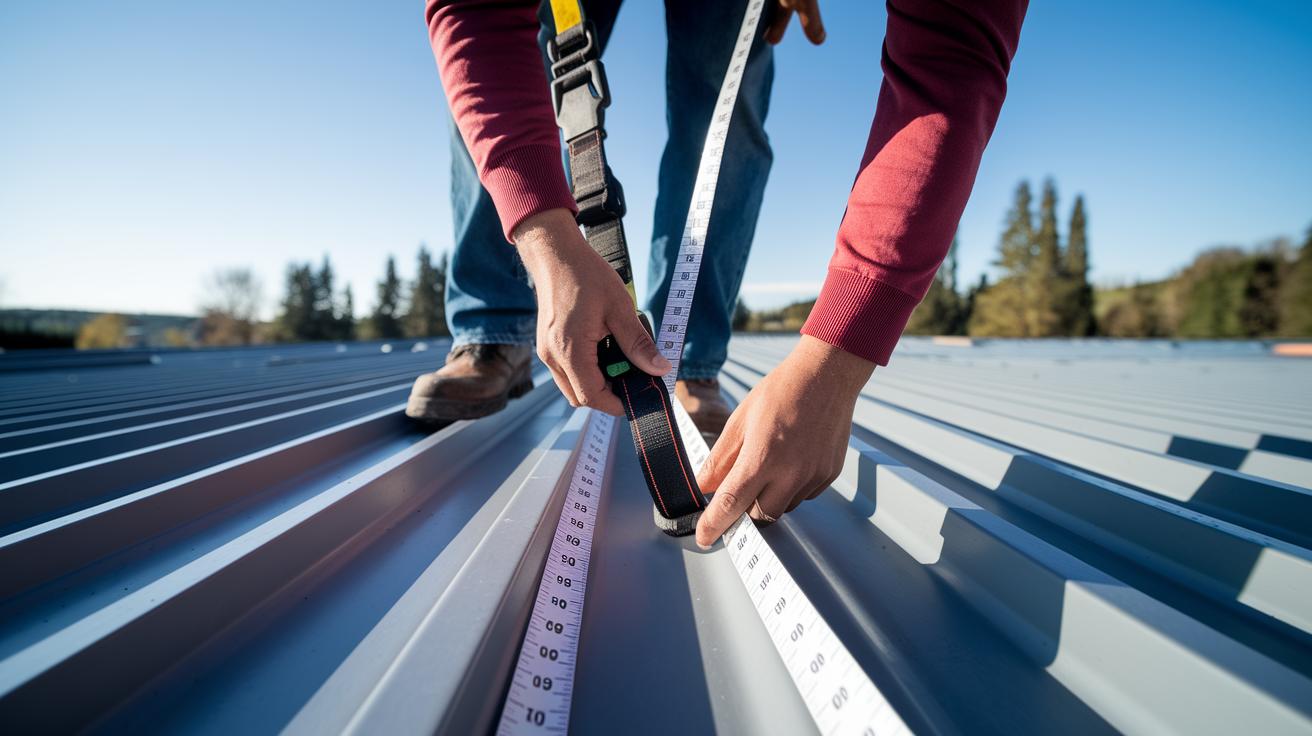
First, lay out your harness and check the manufacturer's sizing chart. This chart helps you choose the right size so you get proper support and comfort when you work on a roof. Follow the measurements carefully to ensure a snug fit without being too tight.
Next, put on your harness. Fasten the chest strap first, then the waist and thigh straps. Adjust each buckle until they are snug but not restrictive. You should have enough room to breathe and move freely. For example, pull the waist strap until it hugs your body, then adjust it so you can slide one finger underneath.
After you put on the harness, locate the D-ring. It should sit exactly between your shoulder blades. This placement spreads the force of a fall evenly across your upper back, making your setup safer. Think of it as fitting the center piece in a puzzle; the right spot is key to safety.
Now, check for any loose strap tails. These can catch on equipment or sharp edges. Tuck them securely against your body to avoid any snags. Also, inspect every buckle and strap to make sure none are twisted or bunched up, as this can lessen the harness’s effectiveness.
Before you start any roof work, do a complete fit-check. Many training programs stress the importance of this daily inspection. You might also watch a demo video to refresh your memory on these techniques. This routine not only keeps you safe but also builds your confidence when working at heights.
Remember these steps:
- Use the sizing chart to pick the right harness.
- Fasten the chest, waist, and thigh straps snugly.
- Ensure the D-ring sits between your shoulder blades.
- Tuck away any loose strap ends.
- Do a full fit-check before each work session.
Installing and Anchoring Your Fall Arrest System on the Roof
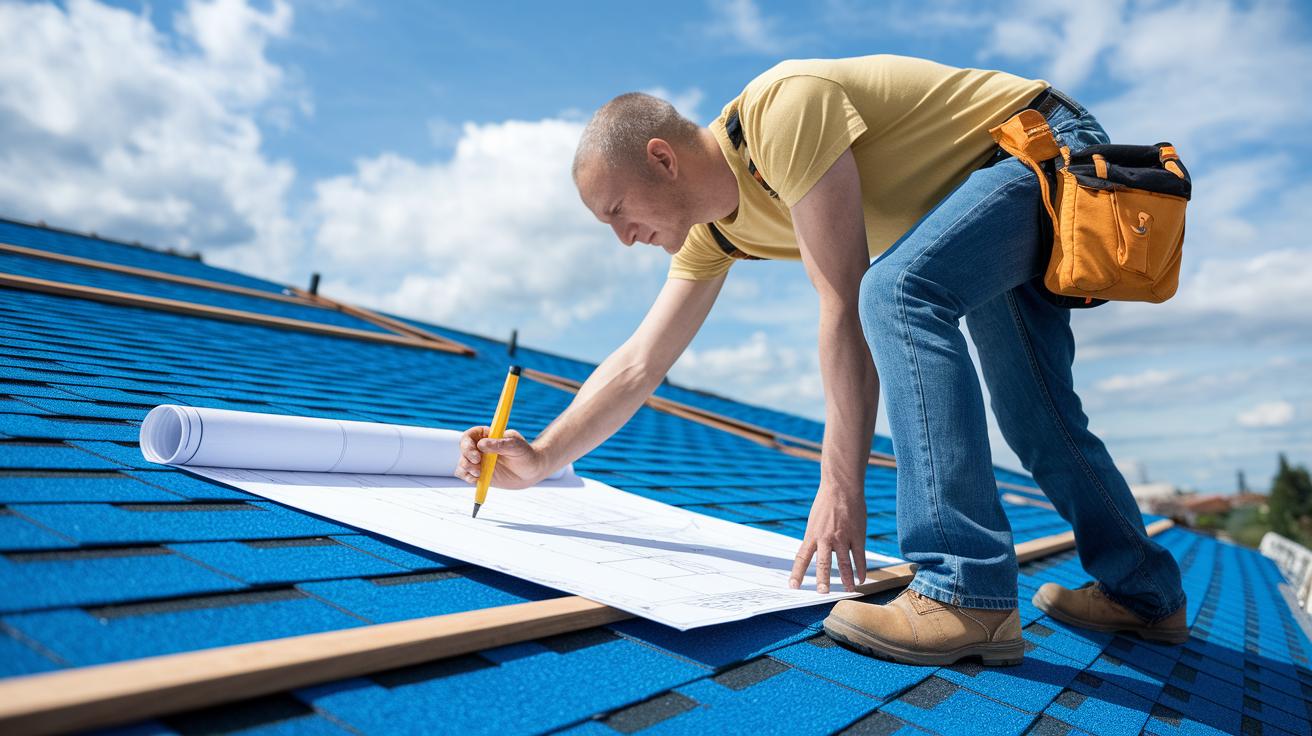
Start by figuring out the overlap you need for your anchor point. This means you add the roof height, your planned tie-off level, and the maximum distance needed to stop a fall. For example, if your roof is 20 feet high and you plan to tie off at 18 feet, choose an anchor that gives enough extra support to stop you safely.
Next, choose the type of anchor. Fix permanent anchors to the strong parts of your roof structure whenever you can. If you have a low-slope roof, temporary beam clamps or slide-guard anchors can work well and let you move the anchor as needed. Permanent anchors give steady support, while temporary ones offer flexibility for different roof sections.
Follow these steps to set up your fall arrest system:
- Measure the distance from your work surface to where you want the anchor. Make sure this distance gives you the required overlap.
- Secure the anchor by fastening it to a strong, load-bearing part of the roof.
- Choose an installation method that matches your roof type. Use a permanent anchor for steady support or a temporary system if you need adjustable placement.
- Attach the lanyard and fasteners to the anchor. Then, pull gently on each connection to check that they lock in place.
Before you start working on the roof, gather all the necessary equipment. Here is your quick checklist:
- Anchor
- Lanyard with a deceleration device
- Fasteners suited for your roof material
- Ladder with a stabilizer (follow proper ladder setup guidelines)
- Pry bar
- Tool belt or bucket-and-rope system
- Sturdy non-slip shoes
Inspect every piece of equipment and test all connections before you begin. This careful setup will help keep you safe while working on the roof. Always check your anchor points and hardware for signs of wear and proper installation to ensure reliable fall protection.
Regular Inspection and Maintenance Guidelines for Roof Harnesses
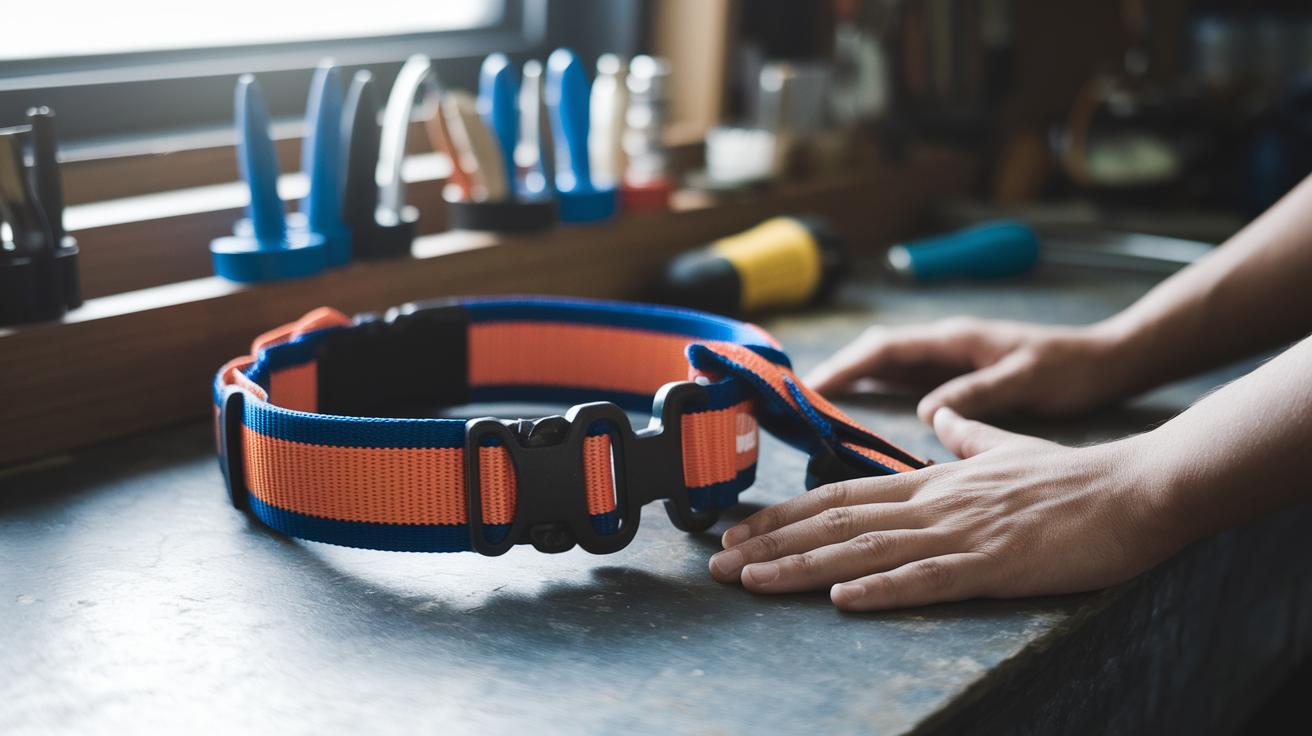
Before you use the harness each time, give it a close look. Check for ripped webbing, weak stitching, or rust on the metal parts. If you see even a small tear, replace it right away for your safety.
Each day, inspect the entire harness by looking and feeling. Study every strap and buckle. Run your hand along the seams to catch any bulges or rough spots. This routine can help you catch wear before it becomes a big issue.
OSHA rules also require a yearly check by a qualified person. They will note the harness's condition and keep a log with dates and details. This record is useful for seeing how long the harness lasts and can also help with insurance.
When cleaning, mix a mild detergent with water to remove dirt and grease. Do not use harsh chemicals since they can hurt the fabric. Rinse the harness and let it air dry away from direct sunlight. Always store it in a cool, dry place away from UV light, chemicals, or any sharp objects.
Key steps:
- Check daily for fraying, damage, or rust.
- Get a professional inspection annually.
- Clean with mild soap and water.
- Air-dry away from sunlight and harmful substances.
Integrating Harness Safety into Roof Worker Protocols and Rescue Planning

Start by making harness use a key part of your roof safety plan. Begin with a careful hazard check and solid worker training. Your safety plan should explain how to use fall protection systems like PFAS (personal fall arrest systems) and include clear emergency steps. Always design the rescue plan to get a worker down in 15 minutes to prevent suspension trauma.
Follow these simple steps to add harness safety to your routine:
- Do a hazard check in every roof area.
- Train workers on how to fit, adjust, and inspect their harness every day.
- Set up a rescue plan that brings a worker down within 15 minutes.
- Add extra safety controls such as slide guards or guardrails along the roof edges.
- Provide site maps and checklists so everyone understands the fall protection plan.
By matching harness use with clear safety protocols, you build a strong, site-specific fall protection plan. This keeps every team member ready for an emergency while working at heights. Keep training regular and make sure rescue plans are well known. This approach not only protects workers but also leads to a well-prepared emergency response, making roof work safer and more efficient.
Final Words
In the action, the post covered the fundamentals of roof safety harness systems, from choosing and certifying the right gear to proper fitting, installation, and regular maintenance. We broke down key steps like selecting certified equipment, making proper adjustments, and planning rescue procedures. Following these guidelines means you can complete roof work confidently and safely while staying on schedule. Every tip builds a foundation for secure projects. Keep steady, stay alert, and rely on safety harness basics for roof work to protect you every step of the way.
FAQ
What are the safety harness basics for roof work on YouTube?
The safety harness basics for roof work on YouTube explain the essential fall arrest system, including proper fitting, adjustment, and secure anchoring methods demonstrated with clear visuals.
What is a roof safety harness anchor?
A roof safety harness anchor is a secured point designed to attach your harness system, ensuring you stay connected and safe while working on a roof to effectively arrest falls.
How do you use a safety harness on roof work?
Using a safety harness on roof work means you must properly adjust the straps, wear the harness snugly, and securely attach the lanyard to a certified roof anchor to protect against falls.
What does a roofing safety harness kit include?
A roofing safety harness kit typically includes a full-body harness, a lanyard with a deceleration device (slowing falls), and an approved anchor point designed for roof fall protection.
What is the best safety harness for roofing?
The best safety harness for roofing meets OSHA and ANSI standards, offers adjustable, secure straps, and has clear certification labels, ensuring reliable fall protection during roof work.
How does a roof harness work?
A roof harness works by equally distributing your body weight during a fall, using a full-body harness, lanyard, and a secure anchor to limit fall distance and reduce injury risk.
What is a roofing harness rope?
A roofing harness rope, often part of the lanyard, connects your harness to the anchor point; it is designed to absorb and distribute fall forces to keep you safely secured while working on roofs.
Does OSHA require a harness on roofs?
OSHA requires a harness or other approved fall protection when roof work exceeds height limits, typically above 6 feet, to minimize fall risks and protect workers from injury.
What are the five functional requirements of a roof?
The five functional requirements of a roof usually include providing shelter, offering water resistance, supporting loads, ensuring thermal insulation, and maintaining durability against the elements.
Are roofers required to wear harnesses?
Roofers are required to wear harnesses when working at heights with fall risks under OSHA guidelines, ensuring they have proper fall protection to prevent serious injuries.