
Have you ever thought you could give your home a fresh look in just one weekend? Many people assume big changes need big budgets and lots of time. This guide offers 7 easy DIY projects that each cost less than $100. You can complete them in just 48 hours. We'll help you pick the best projects, plan simple work sessions, and enjoy a home that looks new. Ready to transform your space?
Kickoff Your Step-by-Step Weekend Home Projects Guide with Efficient Planning
Begin with a clear idea of what you want to do. Write down 7 simple DIY projects that can refresh your home in one weekend, each costing less than $100. For example, you might update your house numbers for a curbside boost or add a new accent wall. This step helps set a clear plan for success.
Next, pick two or three projects that stand out. Choose those that will best improve your space and fit your available time. Each project should take about 4 to 8 hours. Write a plan like this: "Paint accent wall – 5 hours; Install dimmer switches – 3 hours."
Plan your weekend carefully. Divide your time so that Saturday morning is for prep tasks like cleaning surfaces and gathering tools, and the afternoon is for working on the projects. Use Sunday for finishing touches and cleanup. A simple checklist can keep you on track.
Also, set a budget for each project and leave a little extra for surprises. A basic budget might cover items like paint or adhesive while keeping costs under $100.
Remember, good planning turns a big task into small, clear steps. Did you know a well-planned weekend DIY project can boost your home's look and your confidence in just 48 hours? For more ideas, check out the easy weekend DIY projects at the link provided.
Step-by-Step Weekend Home Projects Guide: Paint Refresh Made Easy
Materials and Tools Prep
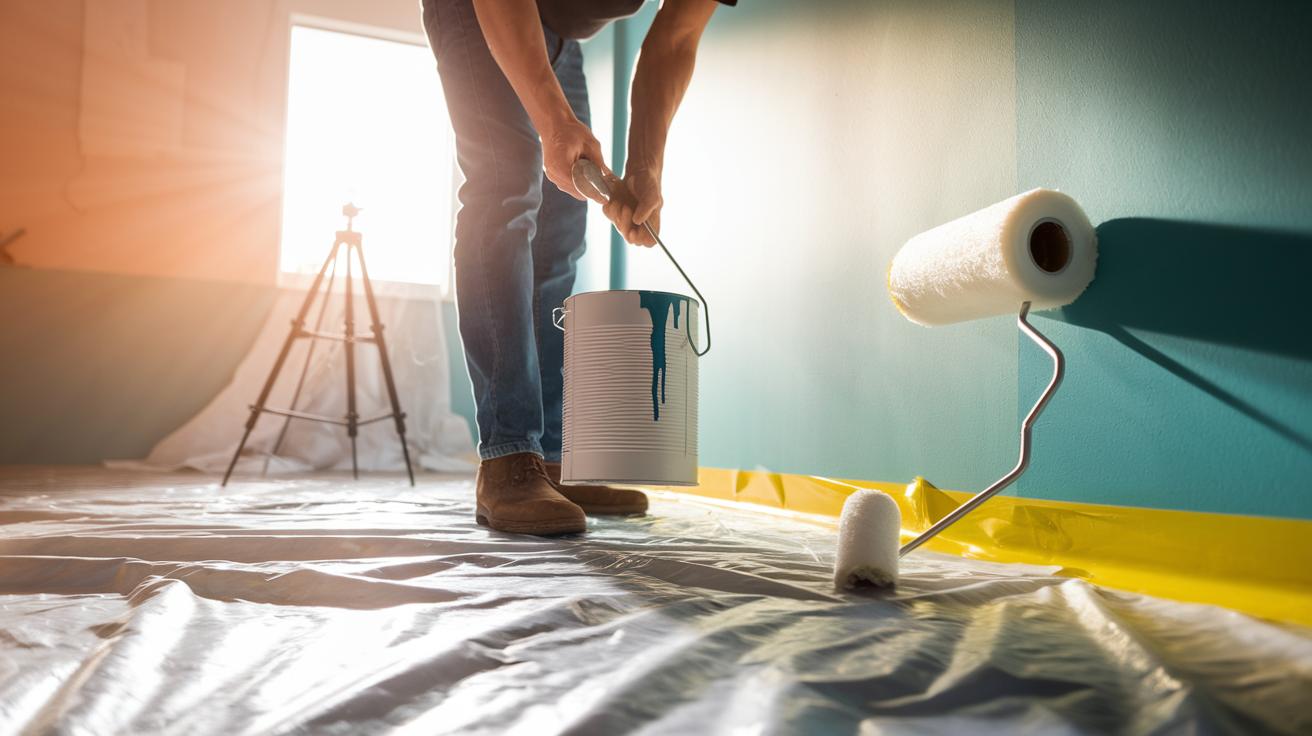
Gather your supplies before you start. You will need quality latex or acrylic paint in your chosen color, a set of paint rollers, painter’s tape, drop cloths to catch drips, and a small brush for touch-ups. Many starter kits run under $100. For example, I once grabbed one for about $60 that had everything I needed for an accent wall.
Surface Preparation
Clean the wall thoroughly to remove dust and grease. Next, lightly sand the surface to smooth it out and fill any holes or cracks. Before you begin, test your paint on a scrap piece of wood or a hidden spot on the wall to be sure you like the color.
Applying Paint
Start by using the small brush to cut in around corners and trim. Then, use a roller with a W or M technique to cover the larger areas evenly. Let the first coat dry completely, then add a second coat for a deeper finish. If you are not used to rolling, try it on a scrap area first.
Cleanup and Drying Time
When you finish painting, wash your brushes and rollers with soap and water right away. Let the painted wall dry in a room with good airflow for 4–6 hours. Opening windows can help speed up the drying process.
Step-by-Step Weekend Home Projects Guide: Quick Curb & Light Upgrades
Project Snapshot: • Each project takes under 3 hours • House numbers cost about $20–$30; dimmer switches cost about $10–$20 • Beginner-friendly • Tools: drill, level, tape measure, screws, pencil/marker, screwdriver • Safety: Wear protective gear and turn off power at the breaker for electrical work
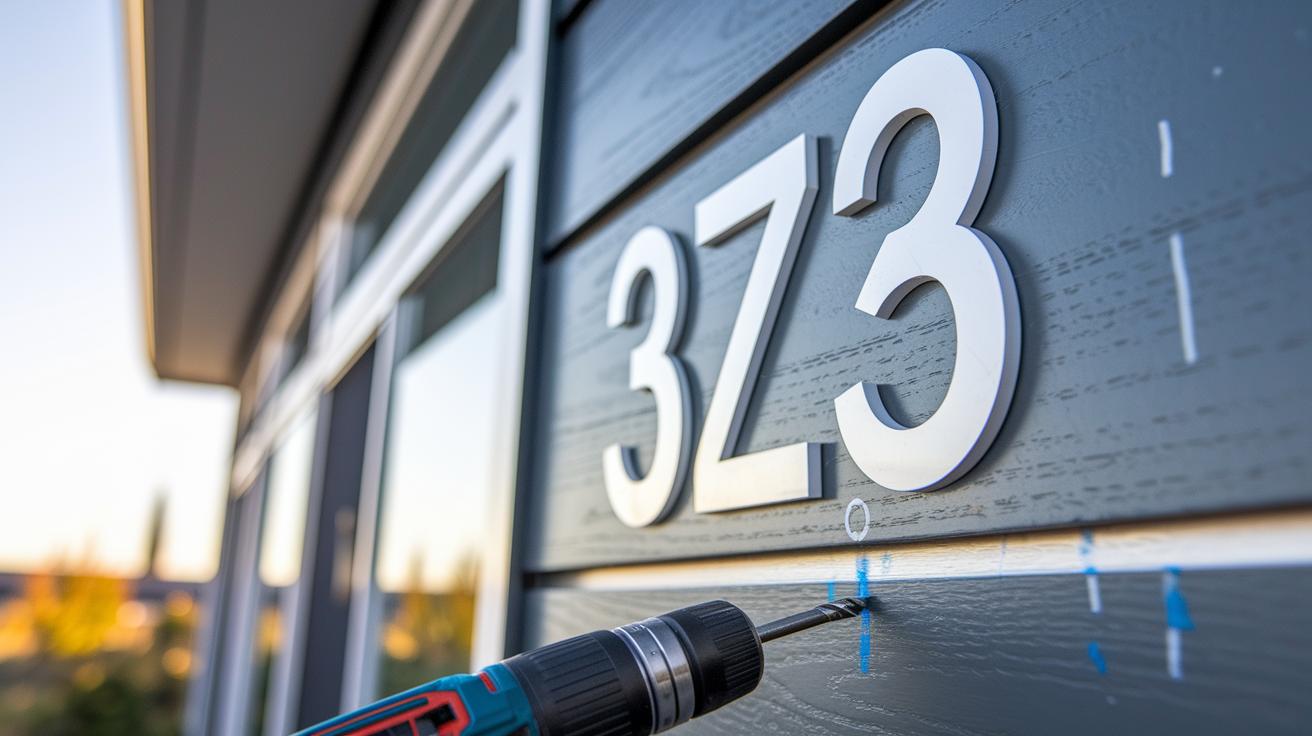
Boost your home’s look and function with two easy projects. First, update your oversized house numbers. This not only freshens up your curb appeal but also makes your address clearer for visitors and emergency services.
Steps for new house numbers:
- Measure the spot for your numbers and mark it with a pencil.
- Pre-drill holes in your wall or trim.
- Attach the numbers securely with the right screws.
- Check with a level to ensure they are straight.
Next, install dimmer switches for a custom lighting feel without the hassle of changing bulbs. Follow these steps:
- Turn off power at the breaker to stay safe.
- Use a screwdriver to remove the old switch.
- Connect the new dimmer wires following the manufacturer’s guide.
- Fasten the dimmer into the outlet box and restore power to test it.
Always wear proper protective gear and review your work as you go. These simple upgrades provide a neat way to enhance your home’s curb appeal and lighting while sticking to a clear timeline.
Step-by-Step Weekend Home Projects Guide: Smart Kitchen Enhancements
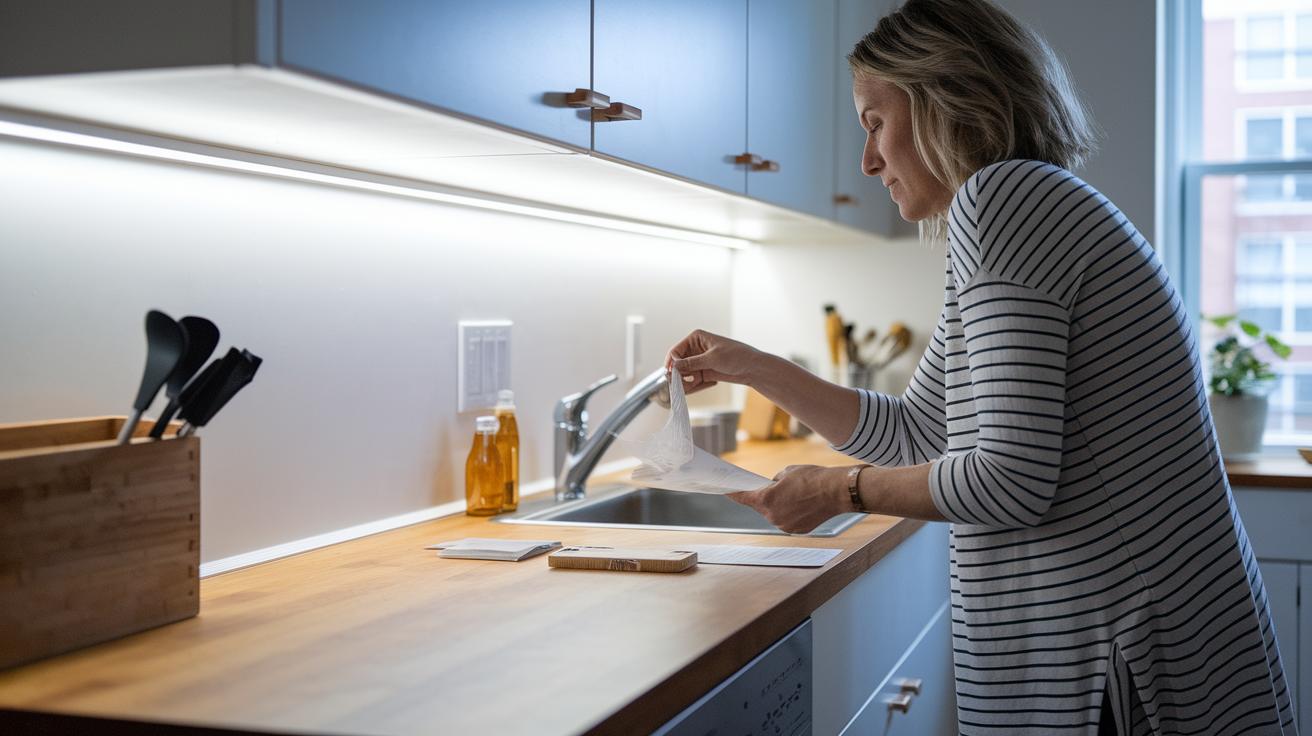
Project Snapshot: • 2–3 hours • Budget: under $30 for lighting, under $50 for cabinet hardware • Beginner-friendly • Tools: screwdriver, measuring tape, drill, level • Safety: unplug appliances when working near wiring
Start with adding under-cabinet lighting:
- First, choose your supplies. Pick a plug-in LED strip or rope light made for under-cabinet use.
- Measure the space under your cabinets. Plan the layout so the light covers the area evenly.
- Clean the cabinet surface where the light will go. Remove the adhesive cover and press the strip firmly into place.
- Plug in the light and test it. Adjust until it gives you bright task lighting and a gentle ambient glow. Think of it like testing a paint sample in one corner before painting the whole room.
Next, update your cabinet knobs and pulls:
- Remove the old knobs and pulls by unscrewing them from the cabinet fronts.
- Check that your new hardware fits the existing holes. Make sure the sizes match.
- Install the new knobs and pulls with your screwdriver. Press them in securely and check they work smoothly.
These simple updates will give your kitchen a fresh look without any complicated work.
Step-by-Step Weekend Home Projects Guide: Ceiling Medallion and Decorative Touches
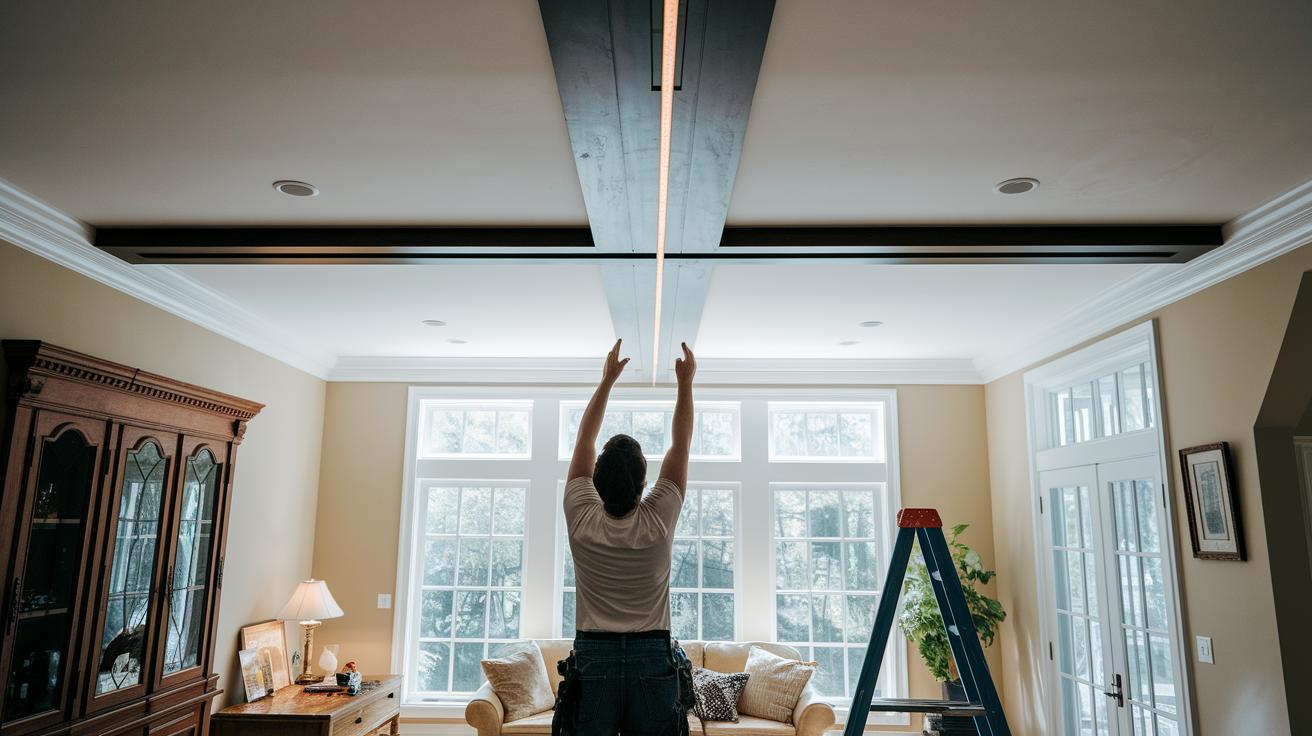
Project Snapshot: • 3 hours • Cost: $15–$40 (materials only) • Beginner-friendly • Tools: measuring tape, pencil, adhesive, finishing nails, paintbrush, step ladder • Safety: Use a stable step ladder and work carefully when reaching the ceiling
-
Find Your Spot
Start by finding the ceiling beams behind the area you want to decorate. Use a stud finder or look for the beams with your eyes. Mark the center with a small pencil dot. This dot shows exactly where the beams meet so you can center the medallion. -
Check the Fit
Lay the medallion near the spot to make sure it fits well and looks even. When you are happy with the layout, spread a generous amount of construction adhesive on the back of the medallion. -
Attach It Securely
Press the medallion firmly against the ceiling. Then use finishing nails to secure it further. Make sure it sits level and feels stable to avoid any shifting. -
Paint Your Way
Decide whether to paint the medallion first or after putting it on the ceiling. If you choose to paint it after, use a brush to blend any overlaps along the edge so the finish looks smooth. -
Let It Set
Allow the adhesive and paint to dry in a well-ventilated area. Take your time and check the alignment after each step. This extra care lets your decorative touch add real depth and appeal to your room.
Step-by-Step Weekend Home Projects Guide: Budgeting and Material Inventory
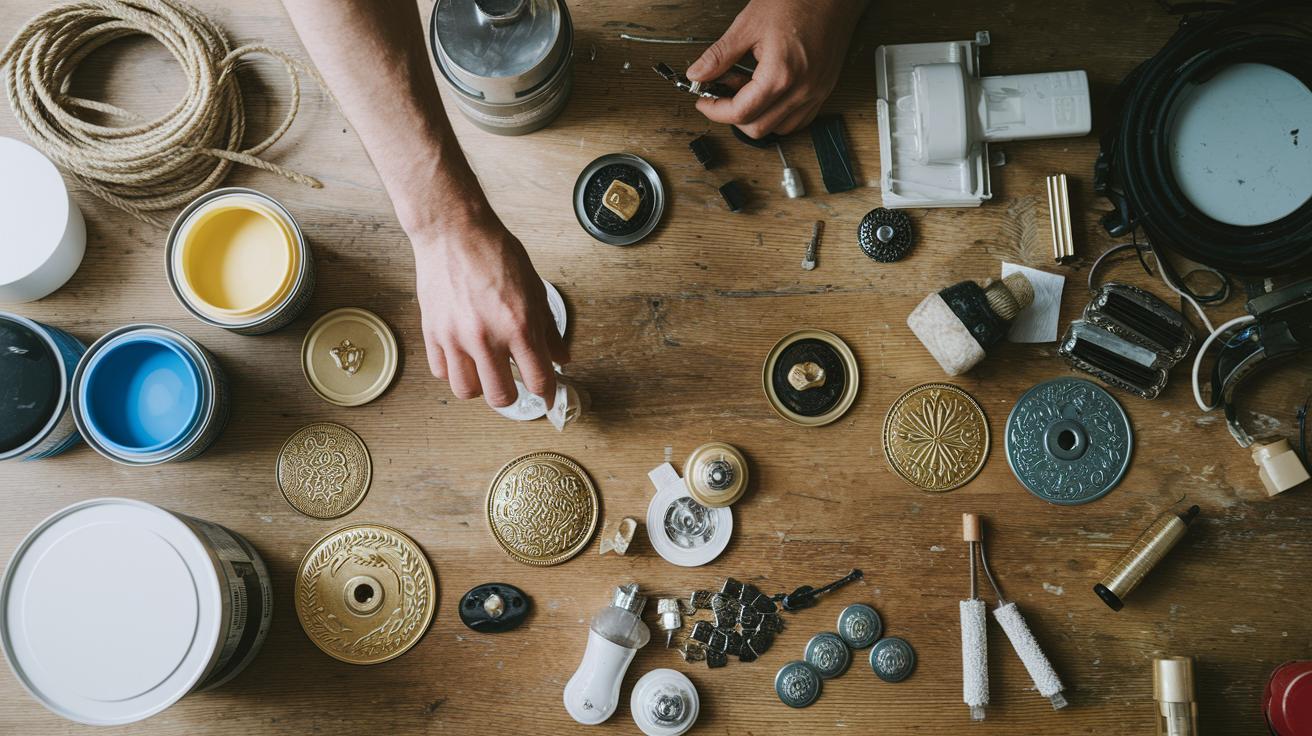
Begin by writing down every item you need for your weekend projects. List supplies like paint, rollers, adhesives, medallions, house number kits, knobs, lighting fixtures, wire, rope lighting, and basic hardware. Each project usually costs less than $100. Having a clear inventory helps you stay organized.
Next, create a detailed shopping list by grouping similar items together. For example, list "paint and rollers" as one item and "lighting components" as another group. This approach gives you a clear view of what to buy and helps avoid duplicate purchases. Always check that the quality is good so you can stick to your budget without cutting corners.
Then, make a note of your total expected cost. For three projects, you should plan to spend between $200 and $300. Write this range next to your list to keep your spending in check. Also include small extras like painter’s tape, drop cloths, and extra fasteners.
Finally, buy these supplies in advance to prevent delays on your project day. Use a dedicated sheet or budget app to track your spending and adjust your list if prices change. This organized approach keeps your DIY projects on schedule and free of unexpected surprises.
Step-by-Step Weekend Home Projects Guide: Safety Tips and Troubleshooting

Your safety comes first with any DIY project, especially when working overhead or near electrical parts. Before you start, check that your tools, ladders, and workspace are all secure. If you plan to install light fixtures or add a ceiling medallion, make sure you follow proper safety steps.
Here are some key safety tips to follow:
- Place your ladder on a flat, stable surface.
- Turn off the power at the breaker for any electrical work.
- Wear protective gear like gloves and safety glasses.
- Use proper supports when hanging heavy or decorative items.
- Work in a bright, well-ventilated area that is free of clutter.
- Keep a first-aid kit nearby for minor cuts and scrapes.
Even with careful planning, small issues can come up. Try these troubleshooting tips:
- For paint drips, quickly wipe the area with a clean cloth.
- If the paint finish is uneven, lightly sand the area and apply another coat.
- Tighten any loose hardware or add extra fasteners as needed.
- If lights flicker, check the wiring and secure any loose connections.
- If items are misaligned, adjust them right away before the adhesive sets.
Stay safe and address problems as they come for a smooth DIY project.
Final Words
In the action from planning to finishing touches, you now have a solid plan with a step-by-step weekend home projects guide. We covered projects like refreshing your paint, boosting curb appeal, upgrading your kitchen, and adding decorative touches. Each section showed clear steps from prepping materials and tools to safety tips and troubleshooting. With budgeting advice and a focus on simple tasks, you can tackle these projects confidently. Enjoy the process and celebrate the rewarding results of your hard work.
FAQ
What is a step-by-step weekend home projects guide for adults?
A step-by-step weekend home projects guide for adults outlines clear planning steps, task selection, and budgeting so you can complete affordable DIY projects in a single weekend while boosting home style and function.
How do DIY home projects for beginners work?
DIY home projects for beginners break down tasks into simple, clear steps and list necessary materials and safety tips. This approach makes it easy to start projects like painting or lighting without prior experience.
What home improvement ideas on a budget can you try?
Home improvement ideas on a budget focus on small, impactful projects such as updating house numbers, installing dimmer switches, or freshening up a room. Each project is designed to spend under $100 while creating a noticeable change.
What simple DIY projects are available for students?
Simple DIY projects for students include manageable tasks like accent wall painting or minor upgrades. These projects use low-cost materials and clear instructions, making them ideal for improving your space on a student budget.
How do small home improvement projects make a big impact?
Small home improvement projects make a big impact by targeting key updates that refresh your space. Projects like new cabinet hardware or improved lighting enhance both appearance and functionality while keeping costs low.